
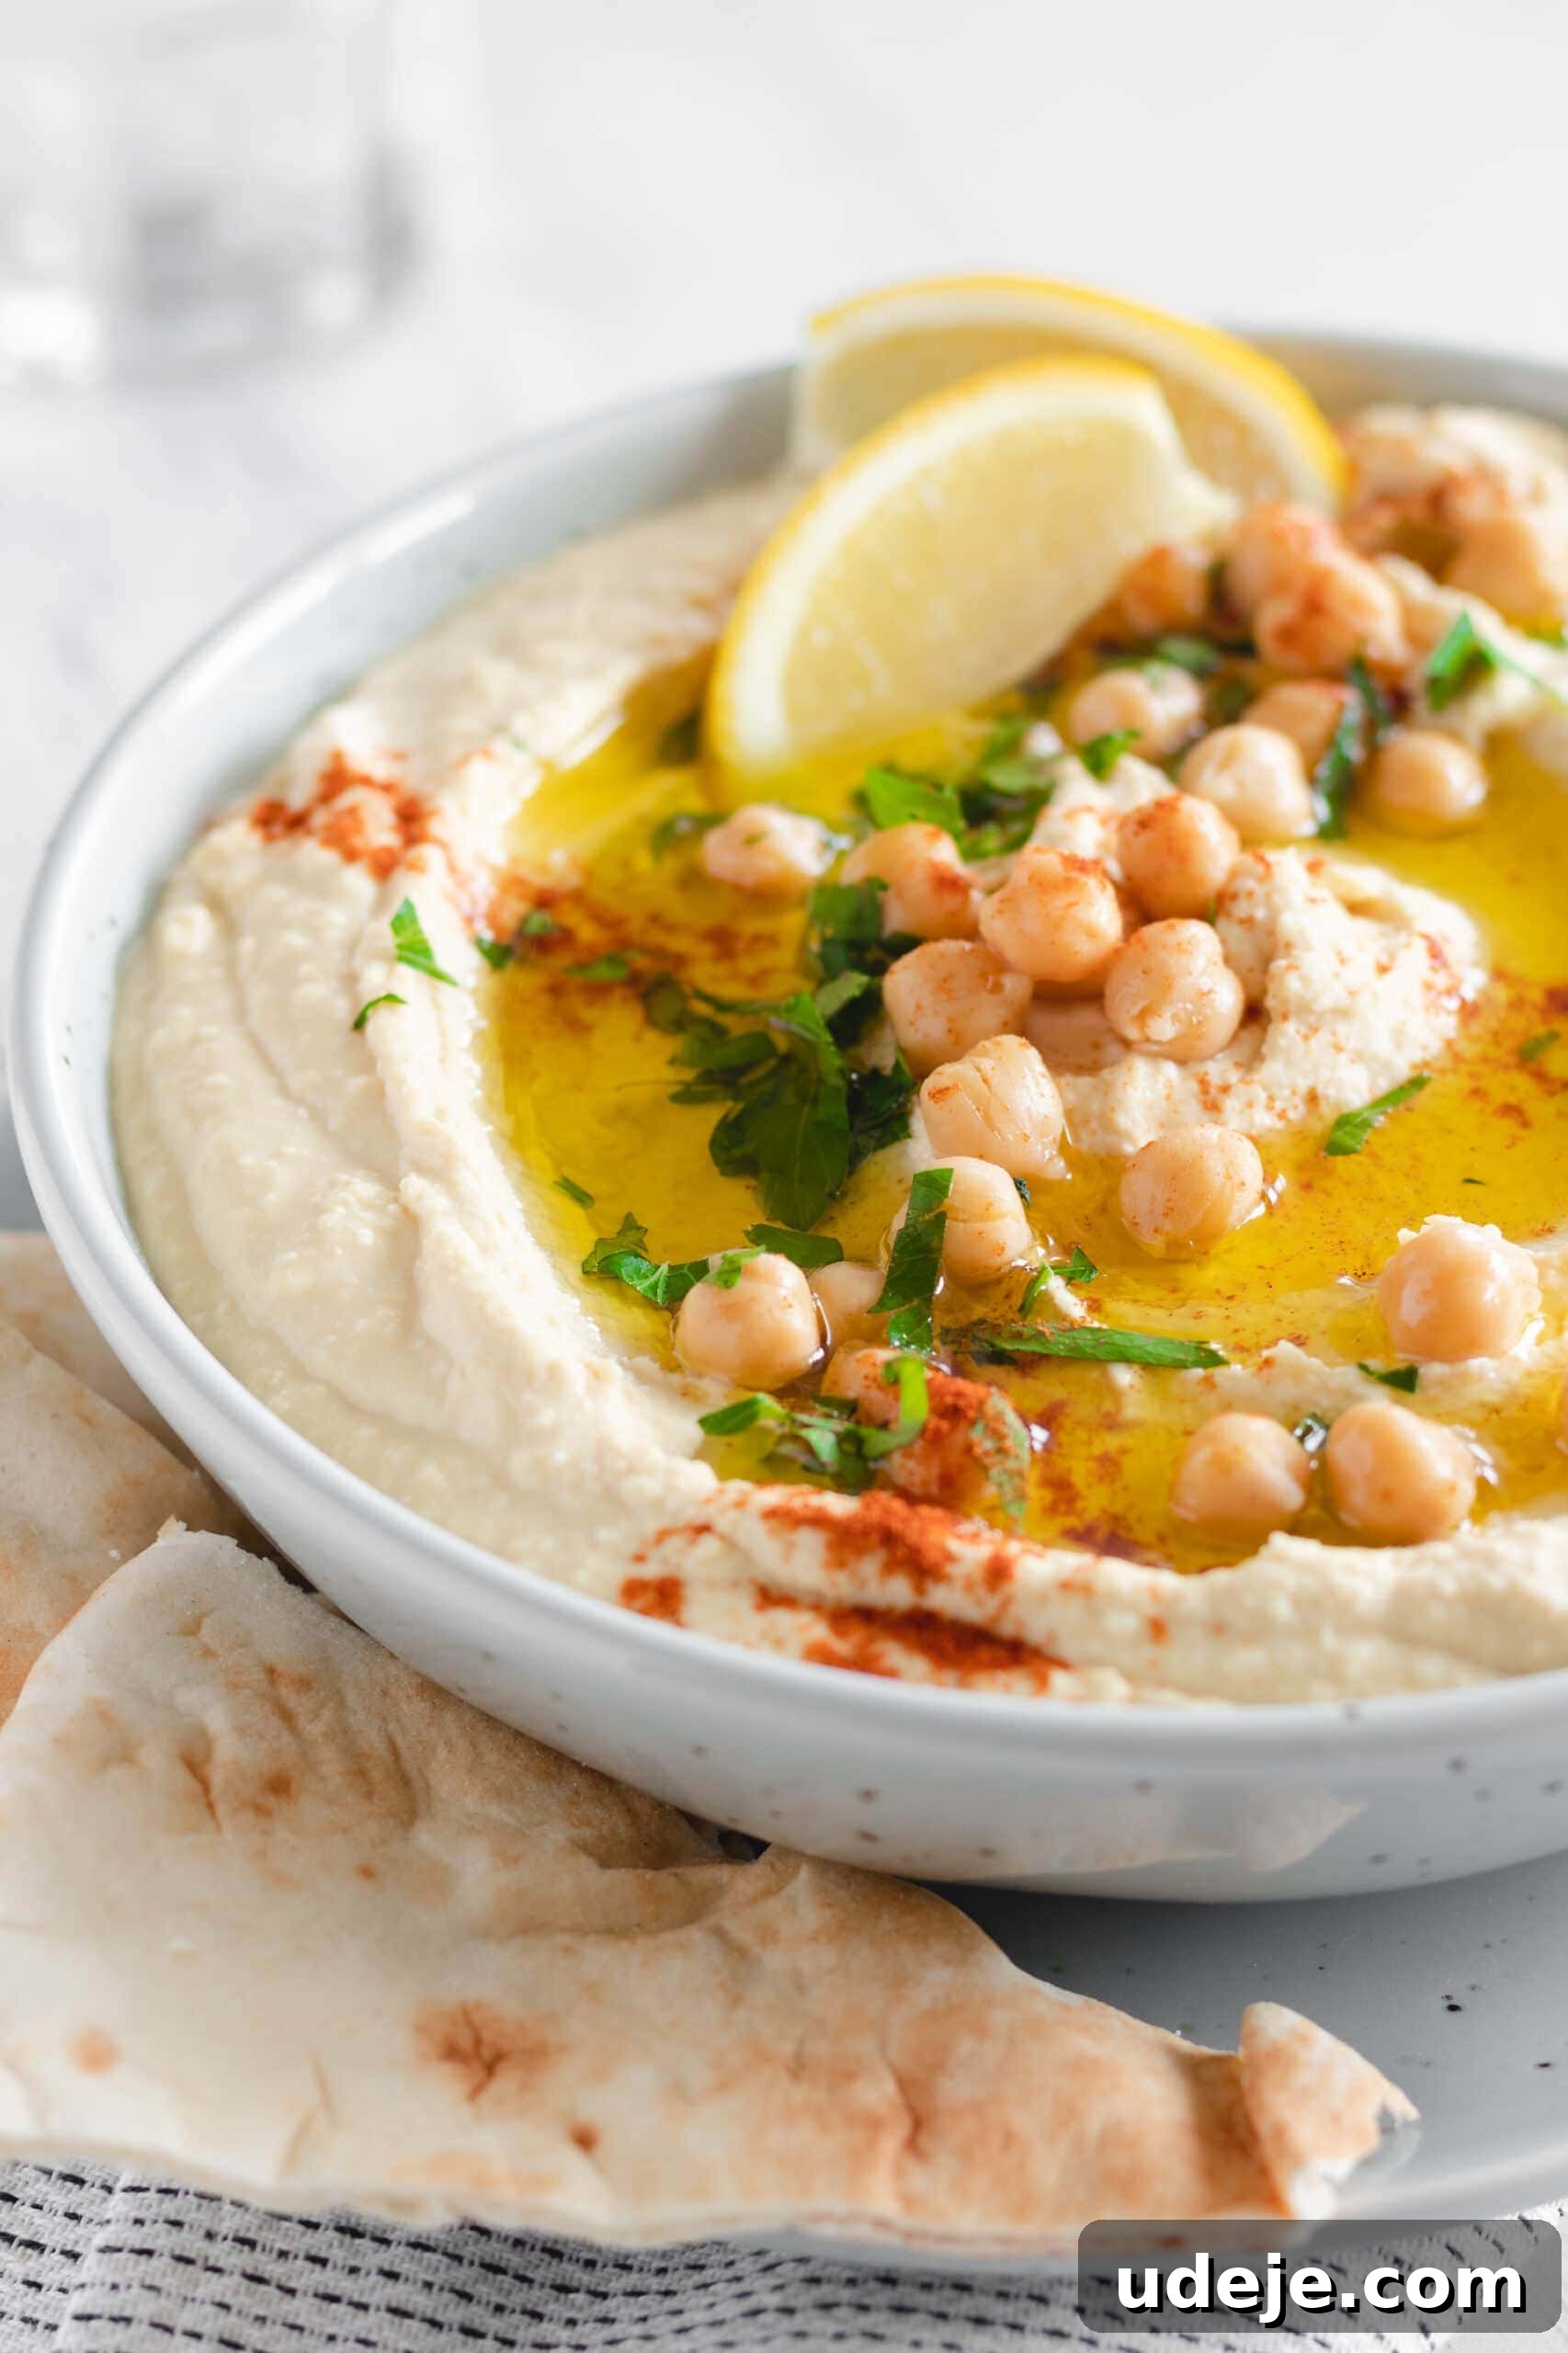
Hummus, a timeless staple of Middle Eastern cuisine, has transcended cultural boundaries to become one of the most beloved and ubiquitous dips worldwide. Its creamy texture, rich flavor, and incredible versatility have cemented its place in kitchens from Beirut to Boston. While store-bought versions offer convenience, they often fall short of the authentic, vibrant taste and velvety smoothness that define truly exceptional hummus. Many believe that achieving this culinary perfection at home is a daunting task, requiring specialized skills or excessive time. This is a common misconception! Crafting homemade creamy hummus is surprisingly quick, simple, and yields a product far superior in taste and texture to anything you’ll find on a supermarket shelf. Prepare to unlock the secrets to the ultimate traditional creamy hummus, a recipe that will transform your appreciation for this ancient dip.
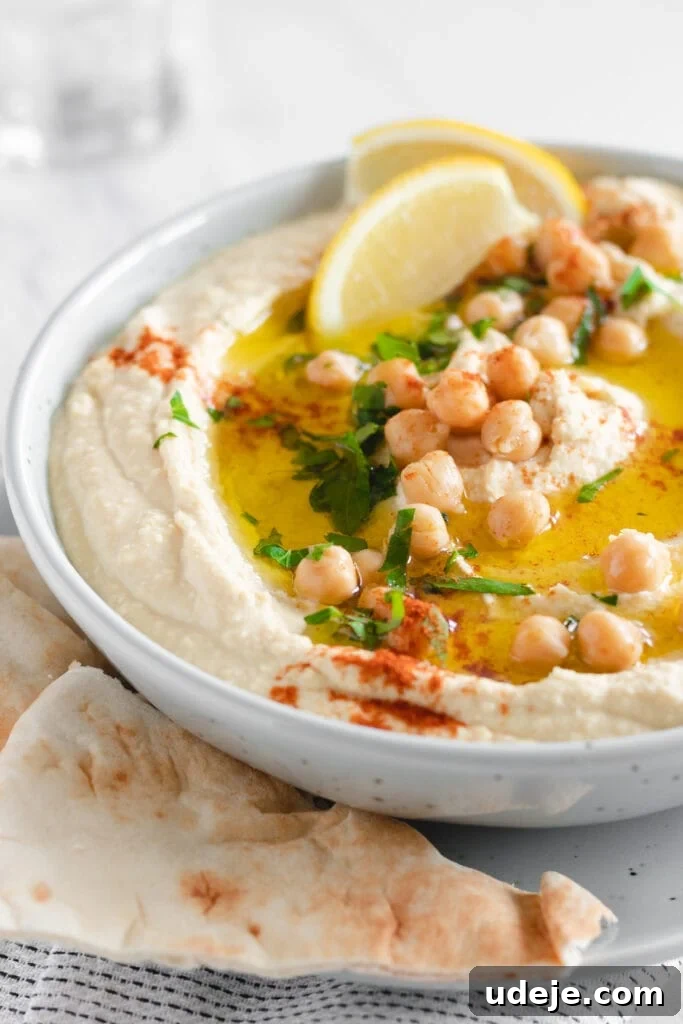
The journey to an effortlessly smooth and delectable hummus begins with a single, indispensable piece of kitchen equipment: a good food processor. While historical accounts reveal that this cherished dip was traditionally prepared using a mortar and pestle – a method that undeniably requires significant manual effort and a touch of ancestral wisdom – modern technology offers a convenient shortcut without sacrificing authenticity. For those curious about the traditional technique, a fascinating video demonstrating the age-old mortar and pestle method can be found here. However, for most home cooks seeking both speed and perfection, the food processor is your best friend.
At its heart, authentic hummus relies on a handful of humble yet powerful ingredients, each playing a crucial role in creating its distinctive profile. The “usual suspects” include fresh garlic, high-quality tahini, bright lemon juice, a pinch of salt, a generous swirl of extra virgin olive oil, and, of course, perfectly cooked chickpeas. This classic combination forms the backbone of the recipe, delivering the balanced, nutty, and tangy flavors that define traditional Middle Eastern hummus. While it’s tempting to experiment with creative twists – and there’s certainly a time and place for unique variations – for our ultimate creamy hummus, we’re sticking to the time-honored traditional approach. The goal is pure, unadulterated hummus perfection.
The Enduring Allure of Hummus: A Culinary Journey
Hummus bi tahini, meaning “chickpeas with tahini” in Arabic, is more than just a dip; it’s a cultural cornerstone, deeply embedded in the culinary heritage of the Levant. Its origins are often debated, with various regions claiming its invention, but its omnipresence across the Middle East is undeniable. From bustling street food stalls in Beirut to elegant dining tables in Damascus, hummus is served at almost every meal, be it breakfast, lunch, or dinner. It’s a symbol of hospitality, shared and savored among family and friends, forming the heart of mezze platters and a comforting accompaniment to countless dishes. This humble blend of chickpeas and tahini isn’t just delicious; it’s a nutritious powerhouse, packed with protein, fiber, and healthy fats, making it a wholesome addition to any diet. Its global ascent testifies to its universal appeal, proving that simple, honest ingredients, when combined with care, can create something truly extraordinary.
Why Homemade Hummus Reigns Supreme
The difference between homemade hummus and its store-bought counterparts is akin to comparing a fresh, garden-grown tomato to a pale, mass-produced one. The homemade version bursts with freshness, offering a depth of flavor and a silky texture that simply cannot be replicated by commercial products, which often contain preservatives, artificial additives, and an imbalance of key ingredients. When you make hummus from scratch, you have complete control over the quality of each component. You can choose the freshest lemons, the finest olive oil, and the most authentic tahini, ensuring a superior taste profile. Furthermore, homemade hummus is free from the unnecessary emulsifiers and stabilizers used to achieve a consistent texture in packaged dips, allowing the natural creaminess to shine through. Beyond taste and purity, making your own hummus is surprisingly cost-effective, turning a few pantry staples into a generous batch of gourmet-quality dip. It’s an investment in flavor, health, and a truly authentic culinary experience.
The Simple Ingredients for Authentic Creamy Hummus
Achieving the perfect creamy hummus isn’t about complex ingredients; it’s about the quality and balance of a few key components. Let’s explore each one:
- Chickpeas (Garbanzo Beans): The foundation of hummus. While canned chickpeas are convenient, using dried chickpeas soaked overnight and cooked fresh yields an incomparably creamier texture and a richer, earthier flavor. The extra effort is truly worth it for the ultimate result.
- Tahini: This sesame paste is the secret to hummus’s signature nutty flavor and luscious creaminess. Quality matters here; look for a tahini made from hulled sesame seeds, with a pourable consistency and a slightly bitter but not acrid taste. Brands that separate into oil and solids are often a good sign of minimal processing.
- Lemon Juice: Freshly squeezed lemon juice brightens the entire dip, adding a crucial tangy zest that balances the richness of the tahini and the earthiness of the chickpeas. Never substitute with bottled lemon juice, as the flavor simply won’t compare.
- Garlic: Aromatic garlic provides a pungent kick, adding depth and warmth. The amount can be adjusted to your preference, but fresh garlic is essential for that vibrant flavor.
- Salt: Essential for seasoning, salt brings all the flavors together, enhancing the natural sweetness of the chickpeas and the tang of the lemon.
- Olive Oil: A generous drizzle of good quality extra virgin olive oil, both in the mixture and as a garnish, adds a silky mouthfeel and a subtle fruity note, completing the authentic hummus experience.
- Cold Water: This often-overlooked ingredient is a game-changer. Adding ice-cold water towards the end of processing helps emulsify the tahini and chickpeas, creating an incredibly light and airy texture.
Essential Equipment for Silky Smooth Hummus
As mentioned, the food processor is your primary tool for achieving that coveted creamy consistency. A robust model with a sharp blade will make quick work of the ingredients, breaking down the chickpeas and emulsifying everything into a smooth paste. While some blenders can work, a food processor is generally preferred for its wider base and stronger torque, which handles thicker mixtures better. For cooking the chickpeas, an Instant Pot or pressure cooker is a miraculous tool, drastically reducing cooking time while ensuring the chickpeas are perfectly tender – a key factor for creamy hummus. If you don’t have one, a large pot on the stovetop will work just fine, though it will require a longer cooking time.
Mastering the Art of Creamy Hummus: Step-by-Step Guide
Follow these detailed steps to create a truly unforgettable batch of homemade hummus:
Soaking Chickpeas: The Foundation of Flavor and Texture
The journey to superior hummus begins the night before. Take 1 1/2 cups of dry chickpeas and rinse them thoroughly. Place them in a large bowl, covering them with at least 6 cups of cold water, as they will more than double in size. Let them soak overnight, ideally for 8-12 hours. Soaking softens the chickpeas, reducing cooking time and promoting an even, tender texture. It also aids in digestion and helps create that smooth, uniform consistency vital for creamy hummus.
Cooking Chickpeas to Perfection
After soaking, drain and rinse the chickpeas one more time. Transfer them to an Instant Pot or pressure cooker. Add 6 cups of fresh water and 1 teaspoon of salt. Pressure cook for 5 minutes on high pressure, then allow for a natural release of pressure. If using a stovetop, place the soaked chickpeas in a large pot with 6 cups of water and 1 teaspoon of salt, bring to a boil, then reduce heat and simmer for 1-1.5 hours, or until the chickpeas are very tender and easily crushed between your fingers. Overcooked, mushy chickpeas are exactly what you want for creamy hummus.
Assembling Your Hummus: The Food Processor Method
With your chickpeas cooked to perfection and slightly cooled, you’re ready to assemble. Begin by adding the two large garlic cloves to your food processor. Process them until they are finely minced. This ensures the garlic is evenly distributed and doesn’t leave large, overwhelming chunks in the final dip. Next, add the cooked chickpeas, the juice of two lemons, 3 tablespoons of olive oil, and 1/2 cup of tahini to the food processor. Process these ingredients together for at least 3-5 minutes. The key to creaminess is patience and continuous blending. Scrape down the sides of the bowl periodically to ensure everything is thoroughly incorporated.
The Secret to Ultimate Creaminess
For the absolute smoothest, lightest, and creamiest hummus, there’s a final, crucial step: slowly incorporate 1/2 cup of very cold water (ideally ice water) while the food processor is still running. The cold water helps to emulsify the mixture, making it incredibly light and fluffy. Continue to process for another 2-3 minutes after adding the water. The mixture should transform into a wonderfully smooth, pale, and airy dip. Taste and adjust seasoning as needed – you might want a little more salt or lemon juice depending on your preference.
Pro Tips for Unbeatable Hummus
- The Power of Soaked Chickpeas: While canned chickpeas offer a shortcut, committing to dry chickpeas soaked overnight makes a colossal difference. They cook softer and blend into a silkier paste, giving your hummus a superior depth of flavor and texture that canned versions simply can’t match.
- Pressure Cooking for Speed and Softness: An Instant Pot or pressure cooker is invaluable. After soaking, just 5 minutes of pressure cooking yields perfectly soft, creamy chickpeas, cutting down significantly on active cooking time.
- Garlic First: A Flavorful Foundation: Always process the garlic by itself first. This ensures it’s finely minced and evenly distributed, integrating its pungent notes throughout the hummus without any harsh, raw chunks.
- To Peel or Not to Peel: The Creaminess Debate: Some purists advocate for peeling each chickpea after cooking to achieve an ultra-smooth consistency. While this undoubtedly makes hummus incredibly silky, it’s a time-consuming step. As a busy individual, I personally skip this and find that thorough processing delivers ample creaminess without the fuss. If ultimate perfection is your quest, then by all means, peel away!
- Patience in Processing: Achieving Silkiness: Don’t rush the food processor. Allow the mixture to blend for a full 3-5 minutes, scraping down the sides occasionally. This extended processing time breaks down the chickpea skins and creates that desirable velvety smooth texture.
- The Magic of Cold Water: Adding ice-cold water slowly while the food processor runs is a transformative step. It not only helps emulsify the tahini and chickpeas but also whips air into the mixture, resulting in a lighter, fluffier, and even creamier hummus.
And that’s truly it! The most time-intensive part of this entire process is cooking the chickpeas, and as we’ve discussed, a pressure cooker or Instant Pot makes that a breeze. So, really, there are no excuses left not to enjoy the freshest, creamiest homemade hummus. Once prepared, your delightful creation stores beautifully in an airtight container in the refrigerator for up to a week, ready to elevate any meal or snack.
If you’re eager to explore more classic Middle Eastern dips and broaden your culinary horizons, be sure to try the rich and tangy Muhammara, the smoky and earthy Baba Ghanoush, and the refreshing, strained yogurt dip Labneh! These traditional recipes offer a delightful array of flavors and textures that are equally rewarding to make at home.
For more Middle Eastern recipes, check out:
- The Best Tabouli Salad
- Best Ful Medames (Egyptian Beans)
- Easy Sheet Pan Chicken Shawarma
- Beef Kofta Recipe
Traditional Creamy Hummus
Leave a Review
Pin Recipe
Ingredients
- 1 1/2 cups dry chickpeas soaked overnight, which yields about 3 cups chickpeas the next day
- 6 cups water , to cook chickpeas
- 1 teaspoon salt
- 2 lemons, juiced
- 2 large garlic cloves
- 3 tablespoons olive oil
- 1/2 cup tahini
- 1/2 cup water (very cold)
Instructions
-
Start by soaking 1 1/2 cups of dry chickpeas in water overnight.
-
Drain and rinse the soaked chickpeas.
-
Cook the chickpeas in an Instant Pot or pressure cooker for 5 minutes using 6 cups of water. Allow natural pressure release. (Alternatively, simmer on stovetop for 1-1.5 hours until very tender).
-
To make the hummus, add the garlic to the food processor and process until finely minced.
-
Then add the cooked chickpeas, lemon juice, olive oil, and tahini. Process for a few minutes, scraping down the sides as needed.
-
With the food processor running, slowly add 1/2 cup of very cold water. Continue to process for at least 5 minutes to achieve an incredibly creamy and smooth texture.
-
Cool the hummus in the fridge. When serving, garnish with whole chickpeas, a sprinkle of paprika, fresh parsley, and a generous drizzle of olive oil.
Notes
- While canned chickpeas can be used for convenience, dry chickpeas soaked and cooked yield a superior flavor and creamier texture.
- Feel free to adjust the flavor profile to your liking. Some prefer a stronger garlic kick, while others enjoy a more pronounced lemony tang.
- Store your homemade hummus in an airtight container in the refrigerator for up to a week.