
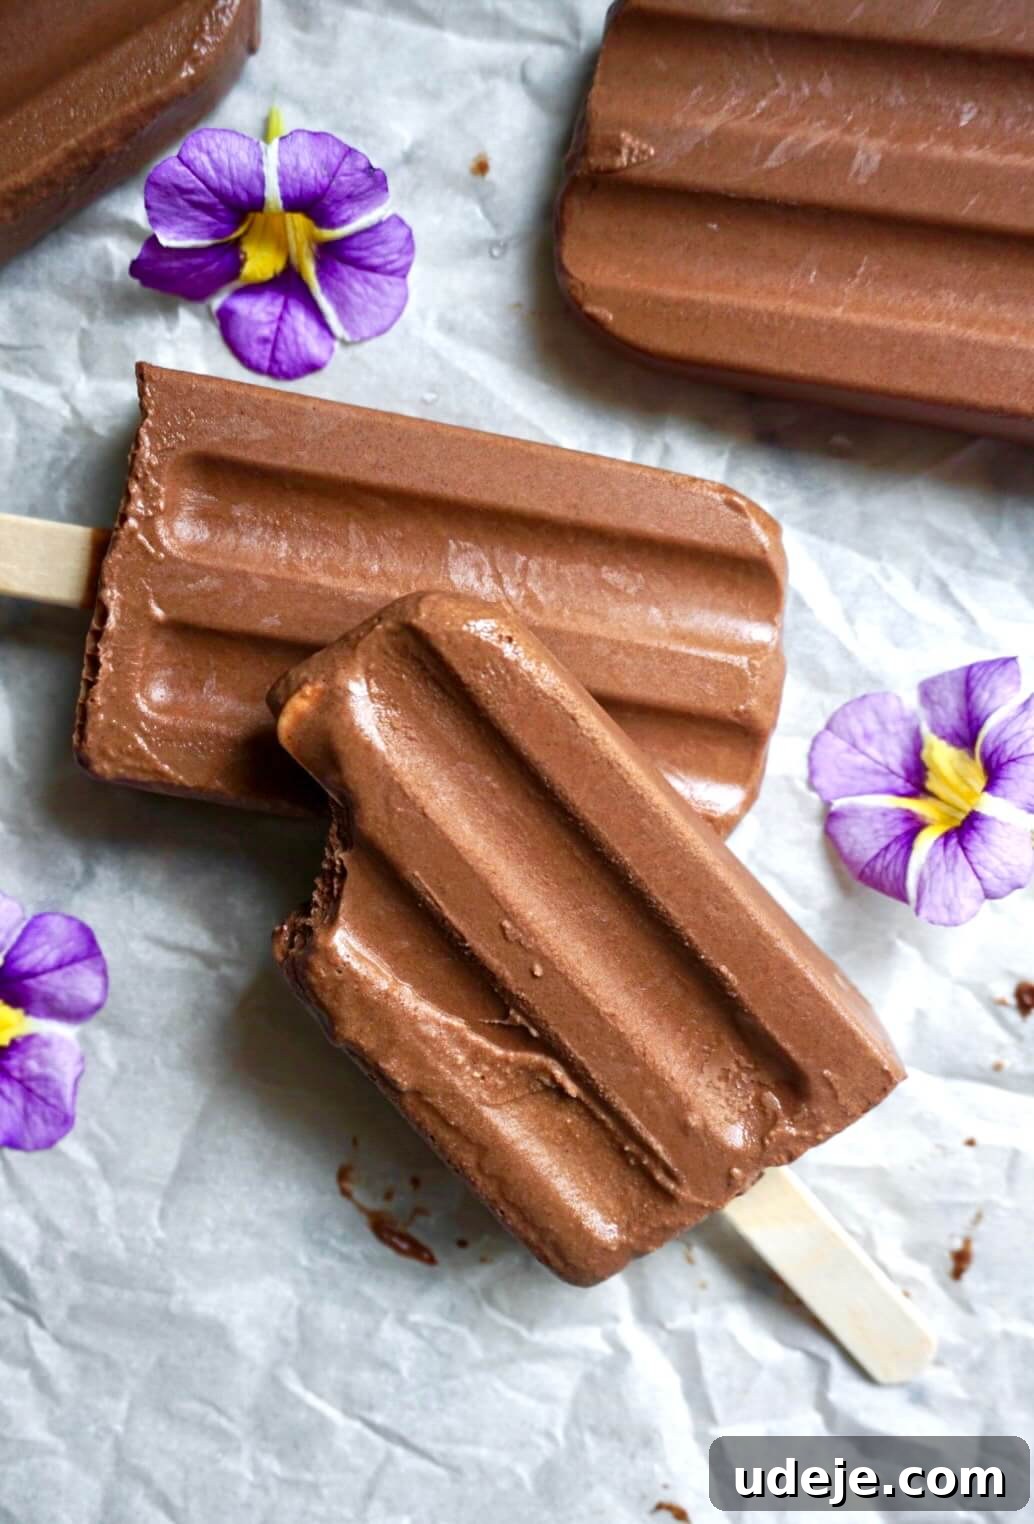
Welcome to your new favorite way to conquer the summer heat! These homemade, healthy fudgesicles are a game-changer. Crafted with just 5 simple, wholesome ingredients, they offer a rich, creamy, and intensely chocolatey experience that’s completely vegan, dairy-free, and naturally sweetened. Forget those icy, store-bought popsicles; this recipe delivers a decadent dessert that will keep you cool and satisfied all season long. Whether you’re a long-time chocolate enthusiast or simply looking for a guilt-free treat, these fudgesicles are designed to delight every palate, including the little ones!
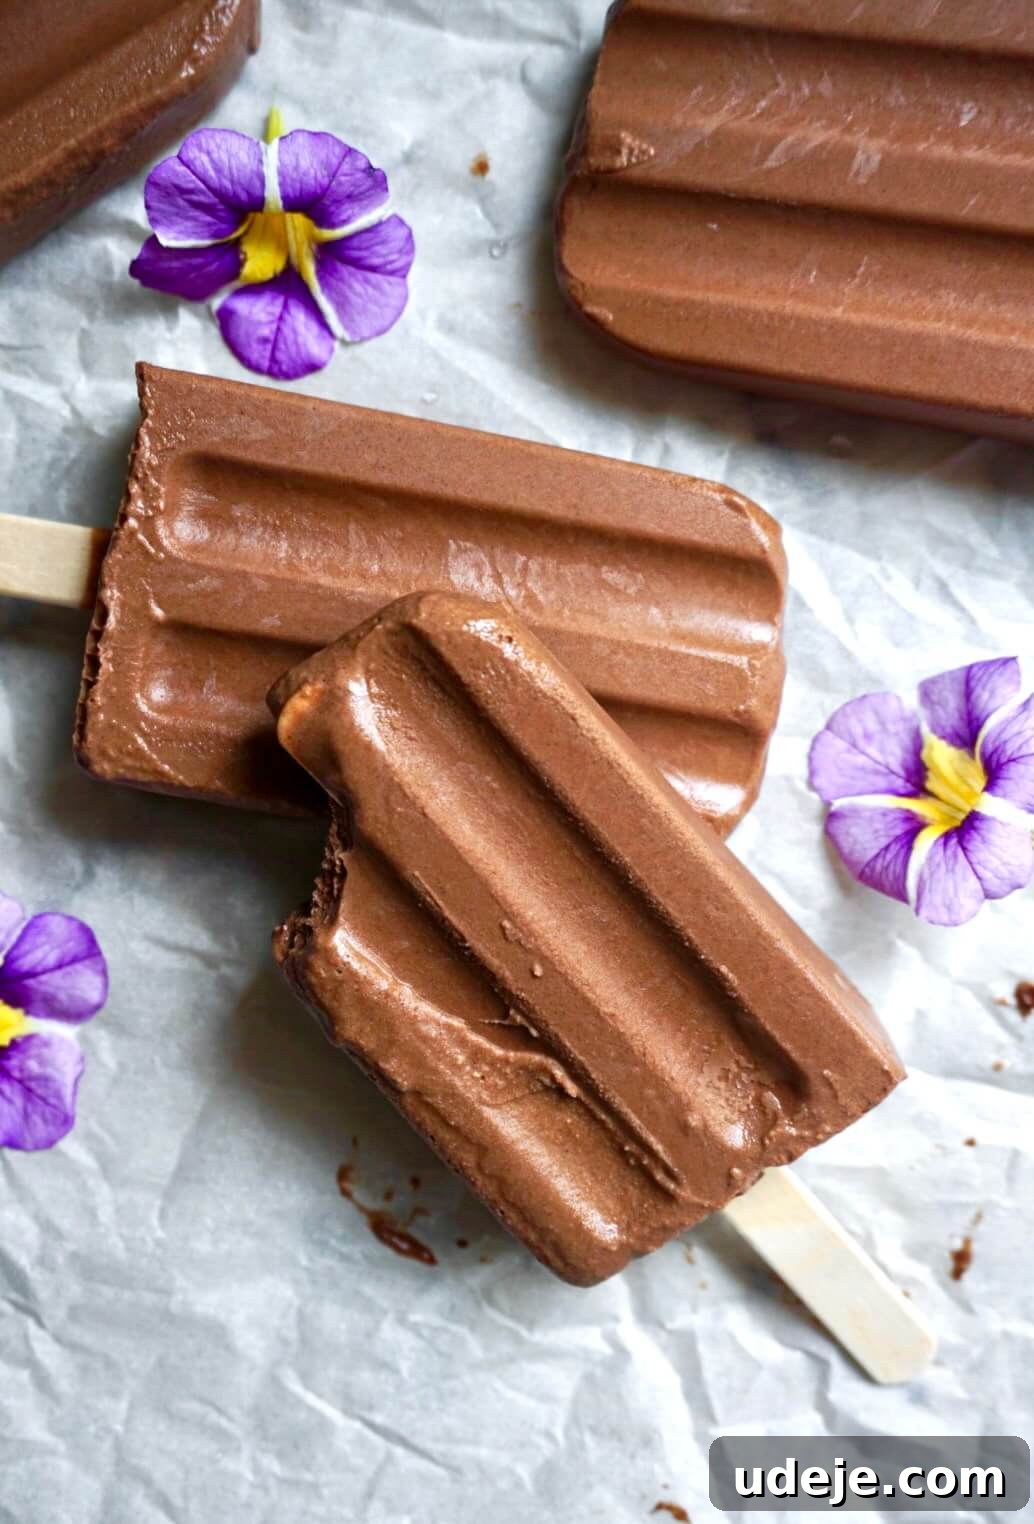
Table of Contents
- Why You’ll Adore These Fudgesicles
- Key Ingredients for Irresistible Fudgesicles
- Step-by-Step Guide: How to Make Healthy Fudgesicles
- Creative Flavor Variations to Try
- Expert Tips for Perfect Fudgesicles
- Storing Your Homemade Fudgesicles
- Frequently Asked Questions
- More Delightful Frozen Desserts
My childhood summers were practically defined by chocolate desserts. From towering chocolate ice cream cakes at birthday parties to the rich delight of chocolate cream pies and the classic crunch of drumstick cones, chocolate was always my go-to. But above all, it was the simple, satisfying fudgesicle that held a special place in my heart. The anticipation of peeling back the wrapper to reveal that smooth, dark, chocolatey pop was pure bliss.
Now that the warmer months are upon us again, that nostalgic craving for fudgesicles has returned with full force. This yearning for a healthier, homemade alternative sparked the creation of this very recipe, and I’m thrilled to share it with you. After countless tests, I can confidently say that these homemade fudgesicles surpass any store-bought version I’ve ever tasted. They are incredibly rich, wonderfully creamy, and packed with deep chocolate flavor, completely free from any icy texture or watered-down disappointment.
The beauty of this recipe lies in its simplicity. With just 5 basic ingredients, you can whip up a batch of these frozen delights that are not only incredibly delicious but also boast impressive dietary benefits. They are entirely vegan, gluten-free, dairy-free, and achieve their sweetness naturally. This means everyone can enjoy them, regardless of dietary restrictions, making them the ultimate crowd-pleaser.
Beyond their amazing taste and health profile, these fudgesicles are also remarkably easy to prepare. No complicated steps, no special equipment beyond a blender and popsicle molds. They’re genuinely kid-approved, making them the perfect after-school snack, poolside refreshment, or any-time-of-day treat. Imagine having a freezer stocked with these irresistible chocolate pops, ready to grab whenever a craving strikes. If you’ve been on the hunt for a copycat fudgesicle recipe that tastes even better than the original, your search ends here!
Why You’ll Adore These Healthy Fudgesicles
- Effortlessly Simple with Only 5 Ingredients: Seriously, these are a breeze to make! We all love a no-bake, fuss-free recipe, especially during busy summer days. This minimalist ingredient list means less shopping, less prep, and more time enjoying the sunshine.
- A Wholesome Twist on a Classic Treat: Indulge your sweet tooth without the guilt. By using naturally derived ingredients, we transform the classic fudgesicle into a healthier dessert option that you can feel good about enjoying and sharing with your family.
- Rich, Creamy, and Utterly Dreamy Texture: Prepare for a luscious, velvety texture that melts in your mouth. Unlike many dairy-free alternatives that can be icy, these fudgesicles achieve an unparalleled creaminess, proving that vegan and dairy-free treats can be just as, if not more, satisfying.
- Perfect for All Ages (Kid-Friendly & Adult-Approved): These fudgesicles are an absolute hit with children and adults alike. They’re the ideal treat for cooling down by the pool, a delightful after-dinner dessert, or a fun snack for any occasion. Even the pickiest eaters will ask for seconds!
- Diet-Friendly and Allergen-Aware: Catering to various dietary needs, these fudgesicles are naturally vegan, dairy-free, and gluten-free. This makes them a fantastic option for those with allergies or anyone seeking a plant-based lifestyle without compromising on flavor.
- Infinitely Customizable: While delicious on their own, these fudgesicles are a fantastic base for creativity. You can easily add various flavors, mix-ins, or toppings to create your unique frozen masterpiece.
Key Ingredients for Irresistible Healthy Fudgesicles
Creating these delightful fudgesicles requires just a handful of straightforward ingredients. Each component plays a crucial role in achieving that perfect rich, creamy, and chocolatey flavor. You’ll find the precise measurements in the comprehensive recipe card below, but let’s dive into why these ingredients are so essential.
- Full-Fat Coconut Cream: This is the secret weapon for achieving unparalleled creaminess without any dairy. Make sure to use canned full-fat coconut milk or a dedicated can of coconut cream that has been thoroughly chilled in the refrigerator for at least 8 hours (or overnight). When you open the can, scoop out only the thick, solidified cream that rises to the top, leaving the watery liquid behind. Don’t worry, despite the coconut cream, these fudgesicles possess a pure chocolate flavor and do not taste strongly of coconut, making them enjoyable even for those who aren’t huge fans of coconut.
- Your Favorite Plant-Based Milk: Any non-dairy milk will work beautifully in this recipe. Feel free to choose your preferred variety – oat milk offers a lovely richness, almond milk keeps it light, and soy milk provides a slightly creamier texture. Just ensure it’s unsweetened to control the overall sweetness of your fudgesicles.
- High-Quality Unsweetened Cocoa Powder: The quality of your cocoa powder directly impacts the depth and intensity of your chocolate flavor. I highly recommend using a good quality unsweetened cocoa powder. Whether it’s a standard baking cocoa or a Dutch-processed variety, choose one you genuinely enjoy the taste of. Brands like Target’s store brand or Trader Joe’s often offer excellent value and flavor. For an extra rich, almost black cocoa flavor, you could experiment with black cocoa powder, though it will alter the final taste profile.
- Pure Maple Syrup: As our natural sweetener, maple syrup not only adds a wonderful sweetness but also contributes a subtle warmth and depth of flavor that granulated sugars cannot replicate. Opt for pure maple syrup, not pancake syrup, for the best results. If you don’t have maple syrup on hand, agave nectar is an excellent 1:1 substitute that will also provide natural sweetness. Adjust the amount to your personal preference for sweetness.
- Good Quality Vanilla Extract: Just a splash of vanilla extract is all it takes to elevate the chocolate flavor and add a layer of complexity. Vanilla works wonders in enhancing chocolate, making it taste even richer and more profound. Use pure vanilla extract for the best aromatic contribution.
Step-by-Step Guide: How to Make Healthy Fudgesicles
Making these wholesome fudgesicles is incredibly straightforward, requiring minimal effort for maximum reward. Follow these simple steps to create your perfect batch of frozen chocolate treats.
- Combine All Ingredients in a Blender: Start by adding the chilled coconut cream (remember, just the thick, solid part!), your chosen non-dairy milk, unsweetened cocoa powder, maple syrup, and vanilla extract into a high-speed blender. The key here is to ensure all ingredients are at room temperature or slightly chilled, especially the liquid components, to help them blend smoothly.
- Blend Until Perfectly Smooth and Creamy: Secure the lid on your blender and process the mixture until it’s completely smooth and free of any lumps. You want a luscious, homogenous liquid that resembles rich chocolate milk. Depending on your blender’s power, this might take anywhere from 1 to 3 minutes. Scrape down the sides of the blender with a spatula if necessary to ensure everything is fully incorporated. The consistency should be thick enough to coat the back of a spoon.
- Pour into Ice Cream Molds and Insert Sticks: Carefully pour the chocolate mixture into your ice cream or popsicle molds. Fill each mold almost to the top, leaving a small space for expansion as they freeze. Once filled, gently insert the popsicle sticks into the center of each mold. Ensure the sticks are straight to make for easier handling once frozen.
- Freeze Until Solid (Patience is Key!): Transfer the filled molds to your freezer. For best results and a perfectly solid fudgesicle, freeze them for a minimum of 4–6 hours. However, for the firmest and most delicious texture, I highly recommend freezing them overnight. This extended freezing time ensures they set completely and develop that irresistible creamy consistency.
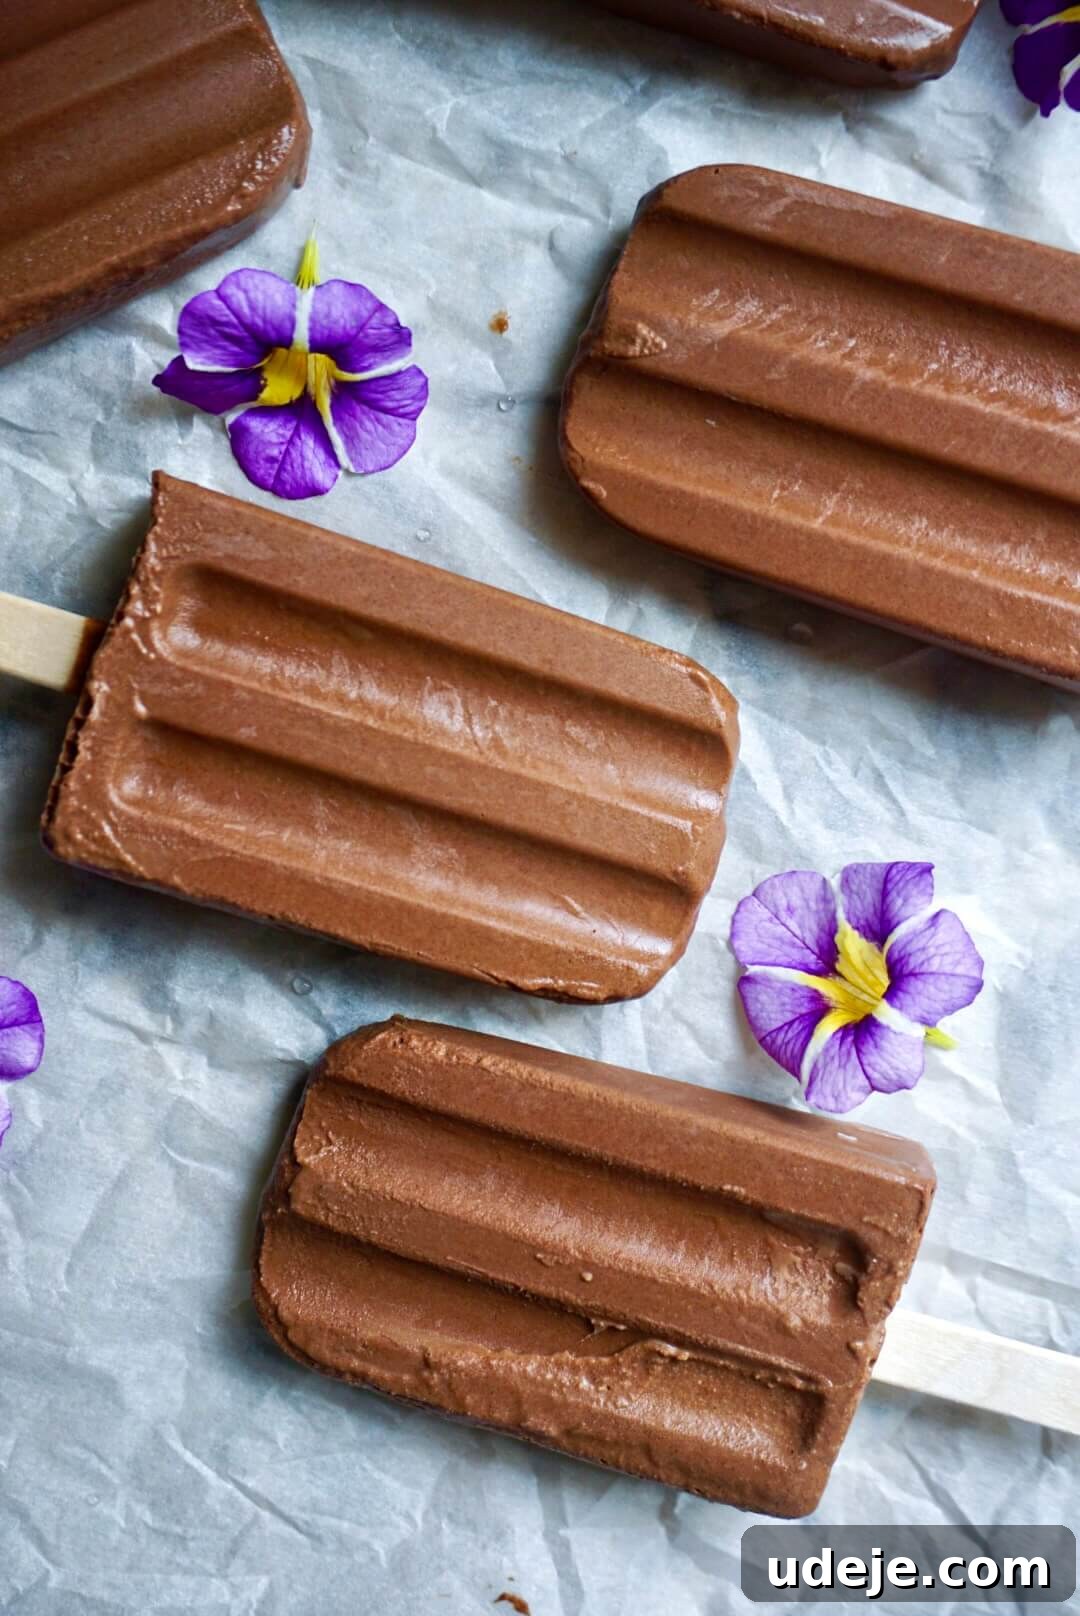
- Unmold and Enjoy Your Indulgent Treat!: Once thoroughly frozen, it’s time to release your fudgesicles! If you’re using silicone molds, they should pop out quite easily. For plastic or metal molds, you might need a little trick: briefly run the molds under warm water for 15–30 seconds. This gently loosens the edges, allowing the fudgesicles to slide out smoothly without any breakage or fuss. Serve immediately and savor every chocolatey bite!
Megan’s Pro Tip: For the ultimate ease of use, I swear by these silicone popsicle molds. They truly work like a dream every single time, making unmolding a stress-free experience. If you ever encounter a stubborn fudgesicle, simply follow the warm water trick mentioned above – it’s a foolproof method to ensure your pops slide out effortlessly, leaving no mess behind.
Creative Flavor Variations to Try
While these healthy fudgesicles are absolutely divine on their own, they also serve as a fantastic canvas for culinary creativity! Don’t hesitate to experiment with these fun variations to customize your homemade treats and discover new favorite flavors.
- Peanut Butter Swirl: For a delightful nutty twist, add a generous spoonful (or two!) of your favorite creamy peanut butter, almond butter, or cashew butter to the mixture before blending. This creates a rich, peanut butter chocolate fusion that’s utterly addictive. You can even swirl it in at the end for a marbled effect.
- Cool Mint Chocolate: Transform your fudgesicles into a refreshing minty treat by adding a few drops of pure peppermint extract to the blender. Start with a small amount (1/4 teaspoon) and add more to taste, as peppermint can be quite potent. This variation is reminiscent of classic mint chocolate chip ice cream!
- Toasted Coconut Crunch: Elevate the texture and flavor with a tropical touch. After pouring the mixture into the molds, sprinkle a generous amount of toasted coconut flakes on top before freezing. The toasted coconut adds a lovely crunch and subtle sweetness that pairs wonderfully with the dark chocolate.
- Protein Power Boost: Looking for a more substantial snack or a post-workout treat? Blend in a scoop of your favorite plant-based chocolate protein powder. This not only adds a boost of protein but can also enhance the chocolate flavor and make the fudgesicles even creamier.
- Bursting Berry Twist: Introduce a fruity element by layering in fresh or frozen berries. Add a few raspberries, blueberries, or even a spoonful of your favorite berry jam to the molds before pouring in the chocolate mixture. Alternatively, blend a handful of berries directly into the chocolate base for a vibrant berry-chocolate fusion.
- Spicy Mexican Chocolate: For those who love a bit of heat, add a pinch of cayenne pepper and a dash of cinnamon to the mixture before blending. This creates a warm, complex, and intriguing Mexican chocolate flavor.
- Espresso Kick: Enhance the chocolate flavor and add a subtle pick-me-up by dissolving 1-2 teaspoons of instant espresso powder or strong brewed coffee into a small amount of the plant-based milk before adding it to the blender.
Expert Tips for Perfect Homemade Fudgesicles
Achieving the perfect batch of creamy, delicious fudgesicles is simple with a few insider tricks. Keep these expert tips in mind to ensure your homemade treats turn out flawlessly every time.
- Invest in Quality Molds: The right popsicle mold can make all the difference. While many options exist, a good quality silicone mold, like this highly-rated option from Amazon, will ensure easy unmolding and consistently shaped pops. Flexible silicone molds are a dream to work with and prevent any frustration.
- Effortless Unmolding Technique: If your fudgesicles are a little stubborn to release from their molds, don’t force them. Simply run the molds under warm tap water for about 15 to 30 seconds. This gentle warmth helps to slightly melt the outer layer, allowing the fudgesicles to slide out smoothly and perfectly intact. Avoid using hot water for too long, as it can melt too much of the pop.
- Tailor the Sweetness to Your Liking: The beauty of making fudgesicles from scratch is that you have complete control over the sweetness level. The recommended amount of maple syrup provides a balanced sweetness, but feel free to adjust it. If you prefer a less sweet, more intense dark chocolate flavor, reduce the maple syrup by a tablespoon or two. If you have a serious sweet tooth, you can add a little extra. Taste the mixture before freezing to ensure it’s just right for you.
- Plan Ahead for Make-Ahead Convenience: These fudgesicles are incredibly make-ahead friendly, which is perfect for meal prepping healthy snacks or preparing for gatherings. Since they require at least 4-6 hours to freeze solid (and ideally overnight), you can whip up a batch the day before you plan to serve them. This allows them ample time to set and ensures they are perfectly chilled and firm when you’re ready to enjoy them.
- Always Use Full-Fat Coconut Cream: For that signature rich and creamy texture, it’s essential to use full-fat coconut cream (or the thick, solidified cream from a chilled can of full-fat coconut milk). Light coconut milk or the liquid portion of canned coconut milk will result in icy, less satisfying fudgesicles.
- Blend Until Absolutely Smooth: Take the time to blend the mixture thoroughly until it’s silky smooth. Any unblended cocoa powder can lead to a grainy texture. A powerful blender will make this task quick and easy, ensuring a homogenous, luxurious base.
Storing Your Homemade Fudgesicles
Once your delicious fudgesicles have fully frozen and been removed from their molds, proper storage is key to maintaining their freshness, flavor, and preventing freezer burn. Here’s how to store them for optimal enjoyment:
The best way to store homemade fudgesicles is to prevent them from sticking together or absorbing freezer odors. I typically wrap each individual fudgesicle in parchment paper or plastic wrap immediately after unmolding. This protective layer acts as a barrier, preventing ice crystals from forming directly on the pops and keeping them from fusing into a single block.
After wrapping, you can either place them in a large, heavy-duty freezer-safe ziplock bag, squeezing out as much air as possible before sealing, or arrange them in an airtight freezer-safe container. If using a container, you can layer the wrapped fudgesicles with additional sheets of parchment paper between each layer for extra protection. This ensures they remain separate and easy to grab.
Stored correctly, your homemade healthy fudgesicles will maintain their incredible taste and creamy texture for up to 2 months in the freezer. Beyond this period, while still safe to eat, their texture might start to degrade slightly, becoming a bit icier. For the freshest experience, enjoy them within the first month. These fudgesicles are such a hit that they rarely last that long in our household!
My family and friends consistently request these fudgesicles whenever we gather poolside or simply need a refreshing treat on a hot summer afternoon. They truly embody the ultimate indulgent yet wholesome summer dessert experience. I genuinely hope you and your loved ones enjoy this recipe as much as we do and that it becomes a cherished staple in your kitchen for many summers to come!
Frequently Asked Questions
- Can I use a different sweetener instead of maple syrup?
Yes! Agave nectar is an excellent 1:1 substitute for maple syrup and will yield similar results. You could also try a liquid date syrup for a different flavor profile, adjusting to taste. Granulated sweeteners like sugar or erythritol might work but could slightly alter the texture. - Why is my coconut cream not separating?
For the coconut cream to separate from the water, the can of full-fat coconut milk needs to be well-chilled, ideally in the refrigerator overnight. If it’s still mixed, try placing it in the coldest part of your fridge for a few more hours. Some brands naturally separate better than others. - Can I make these without a blender?
While a blender is highly recommended for the creamiest, lump-free mixture, you could attempt to whisk all ingredients vigorously in a bowl. However, ensure your cocoa powder is completely dissolved and there are no gritty bits. The texture might not be as smooth as a blended version. - Are these fudgesicles suitable for toddlers or young children?
Absolutely! Made with wholesome, natural ingredients and no refined sugar, these fudgesicles are a much healthier alternative to many store-bought options, making them a fantastic treat for little ones. Just ensure they are old enough to safely consume popsicles. - My fudgesicles are too icy, what went wrong?
Icy fudgesicles usually mean there wasn’t enough fat in the mixture, or too much water. Ensure you’re using full-fat coconut cream (just the thick part) and not light coconut milk. Also, avoid adding extra liquid. Blending until super smooth also helps create a creamier consistency.
More Delightful Healthy Frozen Desserts
If you’ve fallen in love with these healthy fudgesicles, you’re in for a treat! We have a whole collection of wholesome, delicious frozen desserts that are perfect for cooling down without the guilt. Explore these other fantastic recipes:
- Vegan Chocolate Crunch Ice Cream Bars
- Vegan Cookie Dough Nice Cream
- Easy 3-Ingredient Chocolate Nice Cream
- Vegan Strawberry Shortcake Ice Cream Bars
If you try this recipe, please be sure to leave a comment and a ★★★★★ star rating below to let me know how you enjoyed it! Your feedback helps others discover and love these recipes too. Thank you for your continued support, as always. xo, Megan
Healthy Fudgesicles (Vegan, Dairy-Free)
Megan
6 fudgesicles
5 mins
5 mins (plus freezing time)
Beat the heat with these healthy fudgesicles made with just 5 simple ingredients! Naturally sweetened, vegan, and dairy-free—this is the ultimate summer treat.
Leave a Review
Pin Recipe
Ingredients
- 1 cup non-dairy milk
- ½ cup coconut cream, thick part from the top of a chilled can of full-fat coconut milk
- ½ cup unsweetened cocoa powder
- ¼ cup maple syrup
- 1 tsp vanilla extract
Instructions
- Add the coconut cream, non-dairy milk, cocoa powder, maple syrup, and vanilla extract to a blender. Blend until smooth and creamy.
- Pour the mixture into ice cream or popsicle molds. Insert sticks, then freeze for at least 4 hours (or ideally, overnight) until completely solid.
- Remove the fudge pops from the molds and enjoy! If you’re having trouble unmolding them, run the molds under warm water for a few seconds to loosen the edges, and they will slide out easily.
Equipment
- Popsicle Molds
- Blender (e.g., Nutribullet)
Nutrition Information
Serving: 1 fudgesicle,
Calories: 126kcal,
Carbohydrates: 15g,
Protein: 2g,
Fat: 8g,
Saturated Fat: 7g,
Polyunsaturated Fat: 0.4g,
Monounsaturated Fat: 1g,
Sodium: 58mg,
Potassium: 205mg,
Fiber: 3g,
Sugar: 8g,
Vitamin C: 1mg,
Calcium: 76mg,
Iron: 1mg
Tag @booboosbakeryy with hashtag #booboosbakery on Instagram. We love to see what you create!