
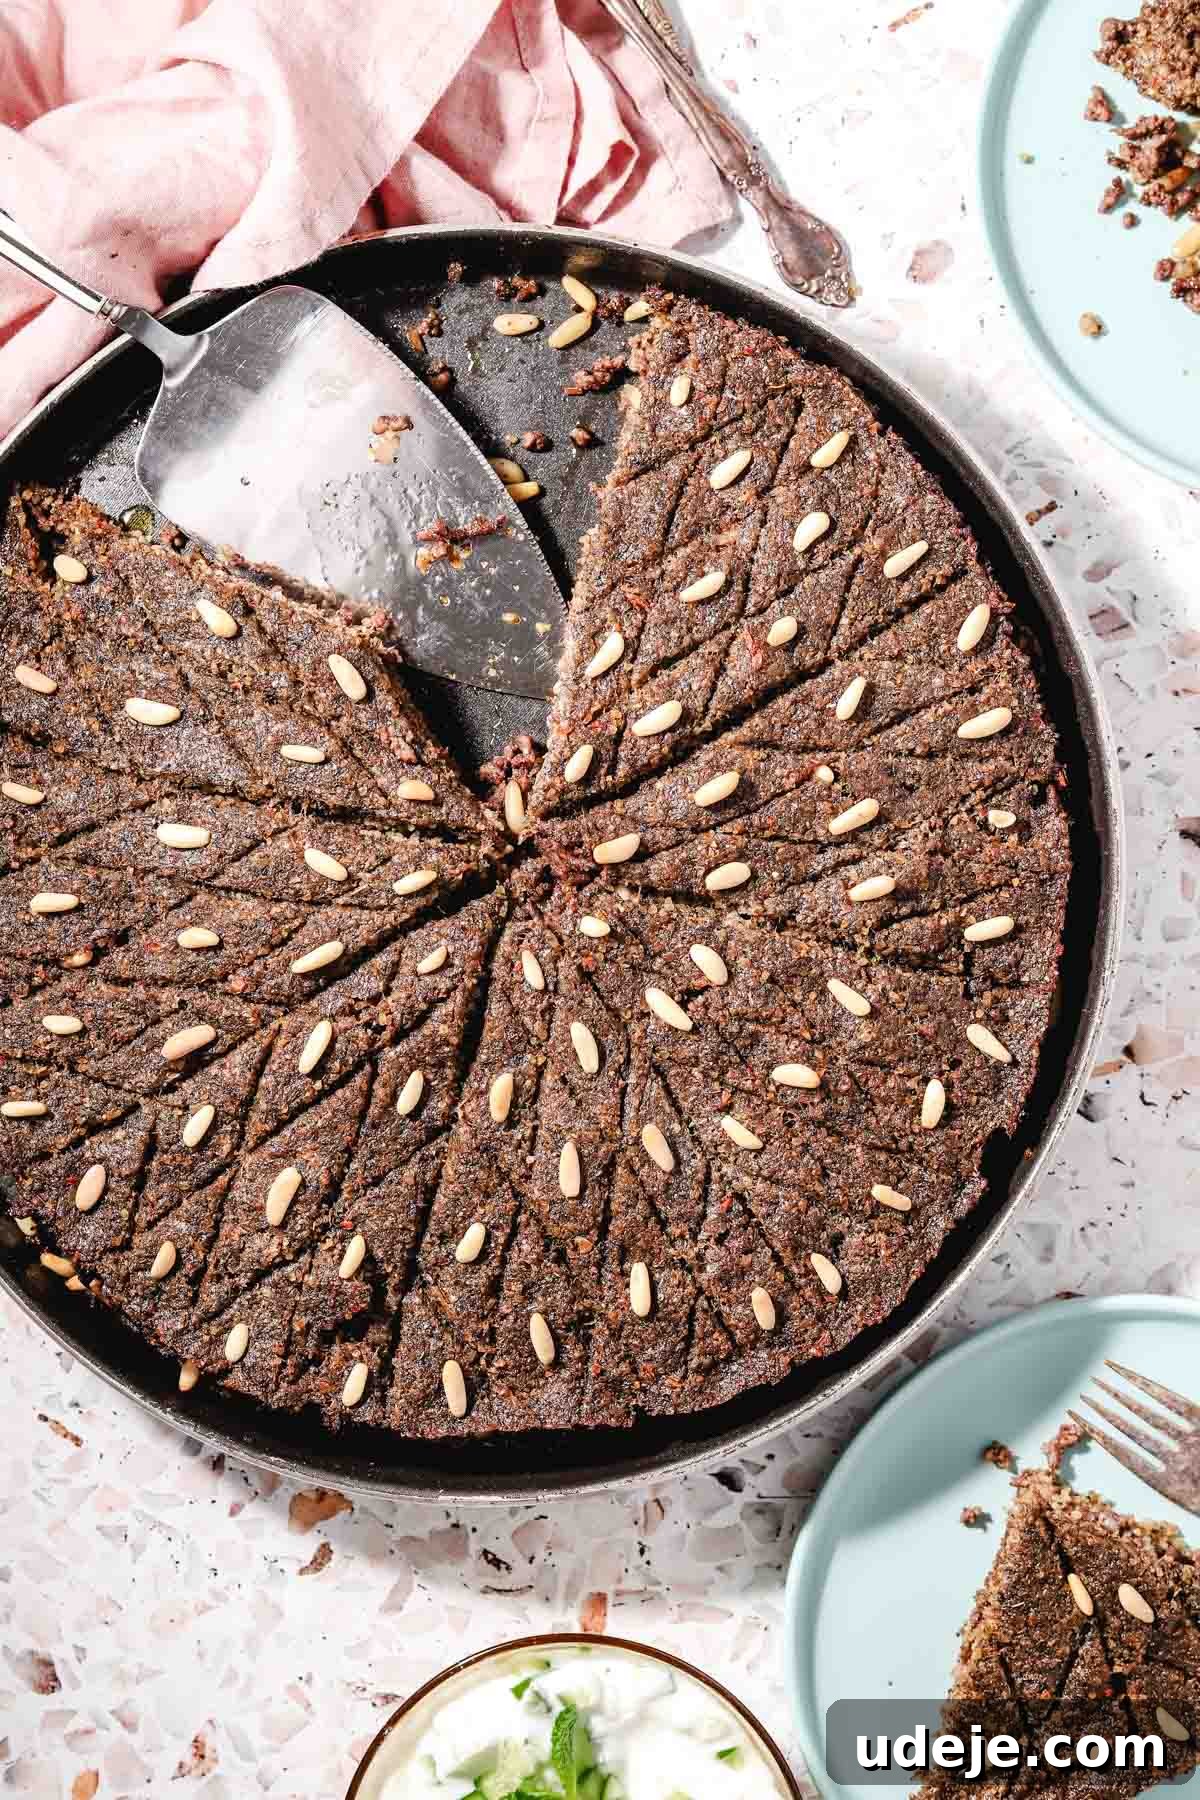
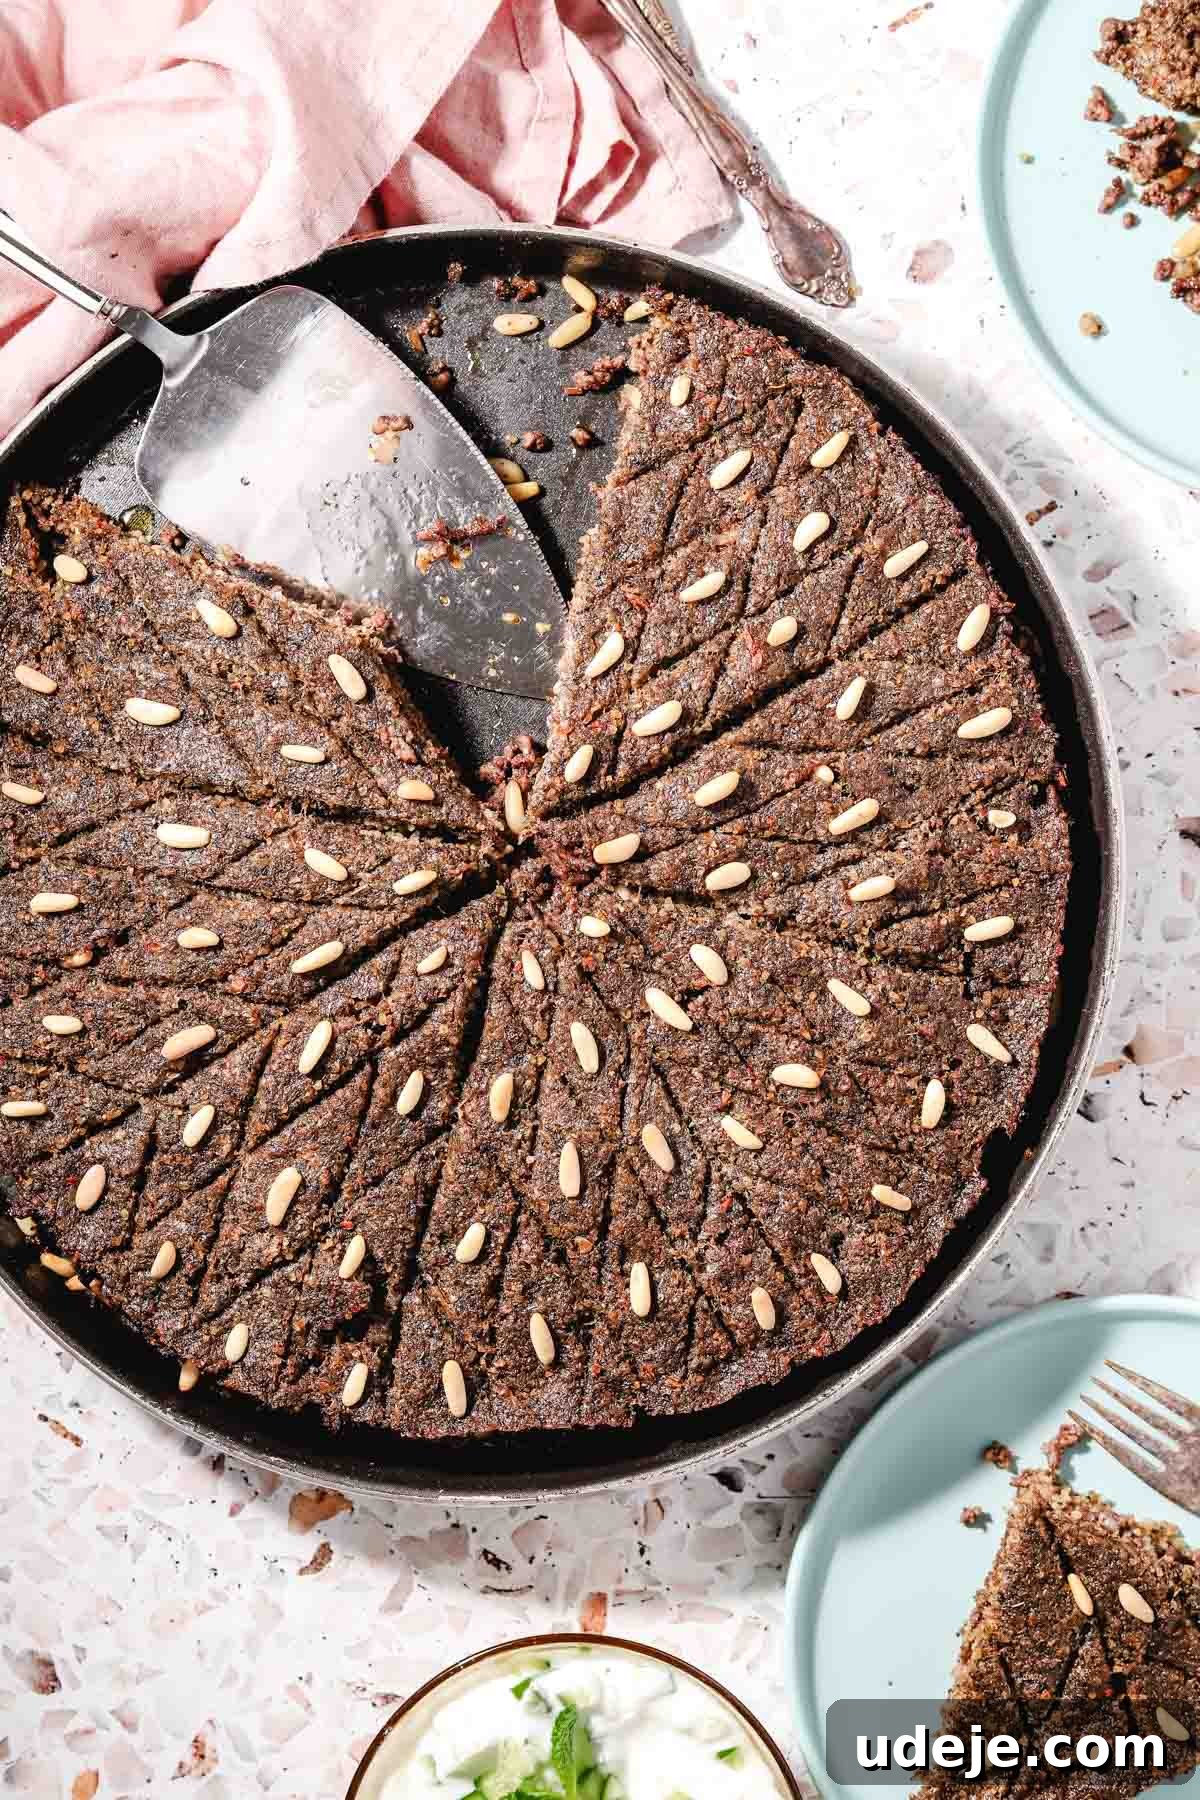
Kibbeh bil Sanieh, often simply known as Baked Kibbeh, stands as a crowning jewel in Middle Eastern cuisine, particularly cherished throughout Lebanon and the wider Levantine region. This comforting, robust casserole offers a delightful alternative to its more time-consuming fried counterpart. It masterfully layers a finely textured bulgur wheat dough, expertly seasoned, around a savory, spiced ground beef filling. Baked to a beautiful golden-brown perfection, Kibbeh bil Sanieh emerges from the oven as a visually stunning and incredibly satisfying dish, perfect for family gatherings or a wholesome weeknight meal when accompanied by a fresh, crisp salad.
Discovering the World of Kibbeh: A Middle Eastern Icon
Kibbeh is not just a dish; it’s a culinary institution in the Middle East, boasting an incredible array of regional variations, each with its own unique charm. Yet, at its core, every form of kibbeh shares a fundamental blueprint: a tender outer shell or dough crafted from bulgur wheat, enveloping a richly fragrant and perfectly seasoned ground meat filling. This harmonious blend of textures and spices is what makes kibbeh so universally beloved.
While the small, hand-shaped fried kibbeh balls are perhaps the most globally recognized, often served as a delectable appetizer across the Levantine countries, their preparation can be quite labor-intensive. The meticulous process of hand-shaping each individual ball before frying them until crispy and golden is a culinary art form that requires considerable time and skill. Many recall cherished childhood memories of helping family members meticulously roll and stuff these delicate morsels for hours on end – a true labor of love that highlights the cultural importance of this dish.
Enter Kibbeh bil Sanieh, the baked casserole version, a revelation in convenience without sacrificing any of the authentic flavor. Instead of individually shaping countless pieces, the bulgur dough is gracefully spread across a circular tray, creating two distinct layers that expertly encase the succulent ground beef filling. The name “Kibbeh bil Sanieh” itself translates directly to “tray kibbeh,” perfectly describing this family-friendly format. When prepared in this manner, it transforms from an appetizer into a hearty, wholesome main course, embodying both tradition and practicality. It’s the perfect solution for bringing the exquisite taste of kibbeh to your table with less fuss, allowing you to enjoy more time with your loved ones.
The heart of Kibbeh bil Sanieh, its rich and aromatic stuffing, is known as “hashweh.” This versatile ground beef filling, seasoned with a unique blend of Middle Eastern spices, is a culinary staple that graces many other popular dishes. Its savory depth and aromatic profile make it an ideal companion for a variety of meals, from the flaky layers of a traditional phyllo meat pie to the comforting embrace of hashweh rice (an easy and incredibly delicious one-pot wonder), and even adding a delightful twist to creamy yogurt pasta. Understanding hashweh is key to unlocking a world of Middle Eastern flavors.
Essential Kibbeh Ingredients: A Deep Dive into Flavor and Texture
Achieving the perfect Kibbeh bil Sanieh hinges on selecting and understanding a few key ingredients. Years of recipe testing have highlighted specific characteristics of bulgur, beef, and spices that are crucial for success. Here’s a detailed look at what makes each component indispensable:
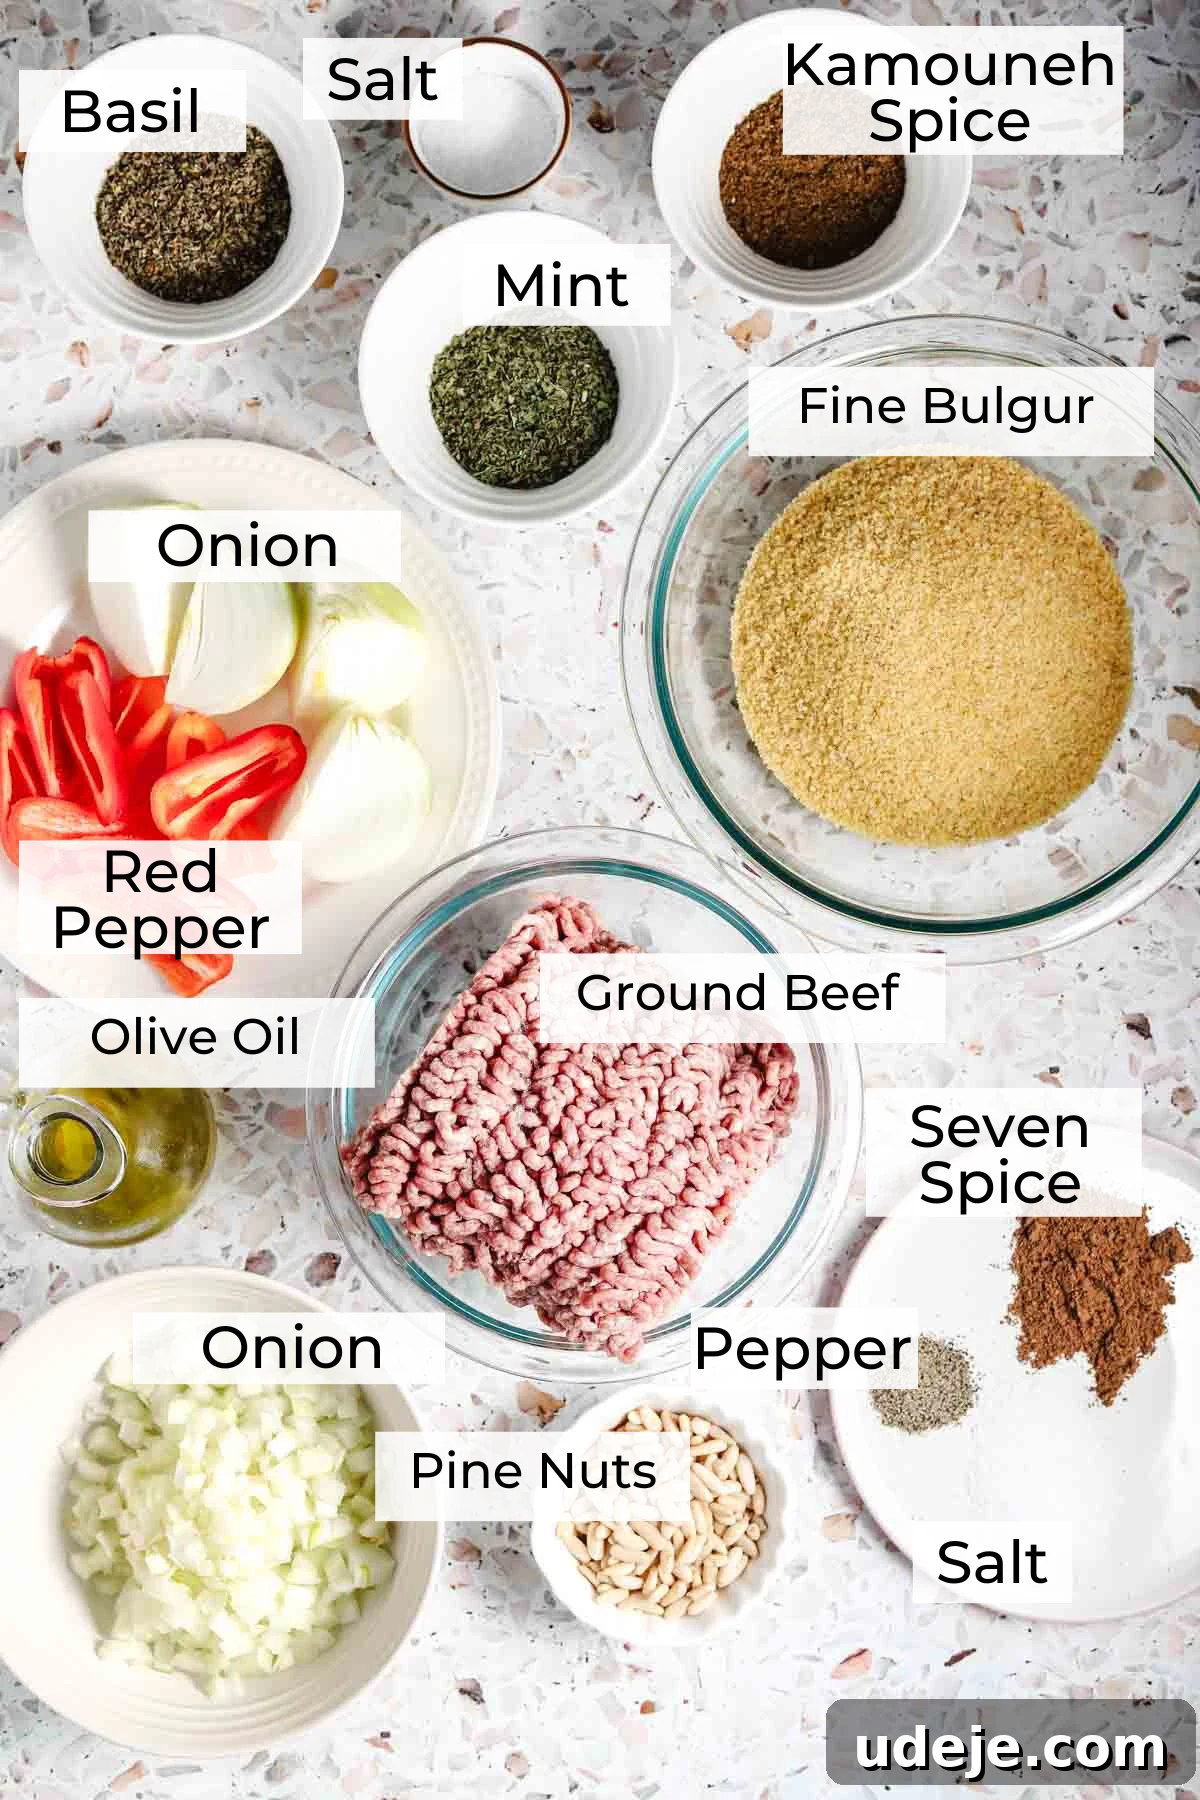
- Fine Bulgur: The Foundation of the Dough
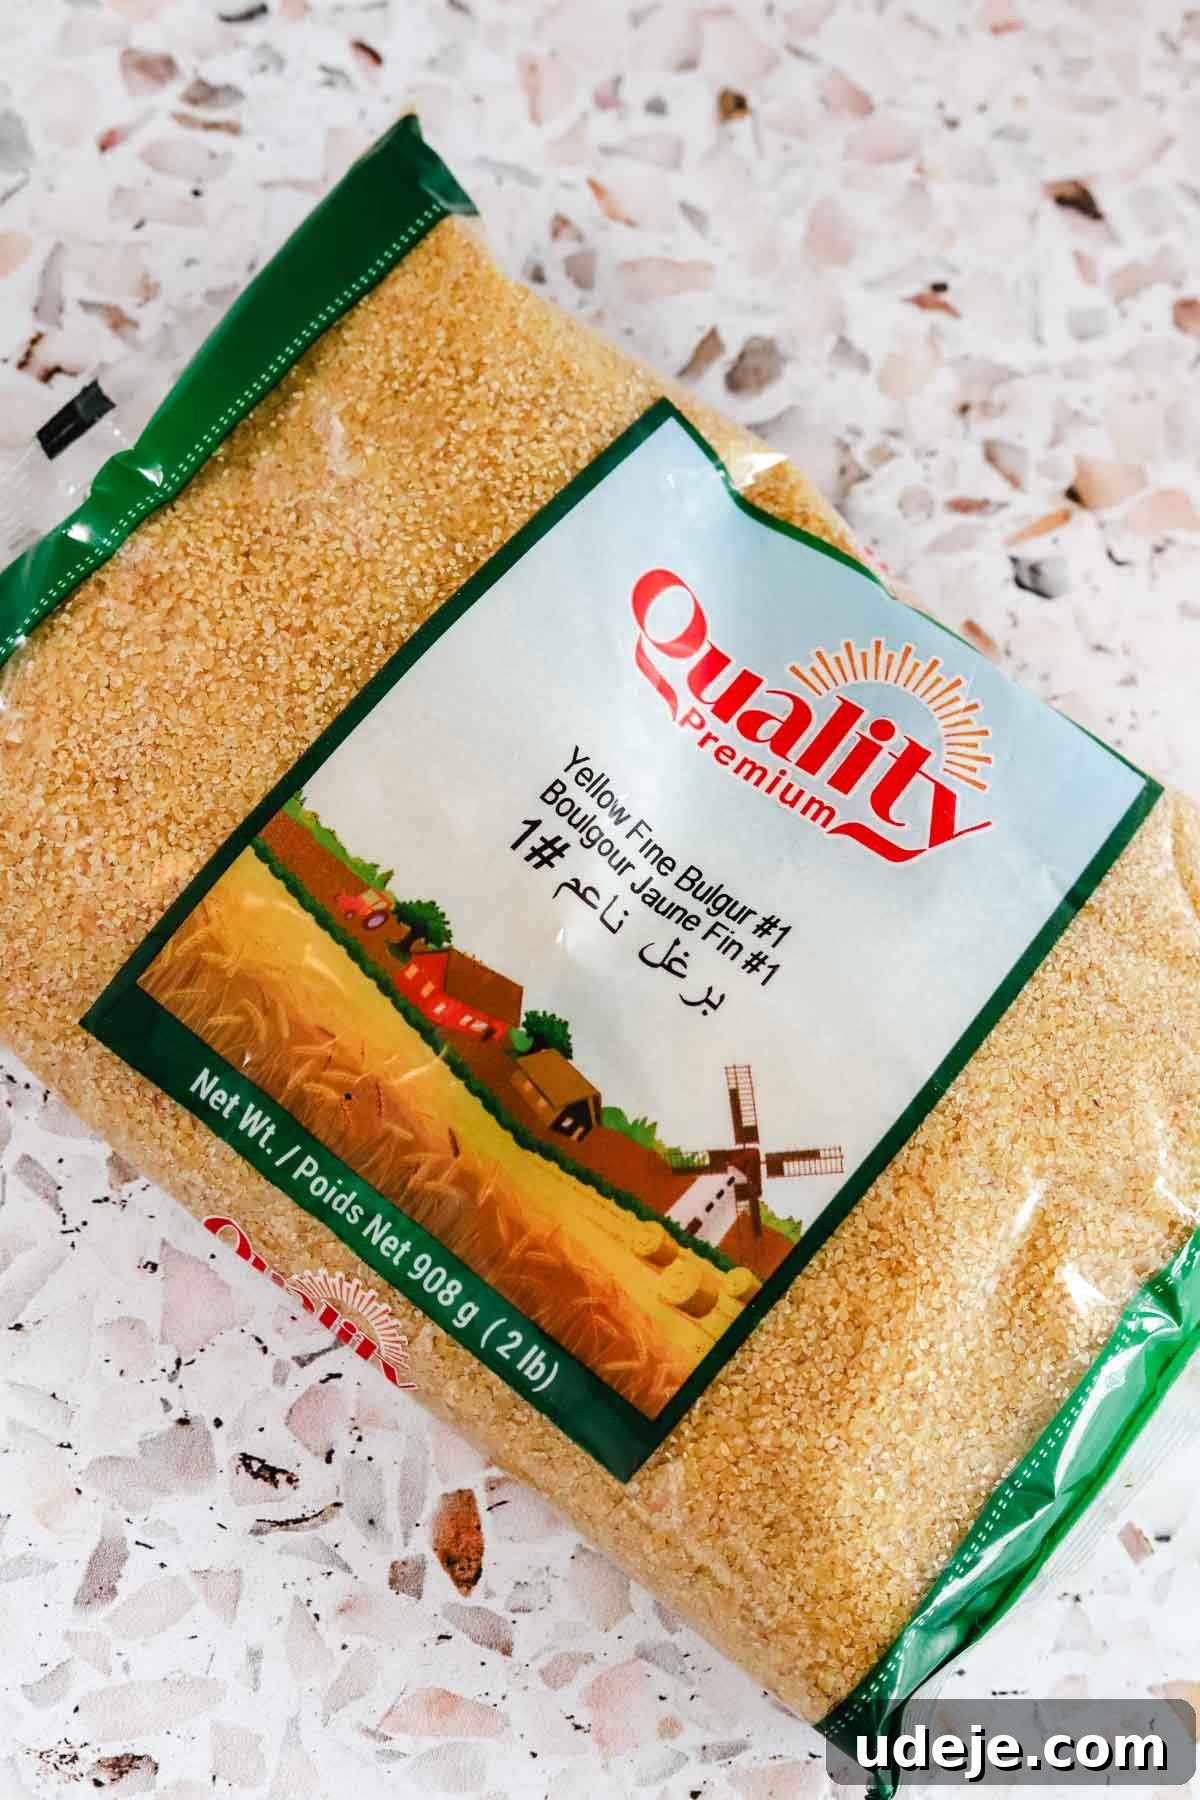
The type of bulgur you use is absolutely critical for the success of this recipe. You must seek out fine or extra-fine bulgur. It is often labeled with a “#1” on the package, signifying its status as the smallest variety of this versatile grain. The reason for this precision is simple: fine bulgur effortlessly blends into a smooth, cohesive dough, creating the signature delicate texture of kibbeh. Coarse bulgur, on the other hand, will not absorb water adequately or integrate properly, leading to a gritty, crumbly dough that simply won’t work for this recipe. Always check the label and prioritize the finest grain for an authentic kibbeh experience. - Extra Lean Ground Beef: The Key to a Firm Dough
For both the filling and the dough (as some recipes incorporate raw beef directly into the dough for binding and flavor), selecting the right ground beef is paramount. It is essential to use extra lean ground beef, ideally with a maximum fat content of 10%. This lower fat content is crucial because it helps the beef integrate seamlessly into the bulgur dough, providing structure without excess grease. Fattier beef can release too much oil during baking, causing the dough to become greasy and, more importantly, to fall apart. This small detail makes a significant difference in the final texture and stability of your kibbeh. - Aromatic Herbs and Spices: The Soul of Lebanese Kibbeh
The distinctive flavor profile of Lebanese-style kibbeh is a symphony of dried herbs and potent spices. A traditional blend includes dried basil, dried mint, and the beloved seven-spice mix. However, the most iconic element is “kamouneh,” a unique kibbeh spice blend that varies slightly from family to family, passed down through generations. This aromatic mixture is what truly defines the authentic taste of Lebanese kibbeh. If you can’t find a pre-made kamouneh mix at your local Middle Eastern grocery store, don’t fret; it’s surprisingly simple to create your own at home, allowing you to tailor the flavors to your preference.
Crafting Your Own Kamouneh Spice Blend at Home
If sourcing authentic kamouneh spice proves challenging, creating your own blend at home is both rewarding and ensures the freshest flavors. This homemade mixture will infuse your kibbeh with an unparalleled depth of aroma. Simply gather the following whole or ground herbs and spices, then grind them together until finely powdered. Store your freshly made kamouneh in an airtight container in a cool, dark place to preserve its potency, using it as needed to elevate your Middle Eastern dishes.
- 2 tablespoons Cumin seeds
- 2 tablespoons Dried rose petals
- 1 tablespoon Black peppercorns
- 3 teaspoons Dried marjoram
- 1 tablespoon Dried basil
- 1 tablespoon Dried mint
- ½ teaspoon Cinnamon
- 1 tablespoon 7 spice
Mastering Kibbeh Bil Sanieh: A Step-by-Step Guide to Perfection
While the concept of baked kibbeh is relatively straightforward, achieving that perfect balance of texture and flavor can be a little nuanced. This comprehensive step-by-step guide is designed to walk you through every stage of the process, ensuring that you create a flawless Kibbeh bil Sanieh on your very first attempt, impressing everyone with your culinary prowess.
Step 1: Preparing the Bulgur Foundation
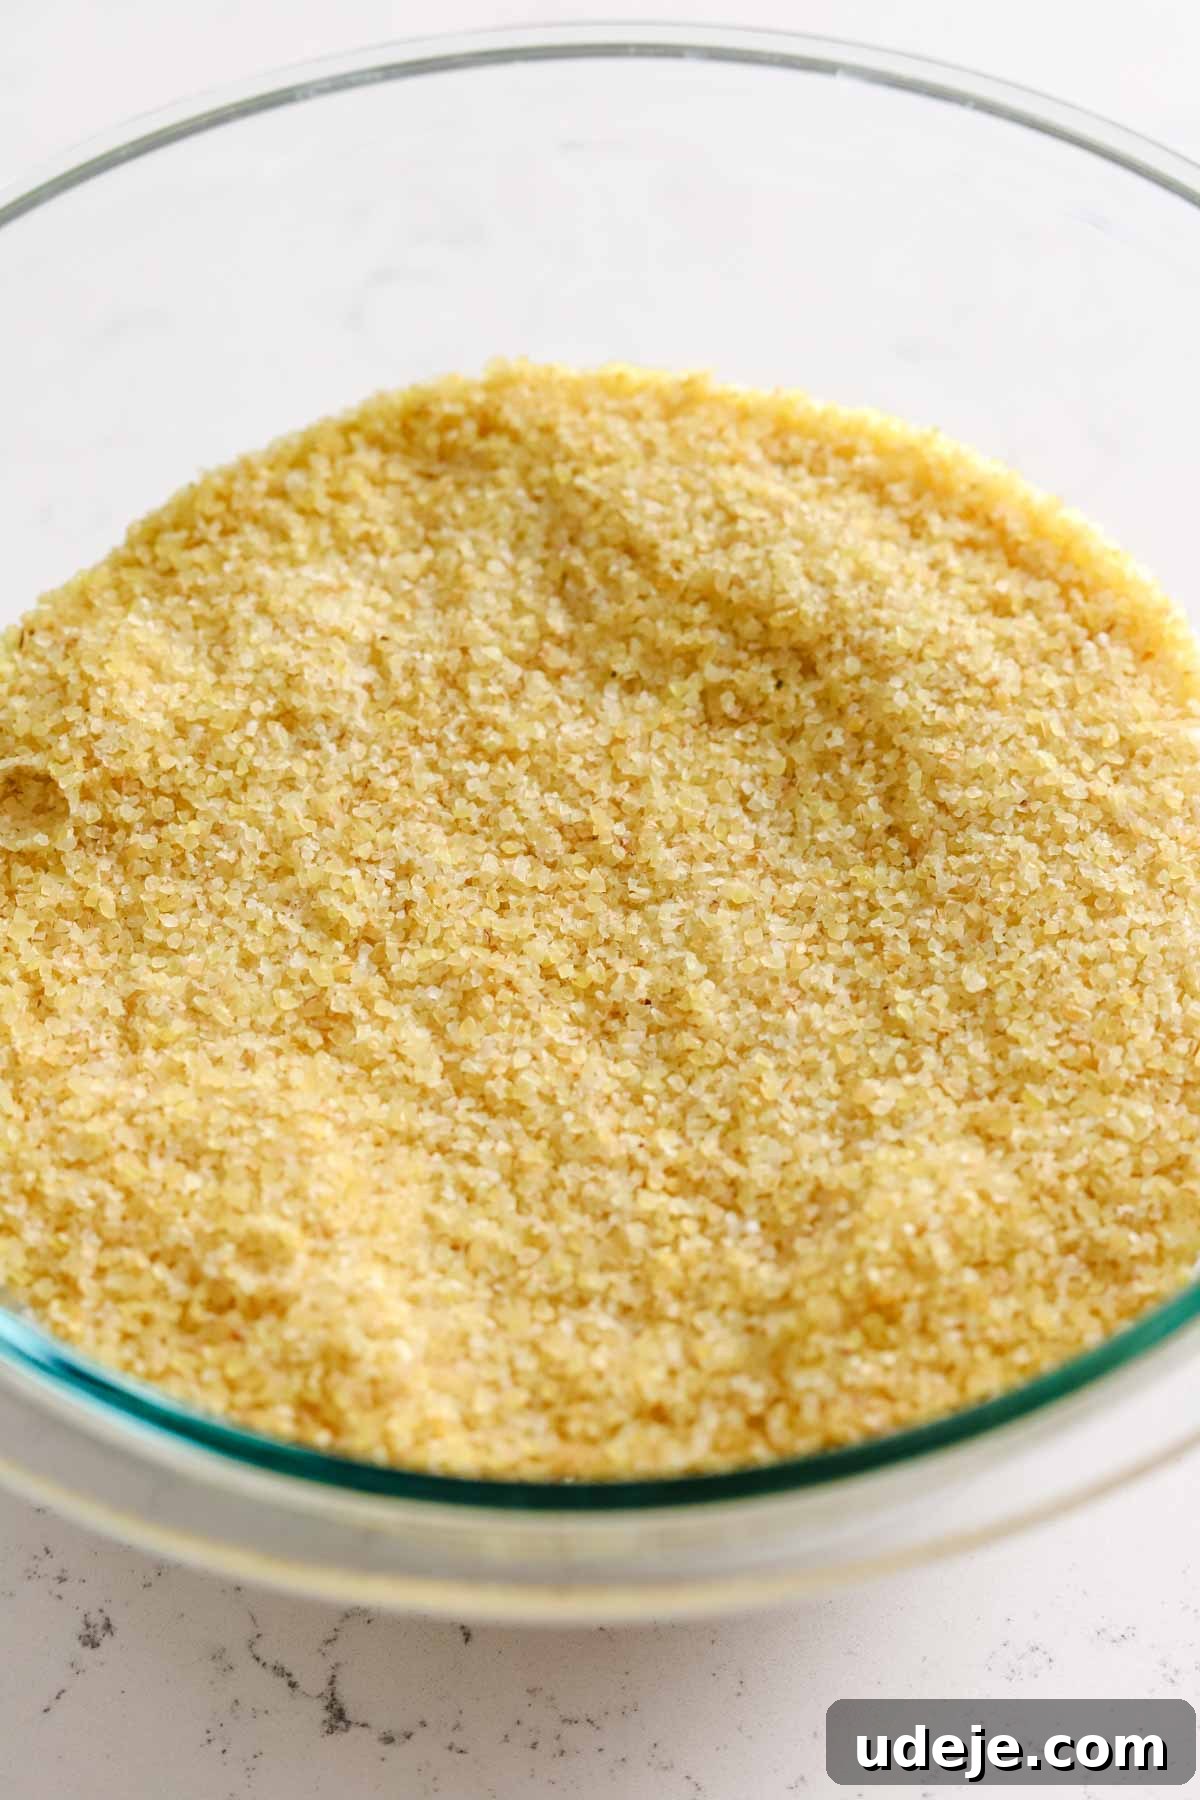
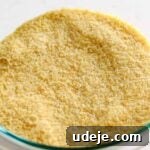
Begin by soaking the fine bulgur in a bowl with warm water. Allow it to rest for approximately 10 to 15 minutes. This crucial step rehydrates and softens the bulgur, making it pliable and ready to be incorporated into the dough. Properly softened bulgur is essential for achieving the smooth, fine texture of the kibbeh shell.
Step 2: Crafting the Flavorful Ground Beef Filling (Hashweh)
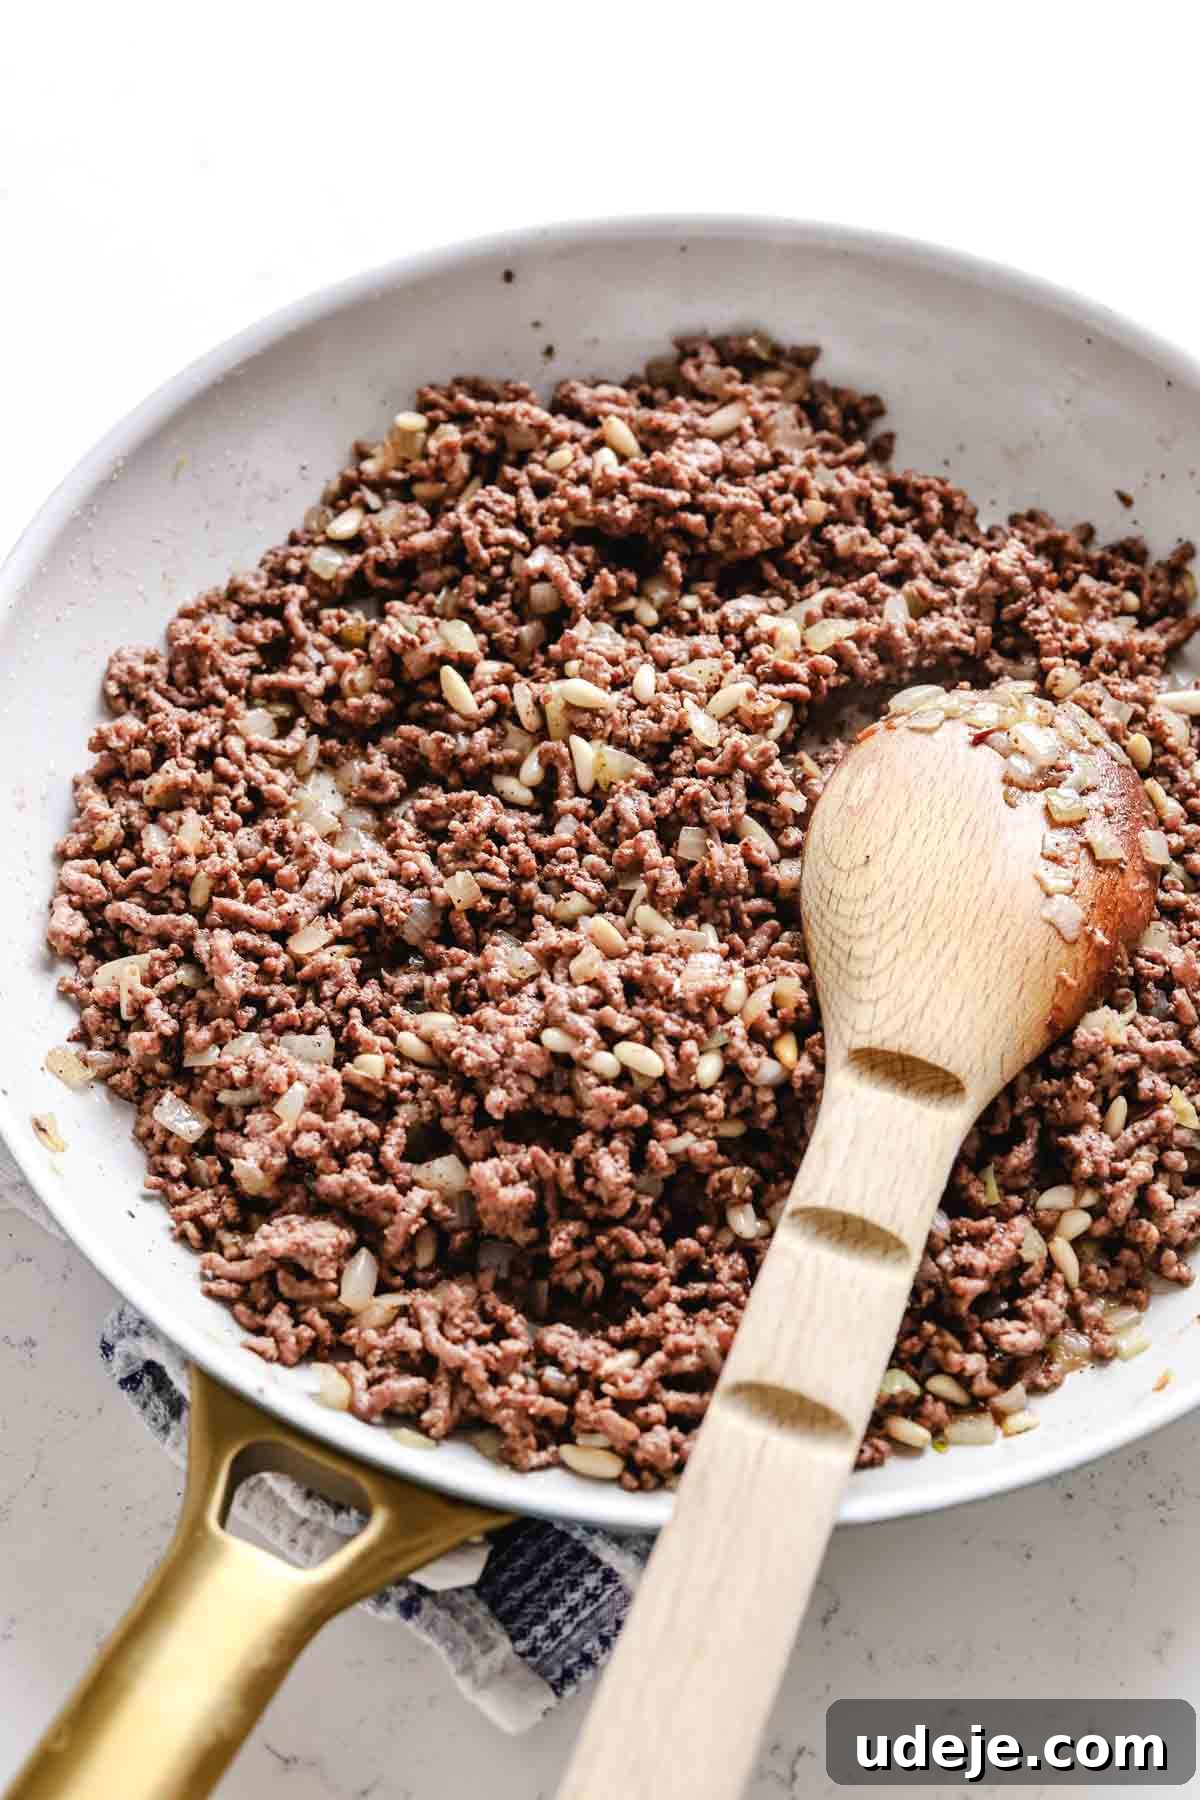
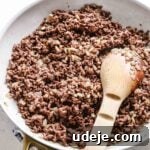
Next, prepare the heart of your kibbeh – the savory ground beef filling, or “hashweh.” In a large skillet, heat a generous amount of olive oil over medium heat. Add the finely chopped onions and sauté them gently until they become beautifully translucent and fragrant, not browned. This process sweetens the onions, adding a crucial layer of flavor. Then, introduce the ground beef to the pan. Using a wooden spoon, break up the beef into fine crumbles as it cooks. Continue to cook until the beef is thoroughly browned, ensuring all moisture has evaporated. At this point, stir in the aromatic spices – salt, black pepper, seven spice, and the fragrant kamouneh blend. Finally, fold in the pine nuts, reserving a small portion to adorn the top of your kibbeh before baking. Remove from heat and allow the filling to cool slightly.
Step 3: Preparing the Kibbeh Dough
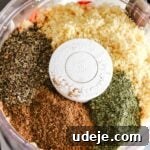
The key to a silky-smooth kibbeh dough is a powerful food processor. Start by adding the quartered onions, red peppers, and a portion of your spices (salt, kamouneh spice, dried mint, and dried basil) to the large food processor. Pulse and process these ingredients until they are very finely minced, almost paste-like. This ensures that no large chunks of vegetable remain to disrupt the smooth texture of the dough.
Chef’s Note: For the smoothest possible dough, a powerful food processor is indispensable. While many traditionalists prefer a fine meat grinder for an exceptionally refined texture, a high-quality food processor can achieve excellent results at home. The goal is to break down the ingredients so thoroughly that they form a seamless mixture, almost like a paste, before the bulgur and beef are added.
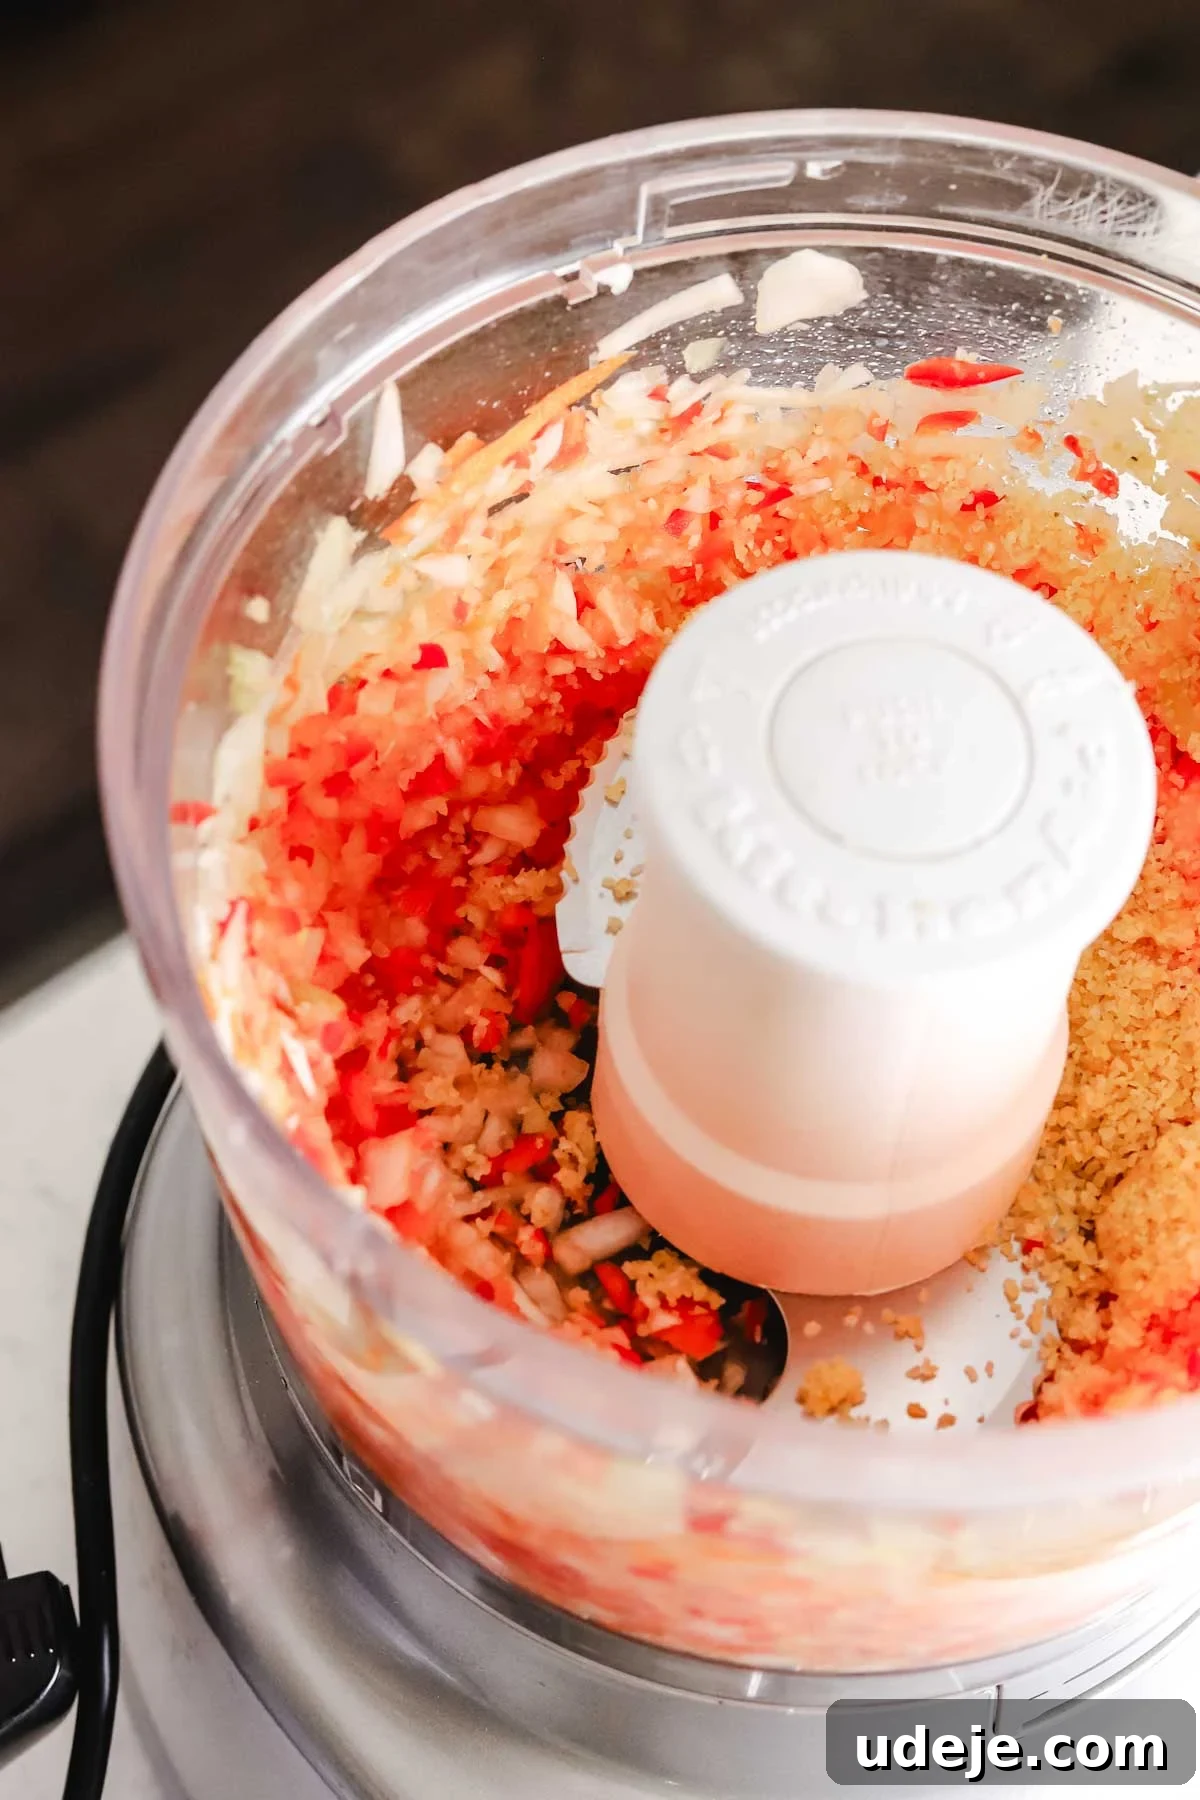
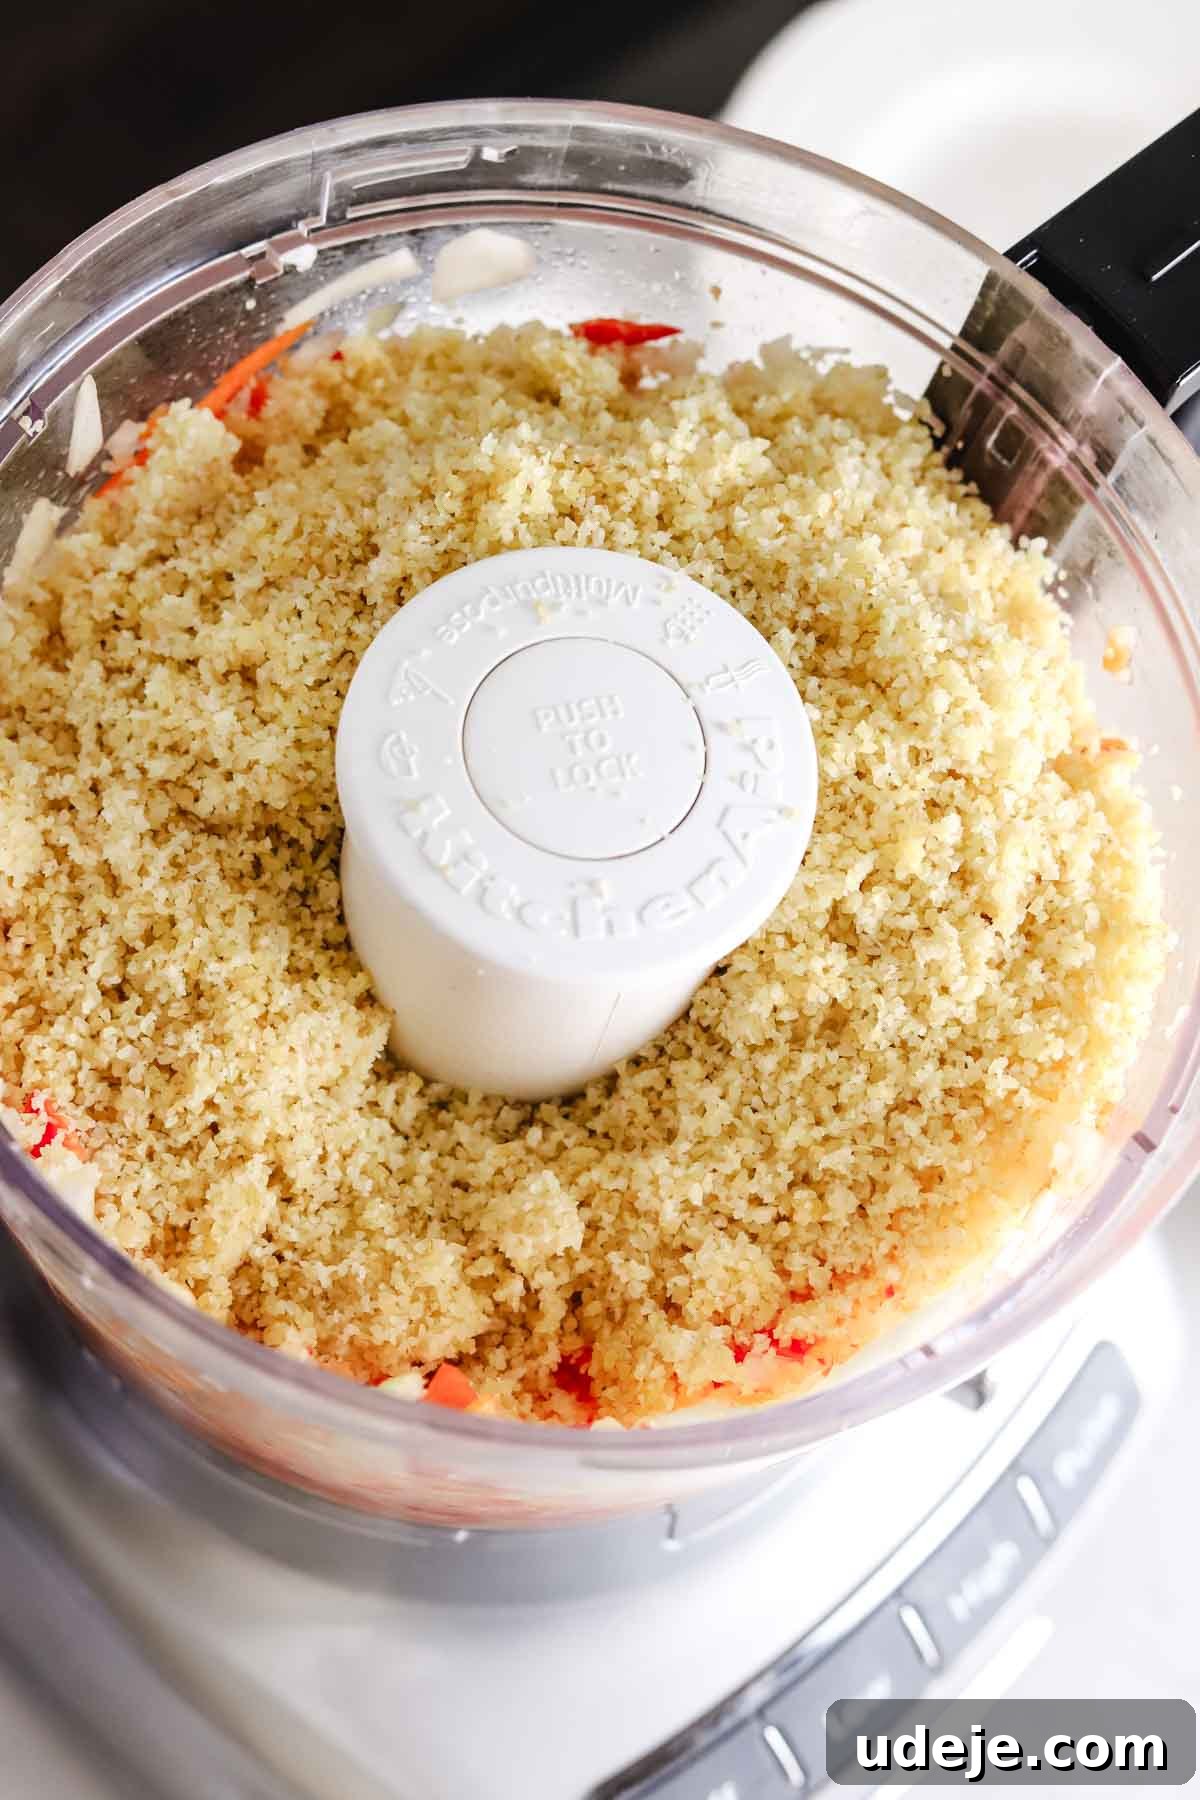
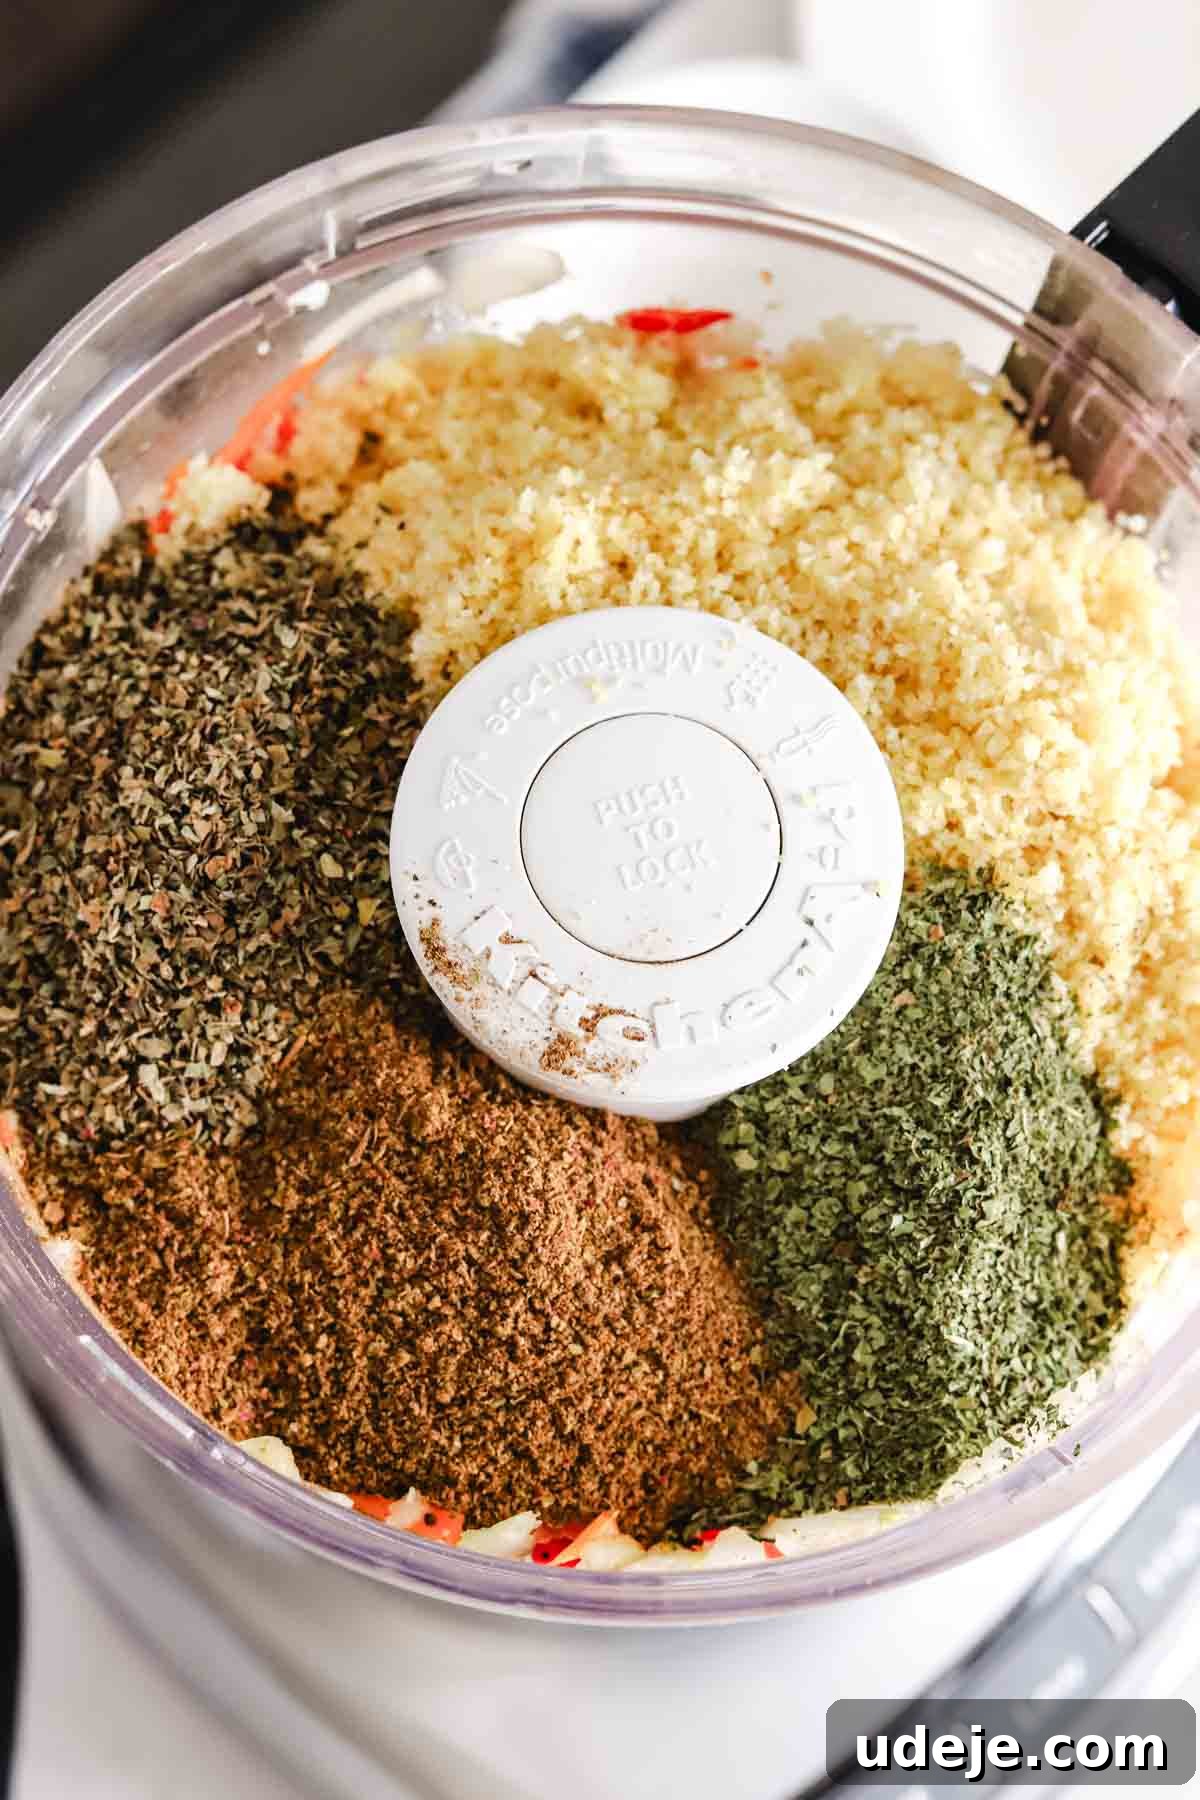
Once the vegetables are finely chopped, add the previously soaked bulgur along with the remaining herbs and spices (dried mint, dried basil, kamouneh spice, and salt). Continue to process the mixture for at least 5 minutes. During this time, the ingredients will begin to bind together, and the mixture will start to form a cohesive, slightly sticky dough. Scrape down the sides of the food processor periodically to ensure even blending.
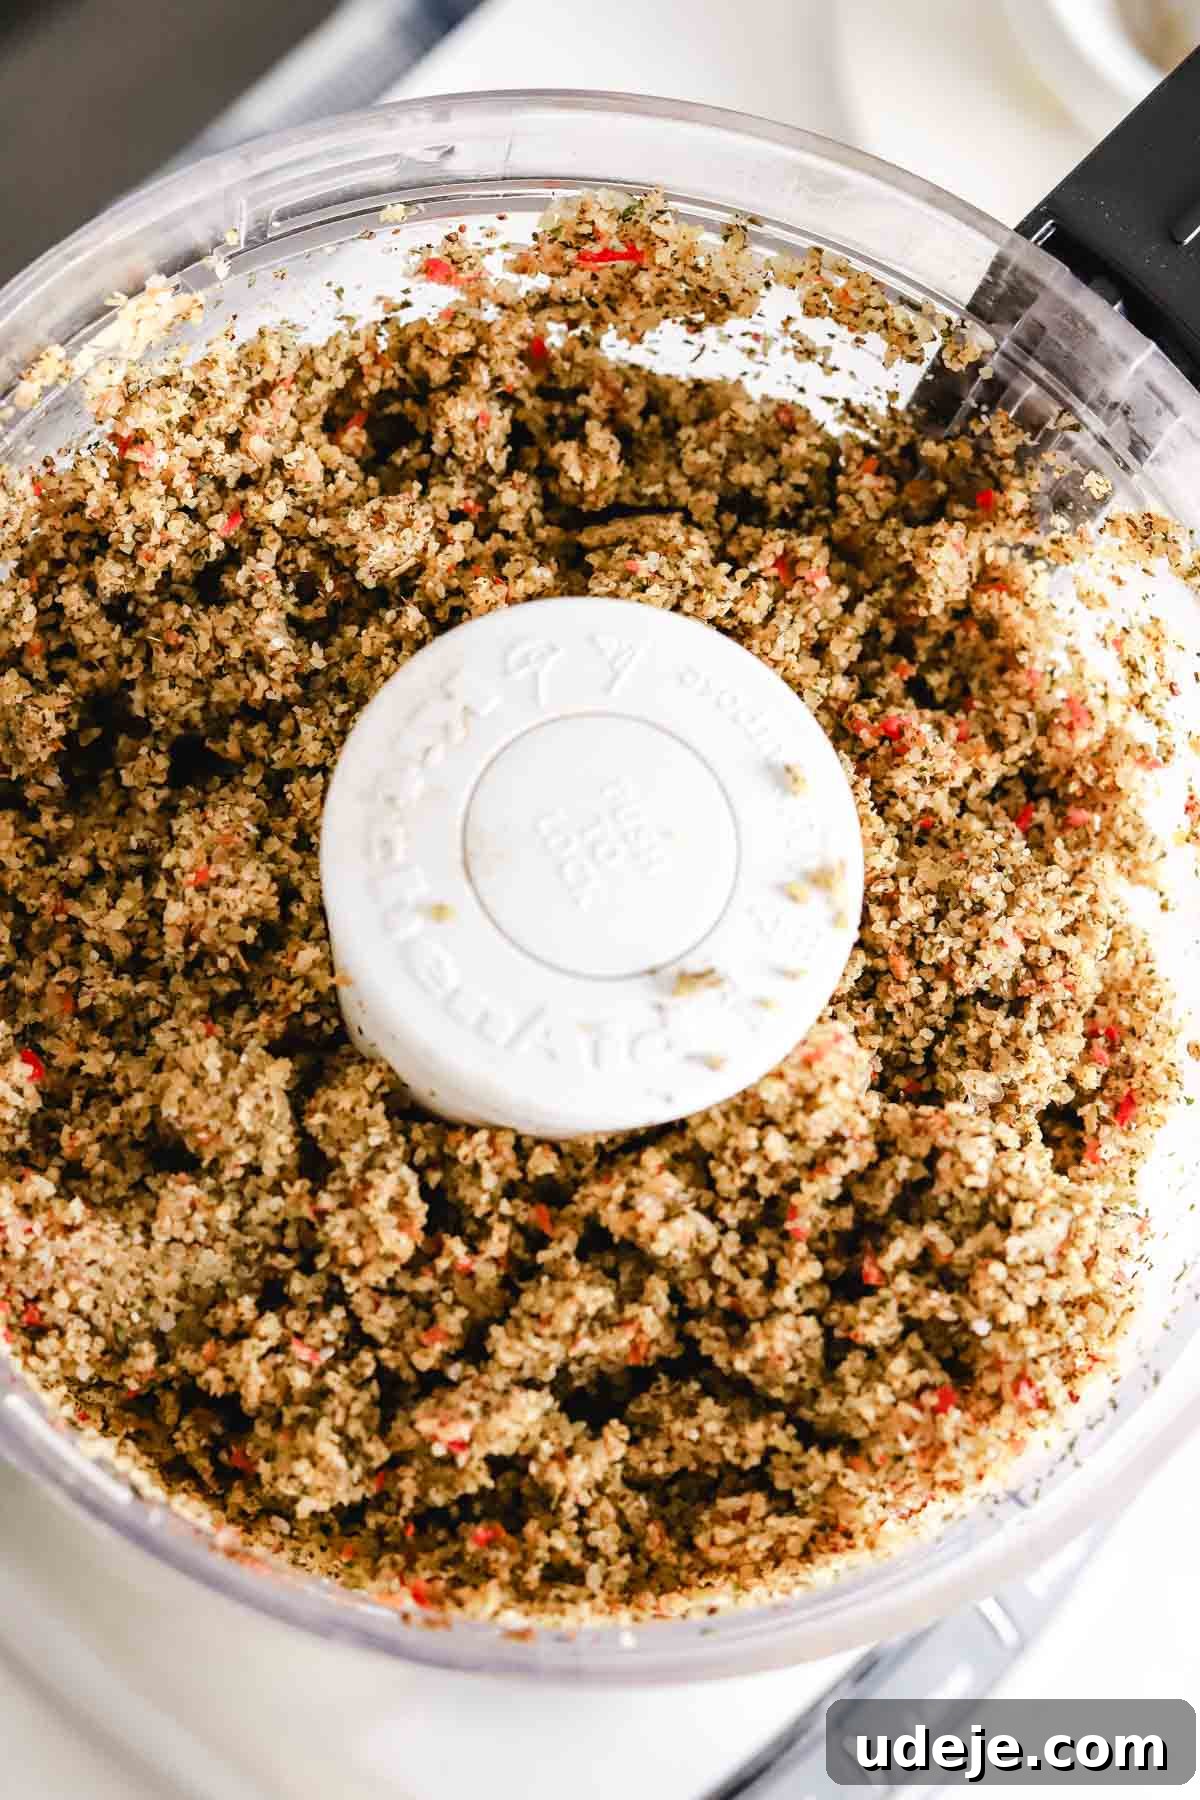
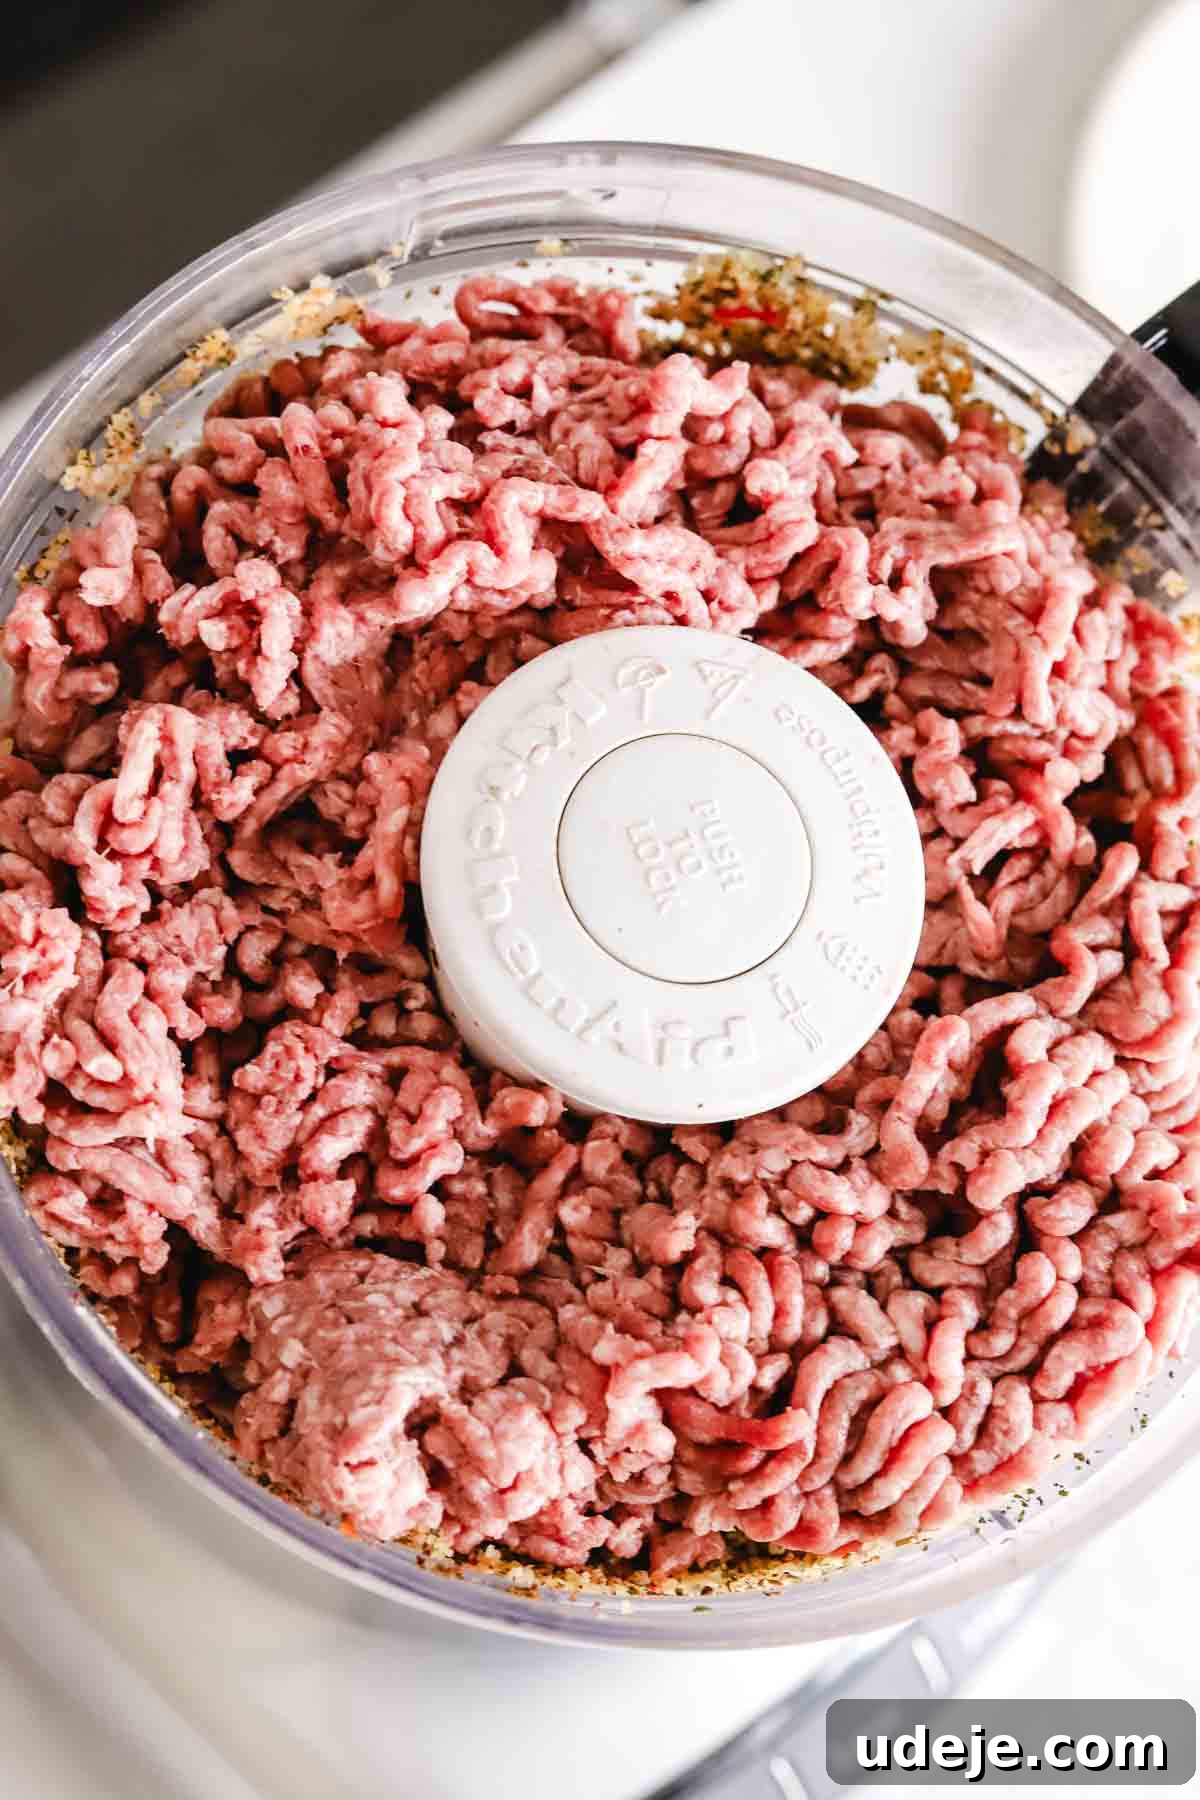
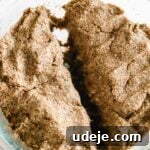
Finally, add the raw extra-lean ground beef to the food processor. Continue to process the entire mixture for another 5 to 7 minutes. This extended processing time is crucial; it fully emulsifies the beef with the bulgur and vegetables, creating a remarkably smooth, almost paste-like dough that is essential for the classic kibbeh texture and ensures the dough holds together during baking. If your food processor is not large enough to handle all ingredients at once, divide them into two batches and process separately, then combine by hand.
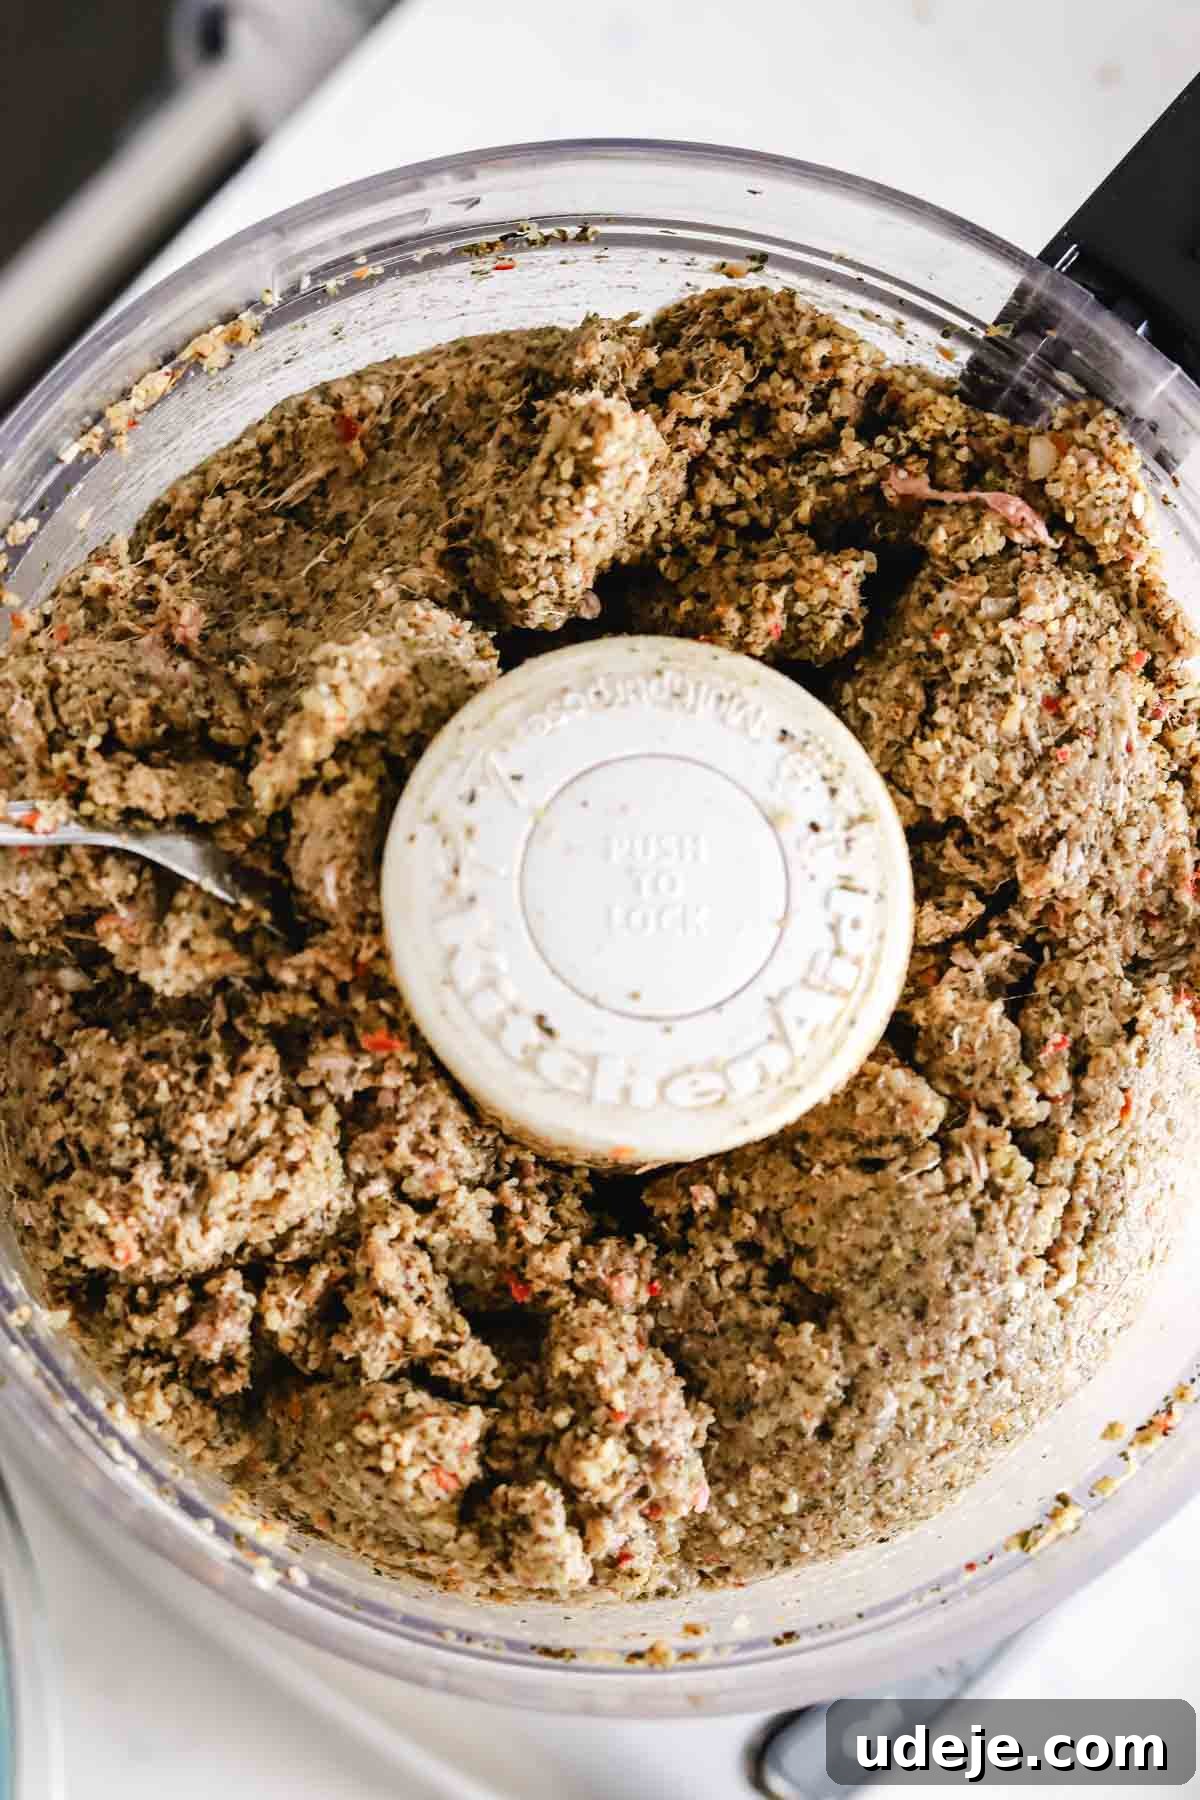
Once the mixture has transformed into a smooth, homogenous dough with no visible chunks, carefully remove it from the food processor and transfer it to a large bowl. Use your hands to divide the dough as evenly as possible into two portions – one for the base layer and one for the top.
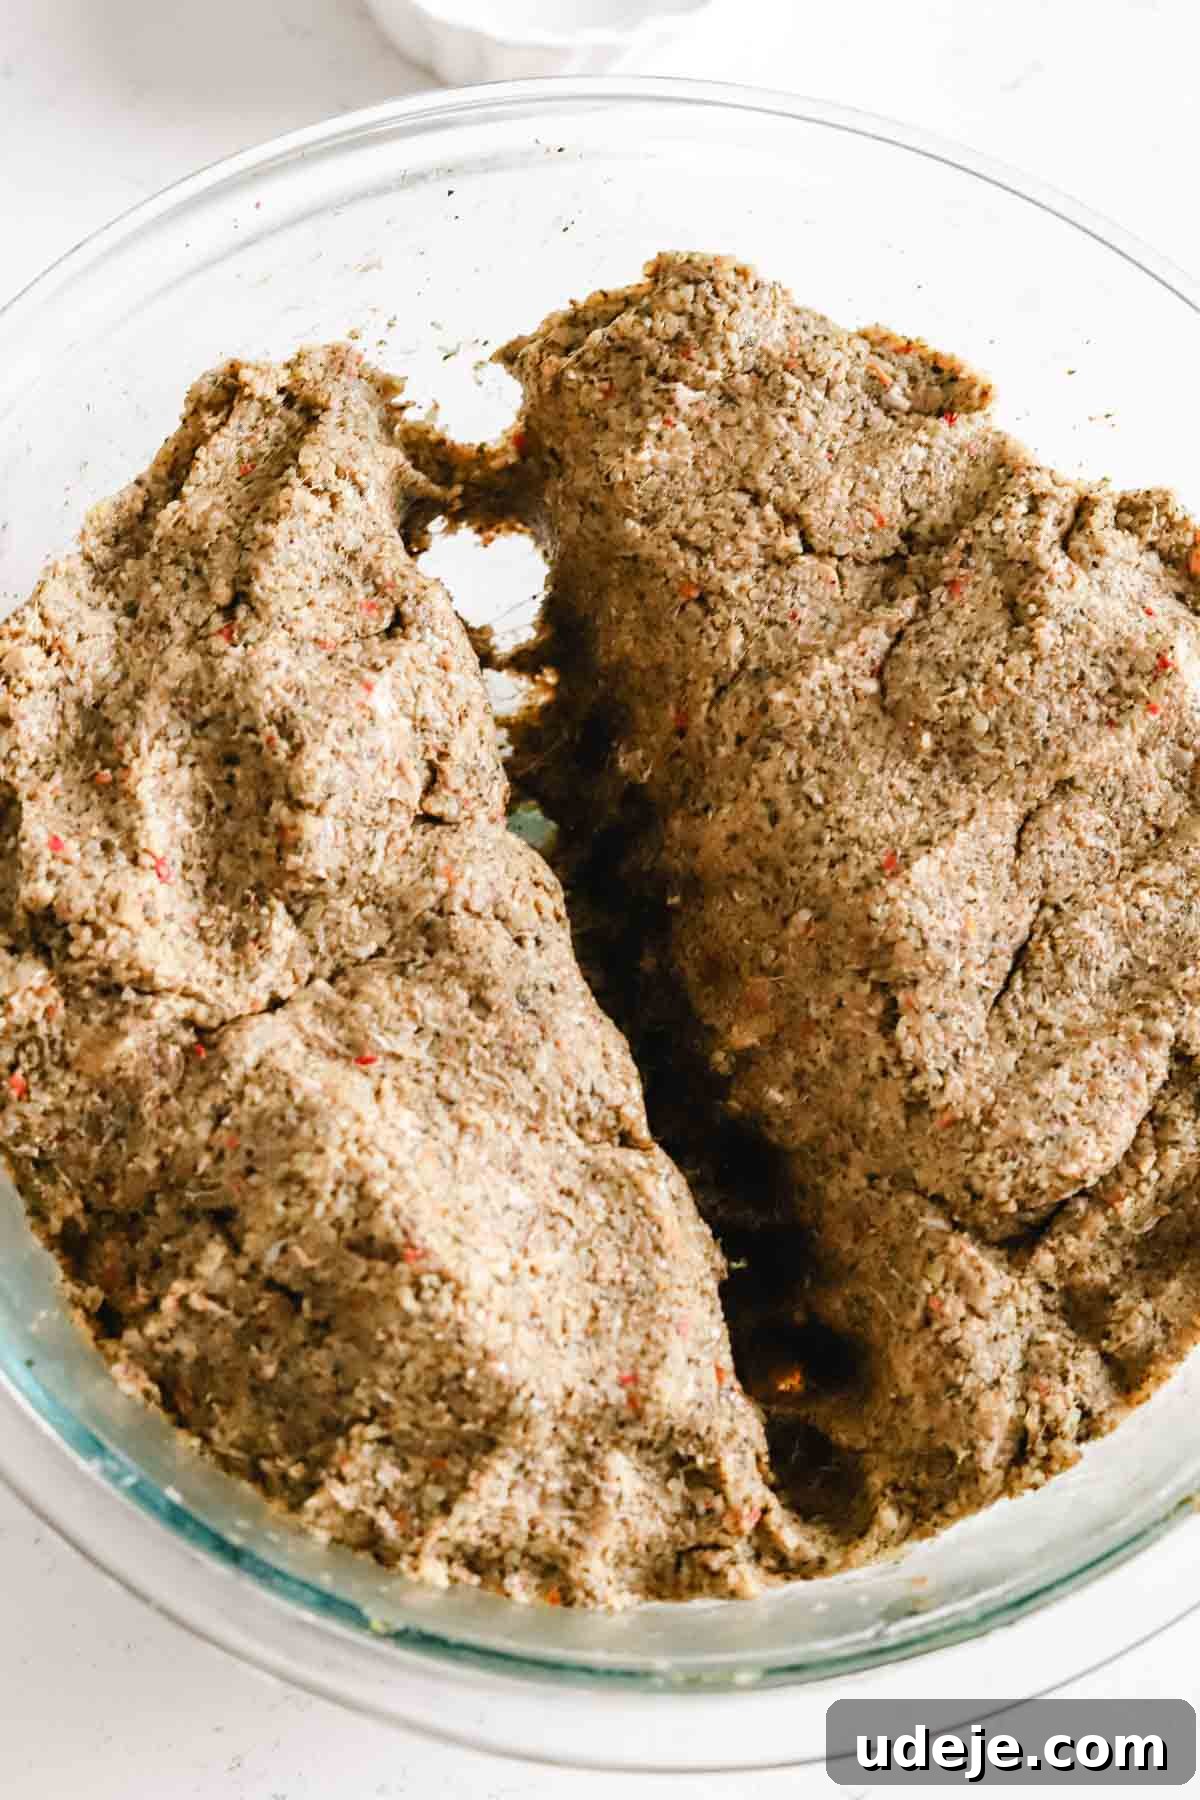
Step 4: Assembling Your Kibbeh Bil Sanieh
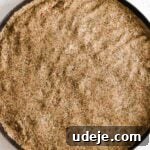
Preheat your oven to 400°F (200°C). Generously grease a 30 to 35 cm (12 to 14-inch) round baking pan with olive oil. Ensure the pan is at least 1 inch deep to accommodate the layers. Take the first half of your prepared kibbeh dough and, using slightly wet hands, firmly press it into the bottom of the greased pan. Work carefully to spread it out evenly, creating a smooth and uniform base layer. Wetting your hands prevents the dough from sticking and helps achieve a polished finish.
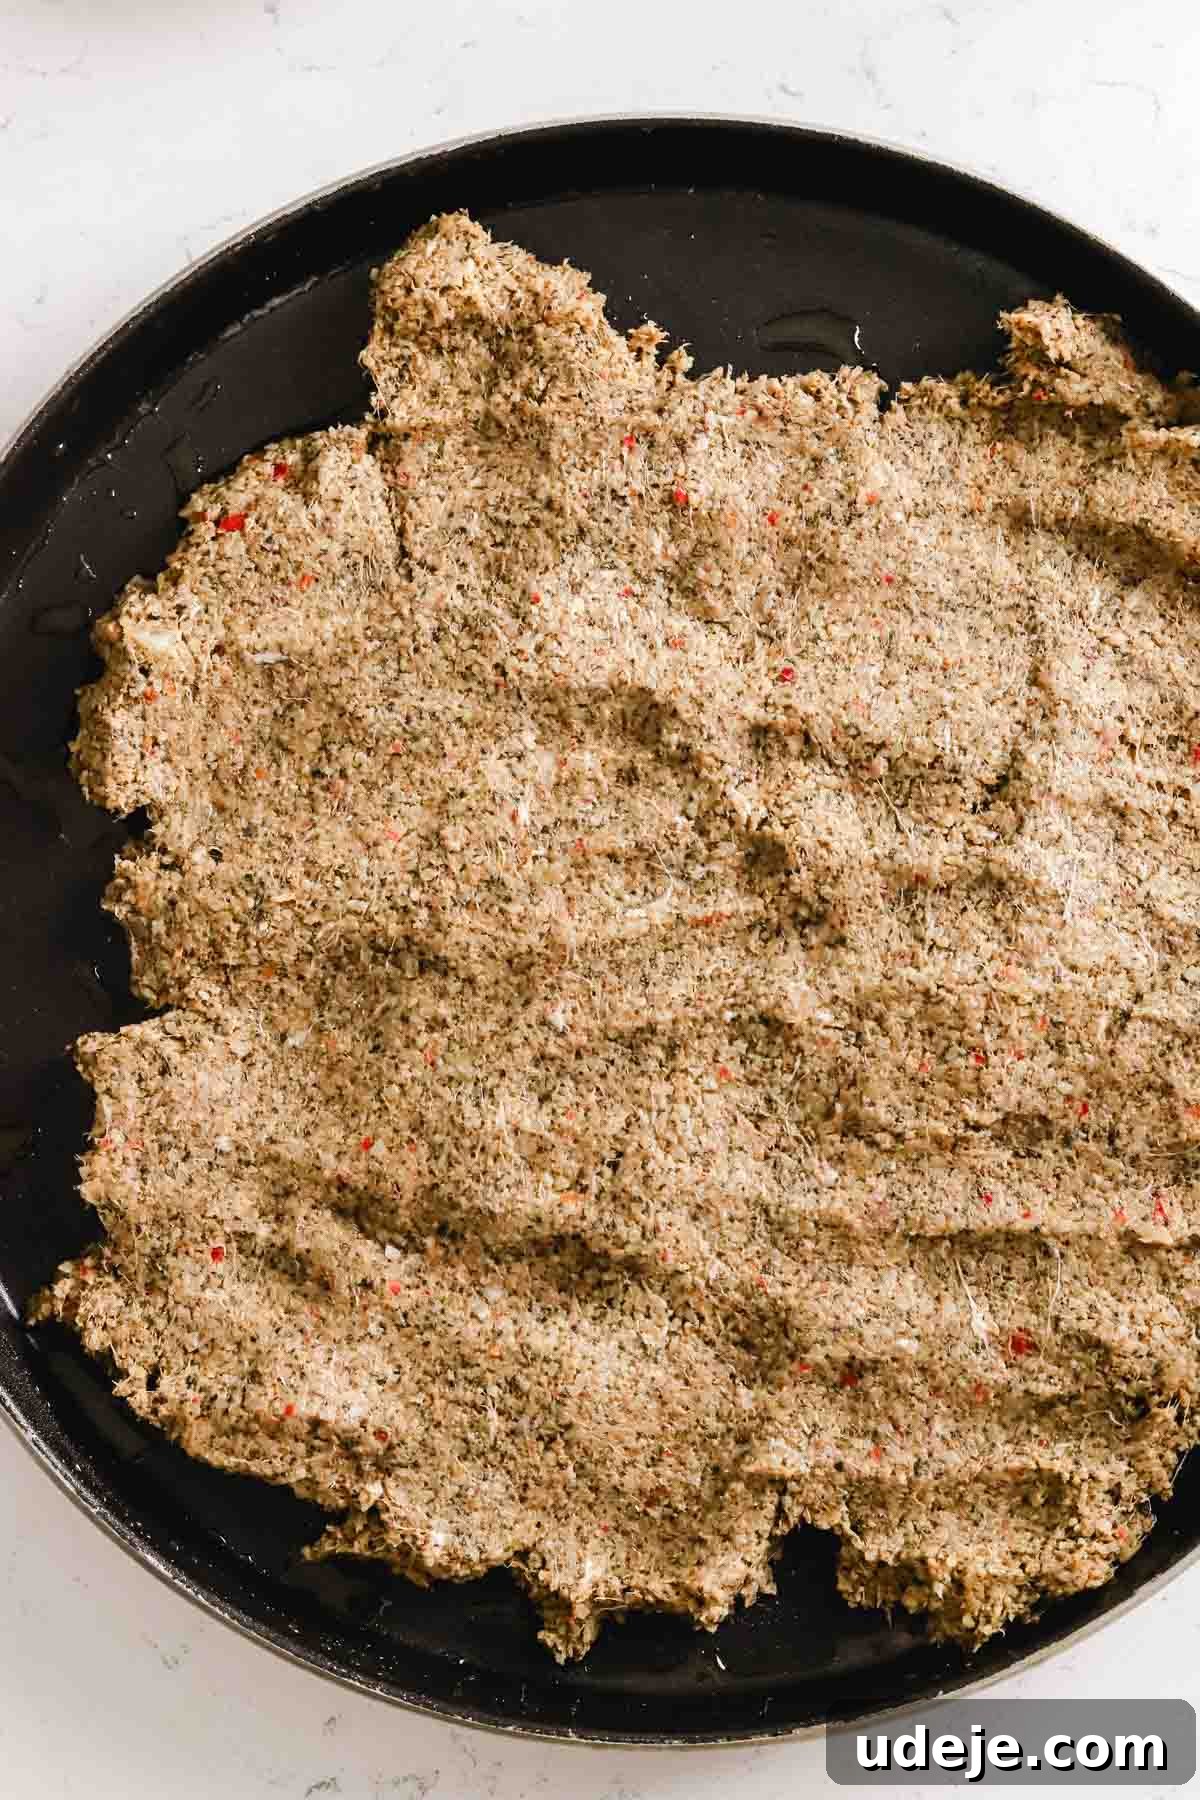
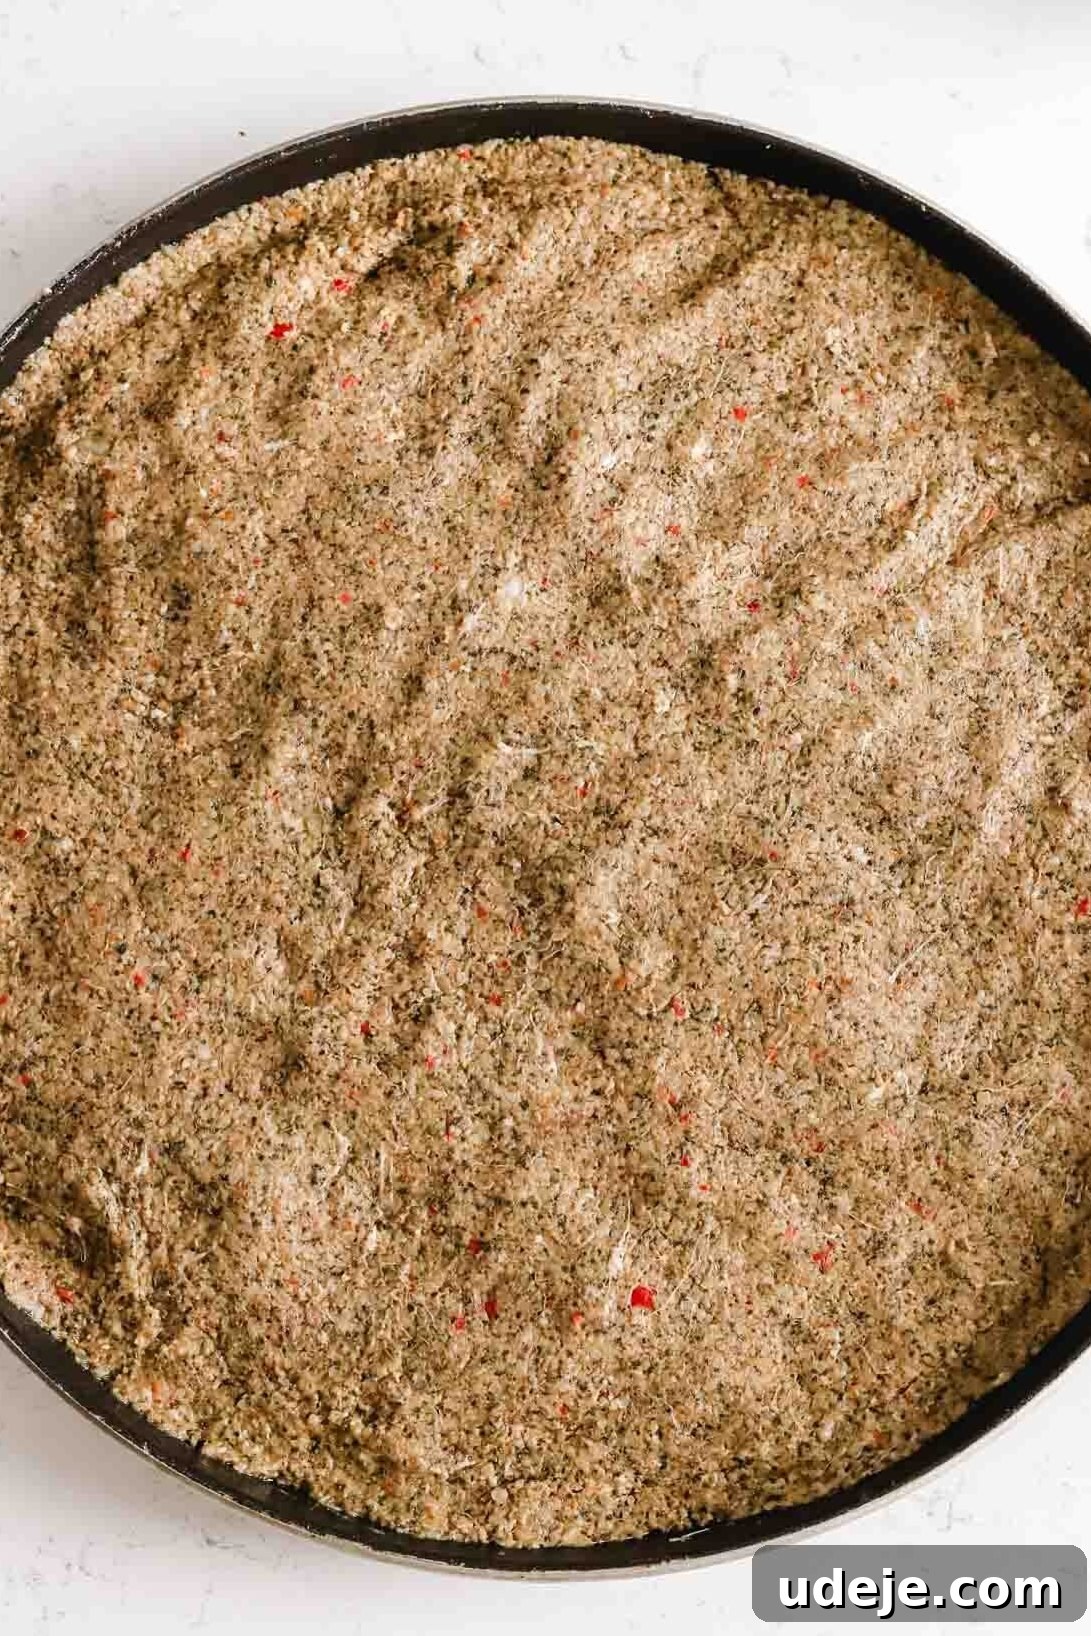
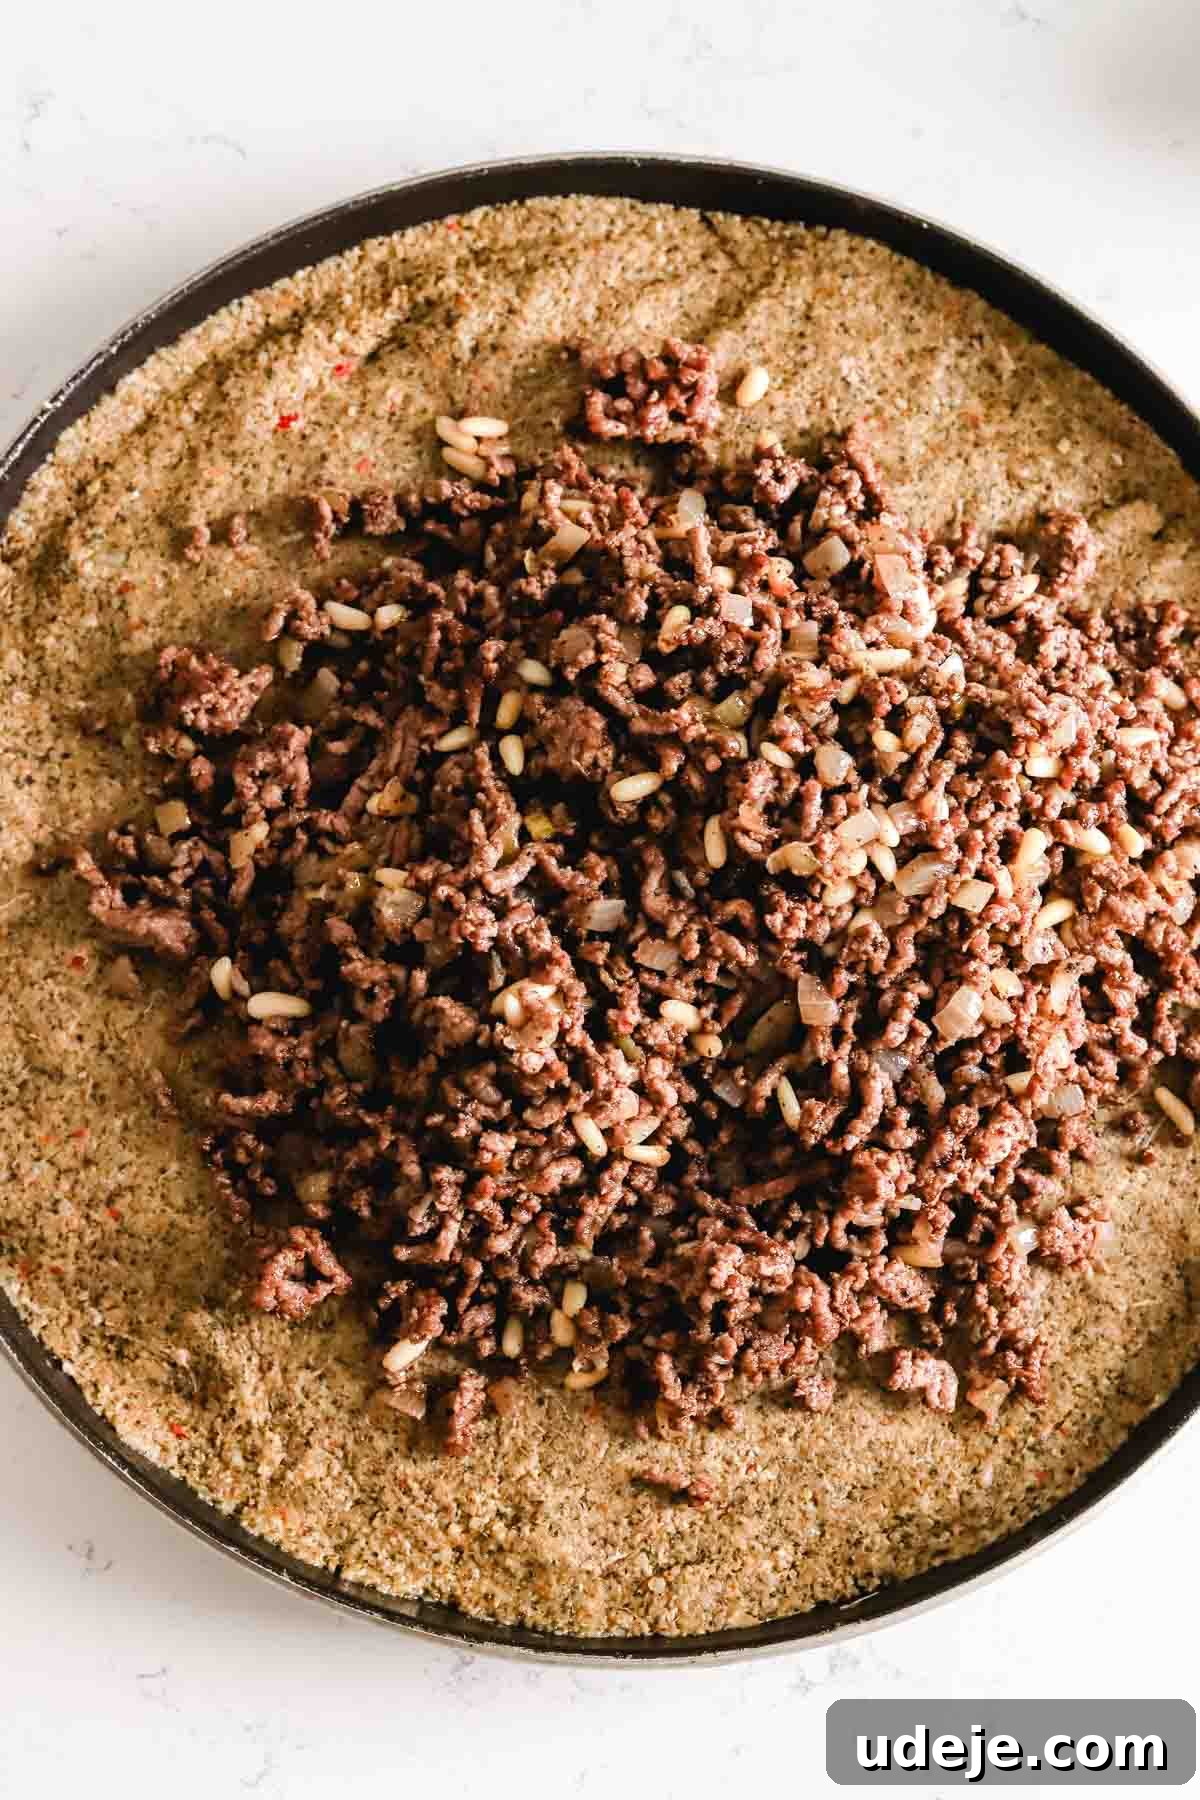
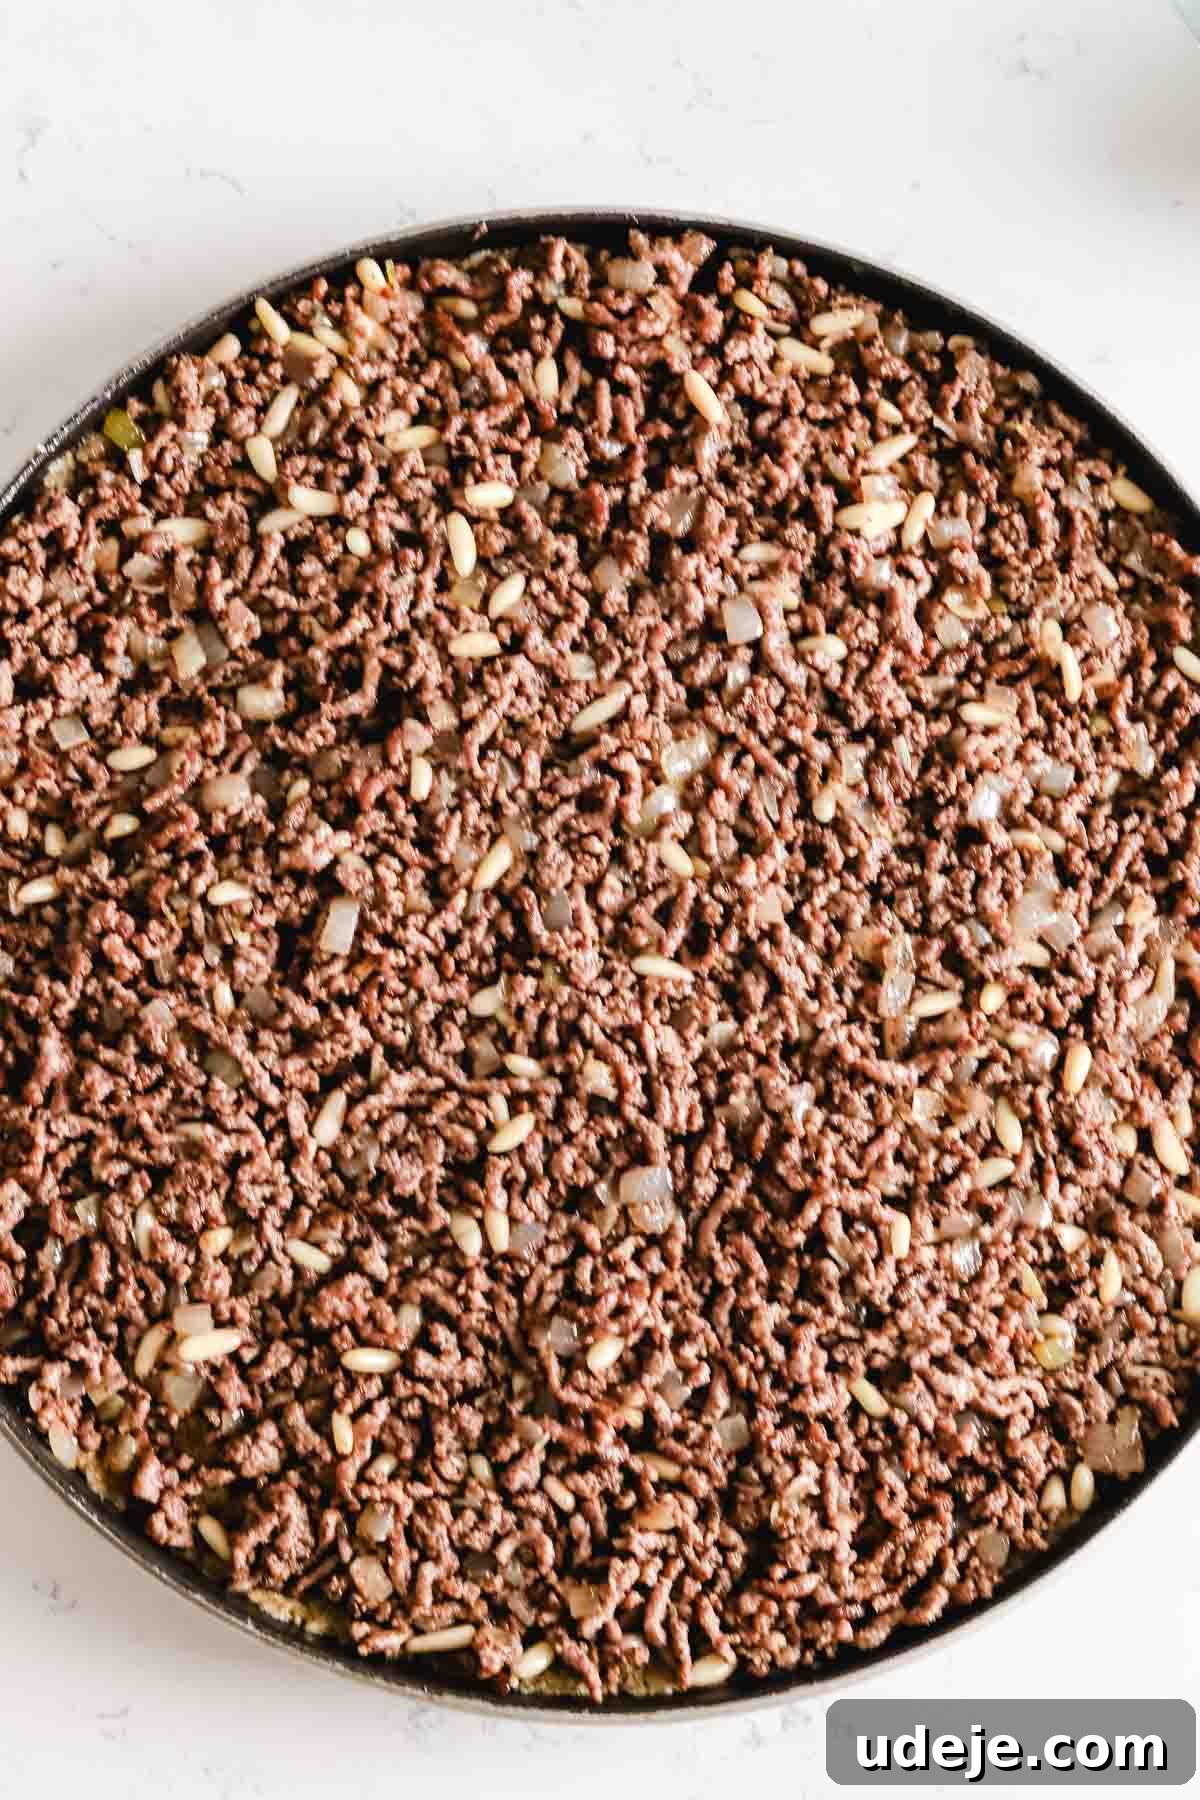
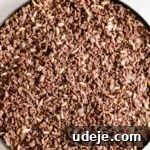
Once your base layer is set, spoon all of the cooled ground beef filling (hashweh) evenly over the dough. Gently pat it down to create a consistent layer, ensuring the filling reaches the edges without compressing it too much.
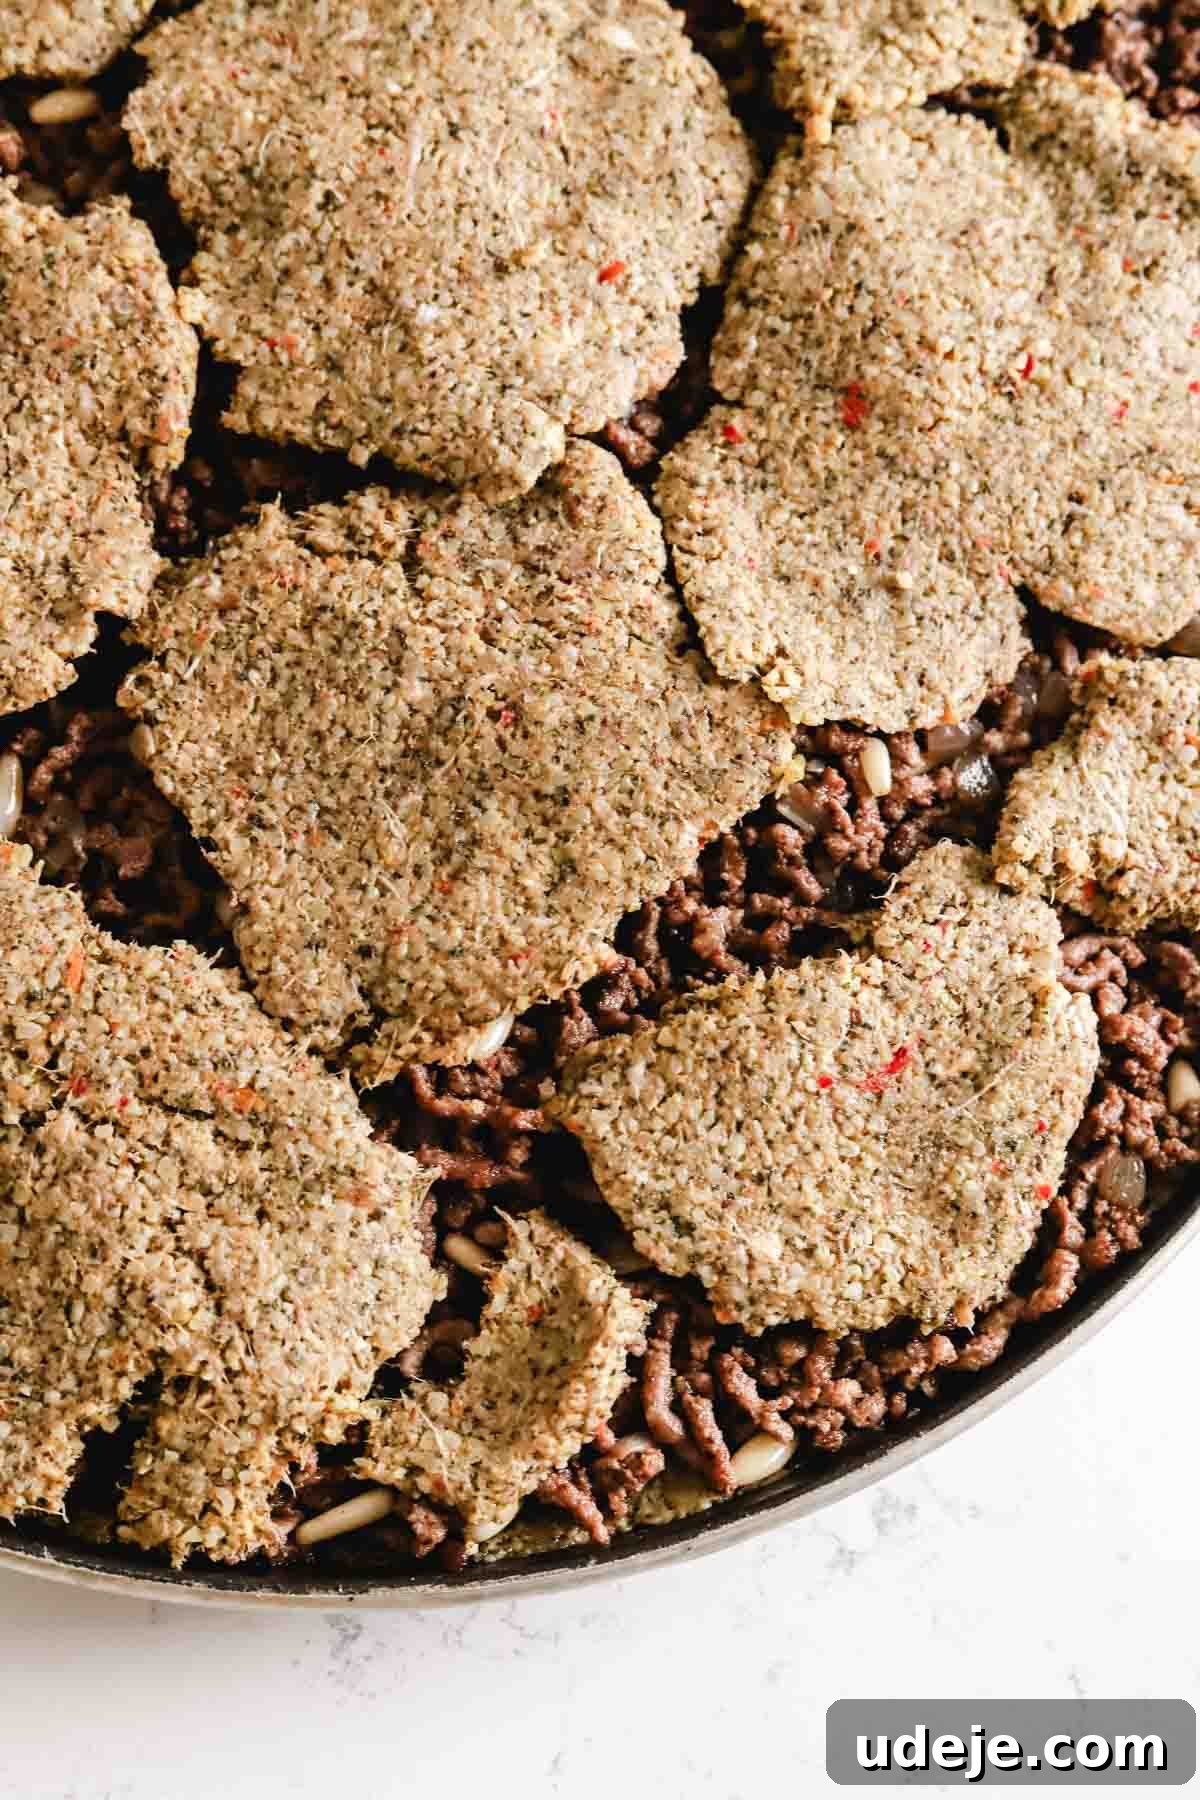
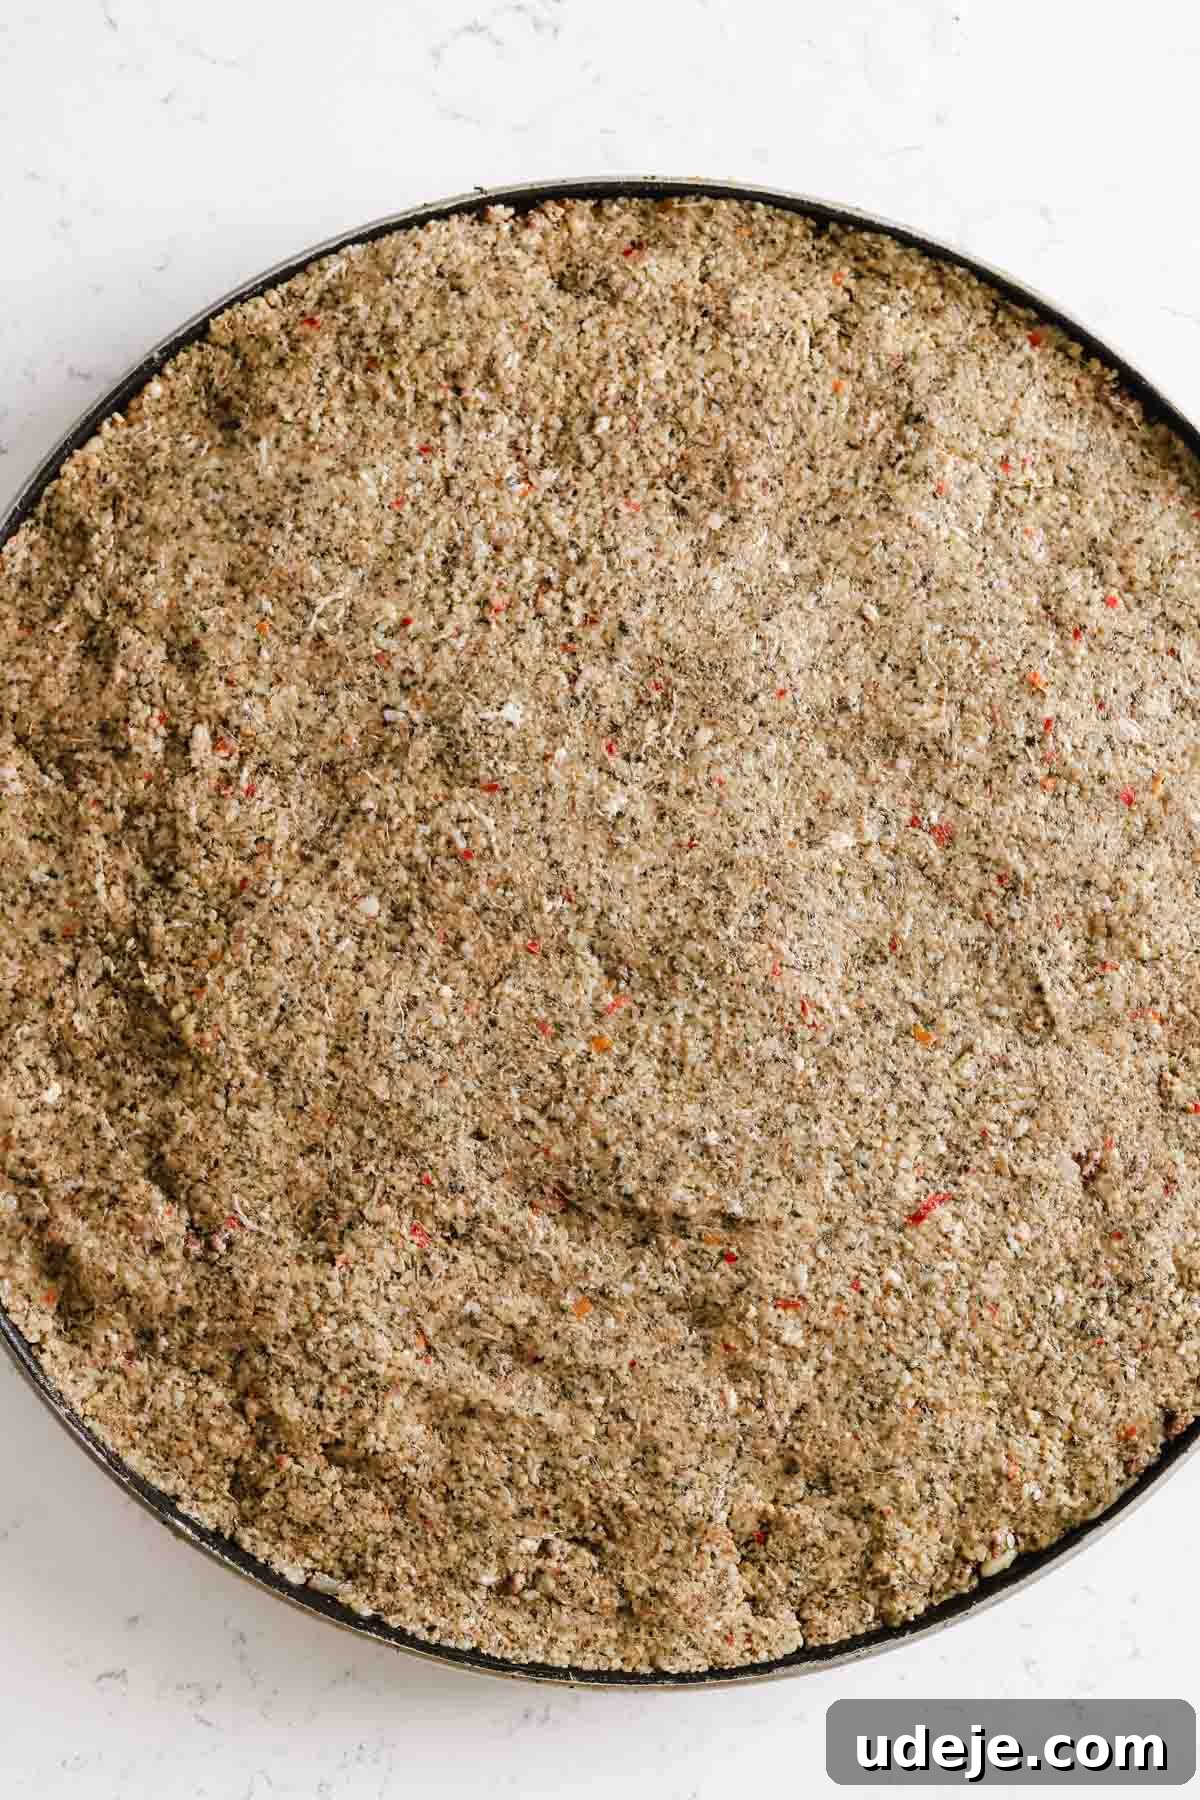
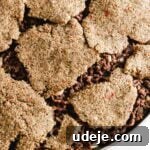
For the top layer of dough, wet your hands again to prevent sticking. Take fistfuls from the remaining kibbeh dough, pat them down gently between your palms to form small, thin patties, and carefully place them on top of the filling. Continue this process, arranging the patties as closely as possible until the entire surface of the hashweh is covered. Once all the dough is placed, re-wet your fingers and gently smooth the individual dough patties together, pressing them lightly to seal them and create one continuous, even top layer. This method ensures a beautiful, seamless finish.
Step 5: Scoring and Garnishing for Presentation
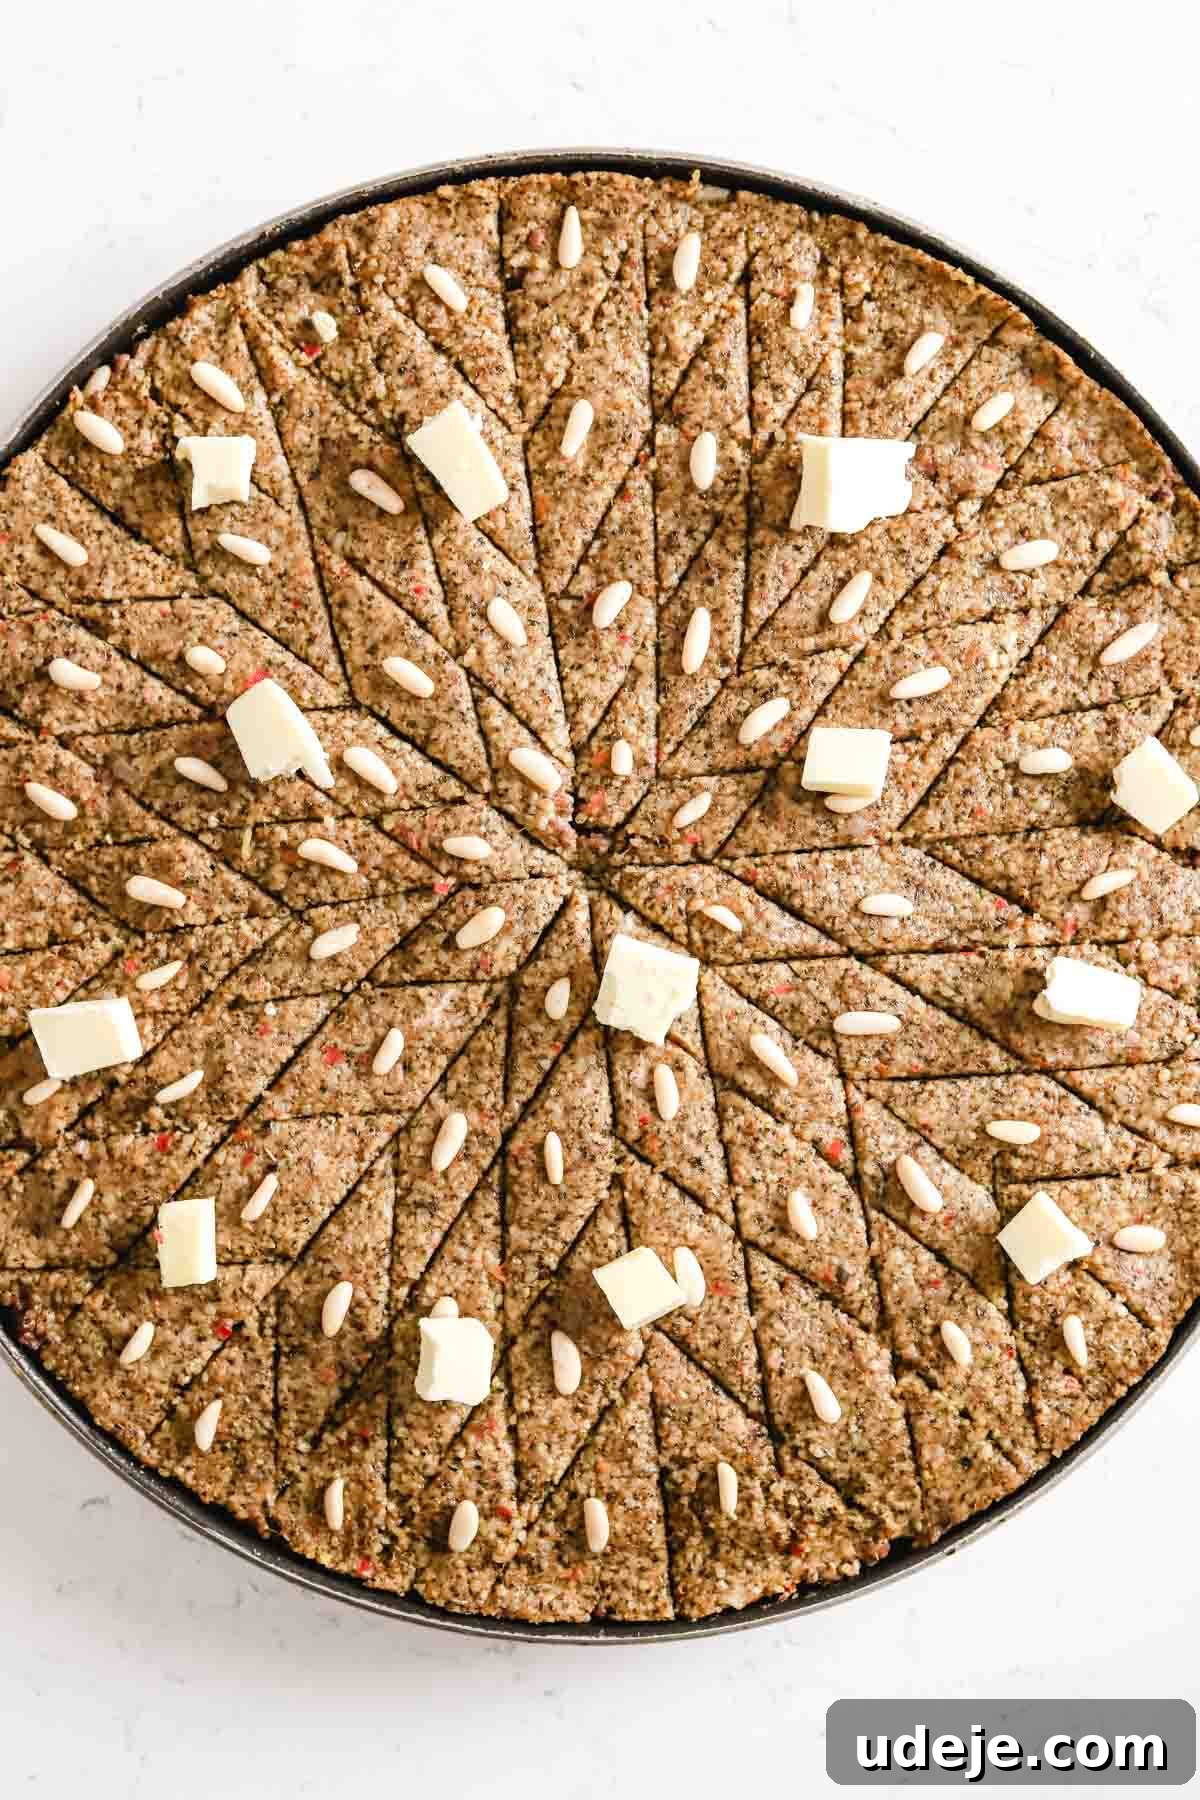
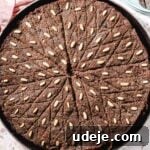
A hallmark of Kibbeh bil Sanieh is its beautifully scored top, typically adorned with a decorative diamond pattern. This scoring is purely for visual appeal and to help the butter/oil permeate the top layer, so you only need to cut through the very top dough layer, not all the way through to the filling. I’ll guide you through creating an intricate small diamond grid, but I’ll also provide a simpler option for ease.
For the Intricate Small Diamond Grid Pattern:
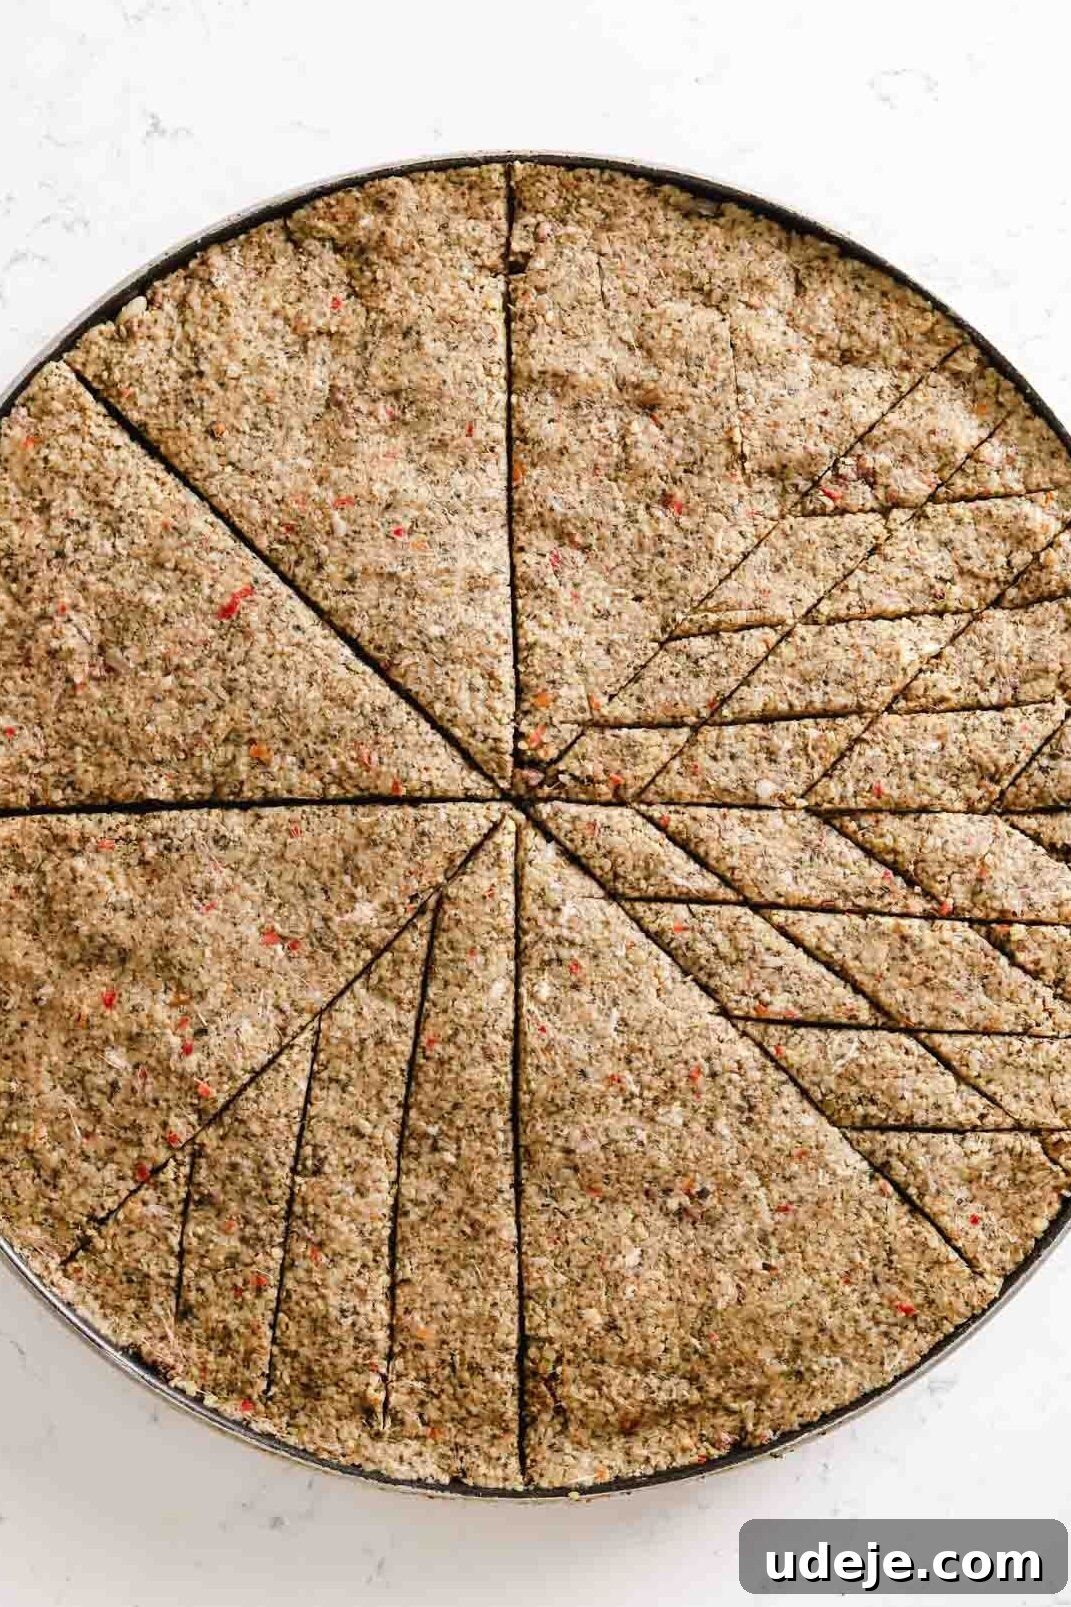
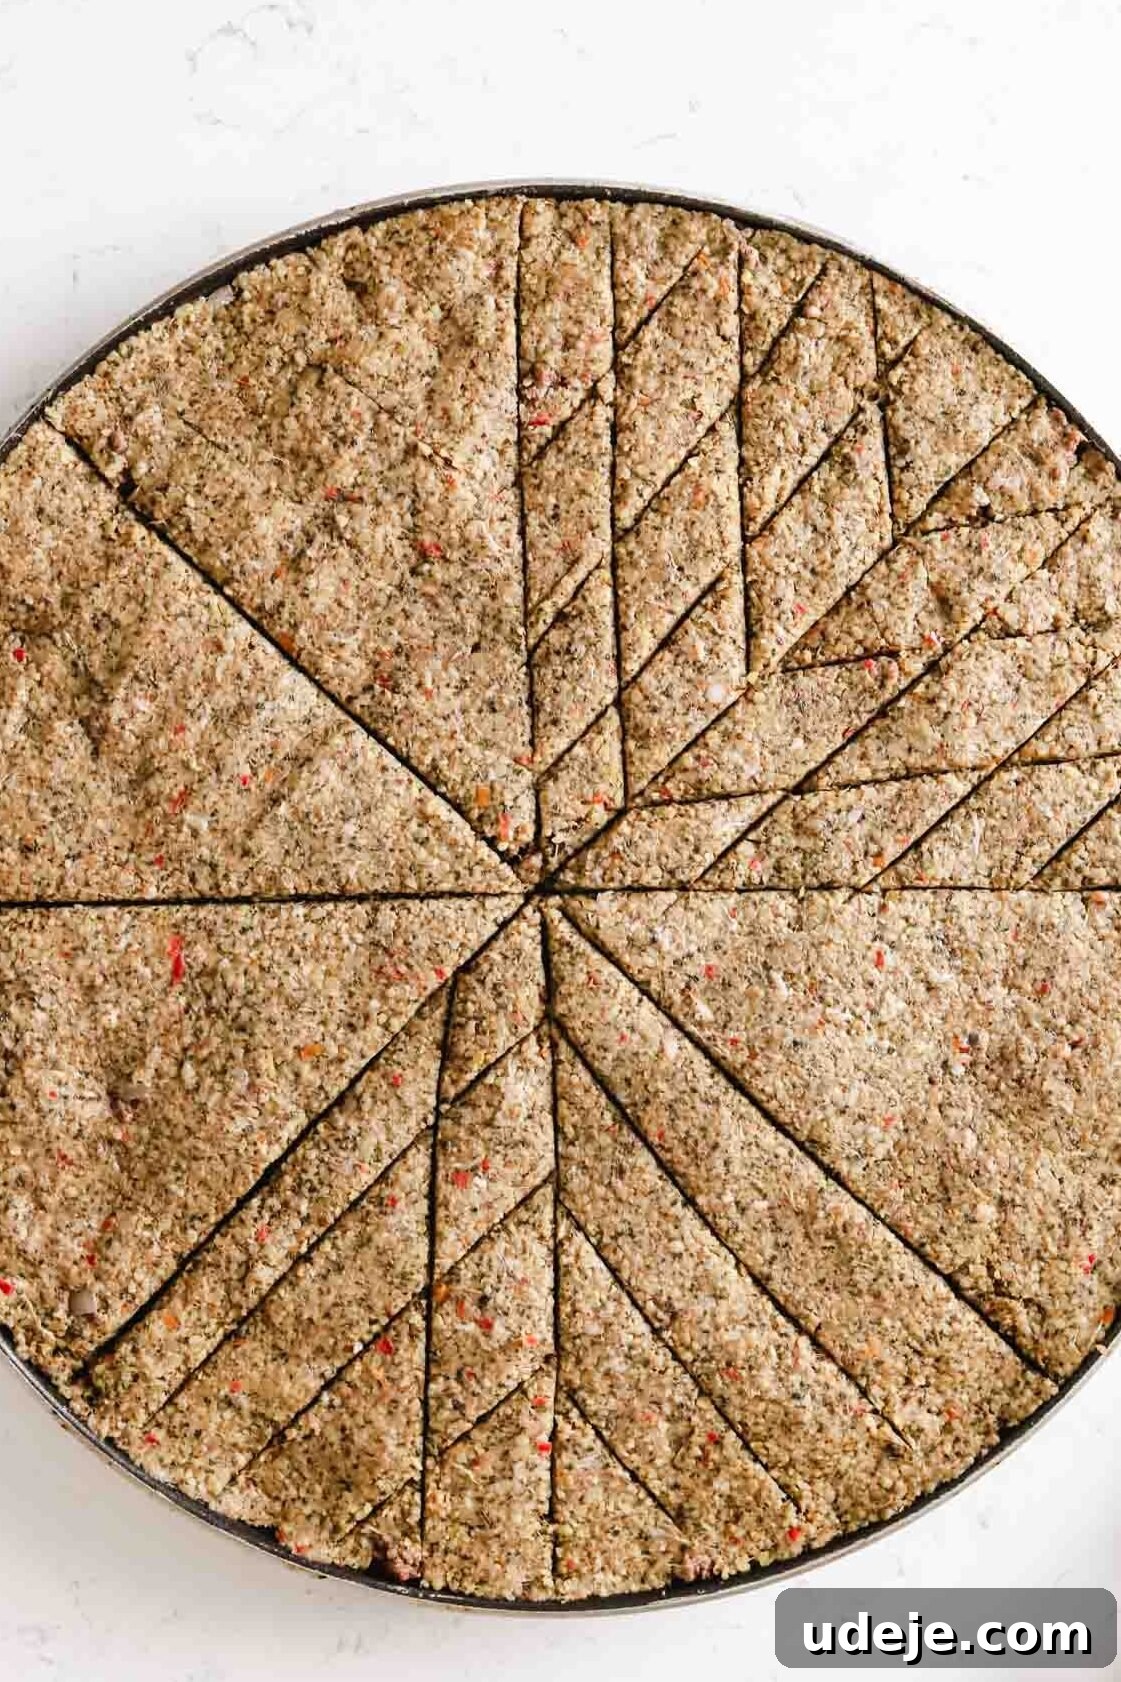
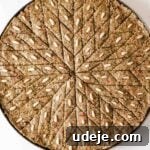
Begin by using a sharp knife to score the top layer into 8 even “pizza slices.” To achieve this, make one cut straight down the middle of the pan, then another cut horizontally across the center. Follow with two diagonal lines on either side, ensuring all slices are uniform.
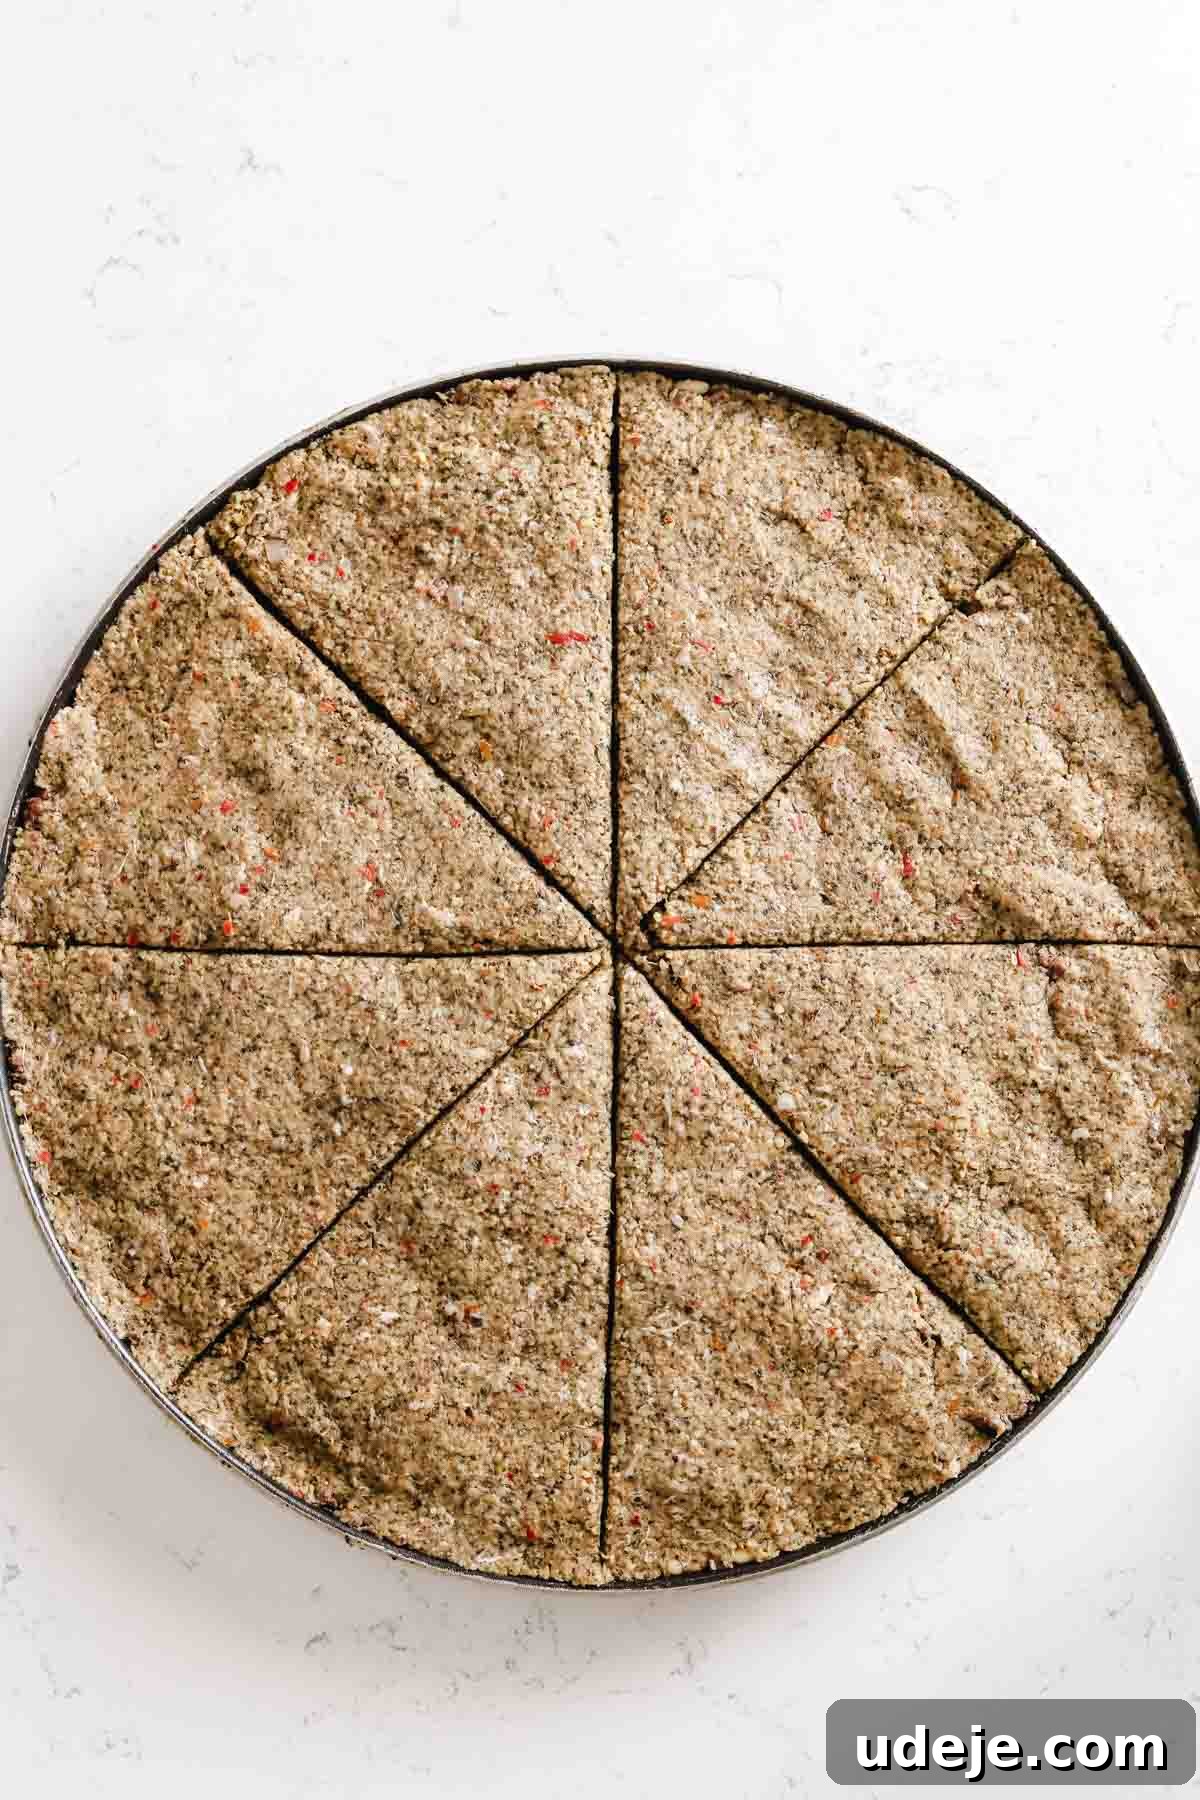
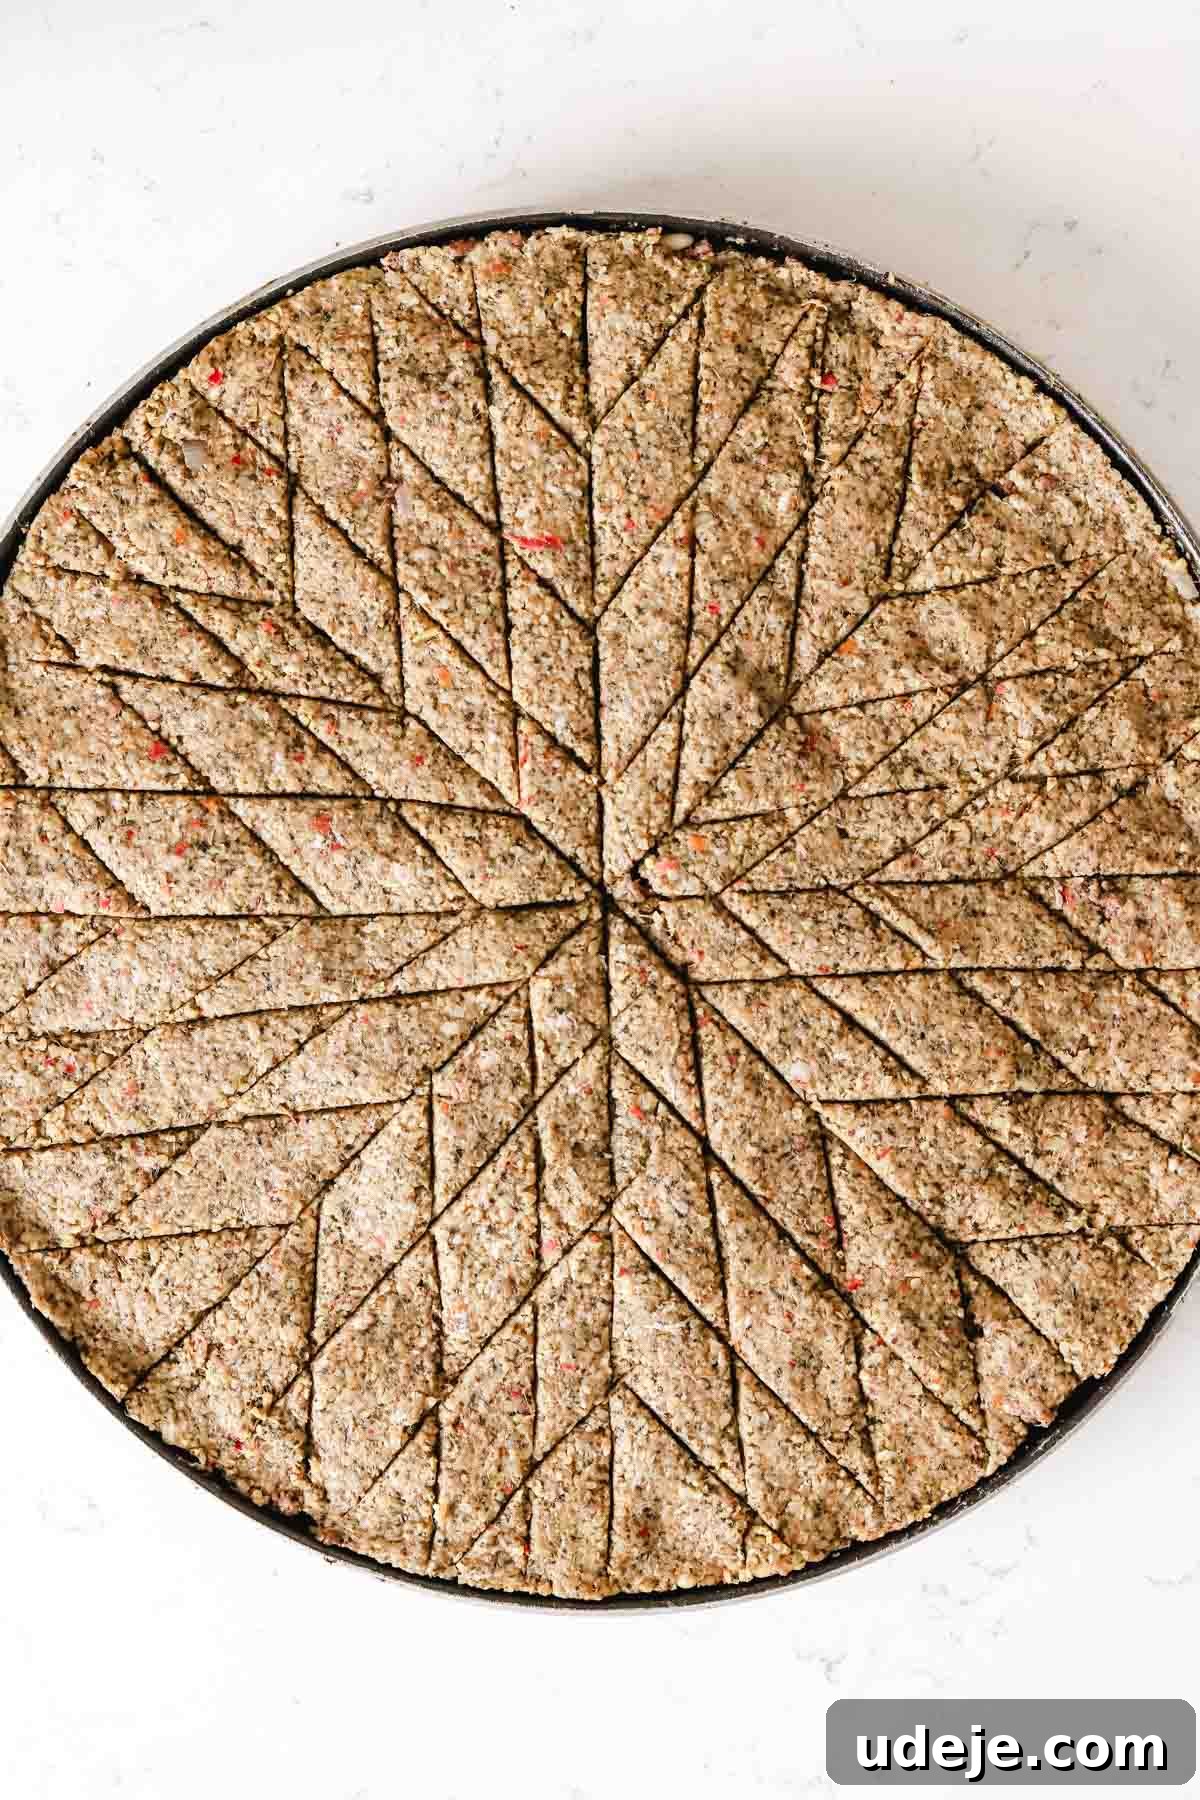
Next, focus on each individual “pizza slice.” Within each eighth, carefully score three parallel lines along one edge of the slice. Then, score another three parallel lines along the other edge of the same slice. Repeat this precise technique for all eight sections. As you complete this, a beautiful, intricate diamond-shaped grid pattern will gracefully emerge across the entire surface of your kibbeh, transforming it into a culinary work of art.
Once your intricate pattern is complete, delicately place a single pine nut in the center of each small diamond. This adds a beautiful visual accent and a delightful nutty crunch when baked.
To Create an Easier Pattern: For a simpler yet still elegant design, you can score the kibbeh into small square shapes or larger diamonds. For simple diamonds, score a series of straight, parallel lines across the entire surface. Then, rotate the pan slightly (about 45 degrees) and score another set of parallel lines that intersect the first, creating a classic diamond grid.
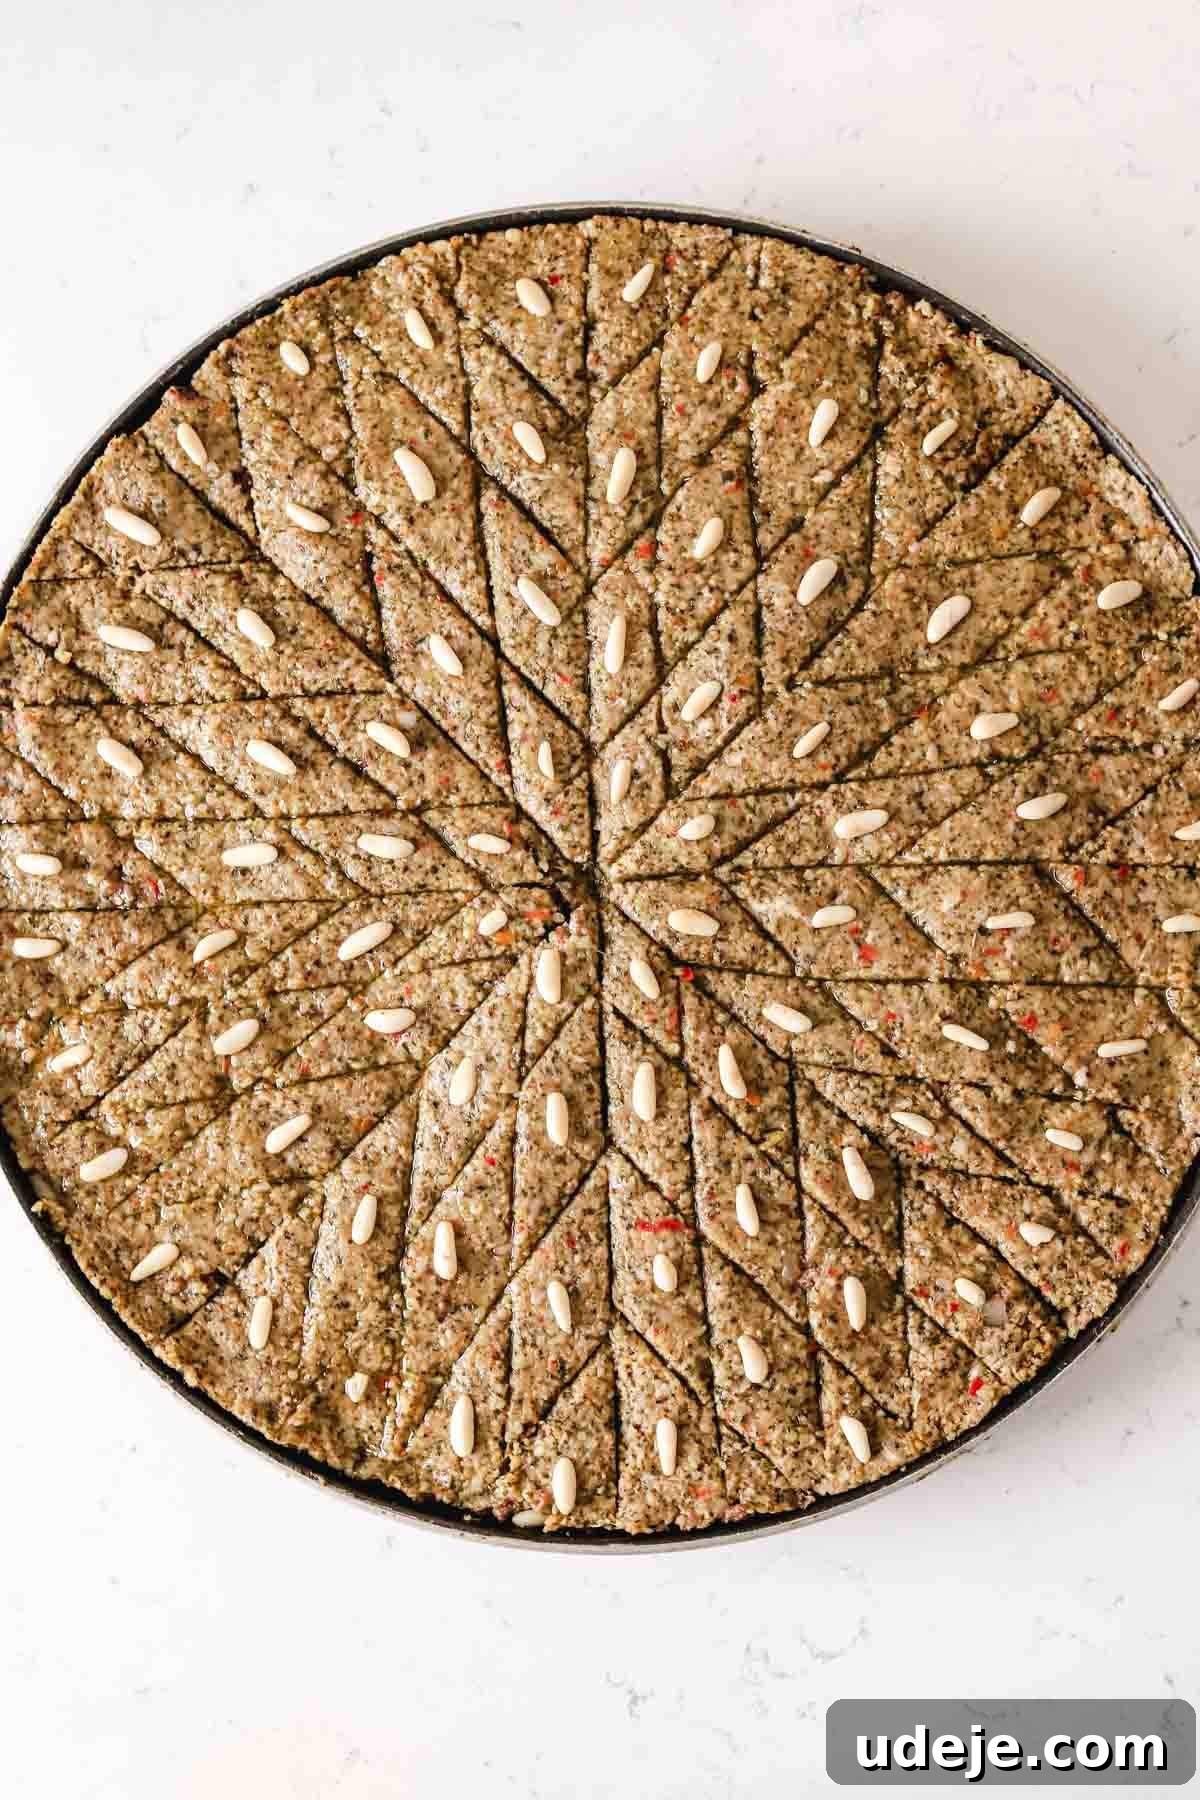
To enhance flavor and encourage a beautiful golden crust, generously drizzle the entire top surface of the kibbeh with olive oil. As an optional but highly recommended step, break up two tablespoons of cold butter into small pieces and scatter them evenly over the surface. The melting butter will seep into the dough, adding an incredible depth of rich, savory flavor and ensuring a supremely moist and tender result.
Step 6: Baking to Golden Perfection
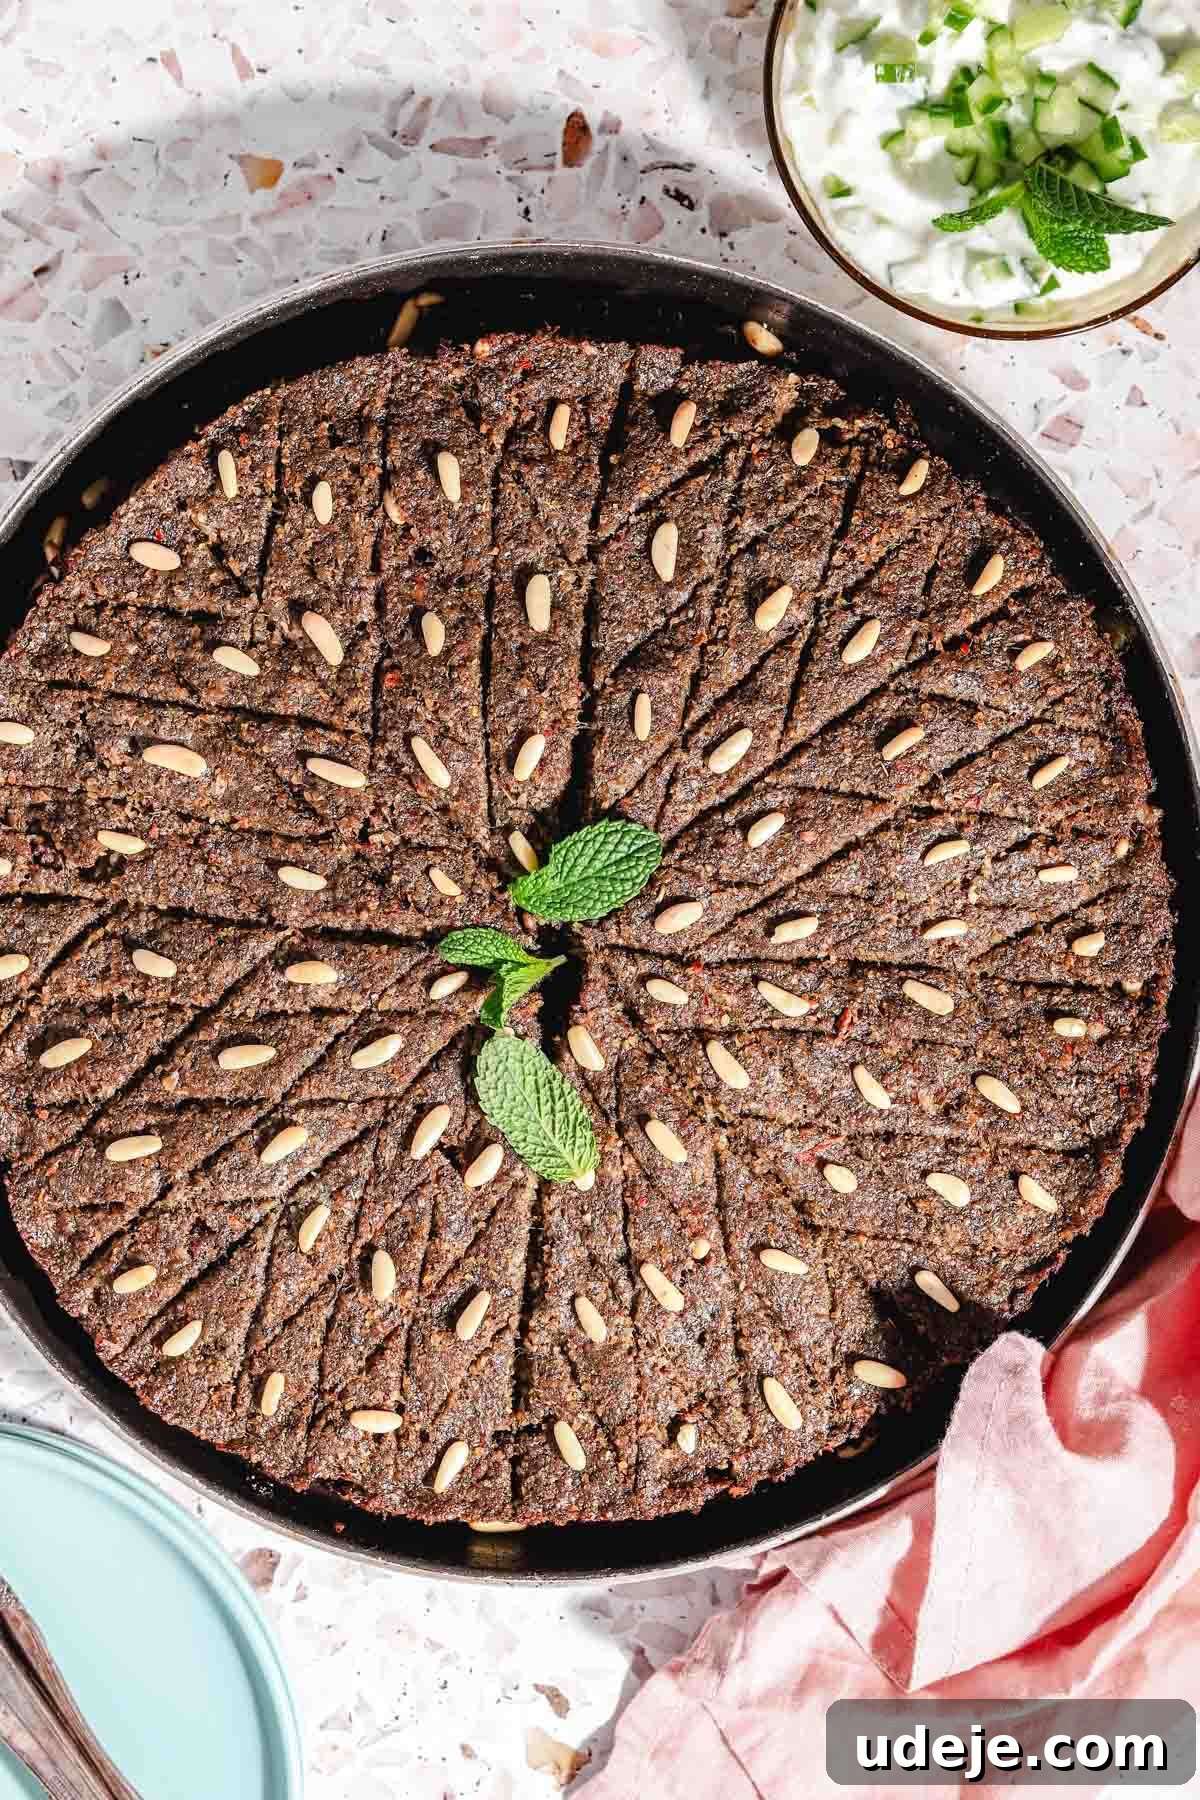
Finally, carefully transfer your assembled Kibbeh bil Sanieh to the preheated oven. Bake for approximately 45 minutes. During this time, the dough will cook through and the layers will meld beautifully. After 45 minutes, switch your oven to the broiler setting and broil the top for an additional 5 minutes. Keep a close eye on it during this stage, as broilers can vary in intensity. You are aiming for a gorgeous, deeply golden-brown crust that is slightly crispy and wonderfully aromatic. Once achieved, remove the kibbeh from the oven and let it rest for 5-10 minutes before slicing and serving. This resting period allows the juices to redistribute and the kibbeh to set, making for cleaner cuts.
Storage and Serving Suggestions for Kibbeh Bil Sanieh
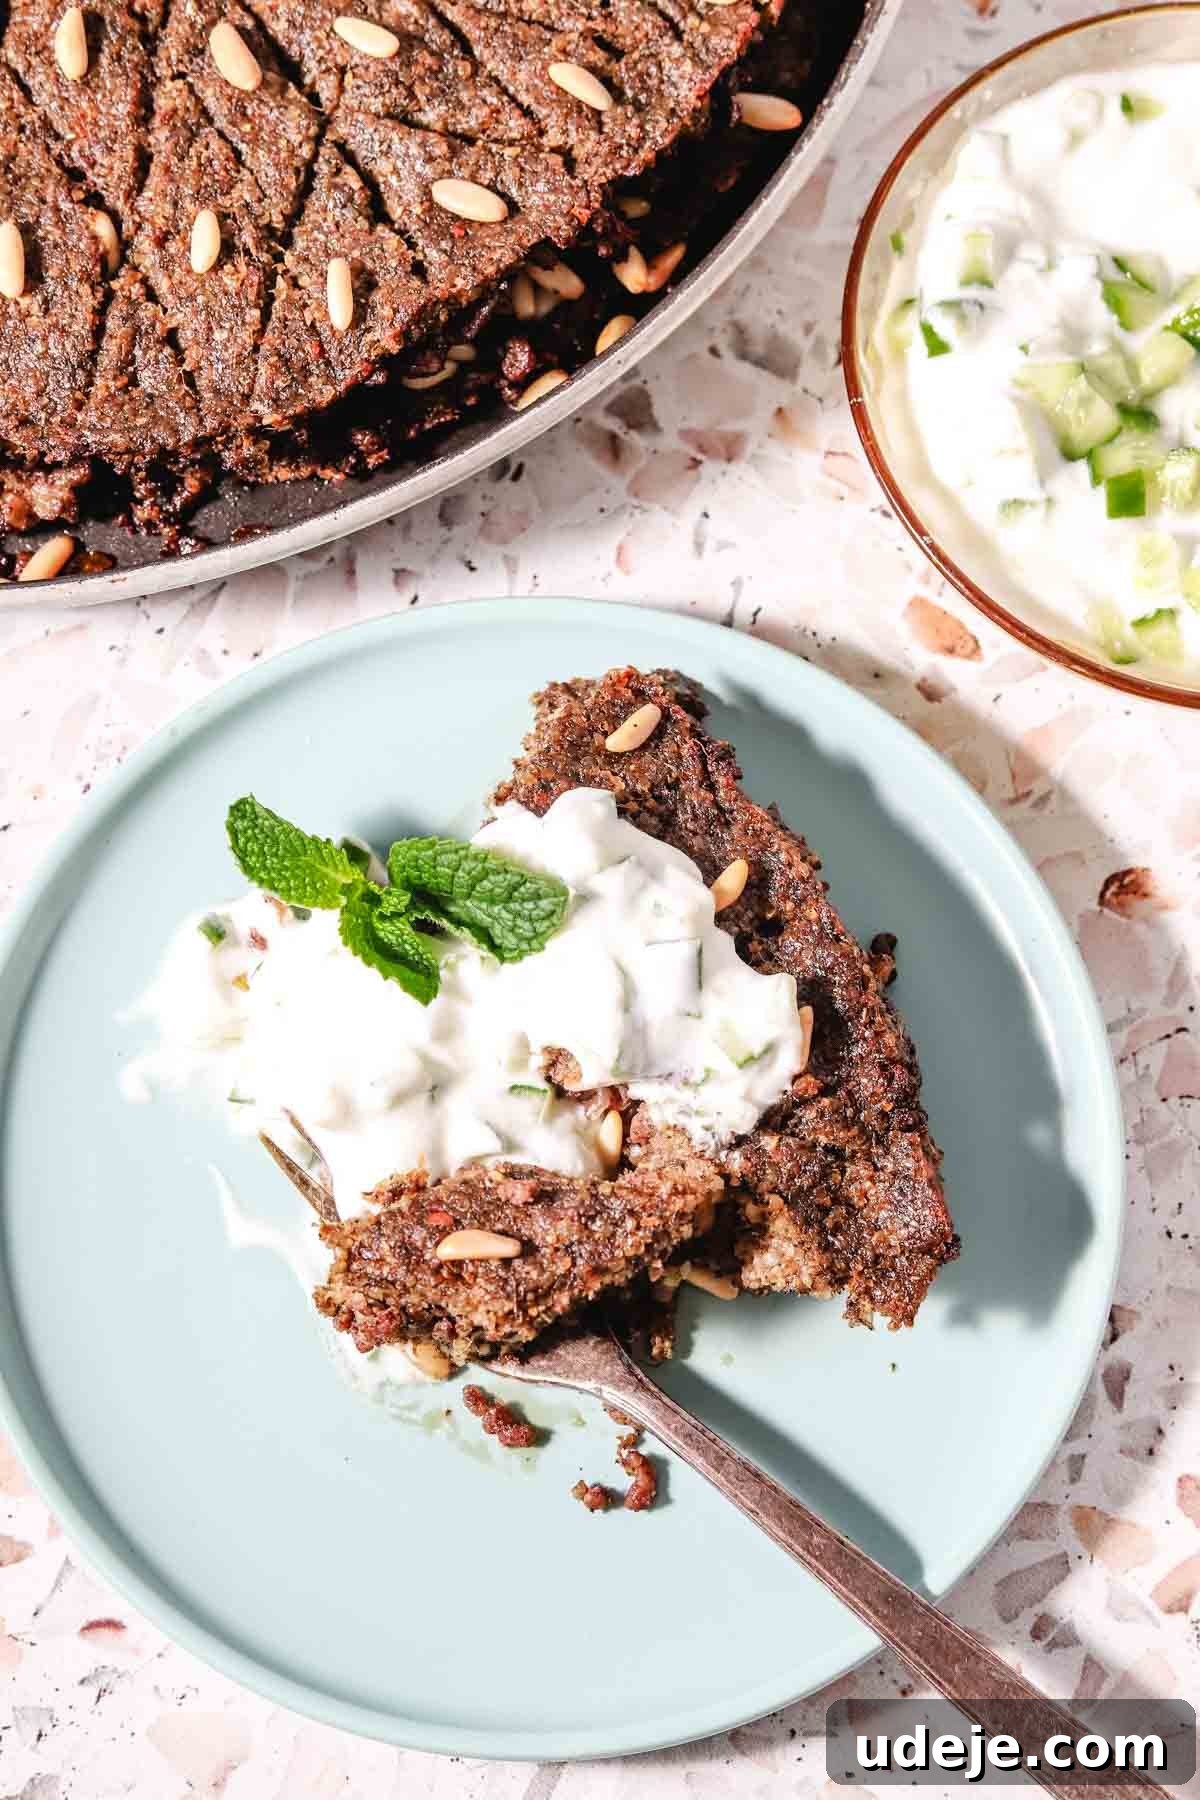
Kibbeh bil Sanieh is a complete and satisfying meal on its own, but its flavors are beautifully complemented by certain traditional side dishes. It is most commonly served with a refreshing cucumber yogurt salad (Jajik), whose cool tang provides a perfect counterpoint to the rich kibbeh. Alternatively, a crisp Lebanese cabbage salad (Malfouf Salad) with its bright lemon dressing also makes an excellent accompaniment, adding a fresh, zesty dimension to the meal. For a broader array of complementary textures and flavors, consider serving it alongside a simple green salad dressed with a vinaigrette, or with a selection of pickled vegetables (mekhalal) like turnips, cucumbers, or wild cucumbers. Fresh pita bread can also be offered for those who enjoy scooping up every last bit of flavor.
One of the many convenient aspects of Kibbeh bil Sanieh is its freezer-friendliness, making it an excellent meal prep option for busy households. Many families prepare a double batch, enjoying one immediately and freezing the other for later. To freeze, assemble the kibbeh in the pan as directed, but crucially, do not drizzle with olive oil or add butter to the top. Instead, cover the pan tightly first with plastic wrap, ensuring it’s well-sealed, and then with aluminum foil to prevent freezer burn. It can be stored in the freezer for up to 3 months, ready to be baked at a moment’s notice.
When you’re ready to bake from frozen, simply remove the pan from the freezer and allow it to thaw at room temperature for 1-2 hours. Once partially thawed, remove the plastic wrap and foil cover, then generously drizzle the top with olive oil and add the optional butter pieces. Proceed to bake as directed in the recipe. You may find it needs an additional 10-15 minutes of baking time to ensure it is heated through and achieves that beautiful golden crust. This convenient method ensures you always have a comforting, homemade Middle Eastern meal ready to go.
If you tried this delicious recipe, we’d love to hear from you! Please consider leaving a star rating and a review in the comments section below. Your feedback truly helps others discover and enjoy these recipes. You can also connect with us on Instagram and say hello!
Kibbeh Bil Sanieh (Baked Kibbeh)
8
people
35
mins
50
mins
1
hr
25
mins
Amina Al-Saigh
Ingredients
For the Meat Filling
-
2
tablespoons
olive oil -
1
large
onion,
finely chopped -
500
grams
ground beef -
1
teaspoon
salt -
1/2
teaspoon
black pepper -
1
tablespoon
seven spice
-
3
tablespoons
pine nuts
For the Kibbeh Dough
-
1 1/2
cups
fine bulgur -
1
cup
warm water -
1
large
white onion,
quartered -
1
red pepper ,
quartered -
2
teaspoons
salt -
1/4
cup
kamouneh spice,
See Notes -
1/4
cup
dried mint -
1/4
cup
dried basil -
500
grams
ground beef,
10% fat (extra lean)
For Assembly
-
1/2
cup
olive oil -
2
tablespoons
pine nuts or almonds -
2
tablespoons
cold butter,
optional
Equipment
-
1
Food Processor
Large
Instructions
-
 First, start by soaking the bulgur with 1 cup warm water and set aside (for at least 15 minutes).
For the Meat Filling
-
In a heated pan with olive oil, sauté the onion until translucent.
-
Add the beef and spices, and break up the beef using a wooden spoon. Cook until the meat is browned, about 10 minutes.
-
Mix in pine nuts and set the filling aside to cool.
For the Kibbeh Dough
-
In a food processor, add the onion, red bell pepper, herbs, and spices. Process until the vegetables are chopped, then add the soaked bulgur. Continue to process the mixture until well combined and homogeneous.
-
Add the raw ground beef to the food processor and continue to process until a smooth dough forms, scraping the edges as needed. Ensure you process the mixture for at least 5 minutes; you are looking for a dough-like consistency. Place the dough in a large bowl and use your hands to divide it evenly in half.
To Assemble the Kibbeh
-
Preheat the oven to 400 F (200°C), and grease a 35 cm (or 30 cm will work too) round pan with 2 tablespoons of the olive oil. The pan must be at least 1 inch in depth.
-
Using your hands, spread the first half of the dough in the pan and gently press it to form a smooth layer.
-
Spoon all the filling over the base layer.
-
Then, with wet hands, grab fistfuls from the remaining dough and pat them down between your palms to form small thin layers, then place on top of the filling. Repeat this until you’ve used up all the dough, placing them as close as possible. Then, wet your fingers and gently smooth the dough patties together to close them all up and create one even layer.
-
With a knife, score the top of the kibbeh into the shown pattern. To do this, start by cutting the kibbeh into 8 even “pizza slices.” Then, working on each eighth at a time, create 3 cuts parallel to one edge of the pizza slice, and then 3 cuts parallel to the other side of the other edge of the slice. This will create small diamond shapes within each eighth. Please refer to the blog post for other easier cutting methods. You only need to cut through the top layer; this is just to decorate the kibbeh and not to actually create pieces. Top each small diamond with a pine nut or almond and drizzle with the remaining 2 tablespoons of the olive oil to cover.
-
Top with the the butter pieces and bake for 45 minutes. Finally, broil for an additional 5 minutes to achieve a golden color on top. Remove from the oven and rest for 5 minutes. Then, cut into desired sized pieces and serve with a cucumber yogurt salad or any salad of choice.
Notes
- Try to buy the finest bulgur you can find on the market, as it will help with getting a smooth dough to spread. Be aware that coarse bulgur will not work in this recipe.
- This recipe can be frozen for up to 3 months and then baked when needed. Simply assemble the kibbeh, then cover tightly and freeze before baking. Once ready to bake, thaw it at room temperature for an hour, drizzle of olive oil or butter, then bake as directed.
-
If you can’t find a ready-made kamouneh spice mixture, you can make it yourself by blending the following herbs and spices, then store in an airtight container and use as needed:
- 2 tablespoons Cumin seeds
- 2 tablespoons Dried rose petals
- 1 tablespoon Black peppercorns
- 3 teaspoons Dried marjoram
- 1 tablespoon Dried basil
- 1 tablespoon Dried mint
- ½ teaspoon Cinnamon
- 1 tablespoon 7 spice
Serving:
1
person
,
Calories:
658
kcal
,
Carbohydrates:
33
g
,
Protein:
30
g
,
Fat:
47
g
,
Saturated Fat:
13
g
,
Polyunsaturated Fat:
5
g
,
Monounsaturated Fat:
25
g
,
Trans Fat:
2
g
,
Cholesterol:
89
mg
,
Sodium:
1012
mg
,
Potassium:
930
mg
,
Fiber:
12
g
,
Sugar:
3
g
,
Vitamin A:
1604
IU
,
Vitamin C:
22
mg
,
Calcium:
330
mg
,
Iron:
17
mg