

Step into the vibrant world of Turkish cuisine with Turkish Pide, a universally beloved, boat-shaped flatbread that captures hearts and palates worldwide. Often affectionately dubbed ‘Turkish Pizza,’ Pide is far more than just a flatbread; it’s a culinary canvas, traditionally baked in a stone oven, boasting a soft, delightfully chewy yeast dough and an endless array of savory fillings. From rich, spiced ground beef (kıymalı pide) and smoky Turkish sausage (sucuklu pide) to creamy, melted cheeses (peynirli pide) and fresh, earthy spinach, Pide offers a versatile and utterly satisfying experience. This comprehensive guide will walk you through crafting your own authentic, homemade Pide, complete with a foolproof dough recipe that guarantees a perfect texture every time. Whether served as a hearty breakfast, a delightful lunch, or part of a lavish sharing platter, Pide is a dish that promises both ease and immense enjoyment.

The allure of Turkish food is undeniable, a cuisine I hold dear. Living in the Greater Toronto Area is a blessing, as it grants access to an abundance of authentic Turkish restaurants, each offering a taste of home. And what’s my go-to order, without fail, every single time? Always Pide, complemented by a side of lahmacun! While my taste buds certainly appreciate robust meat-based classics like the iconic doner kebab and the rich iskender kebab, there’s a special, irresistible charm about the authentic savory pastries baked in a traditional stone oven. The unique smoky flavor and the perfect crisp-chewy texture of the dough are simply unparalleled, making Pide a true standout.
Weekends in our family are synonymous with elaborate breakfast spreads, a cherished tradition. For a delightful change from our usual Lebanese manakish, I decided to venture into making Pide. The real fun lies in the personalization; everyone gets to choose their preferred toppings, transforming a simple meal into an interactive and enjoyable culinary adventure. This flexibility makes Pide an ideal dish for family gatherings, appealing to all tastes and preferences. The joy of creating these delicious flatbreads at home, with the aroma filling the kitchen, is a rewarding experience that brings everyone together.
The Essence of Turkish Pide: A Culinary Gem
Turkish Pide holds a significant place in Turkish culinary culture, deeply rooted in tradition and celebrated for its versatility and comforting flavors. Originating from ancient Anatolia, Pide has evolved over centuries, becoming a staple in Turkish homes and eateries. It’s more than just a meal; it’s a reflection of Turkish hospitality and culinary artistry. The term “Pide” itself refers to a type of baked flatbread, but it’s the ingenious addition of savory toppings and its characteristic boat shape that truly set it apart. This distinct shape not only makes it visually appealing but also perfectly cradles its generous fillings, preventing spillage and enhancing every bite.
There are numerous regional variations of Pide across Turkey, each boasting unique fillings and slight differences in preparation. For instance, in the Black Sea region, Pide often features local cheeses and butter, while in other areas, it might be heavily laden with seasoned minced meat and vegetables. This rich diversity means there’s a Pide for every taste, from simple cheese and egg to more complex combinations of cured meats, herbs, and spices. Making Pide at home allows you to explore these variations or even create your own signature recipe, bringing a piece of Turkish culinary heritage into your kitchen.
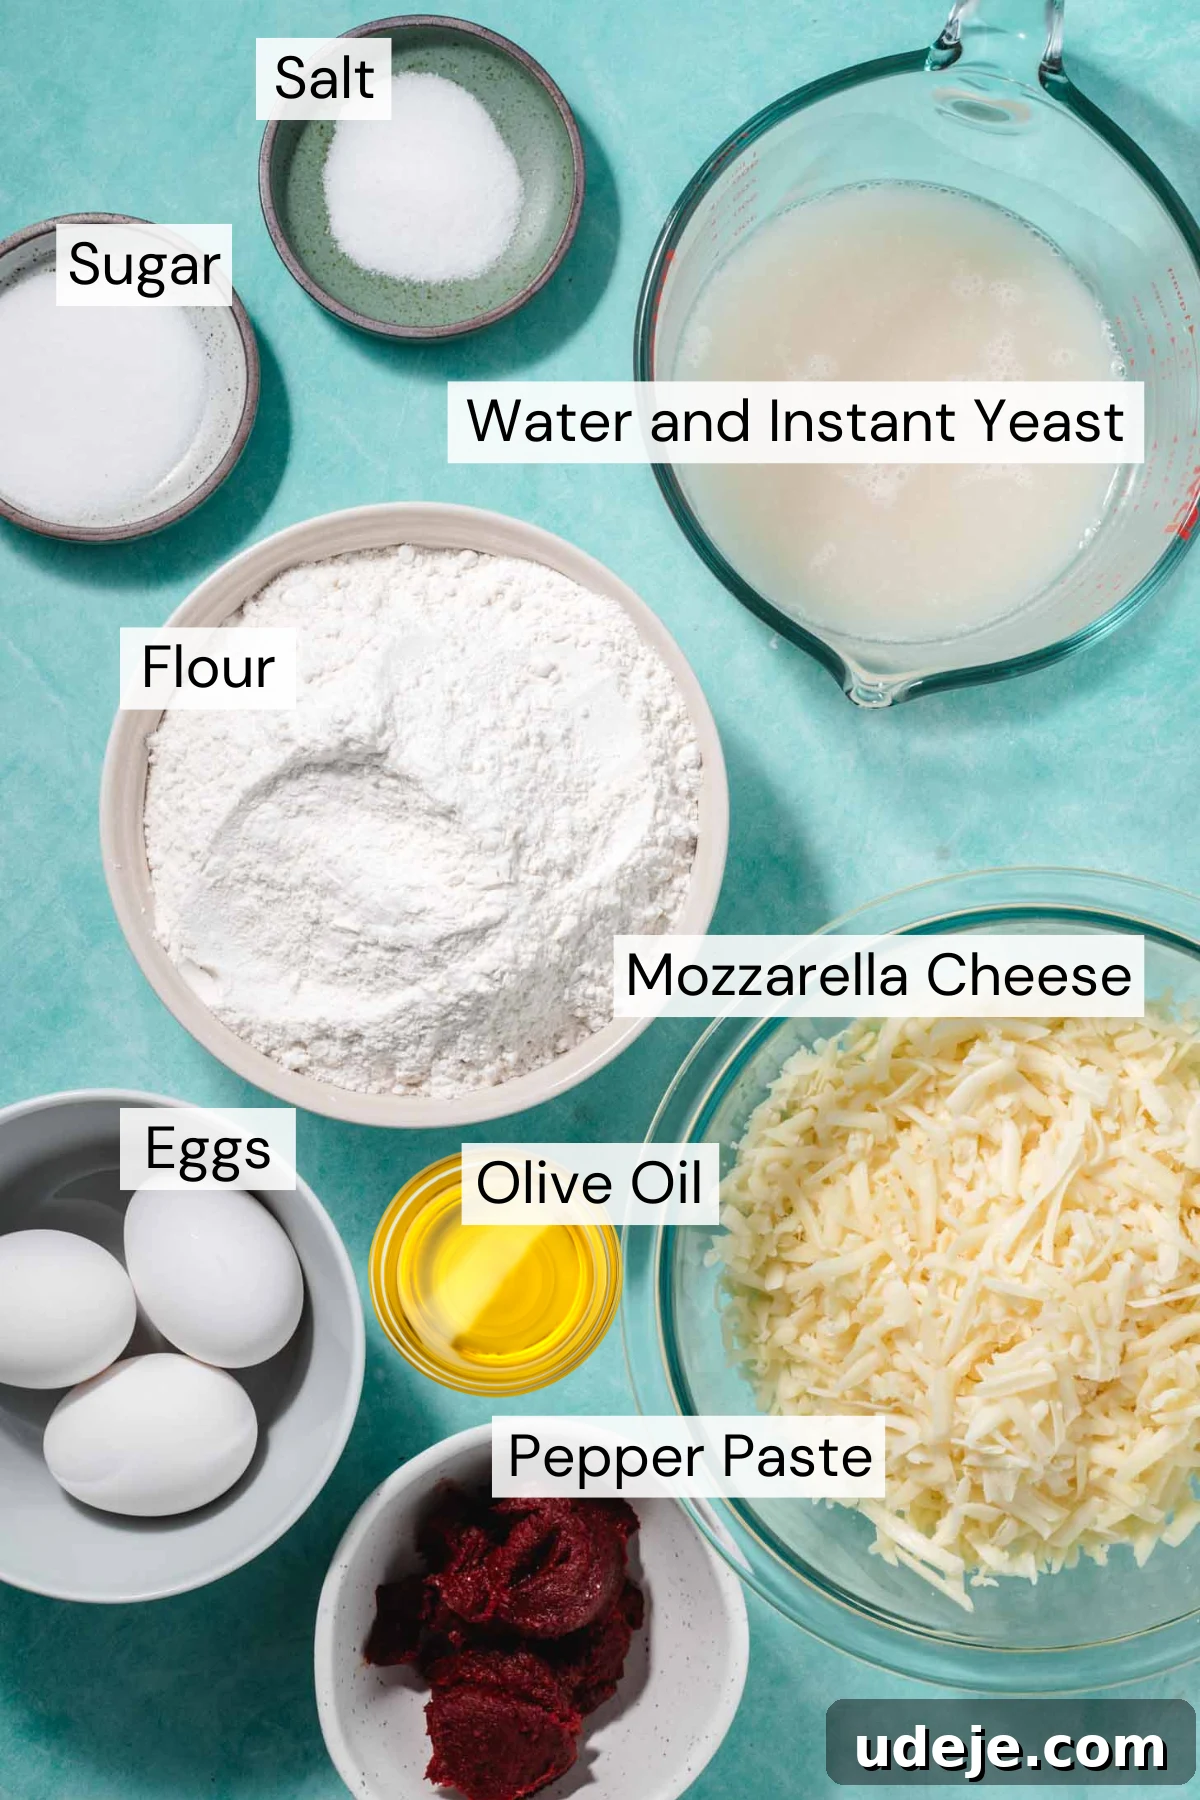
Ingredients You Will Need for Authentic Turkish Pide
Crafting the perfect Turkish Pide begins with a foundational, resilient yeast-based dough. The beauty of this recipe lies in its simplicity and reliability, designed to yield a dough that is both soft to the touch and possesses a satisfying, slight chew. I’ve rigorously tested this specific dough recipe using both a stand mixer, which remains my preferred method for its efficiency and consistent results, and traditional hand-kneading. In every instance, the outcome has been flawless: a supple, elastic dough that forms the ideal base for any filling. This ensures that whether you’re a seasoned baker or just starting, you’ll achieve professional-quality Pide at home.
Beyond the dough, the true magic of Pide comes alive with the toppings. The flexibility to customize these makes Pide a truly communal and enjoyable dish. Below, I’ll detail all my favorite fillings, providing you with a spectrum of choices to cater to every preference. From classic cheese and fresh vegetables to robust spiced meats, each topping option is designed to complement the tender dough, creating a harmonious blend of textures and flavors. Prepare to unleash your creativity and assemble your ultimate Turkish Pide masterpieces.
Step-by-Step Process to Master Your Homemade Pide
The journey to a perfect Pide starts with the dough, an essential element that dictates the final texture and flavor. The first critical step is to prepare this yeast-based dough, allowing it at least one hour to rise. This rising period is crucial for developing the dough’s characteristic light and airy texture. While I personally favor using a stand mixer for its consistent kneading and time-saving benefits, you can certainly achieve excellent results by hand-kneading. If opting for a stand mixer, ensure it kneads the dough for a minimum of 3-5 minutes to properly develop the gluten. A crucial preliminary check is to test your instant yeast; this simple step guarantees its activity and prevents disappointment later in the process.
PRO TIP: Confirming Yeast Activity: To ensure your yeast is vibrant and ready to work its magic, combine the specified amount of yeast with warm water (and a pinch of sugar if using). Let this mixture stand for a few minutes. You should observe a subtle layer of foam forming on the surface. While a vigorous bubble party isn’t strictly necessary, seeing this light foam is a clear indicator of active yeast. If your mixture remains flat and lifeless, it’s a sign that your yeast is no longer viable, and a fresh batch is needed to proceed successfully.
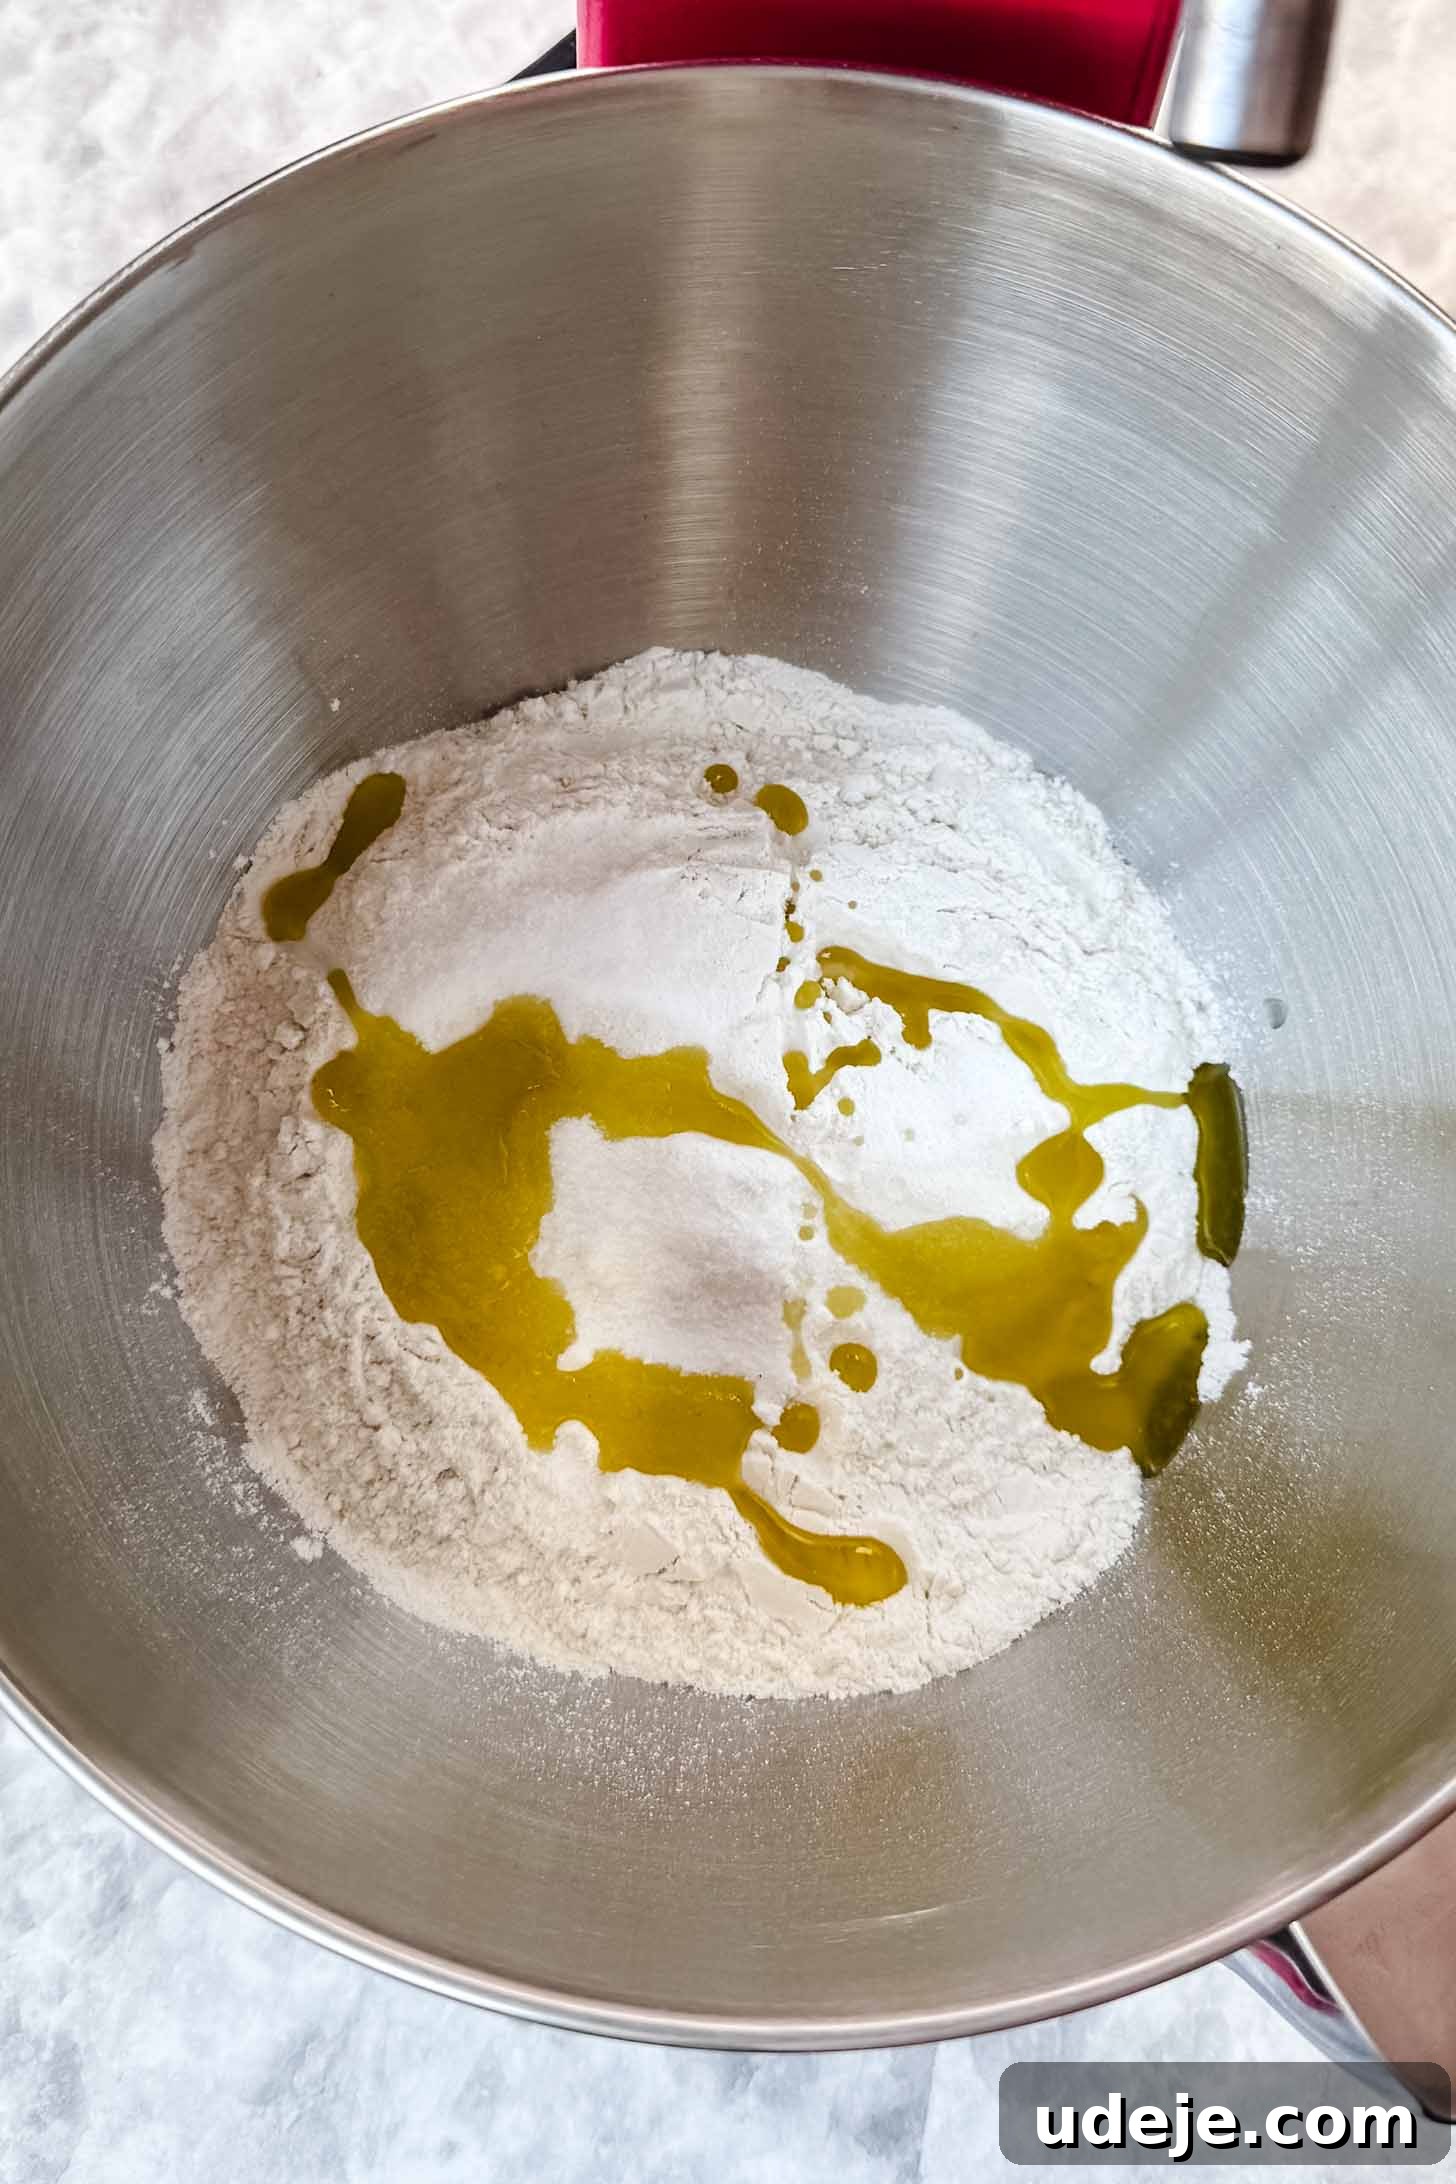
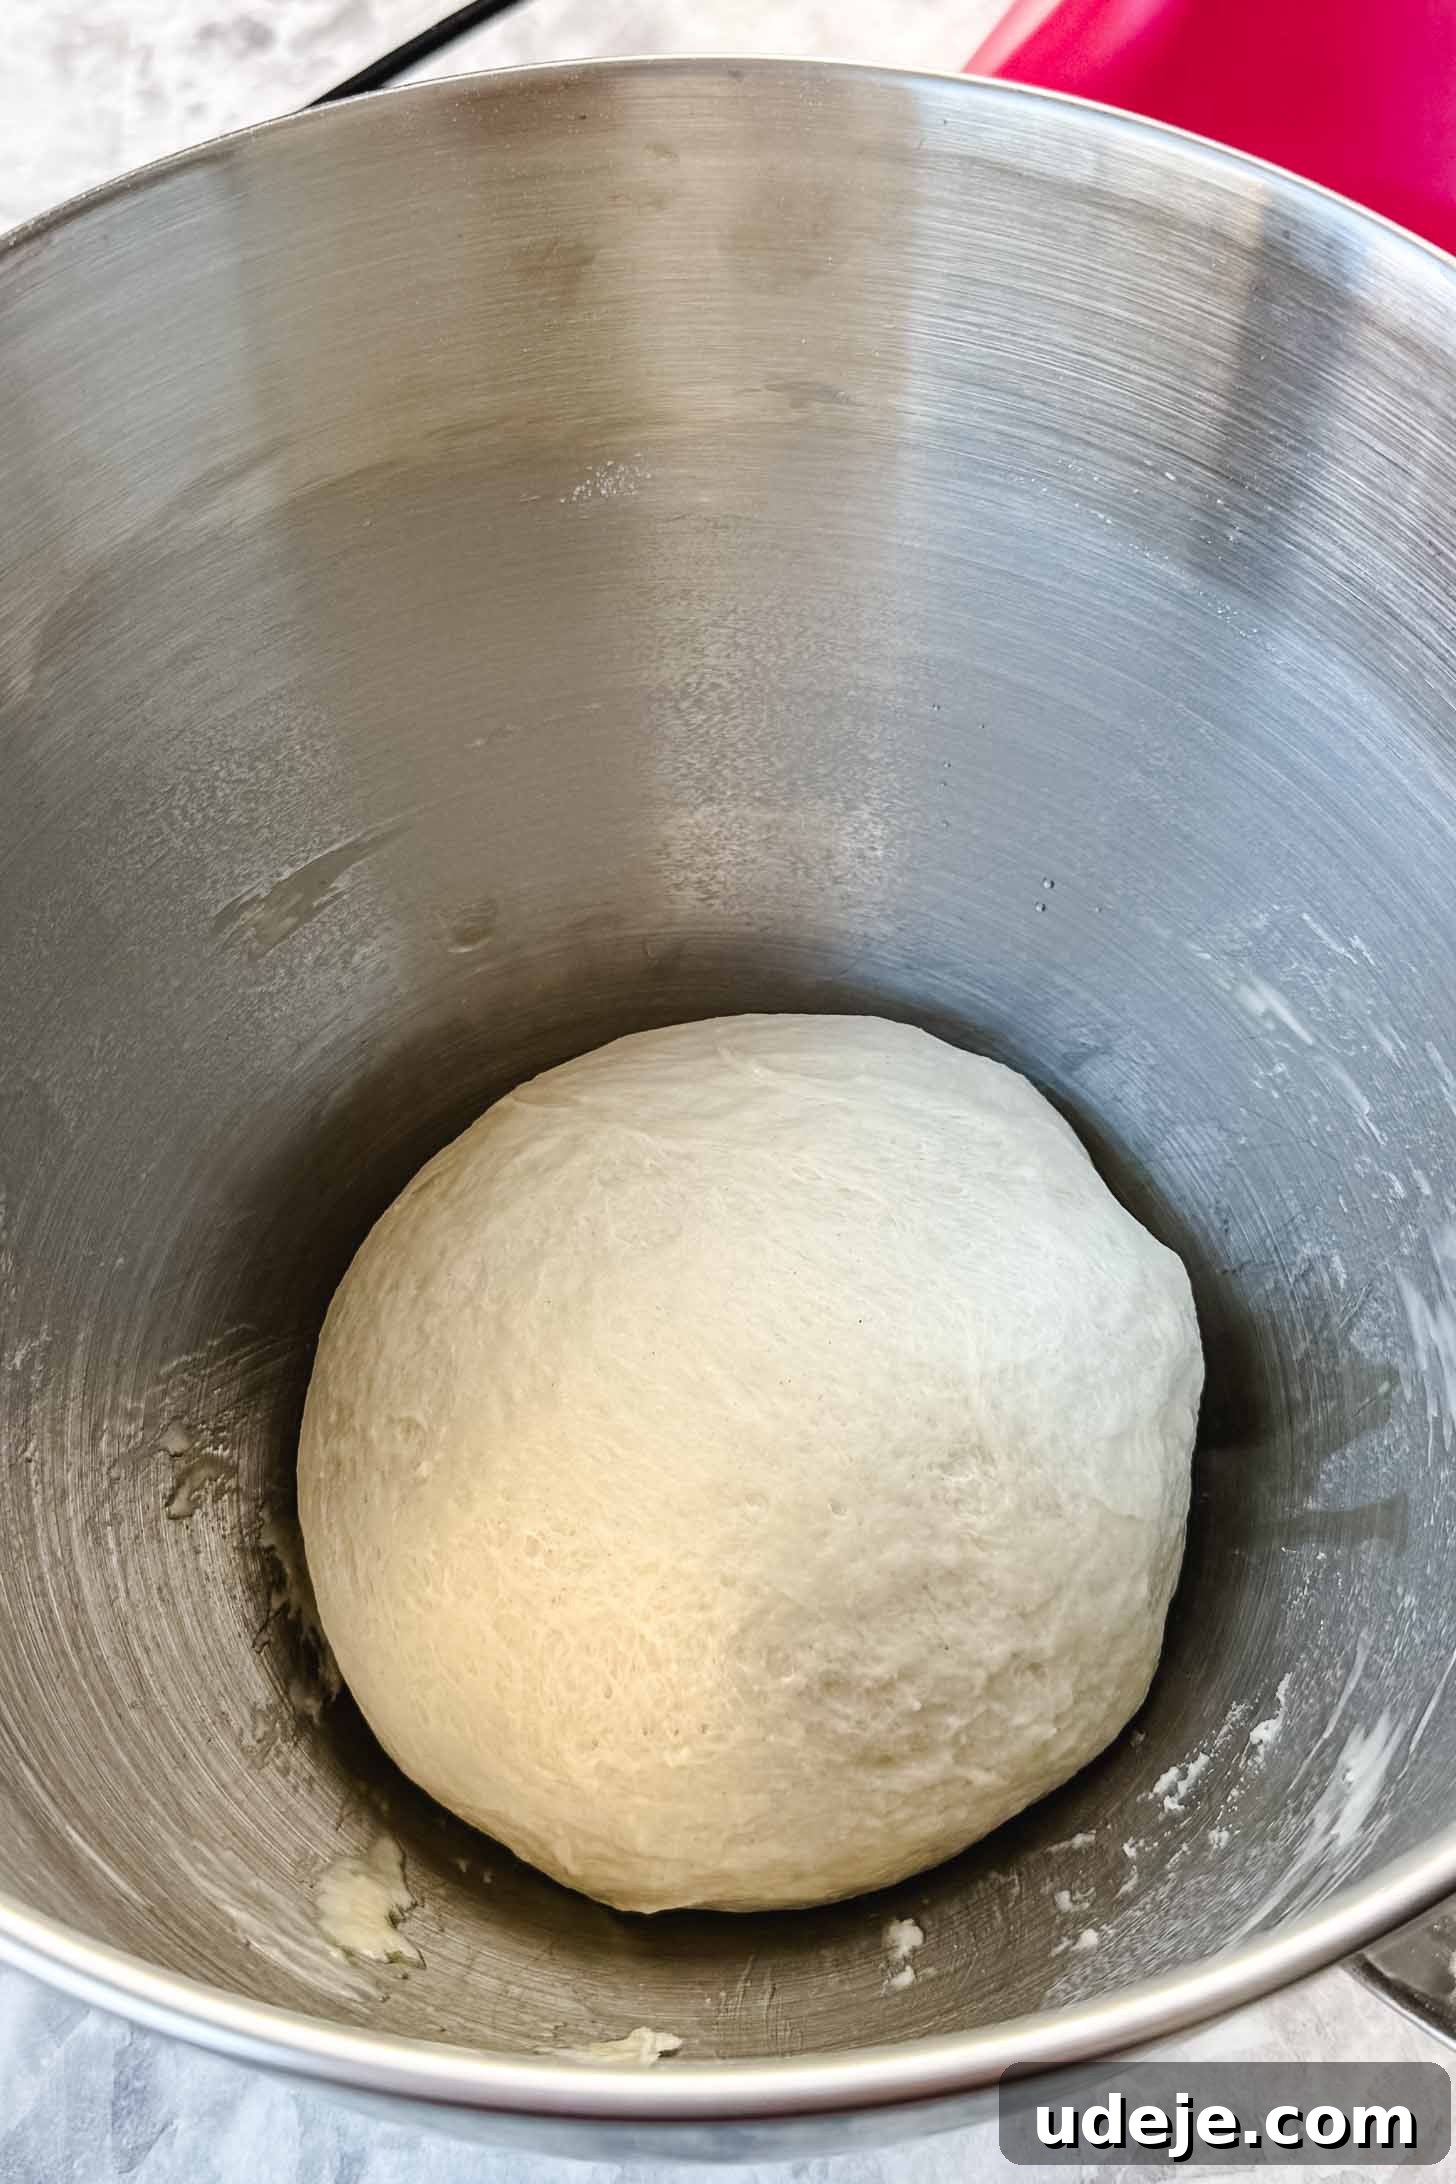
How to Determine if Your Dough is Perfectly Kneaded? Achieving the right consistency in your dough is pivotal for a light and airy Pide. After sufficient kneading, perform the “windowpane test.” Gently pull a small piece of dough and stretch it between your fingers. If it stretches thin enough to be translucent, allowing light to pass through without tearing instantly, your dough is perfectly kneaded. Visually, the dough should feel soft to the touch, exhibit a smooth, uniform surface, and possess a distinct elasticity. It should also be non-sticky, easily detaching from your hands or the mixing bowl. This ideal state ensures optimal gluten development, which is critical for the Pide’s characteristic chewiness and ability to hold its shape during baking.
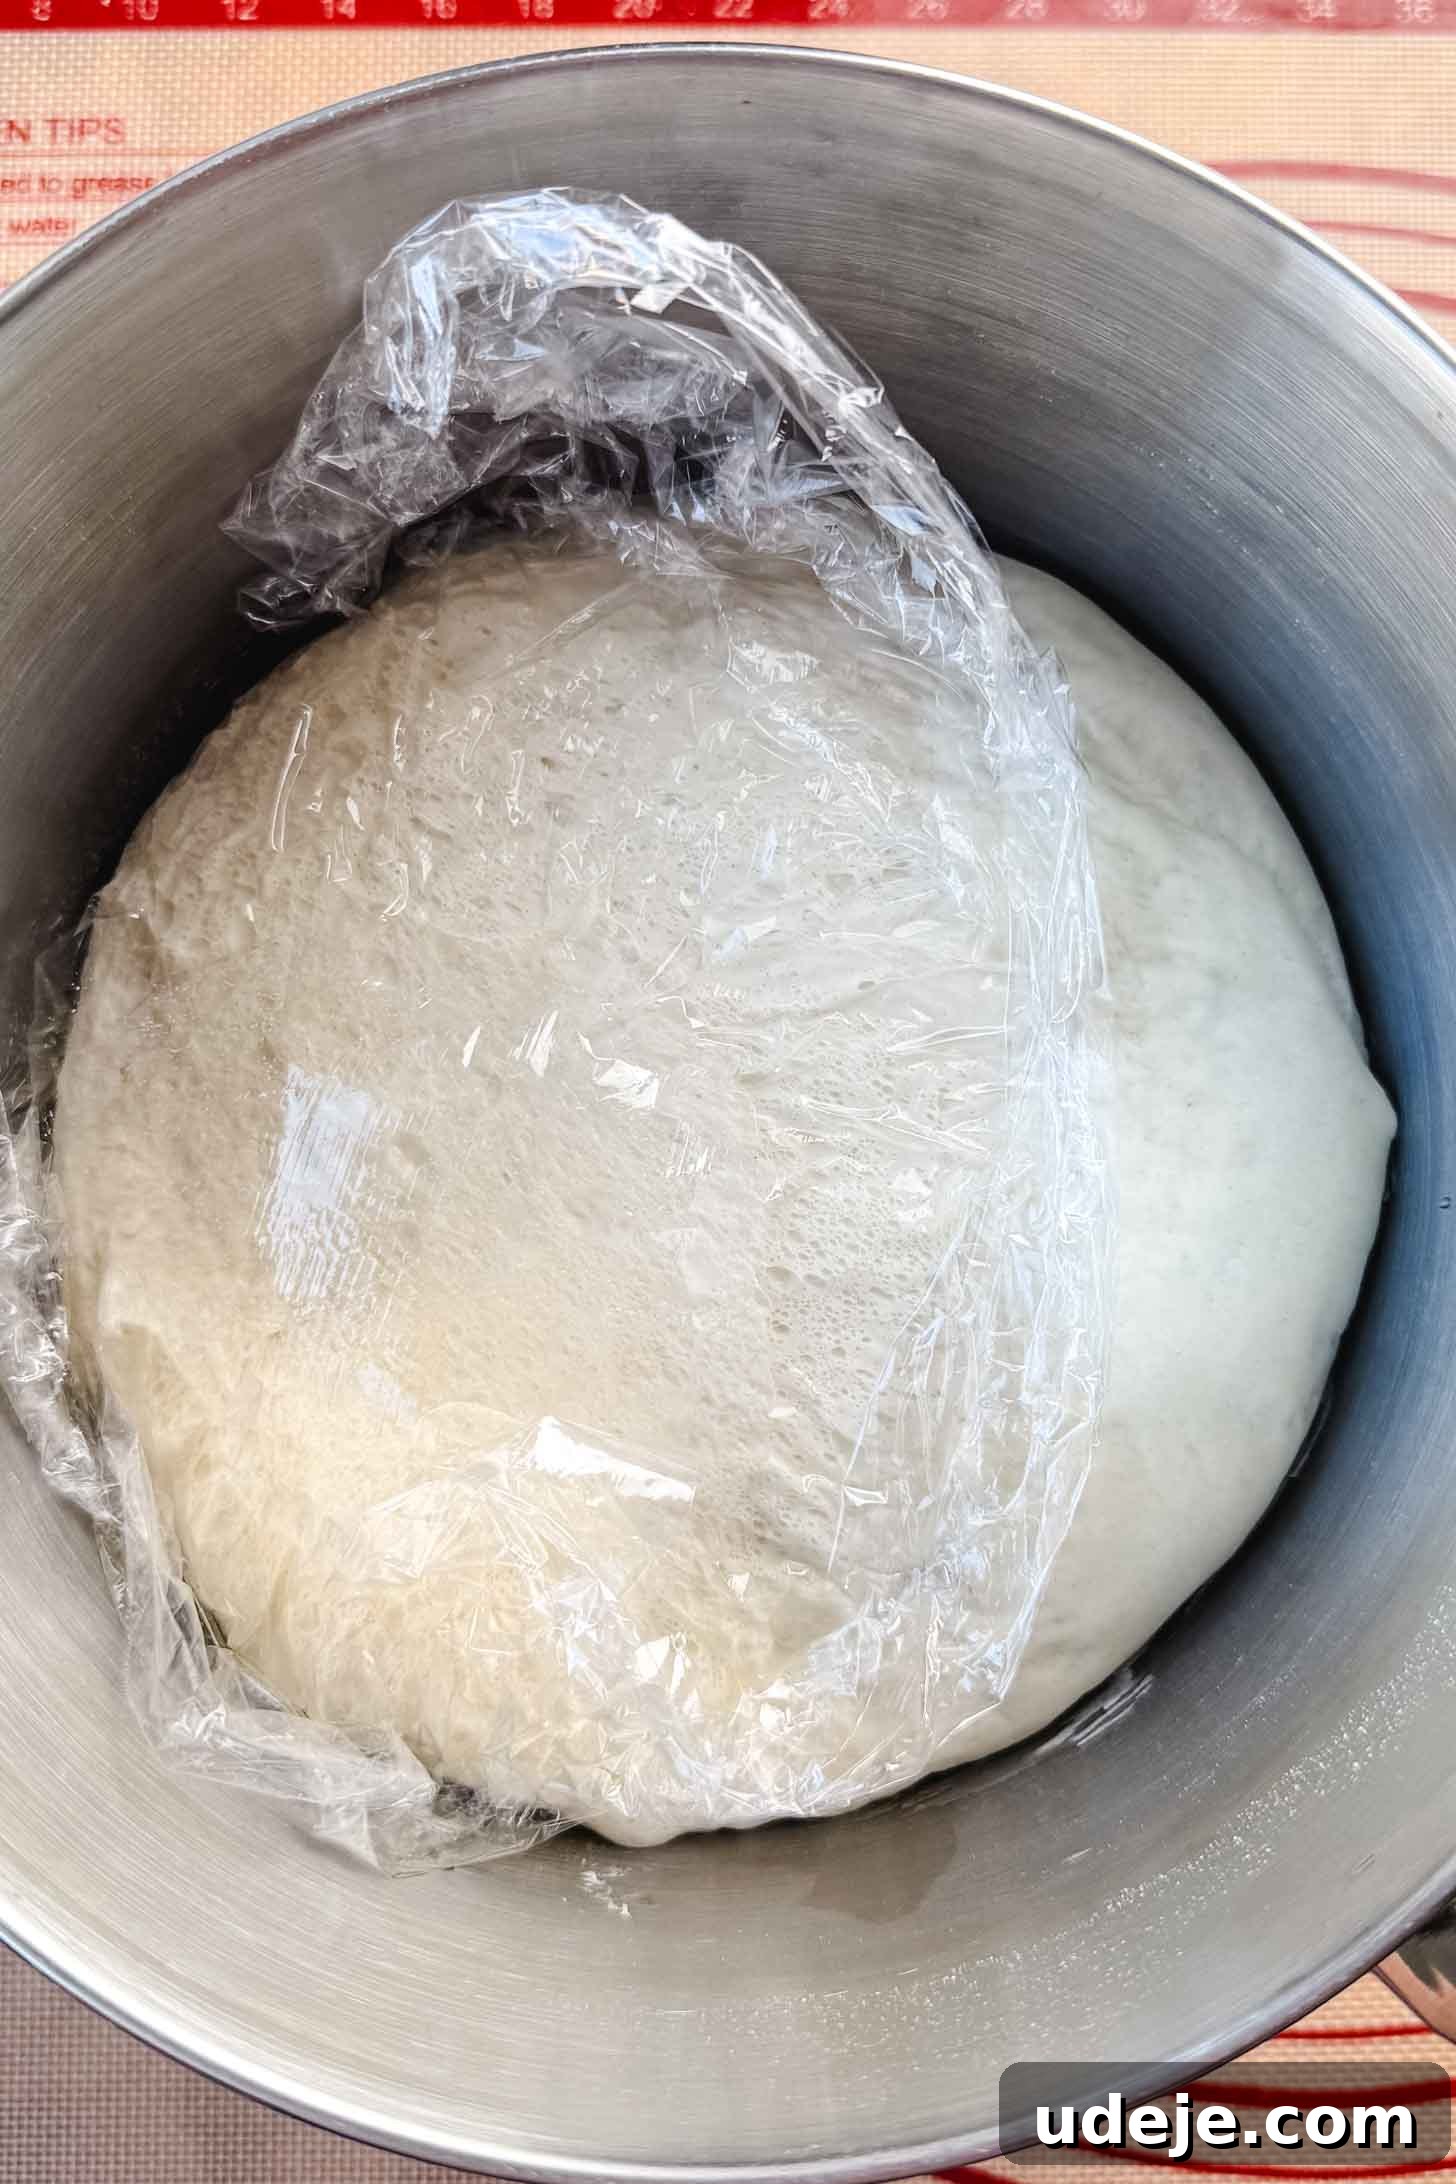
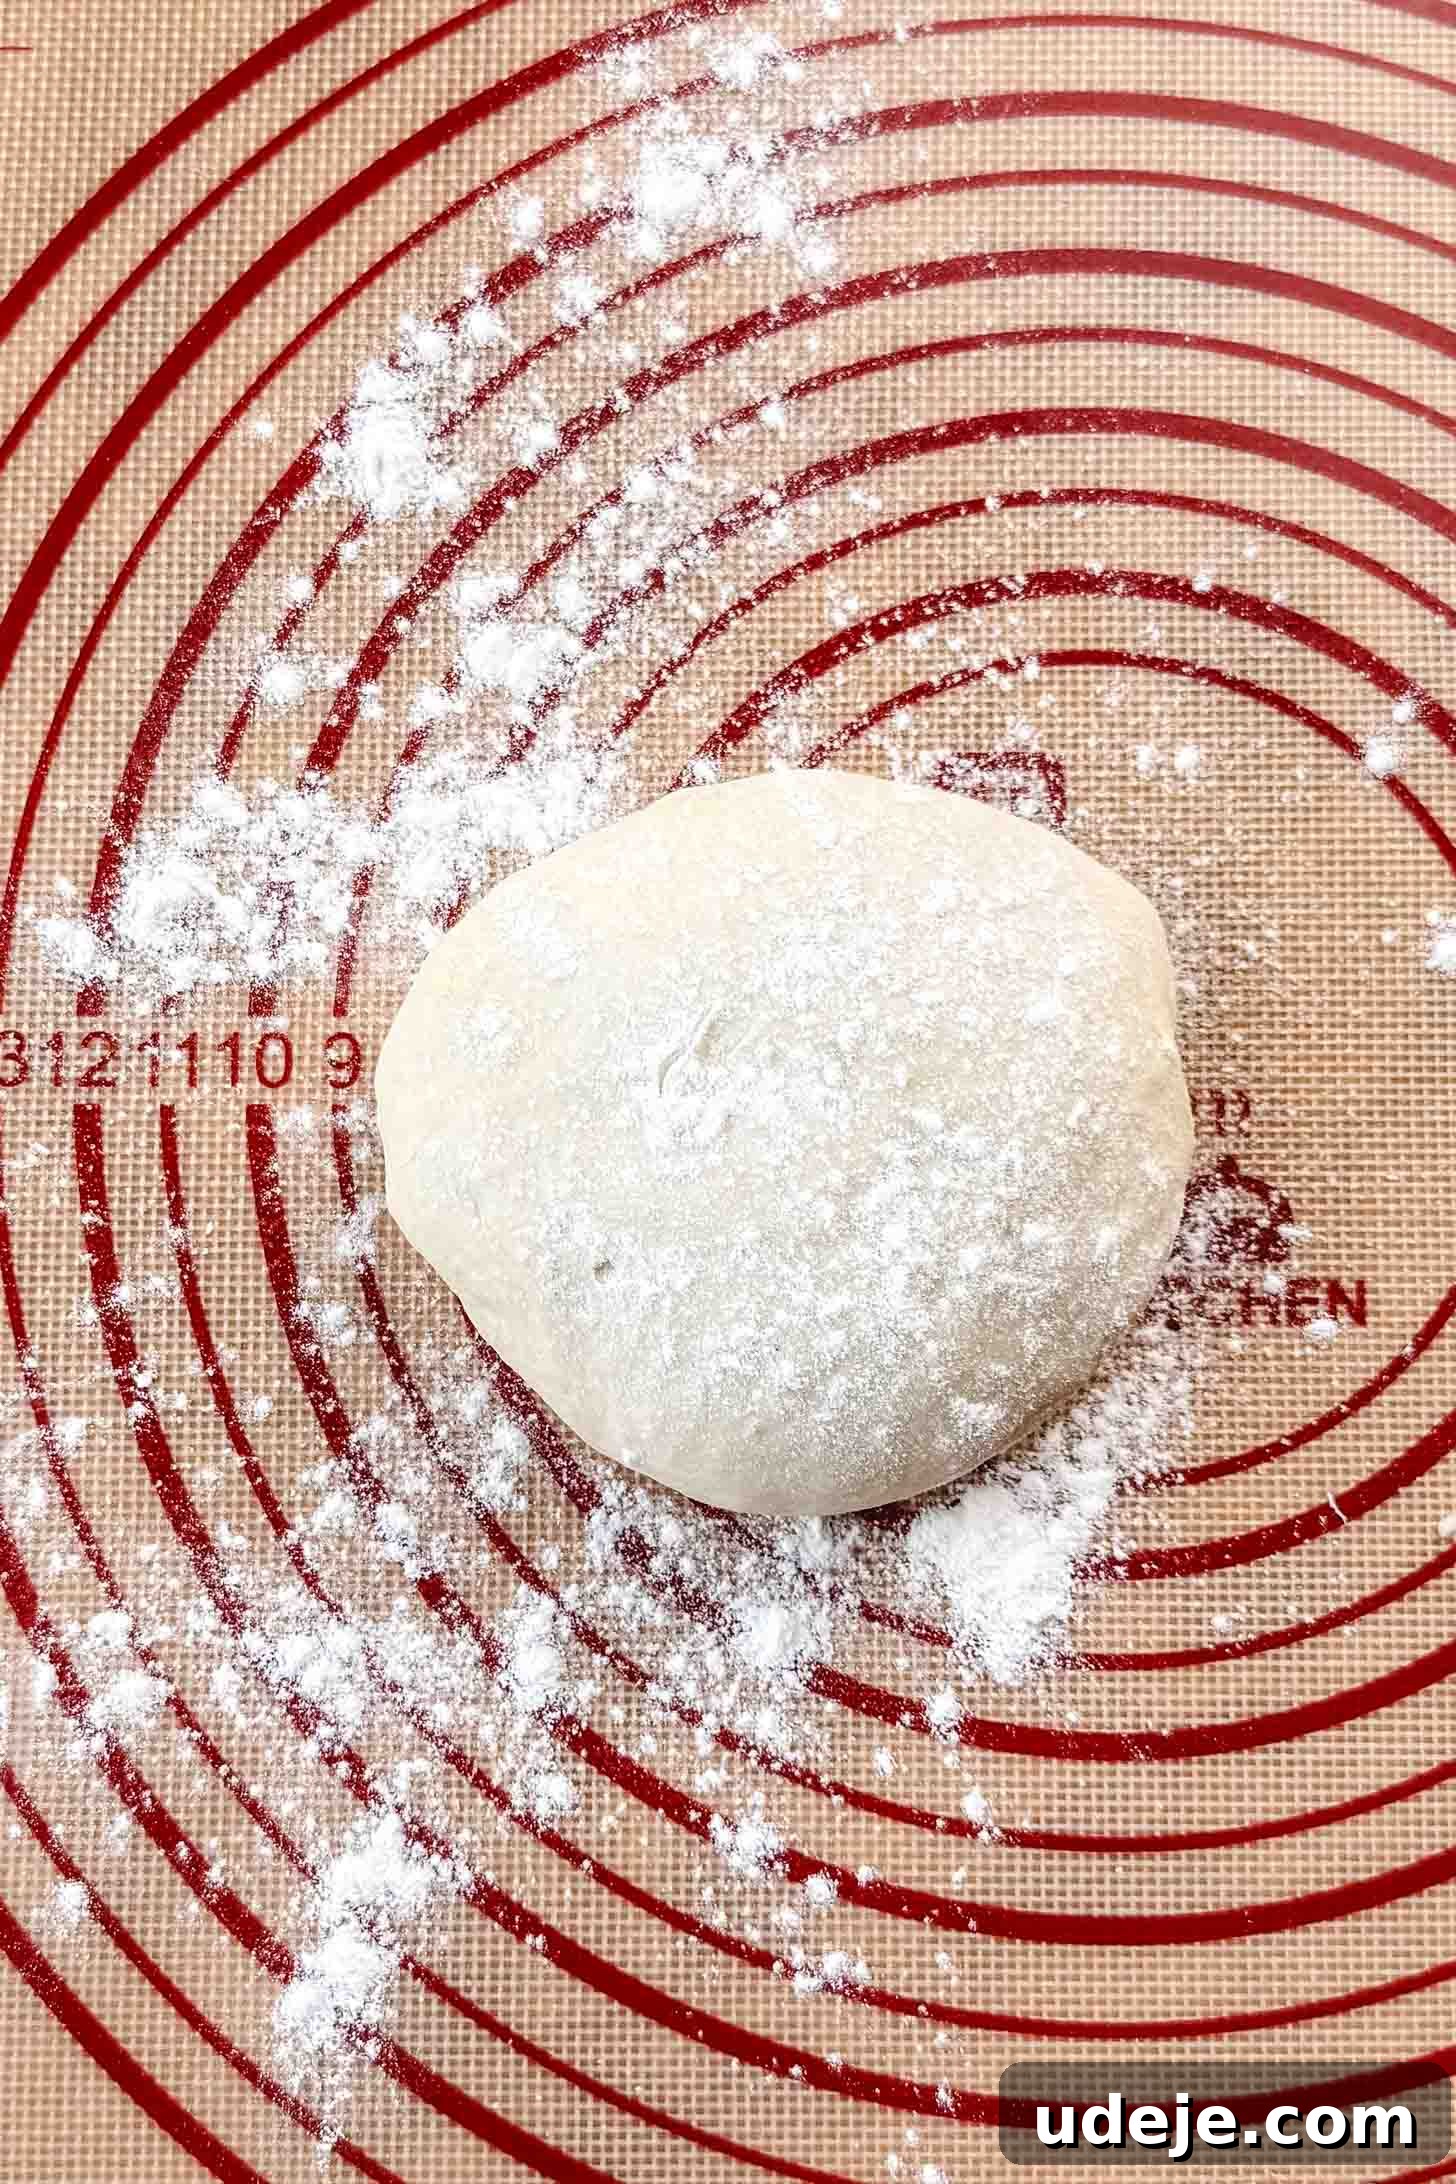
Once your dough has successfully doubled in size, signaling its readiness, it’s time for the exciting stage of shaping and filling. Gently punch down the dough to release the air, then divide it into three equal portions. Each portion will form a single, generously sized Pide. For optimal guidance through the shaping process, refer to the detailed photographic sequence provided below. These visuals will illustrate precisely how to roll, fill, and form your Pide into its distinctive boat shape, ensuring both a beautiful appearance and perfect containment for your chosen fillings. Precision in shaping contributes significantly to the Pide’s aesthetic appeal and its authentic texture.


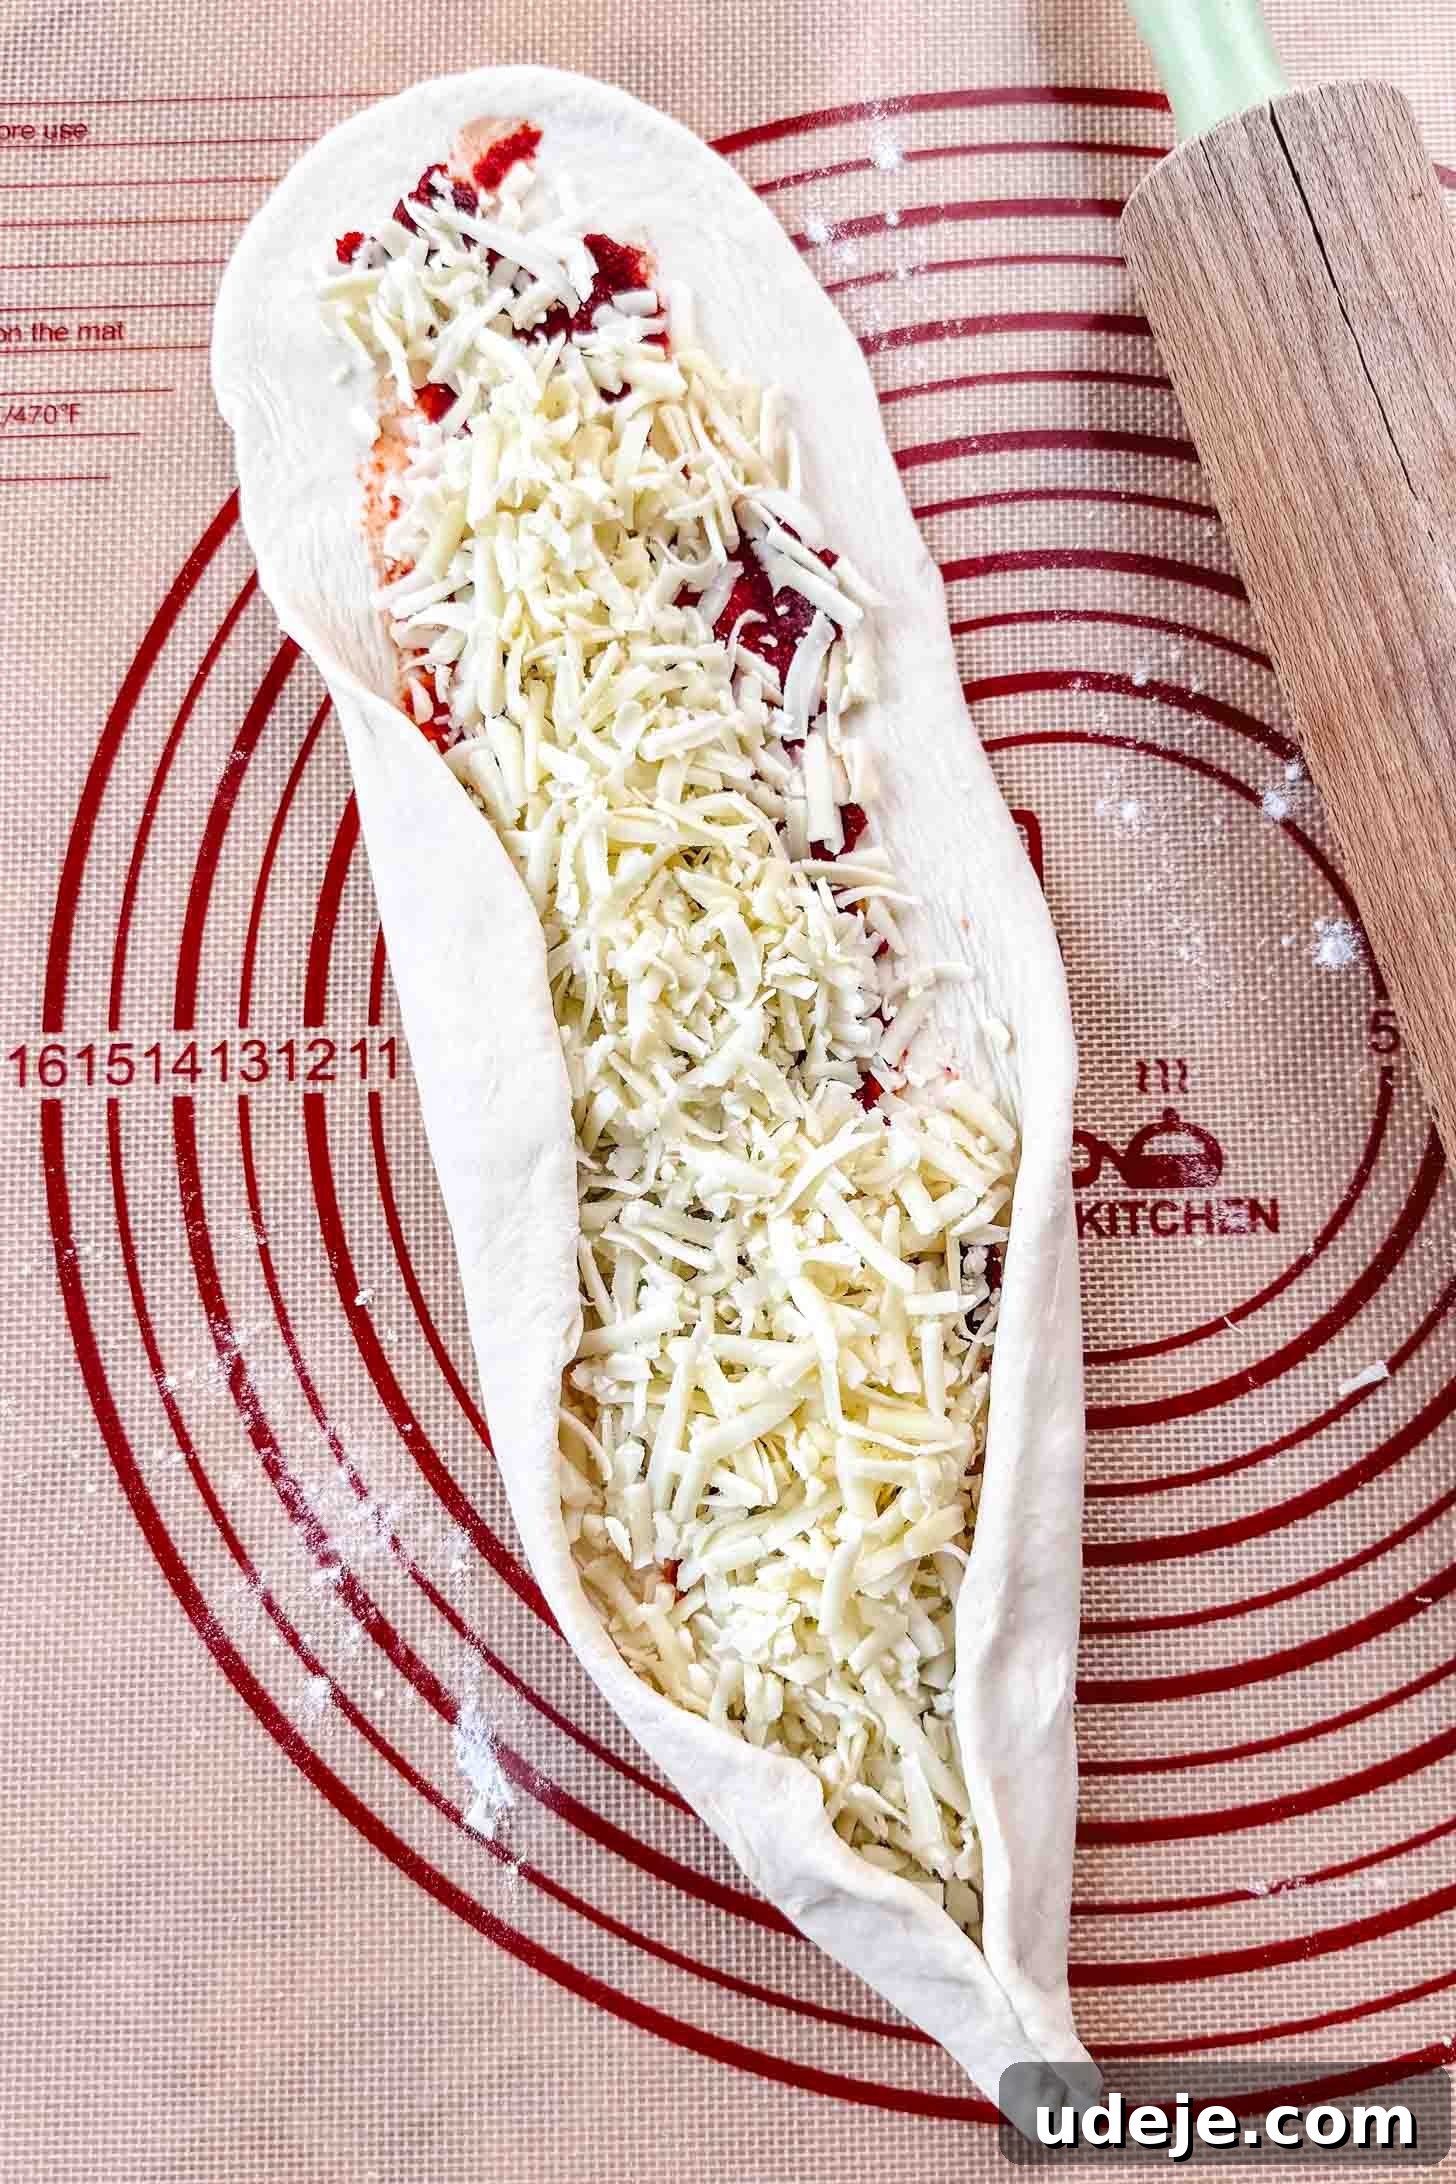
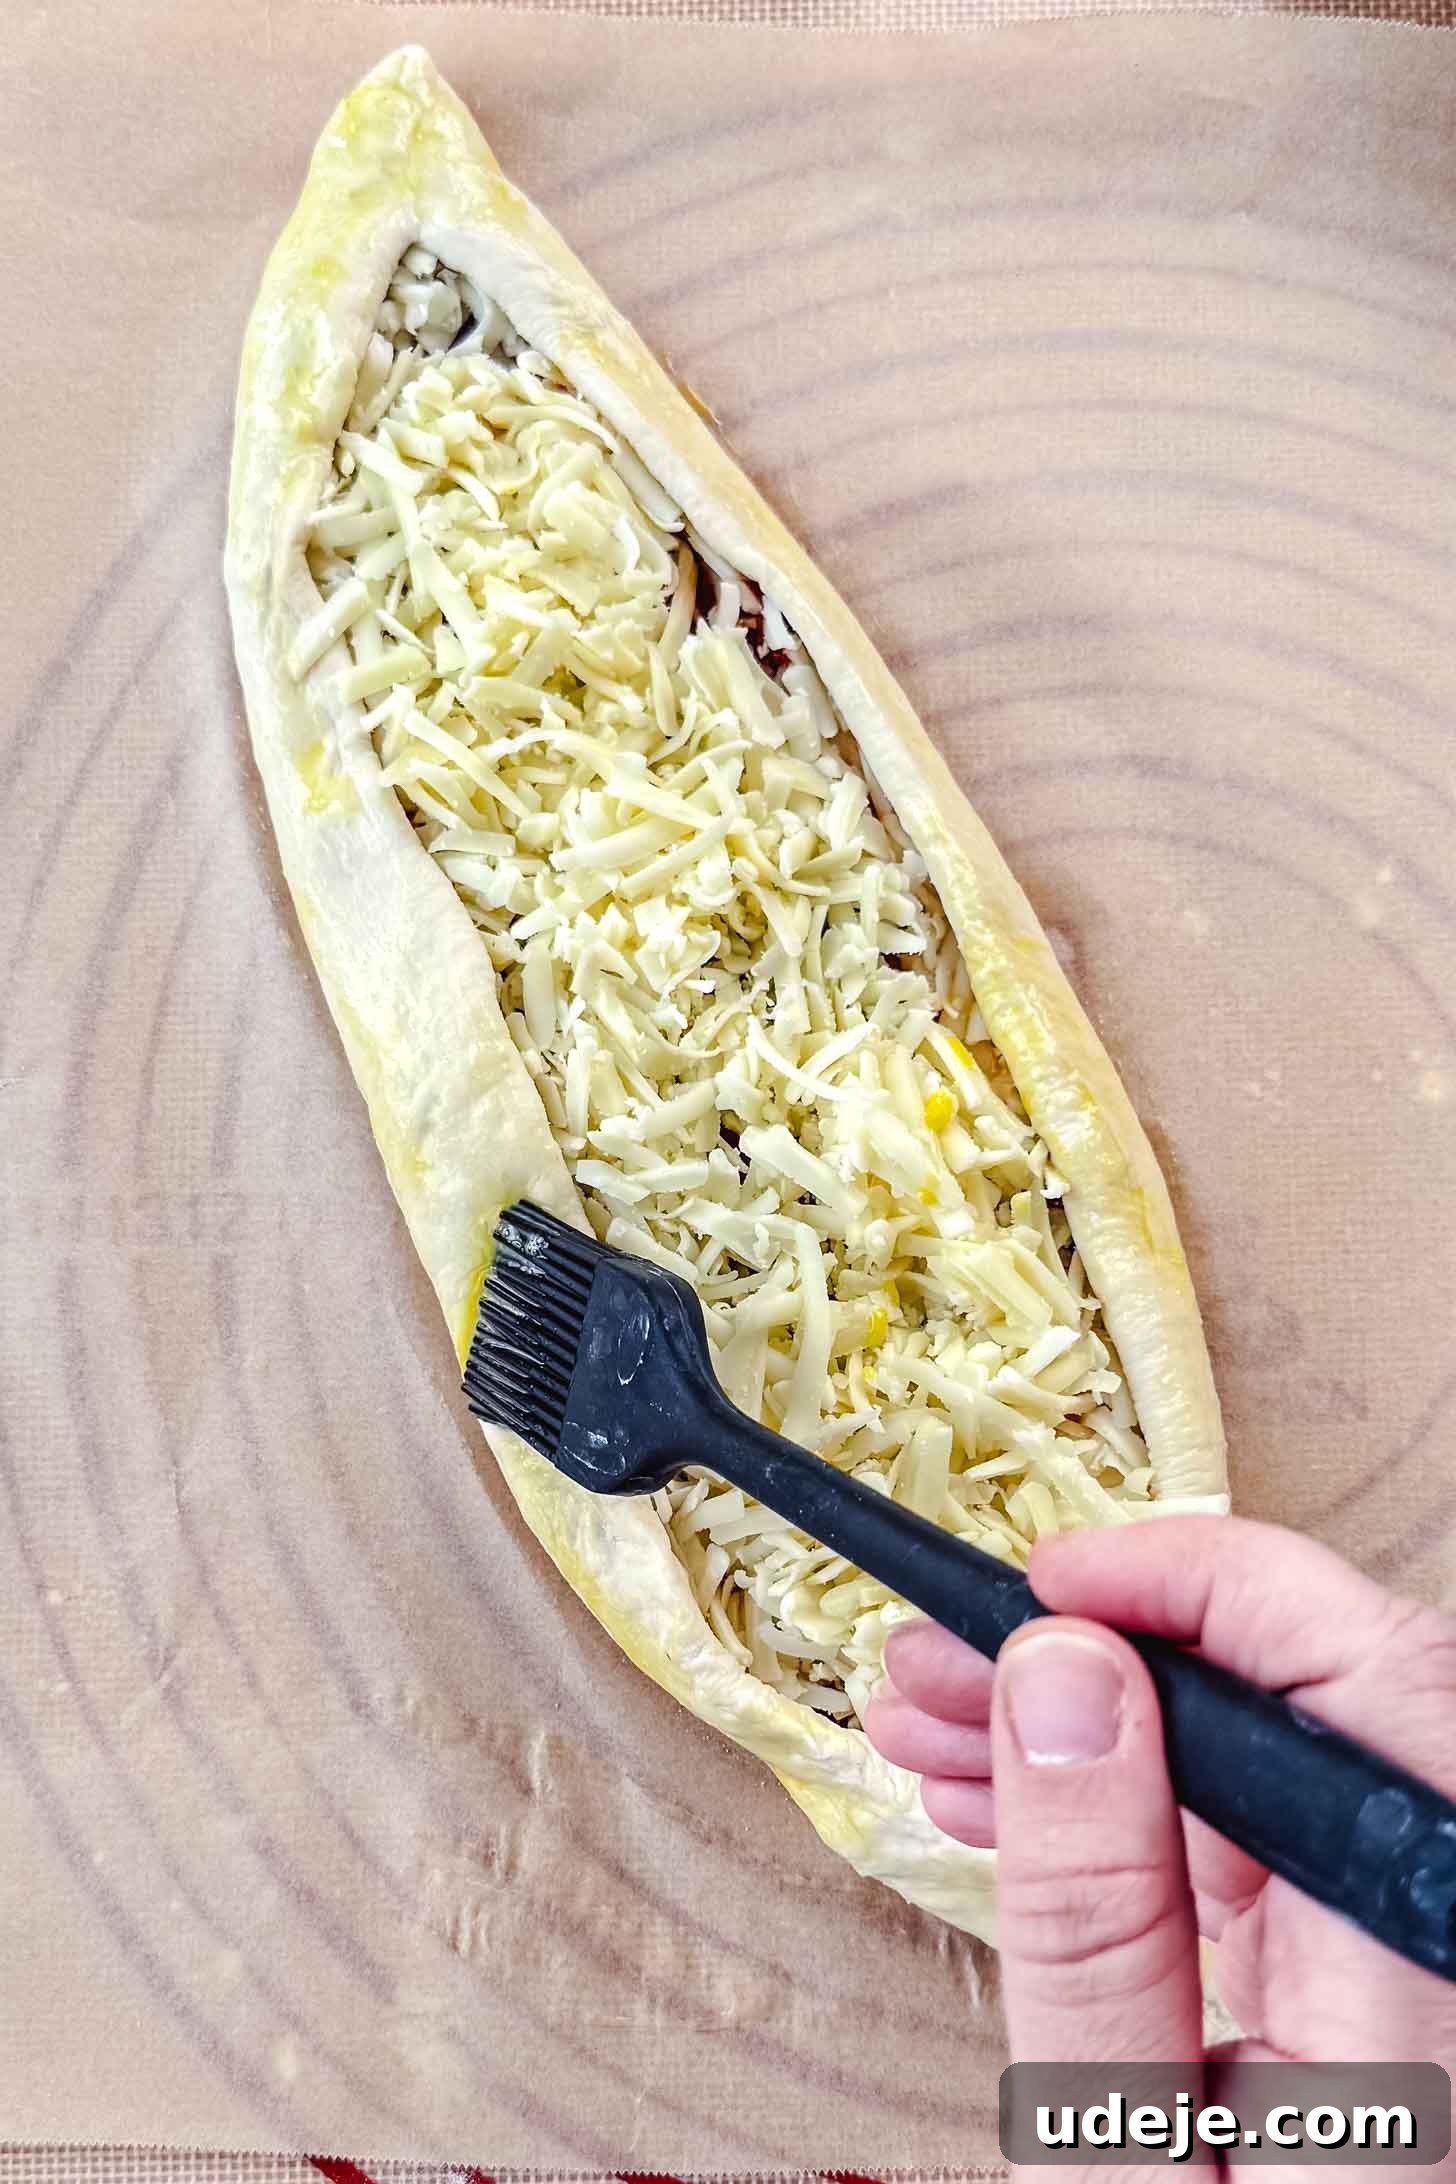
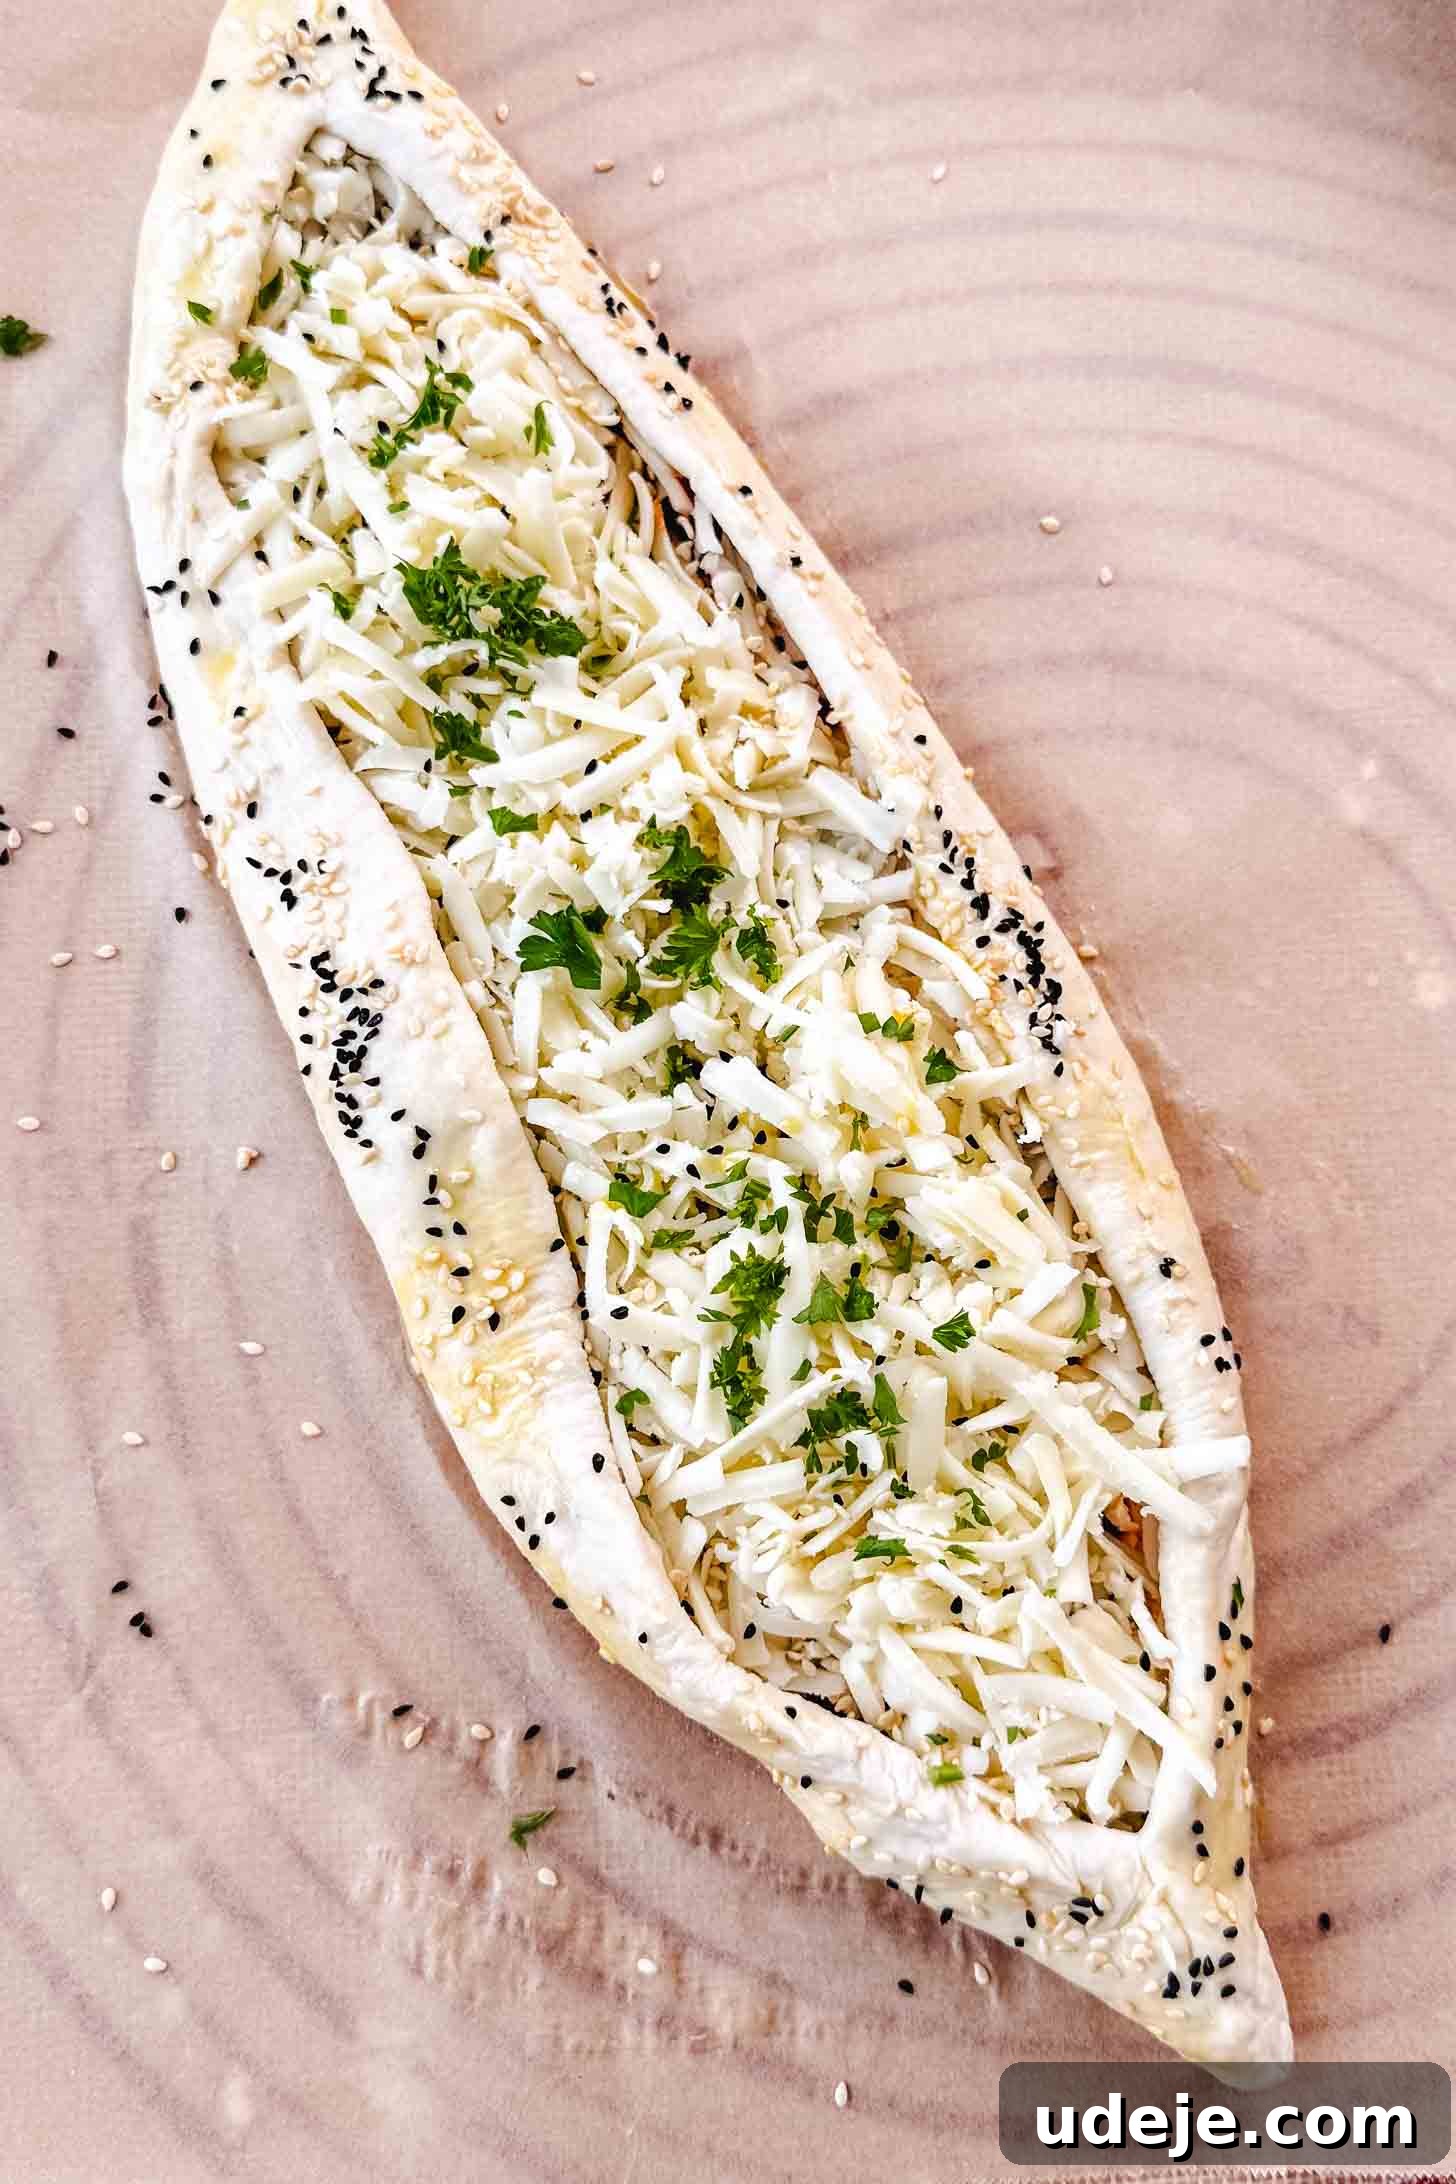
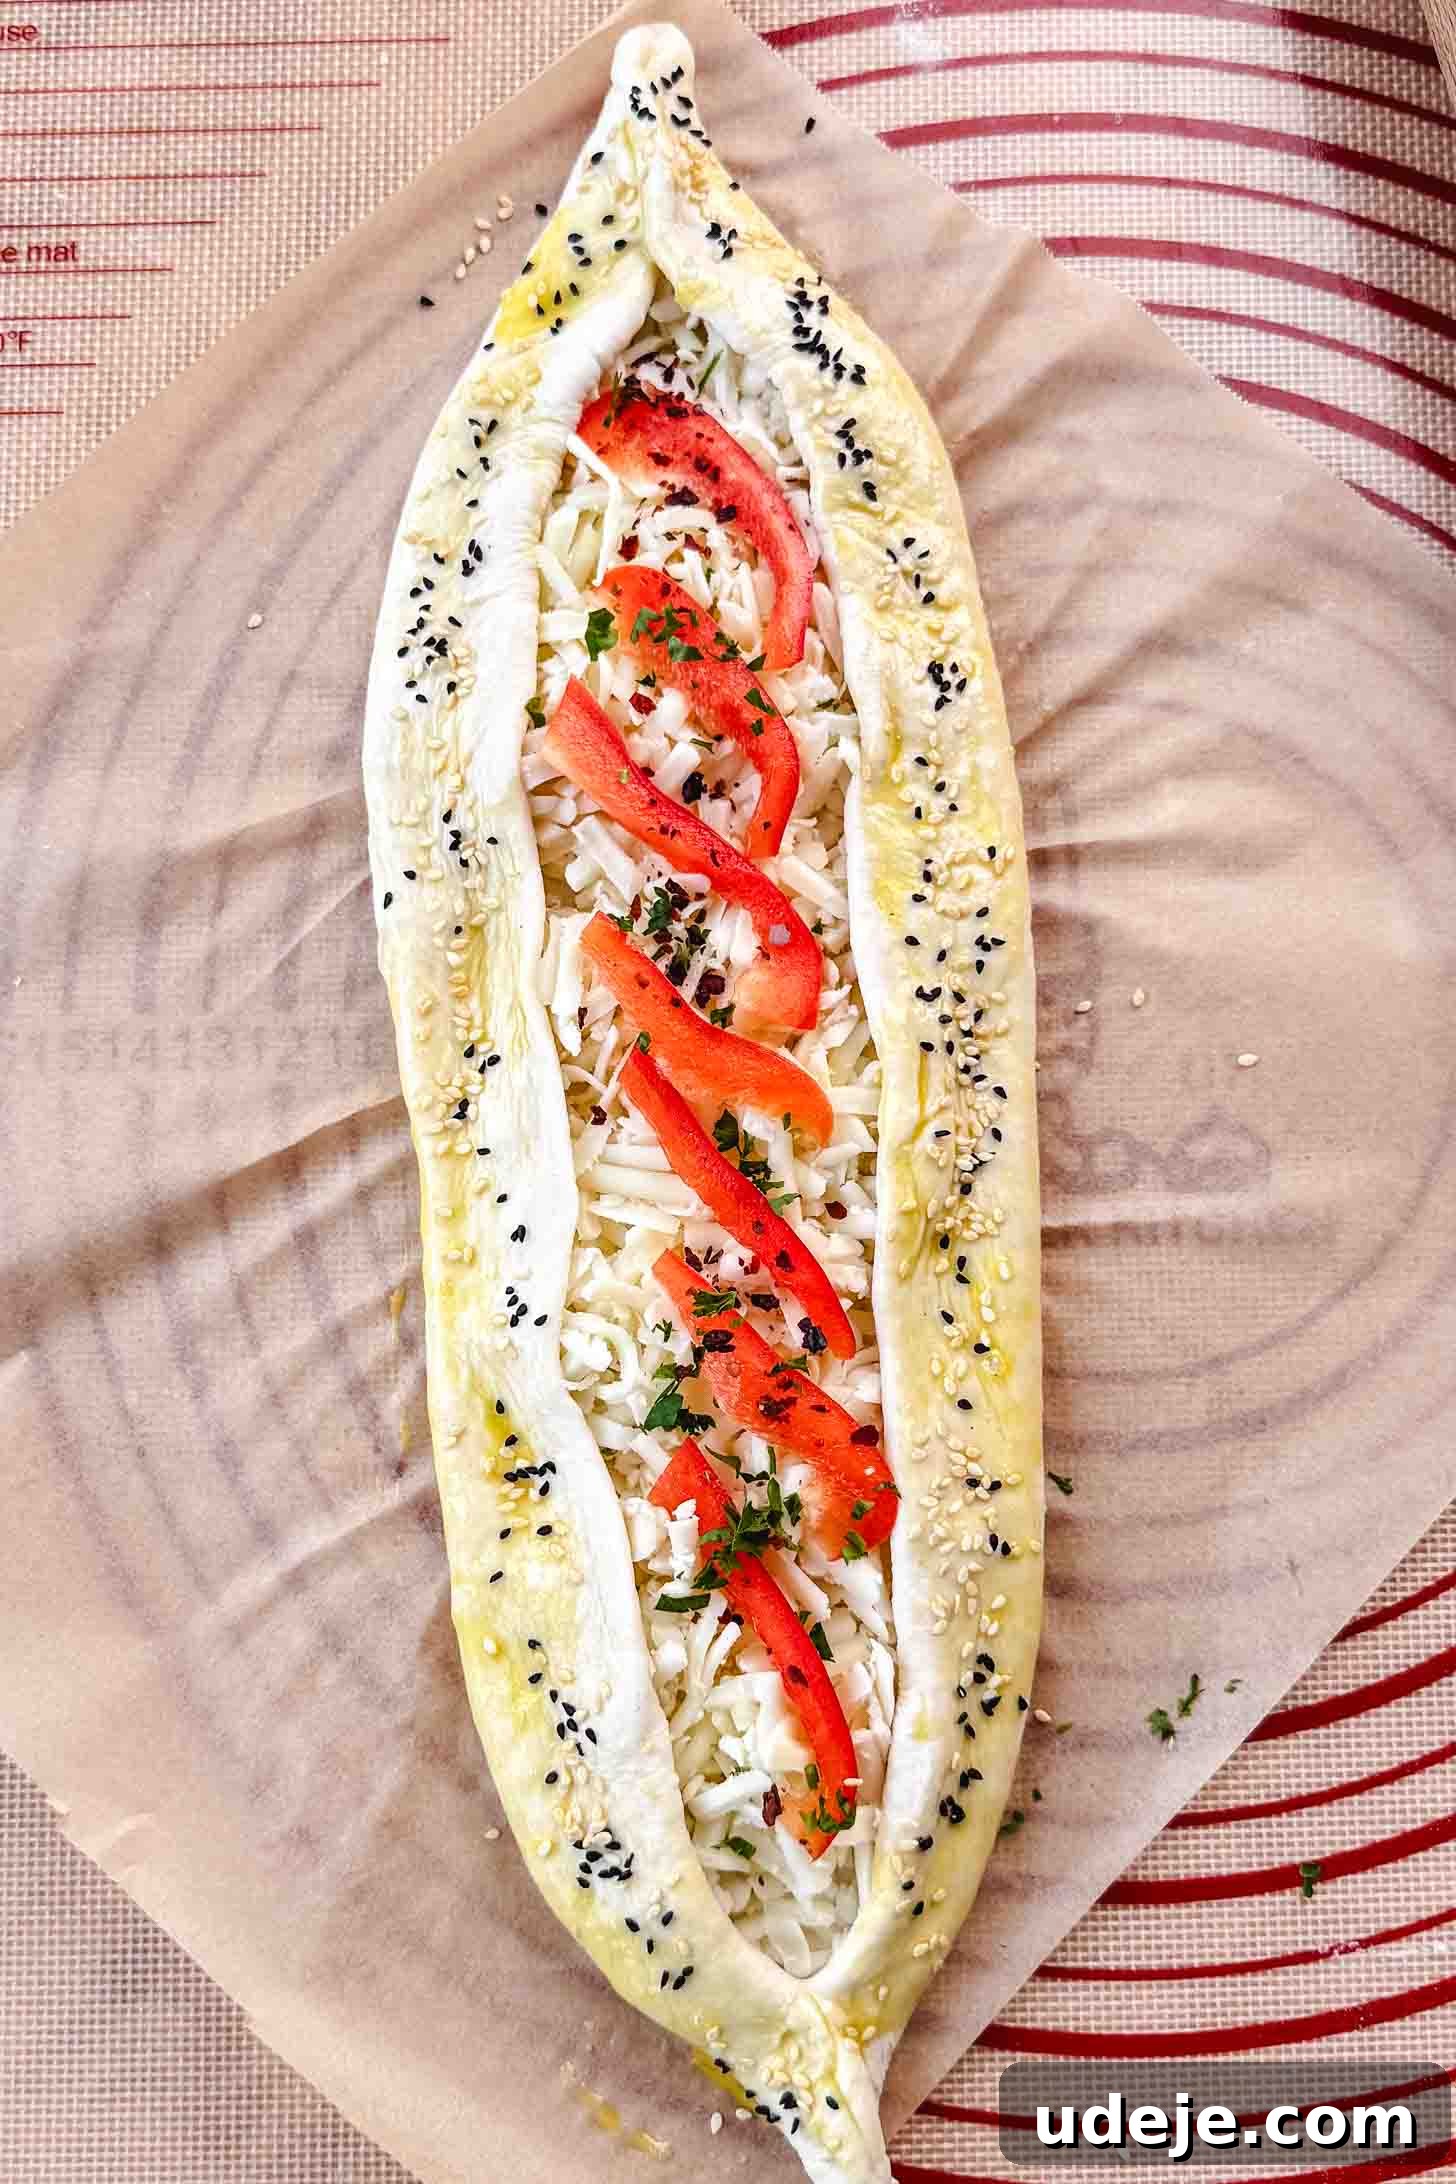
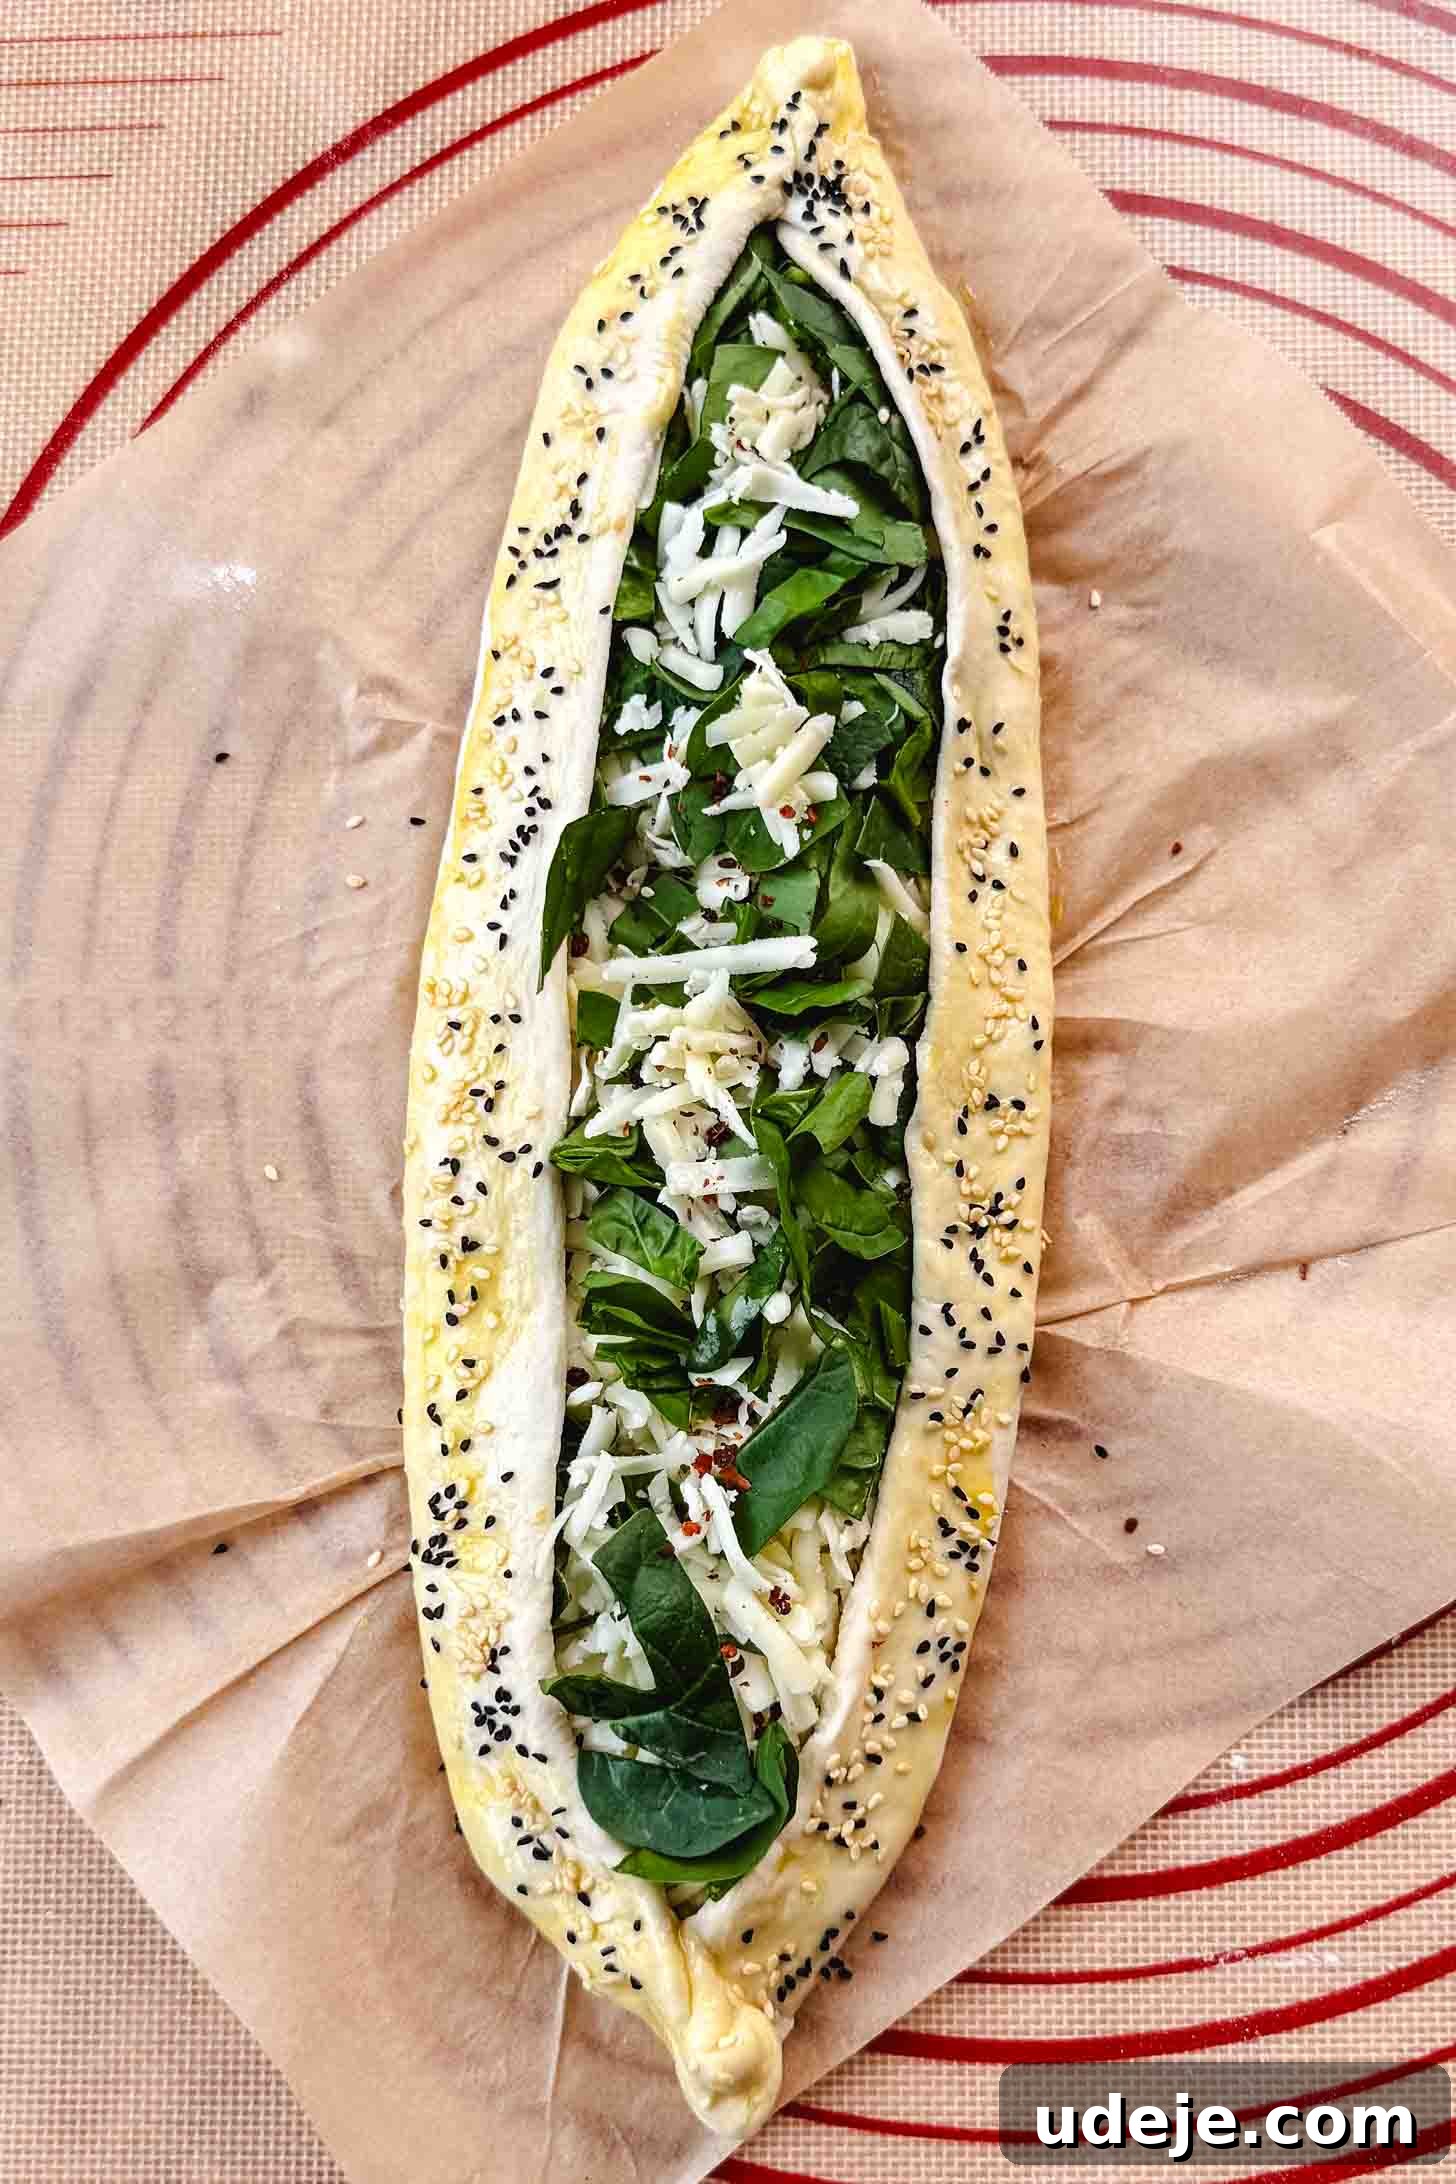
Optimal Baking Techniques: For a truly authentic Turkish Pide experience with a wonderfully crispy crust, I highly recommend baking on a pre-heated pizza stone. The intense, even heat from the stone mimics a traditional stone oven, ensuring the crust cooks quickly and develops a perfect crispness. If a pizza stone isn’t available, an excellent alternative is to use a large sheet pan, inverted and pre-heated in the oven. This method provides a similar hot surface for baking. Always follow the precise directions outlined in the recipe card for the most optimal baking times and temperatures, ensuring your Pide is cooked to golden perfection with a sizzling, irresistible filling.
How To Best Serve and Store Your Homemade Pide
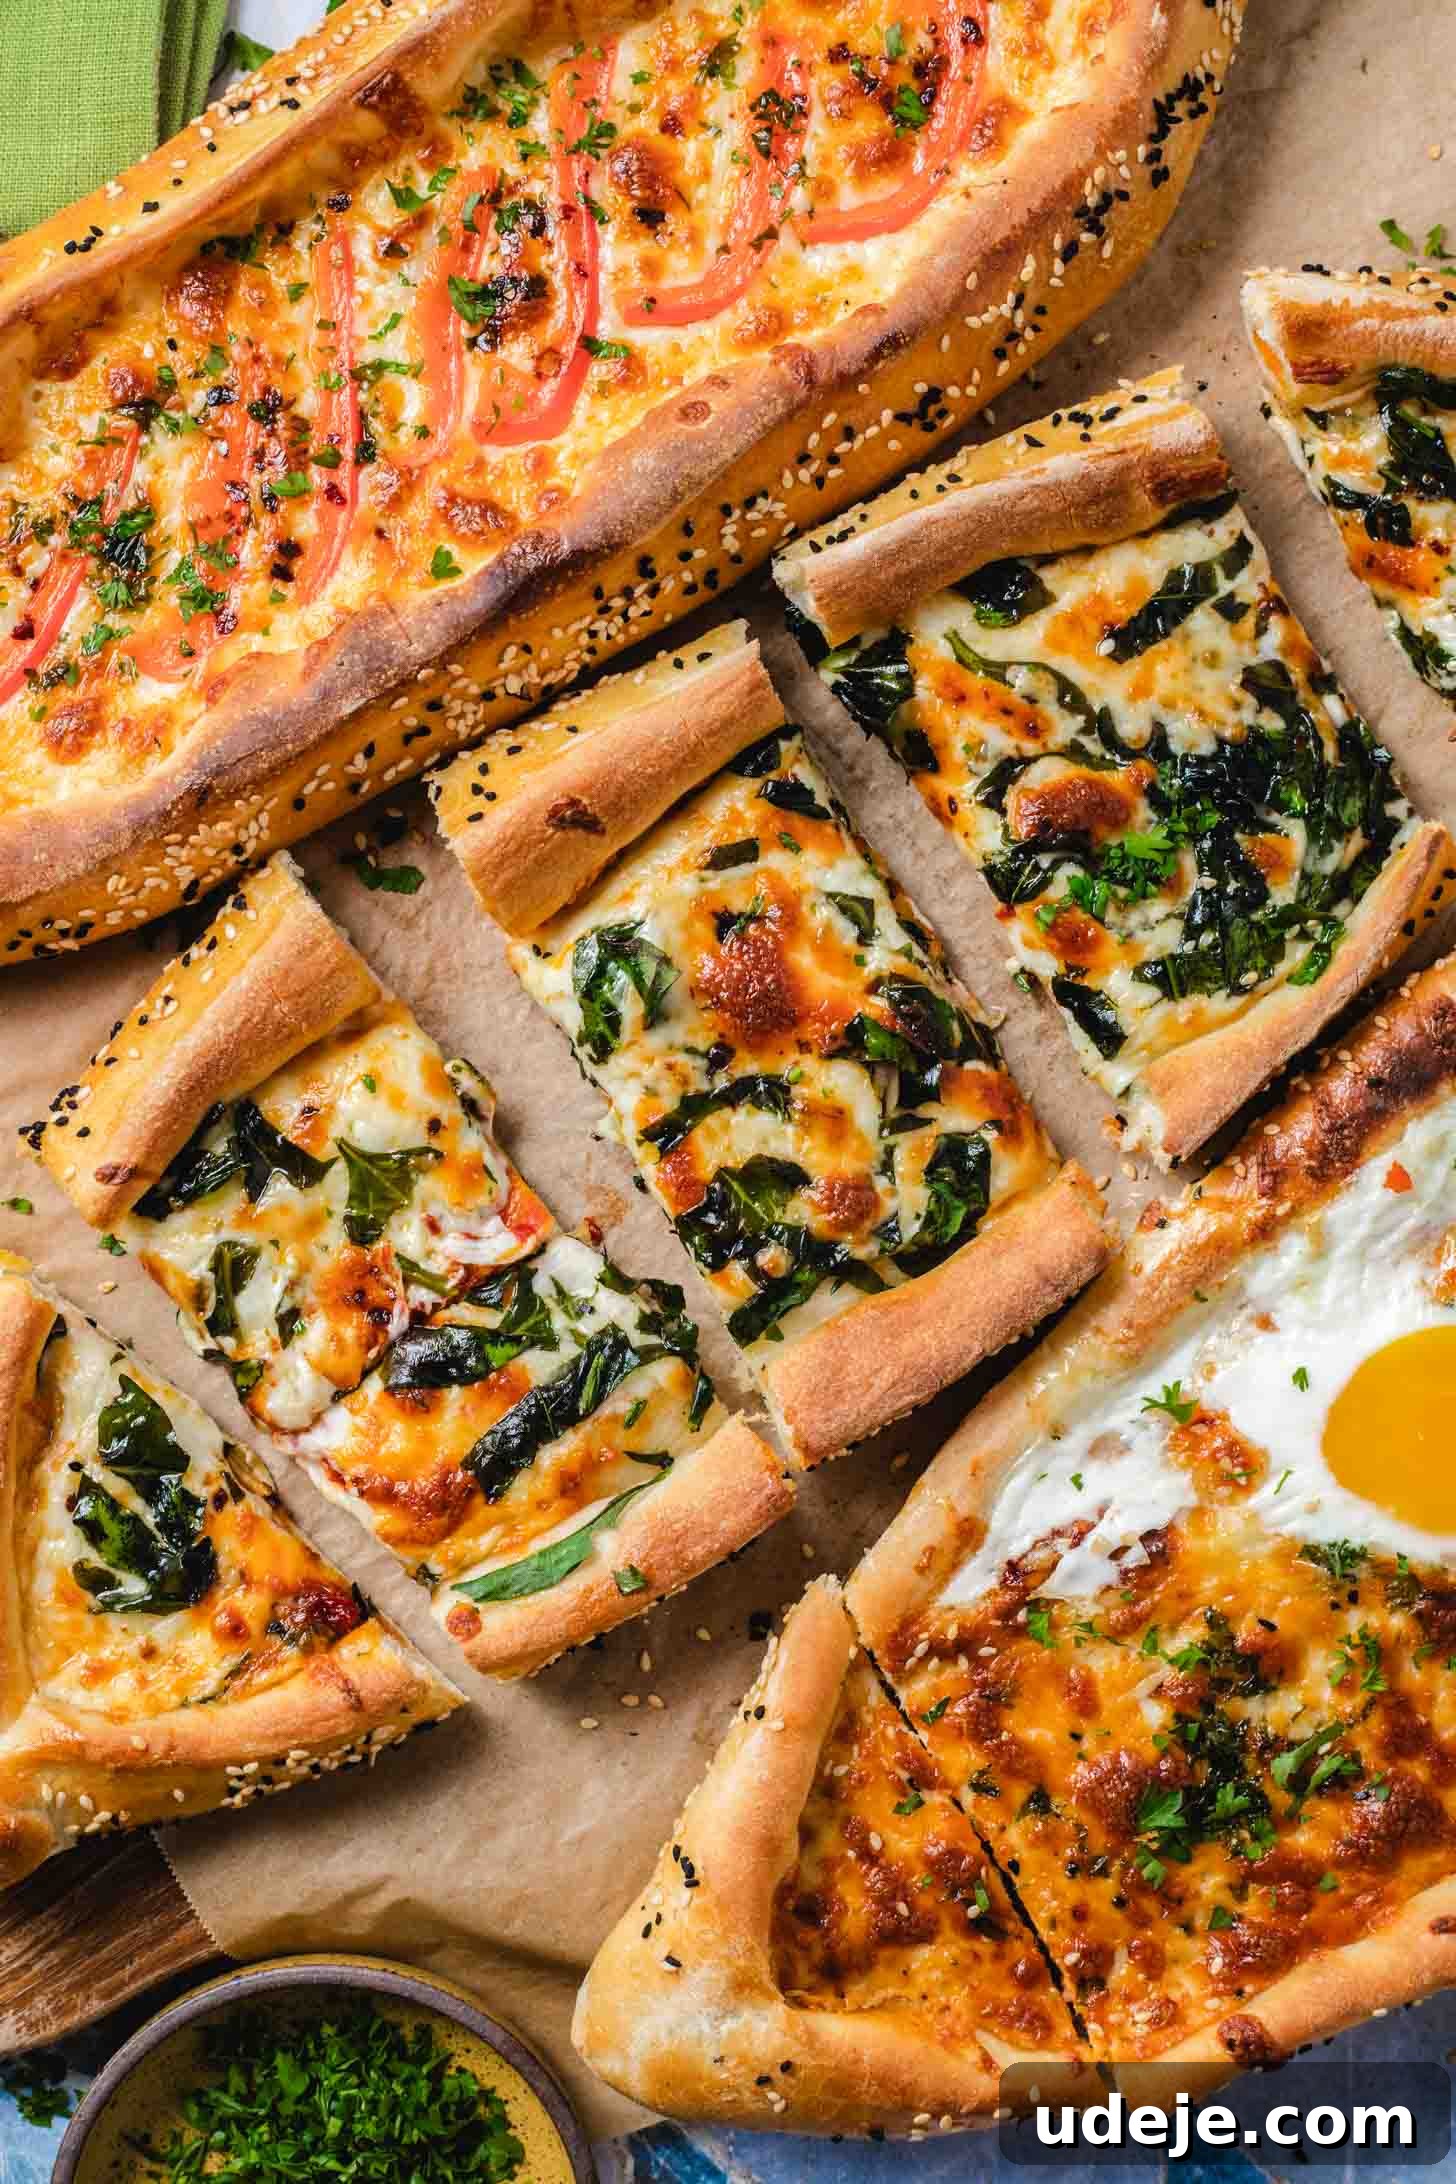
The golden rule for enjoying Pide is to serve them immediately after baking. There’s truly nothing quite like the experience of biting into a fresh-from-the-oven Pide, where the crust is perfectly crisp, the dough is tender, and the filling is gloriously hot and bubbling. To emulate the authentic presentation found in Turkish restaurants, I use a pizza cutter to effortlessly slice the boat-shaped Pide into smaller, individual pieces. This makes it easy to share and enjoy, allowing everyone to savor the delicious flavors and textures. The aroma alone is enough to entice everyone to the table!
For an added breakfast or brunch delight, consider cracking an egg directly onto the center of your Pide during the final 1-2 minutes of baking. The residual heat will gently cook the egg to a soft, runny perfection, adding an extra layer of richness and flavor that is simply divine with the savory fillings and warm bread. This creates a wonderfully hearty and satisfying meal, perfect for a leisurely morning.
Should you find yourself with the rare luxury of leftovers, proper storage is key to maintaining Pide’s deliciousness. Store any remaining Pide in an airtight container in the refrigerator for up to 2-3 days. For longer preservation, freezing is an excellent option. Place cooled Pide pieces in an airtight freezer bag, ensuring as much air is removed as possible, and freeze for up to 2-3 months. When you’re ready to enjoy them again, simply reheat the Pide directly from frozen in a preheated oven. This method revives their texture and flavor, making them taste almost as good as freshly baked.
Other Turkish Recipes You Will Love
If you tried these recipes, please consider leaving a star ⭐⭐⭐⭐⭐ rating in the recipe card below and/or a review in the comments section further down the page – I’d love to hear from you! You can also hop on over to Instagram and say hello!

Homemade Turkish Pide (Various Toppings!)
8
Servings
20
mins
15
mins
1
hr
Amina Al-Saigh
Leave a Review
Pin Recipe
Ingredients
For the Dough
- 250 milliliters warm water
- 2 teaspoons instant yeast
- 2 teaspoons sugar
- 400 grams all-purpose flour
- 1 tablespoon olive oil
For the Cheese Stuffing
- 6 tablespoons pepper paste
- 4½ cups shredded mozzarella cheese, 400g, divided
- 1 cup chopped spinach, optional
- ½ red bell pepper, thinly sliced, optional
For the Lamb Stuffing
- 1 tablespoon olive oil
- 1 white onion, finely minced
- 2 garlic cloves, minced
- 600 grams minced lamb meat
- 4 tablespoons tomato paste
- 1½ teaspoons salt
- ½ teaspoon black pepper
- 2 teaspoons paprika
- 1 teaspoon cumin
- 1 cup mozzarella cheese, shredded
For Garnish
- 1 egg, whisked, for egg wash
- 1 tablespoon sesame seeds
- 1 tablespoon nigella seeds
Instructions
-
Place a pizza stone or a baking tray flipped upside down in the oven and preheat the oven to 450℉ (230℃).
For the Dough
-
Mix together the yeast, sugar, and warm water in a measuring cup. Pour into the bowl of a stand mixer or a large mixing bowl. Add the flour and salt. Mix well and knead the dough by hand or with a stand mixer. If using a stand mixer, knead for 3-5 minutes until smooth. If kneading by hand, knead for at least 10 minutes until the dough is smooth, not sticky, and stretches well when pulled. Cover the bowl with plastic wrap or a damp tea towel and let it rise in a warm place for 1 hour, or until doubled in size.
For the Lamb Stuffing (Optional)
-
If preparing the lamb filling, heat up a large pan over medium heat. Add the olive oil and, once shimmering, sauté the finely minced onion and garlic until translucent and fragrant, about 3-4 minutes. Add the minced lamb, tomato paste, salt, black pepper, paprika, and cumin. Increase the heat to medium-high and cook, stirring occasionally, until the lamb is fully cooked through and all liquid has evaporated from the pan, approximately 8-10 minutes. Remove from heat and set aside to cool slightly before using as a Pide filling.
To Make the Pides (Cheese or Lamb)
-
Once the dough has risen and doubled in size, gently punch it down to release the air. Divide the dough into 3 equal pieces. On your work surface, lay out a piece of parchment paper at least 40×20 cm in size. Take one piece of dough and, using a rolling pin, roll it into a long oval shape, approximately 40×15 cm directly onto the parchment paper. This makes transferring the Pide to the oven much easier. If the dough is too sticky, lightly dust your work surface and rolling pin with a small amount of flour.
-
For each oval, spread 2 tablespoons of pepper paste (if using) evenly over the surface, leaving a 2.5 cm border from the edges. Then, distribute about 1½ cups of shredded cheese (or ⅓ cup of the cooled lamb mixture topped with cheese) over the paste. If desired, add your chosen vegetables like chopped spinach or thinly sliced red bell pepper. Carefully fold the long edges of the dough over the filling to create a raised rim, then pinch the ends together firmly to form the characteristic boat-like shape. Brush the folded edges generously with the whisked egg wash and sprinkle with sesame seeds and/or nigella seeds for added flavor and visual appeal. Repeat this process for the remaining 2 dough ovals.
-
Carefully transfer each Pide to the preheated oven. Slide the parchment paper with the Pide onto the back of a flat baking sheet or pizza peel, then gently slide it directly onto the preheated pizza stone or inverted baking sheet in the oven. Bake for approximately 10 minutes, or until the edges are lightly golden. For a crispier finish and bubbling filling, briefly broil for an additional 2 to 3 minutes, watching closely to prevent burning. If you wish to add an egg, bake for 10 minutes, then crack one egg into the center of the Pide and continue baking for an additional 5 minutes, or until the egg white is set and the yolk reaches your desired consistency.
-
Once baked to perfection, carefully remove the Pide from the oven. Allow it to cool on a wire rack for a few minutes before slicing into individual pieces. Serve immediately and enjoy the warm, savory flavors of your homemade Turkish Pide!
Notes
- If you notice that the dough is resistant to stretching or feels too stiff while shaping, simply cover it with a clean tea towel and allow it to rest for a couple of minutes. This brief resting period helps the gluten relax, making the dough much easier to work with.
- Feel free to experiment with a variety of other fillings beyond those listed. Popular options include Turkish sujuk, a mix of spinach and feta cheese, or any other vegetables and cheeses you prefer. However, always be mindful not to overload the Pide with fillings that are excessively liquid-based, as this can result in a soggy and undercooked crust.
- For an even, golden color across the top of your Pide, you might need to use the broiler during the last minute or two of baking. Keep a close eye on it to prevent burning, as broilers can cook very quickly.
- Each stuffing recipe provided (for cheese and lamb) is sufficient for approximately 3 Pides. If you’re keen to try multiple filling options, you can easily halve the ingredient quantities for each stuffing recipe to make smaller batches.
Calories: 714kcal,
Carbohydrates: 50g,
Protein: 38g,
Fat: 40g,
Saturated Fat: 19g,
Polyunsaturated Fat: 3g,
Monounsaturated Fat: 15g,
Trans Fat: 0.003g,
Cholesterol: 136mg,
Sodium: 1624mg,
Potassium: 503mg,
Fiber: 3g,
Sugar: 5g,
Vitamin A: 975IU,
Vitamin C: 16mg,
Calcium: 442mg,
Iron: 5mg
Did you make this recipe?
Please leave a star rating and review below!