
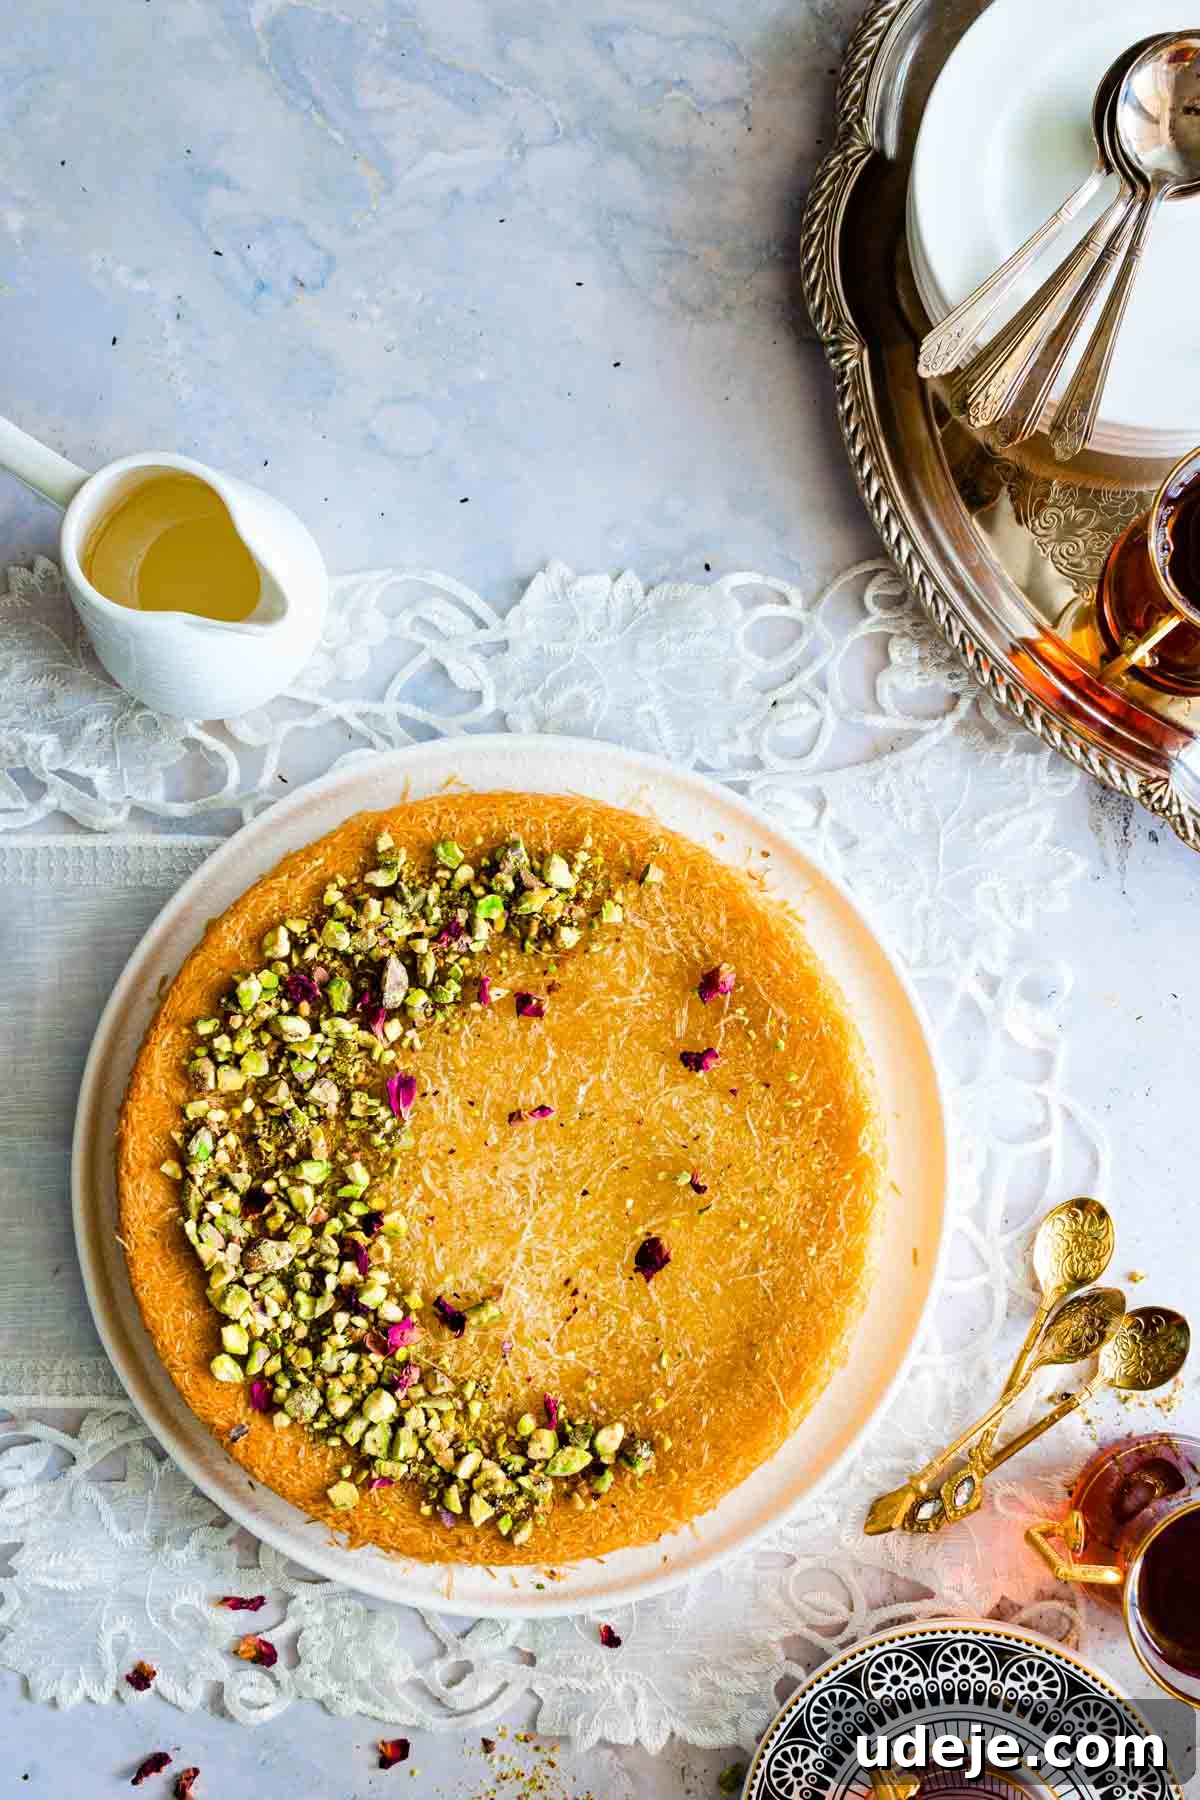
Embark on a culinary journey to the heart of the Middle East with this exquisite Kunafa recipe. Often hailed as one of the region’s most beloved desserts, Kunafa, also known as Knafeh, is a symphony of textures and flavors. Imagine layers of crispy, golden kataifi pastry, generously filled with a meltingly gooey cheese center, all generously drenched in a fragrant, sweet sugar syrup. This show-stopping dessert, despite its impressive appearance, is surprisingly simple to create in your own kitchen, requiring just about 15 minutes of active preparation time. I’m here to guide you through every step, ensuring you achieve that perfect golden crunch and irresistible cheesy pull that makes Kunafa an unforgettable treat.
5-STAR READER REVIEW
“I made this and it was amazing! There are only two of us so I cut it into portions and took it to some of my neighbours with little pots of syrup. Everyone loved it!”
—Debbie
Kunafa: A Treasured Middle Eastern Delicacy
Everyone has that one food they occasionally crave with an almost urgent intensity, sending them on a quest to find it. For me, that food is undeniably Kunafa. There have been instances where my longing for this incredible dessert has led to playful debates with my husband – I simply *must* have Kunafa, and I must have it now!
Kunafa stands as a true star among Middle Eastern desserts. In my humble opinion, it surpasses even the famed Baklava, offering a distinct and equally captivating experience. What’s more, it’s often much easier to prepare at home than other beloved treats like Qatayef or Luqaimat, primarily because this particular version requires no frying, simplifying the process significantly.
Unveiling the Secrets of Perfect Kunafa
The primary hurdle many home cooks face when attempting Kunafa is sourcing specific traditional ingredients, particularly the cheese. Many authentic Kunafa recipes traditionally call for Akawi cheese, a semi-hard, unsalted brine cheese common in the Middle East. While Akawi delivers a unique flavor and texture, it can be quite challenging to locate in many Western grocery stores.
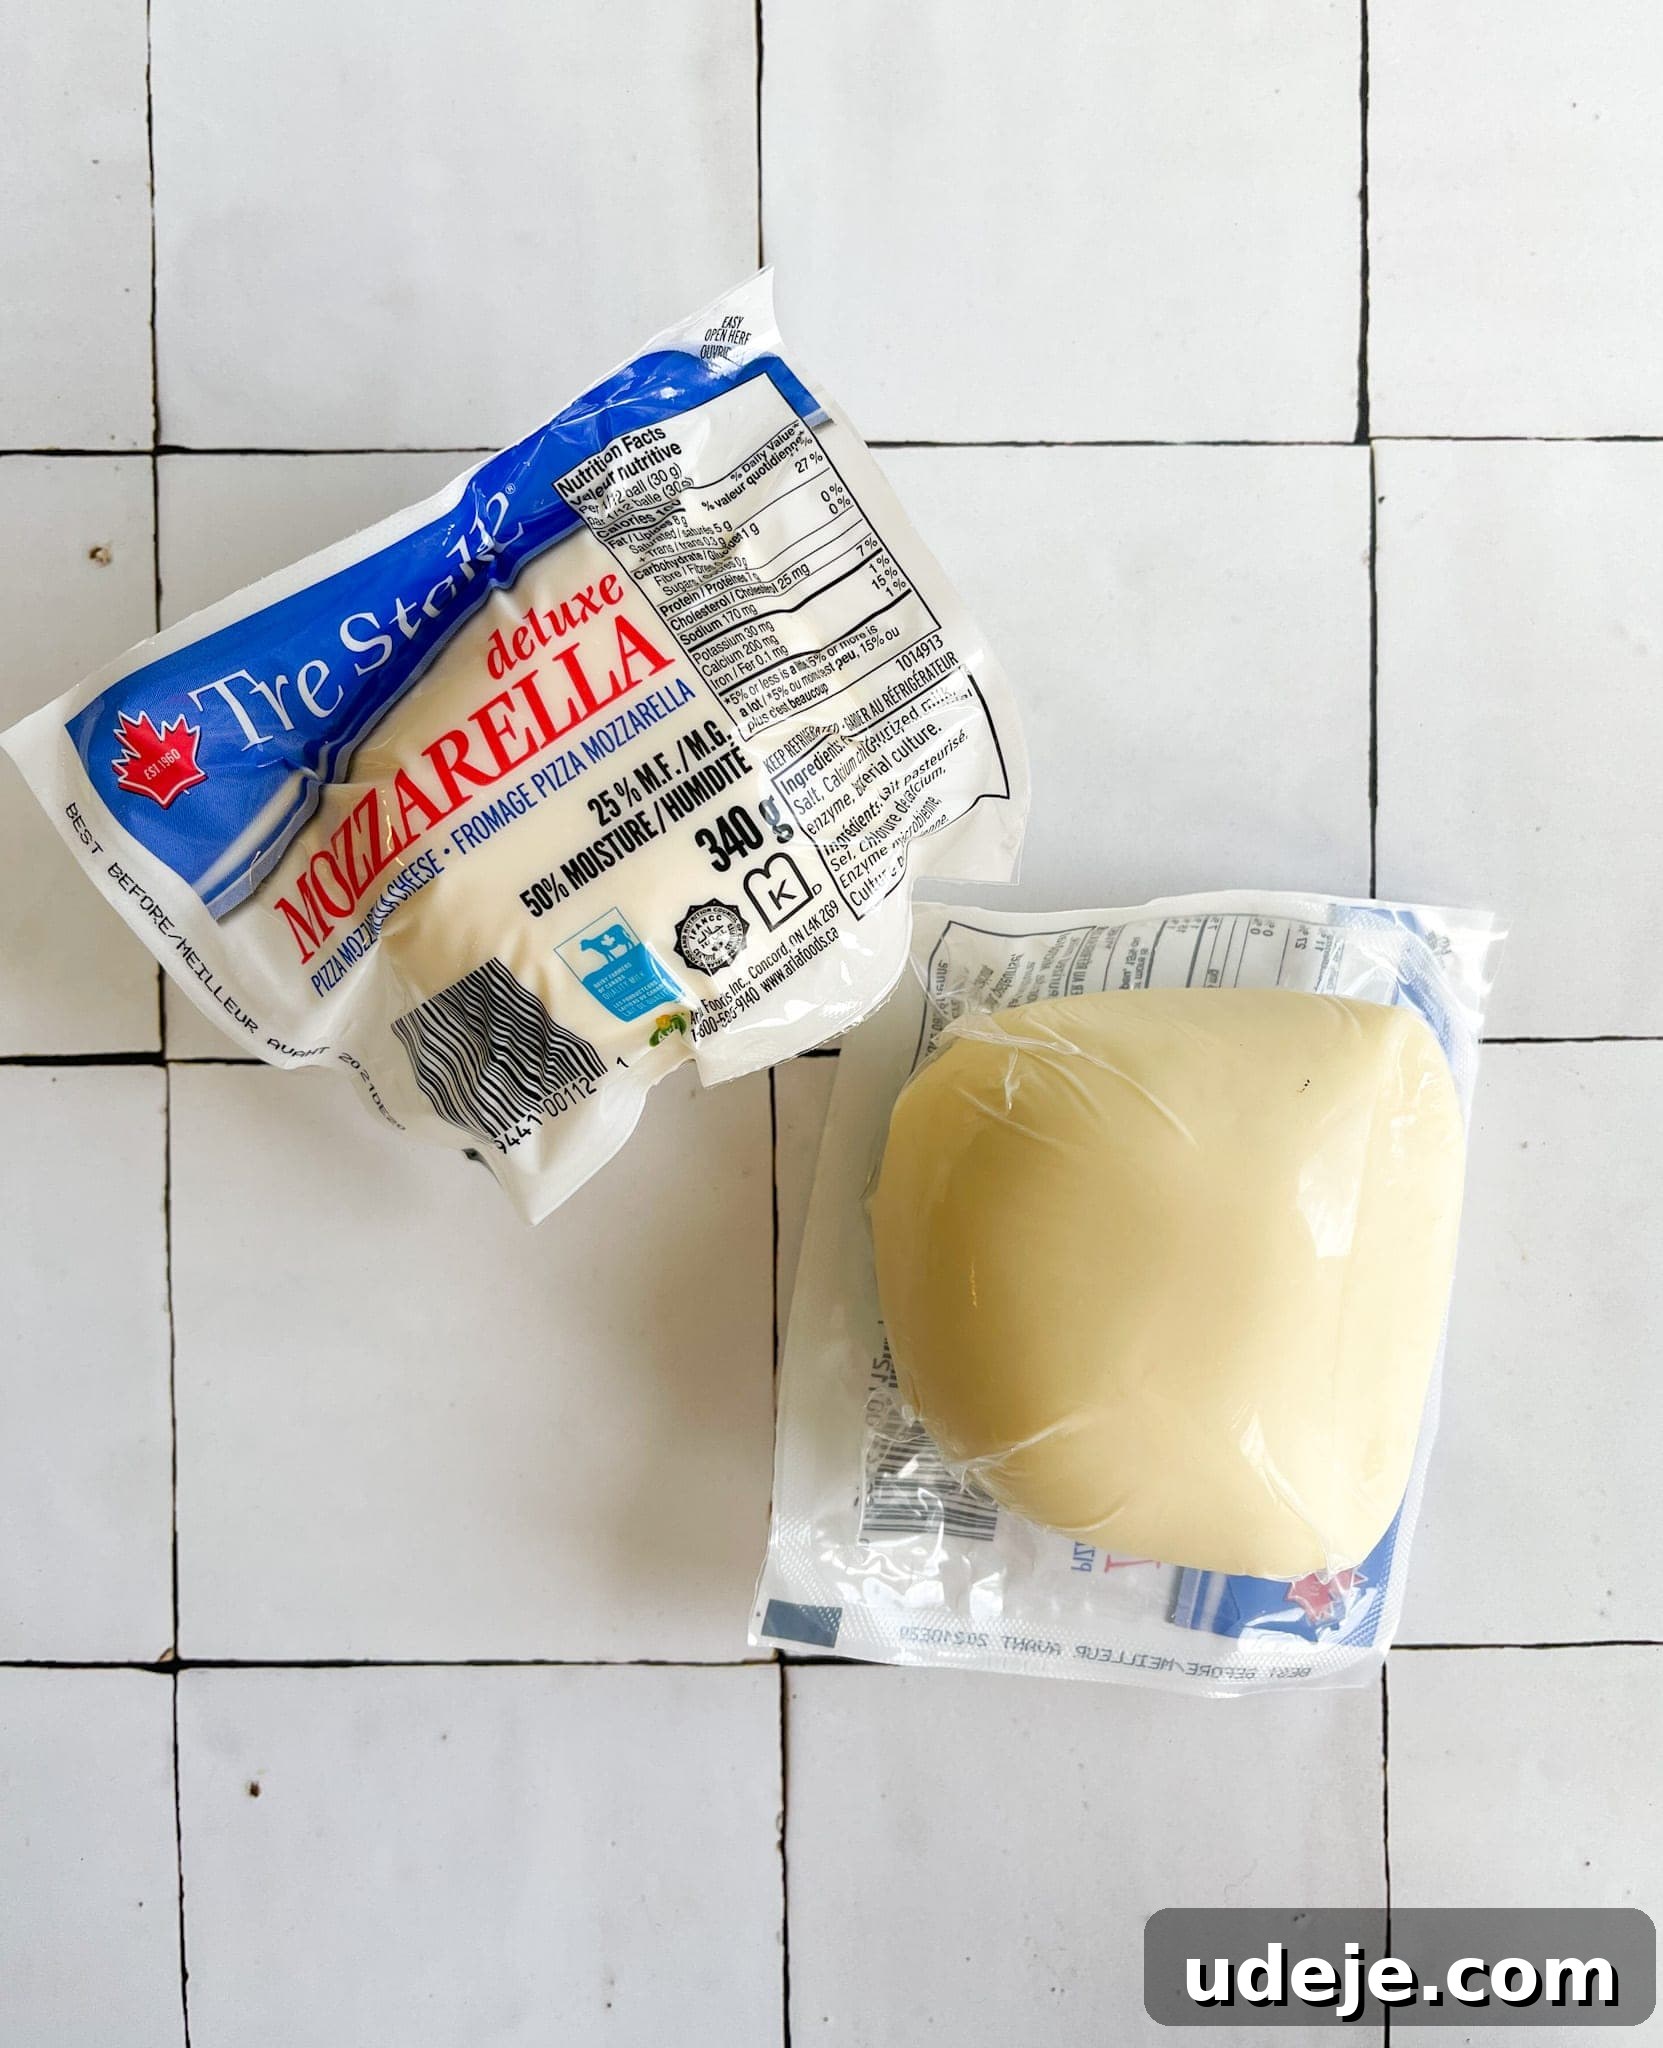
After extensive testing, I’ve developed a recipe that brilliantly sidesteps this issue by using readily available mozzarella cheese. I specifically recommend fresh mozzarella, which typically has a lower salt content, resulting in a cleaner, more balanced flavor. Surprisingly, I find that using mozzarella often yields an even better result than Akawi for most palates. The subtle saltiness of the mozzarella beautifully counterbalances the intense sweetness of the sugar syrup, creating a harmonious and utterly addictive dessert.
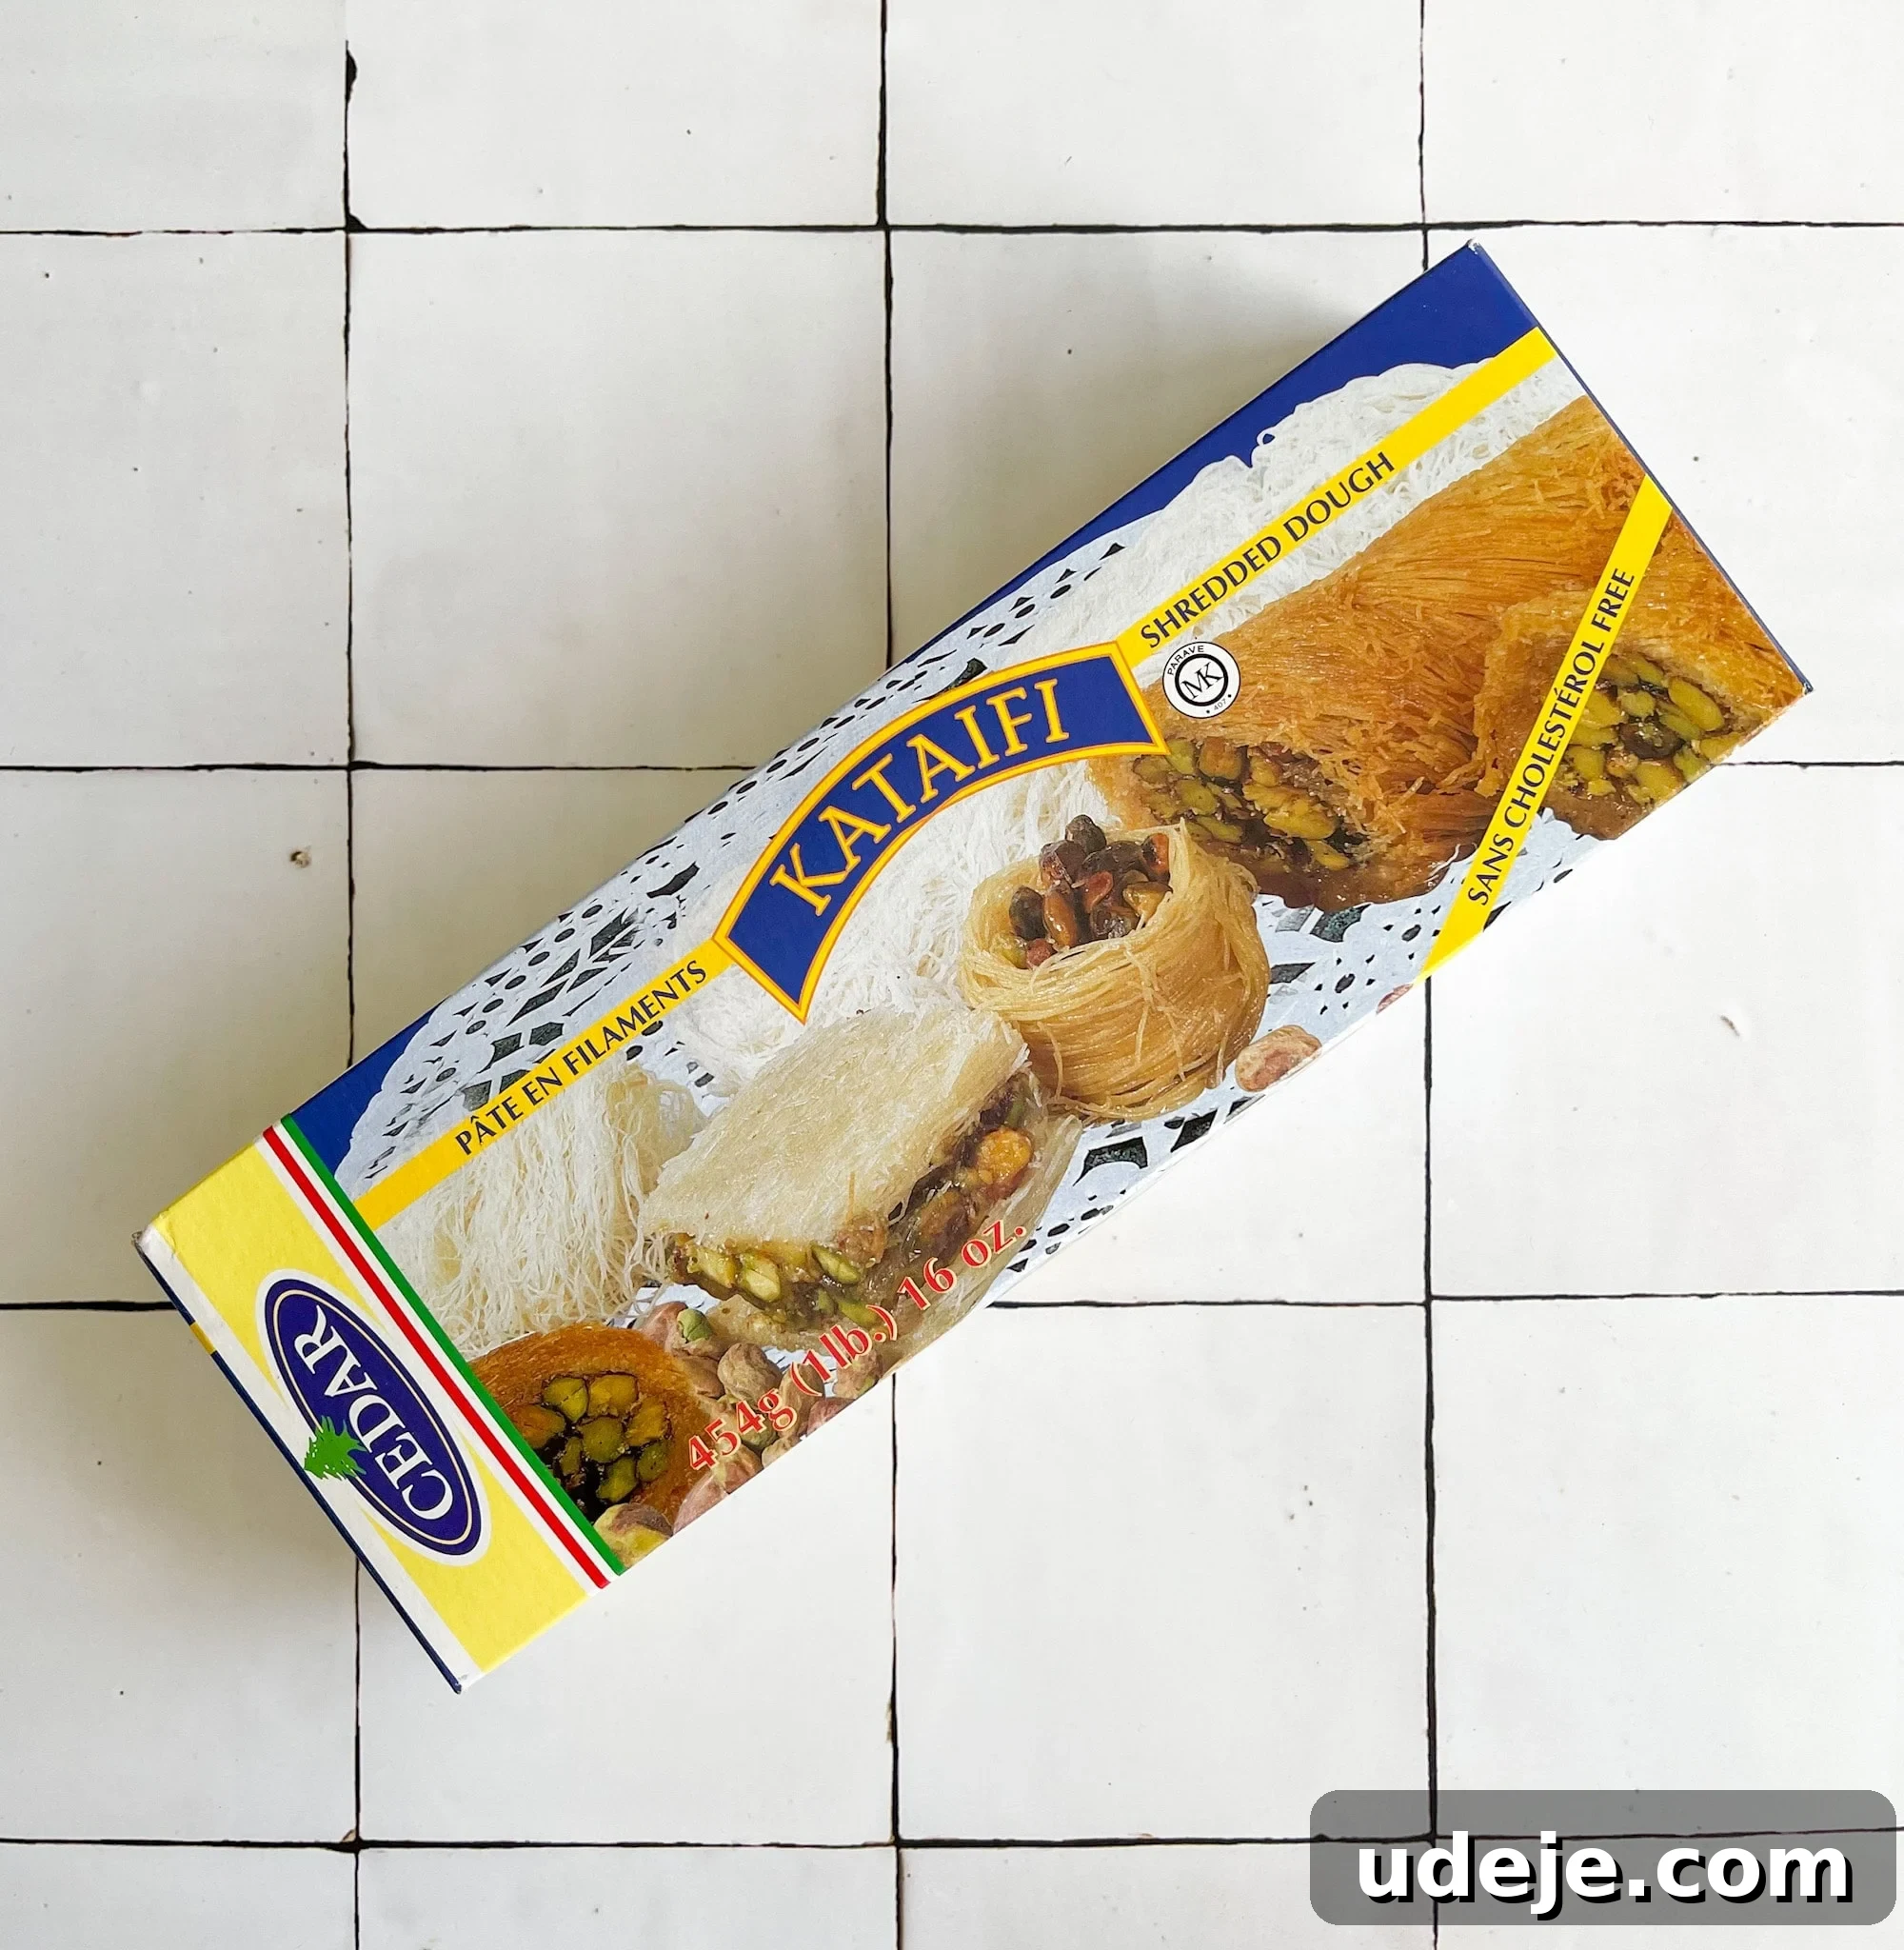
When it comes to the kataifi dough, however, there’s no real substitute. This fine, shredded phyllo dough is absolutely essential for achieving Kunafa’s signature crisp texture. You’ll typically find kataifi dough in the freezer section of Middle Eastern or international grocery stores. Its delicate strands are key to creating the delightful crispy crust that defines this dessert.
Essential Ingredients for Your Homemade Kunafa
Gathering your ingredients is the first exciting step towards making this incredible dessert. While the core components are straightforward, the quality of each element contributes significantly to the final masterpiece.
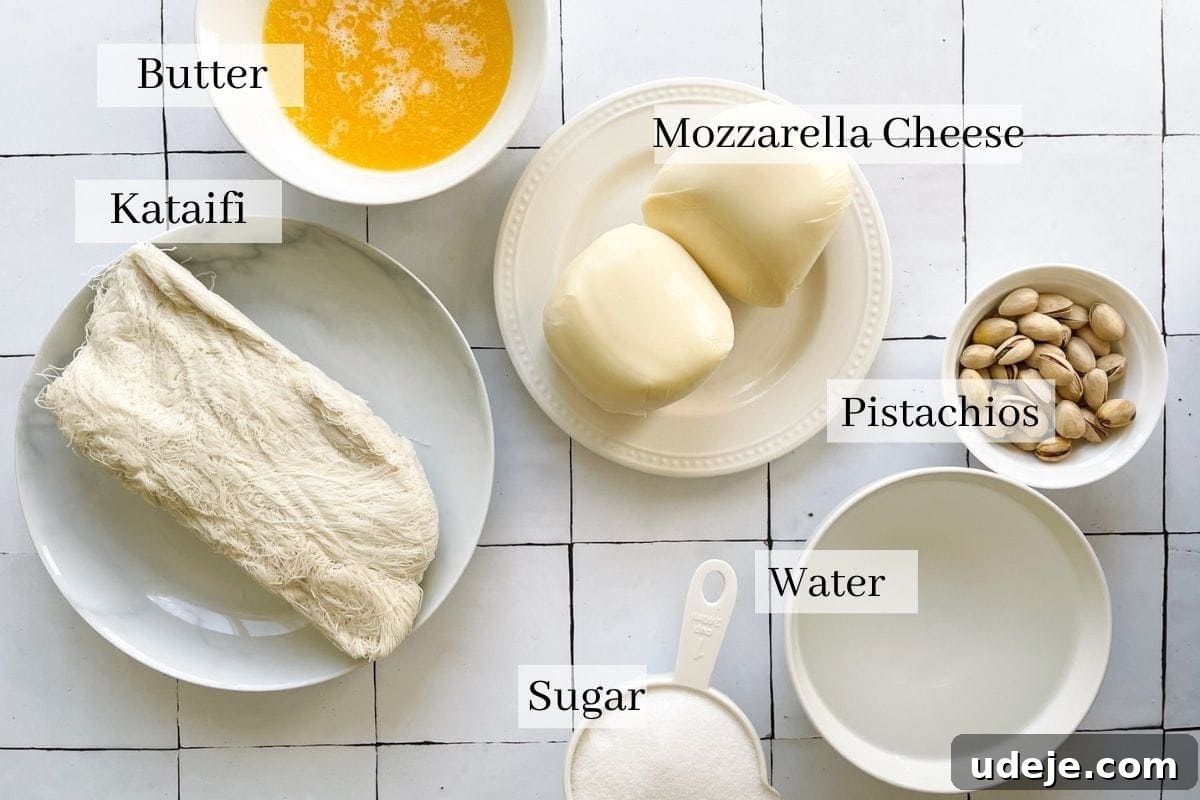
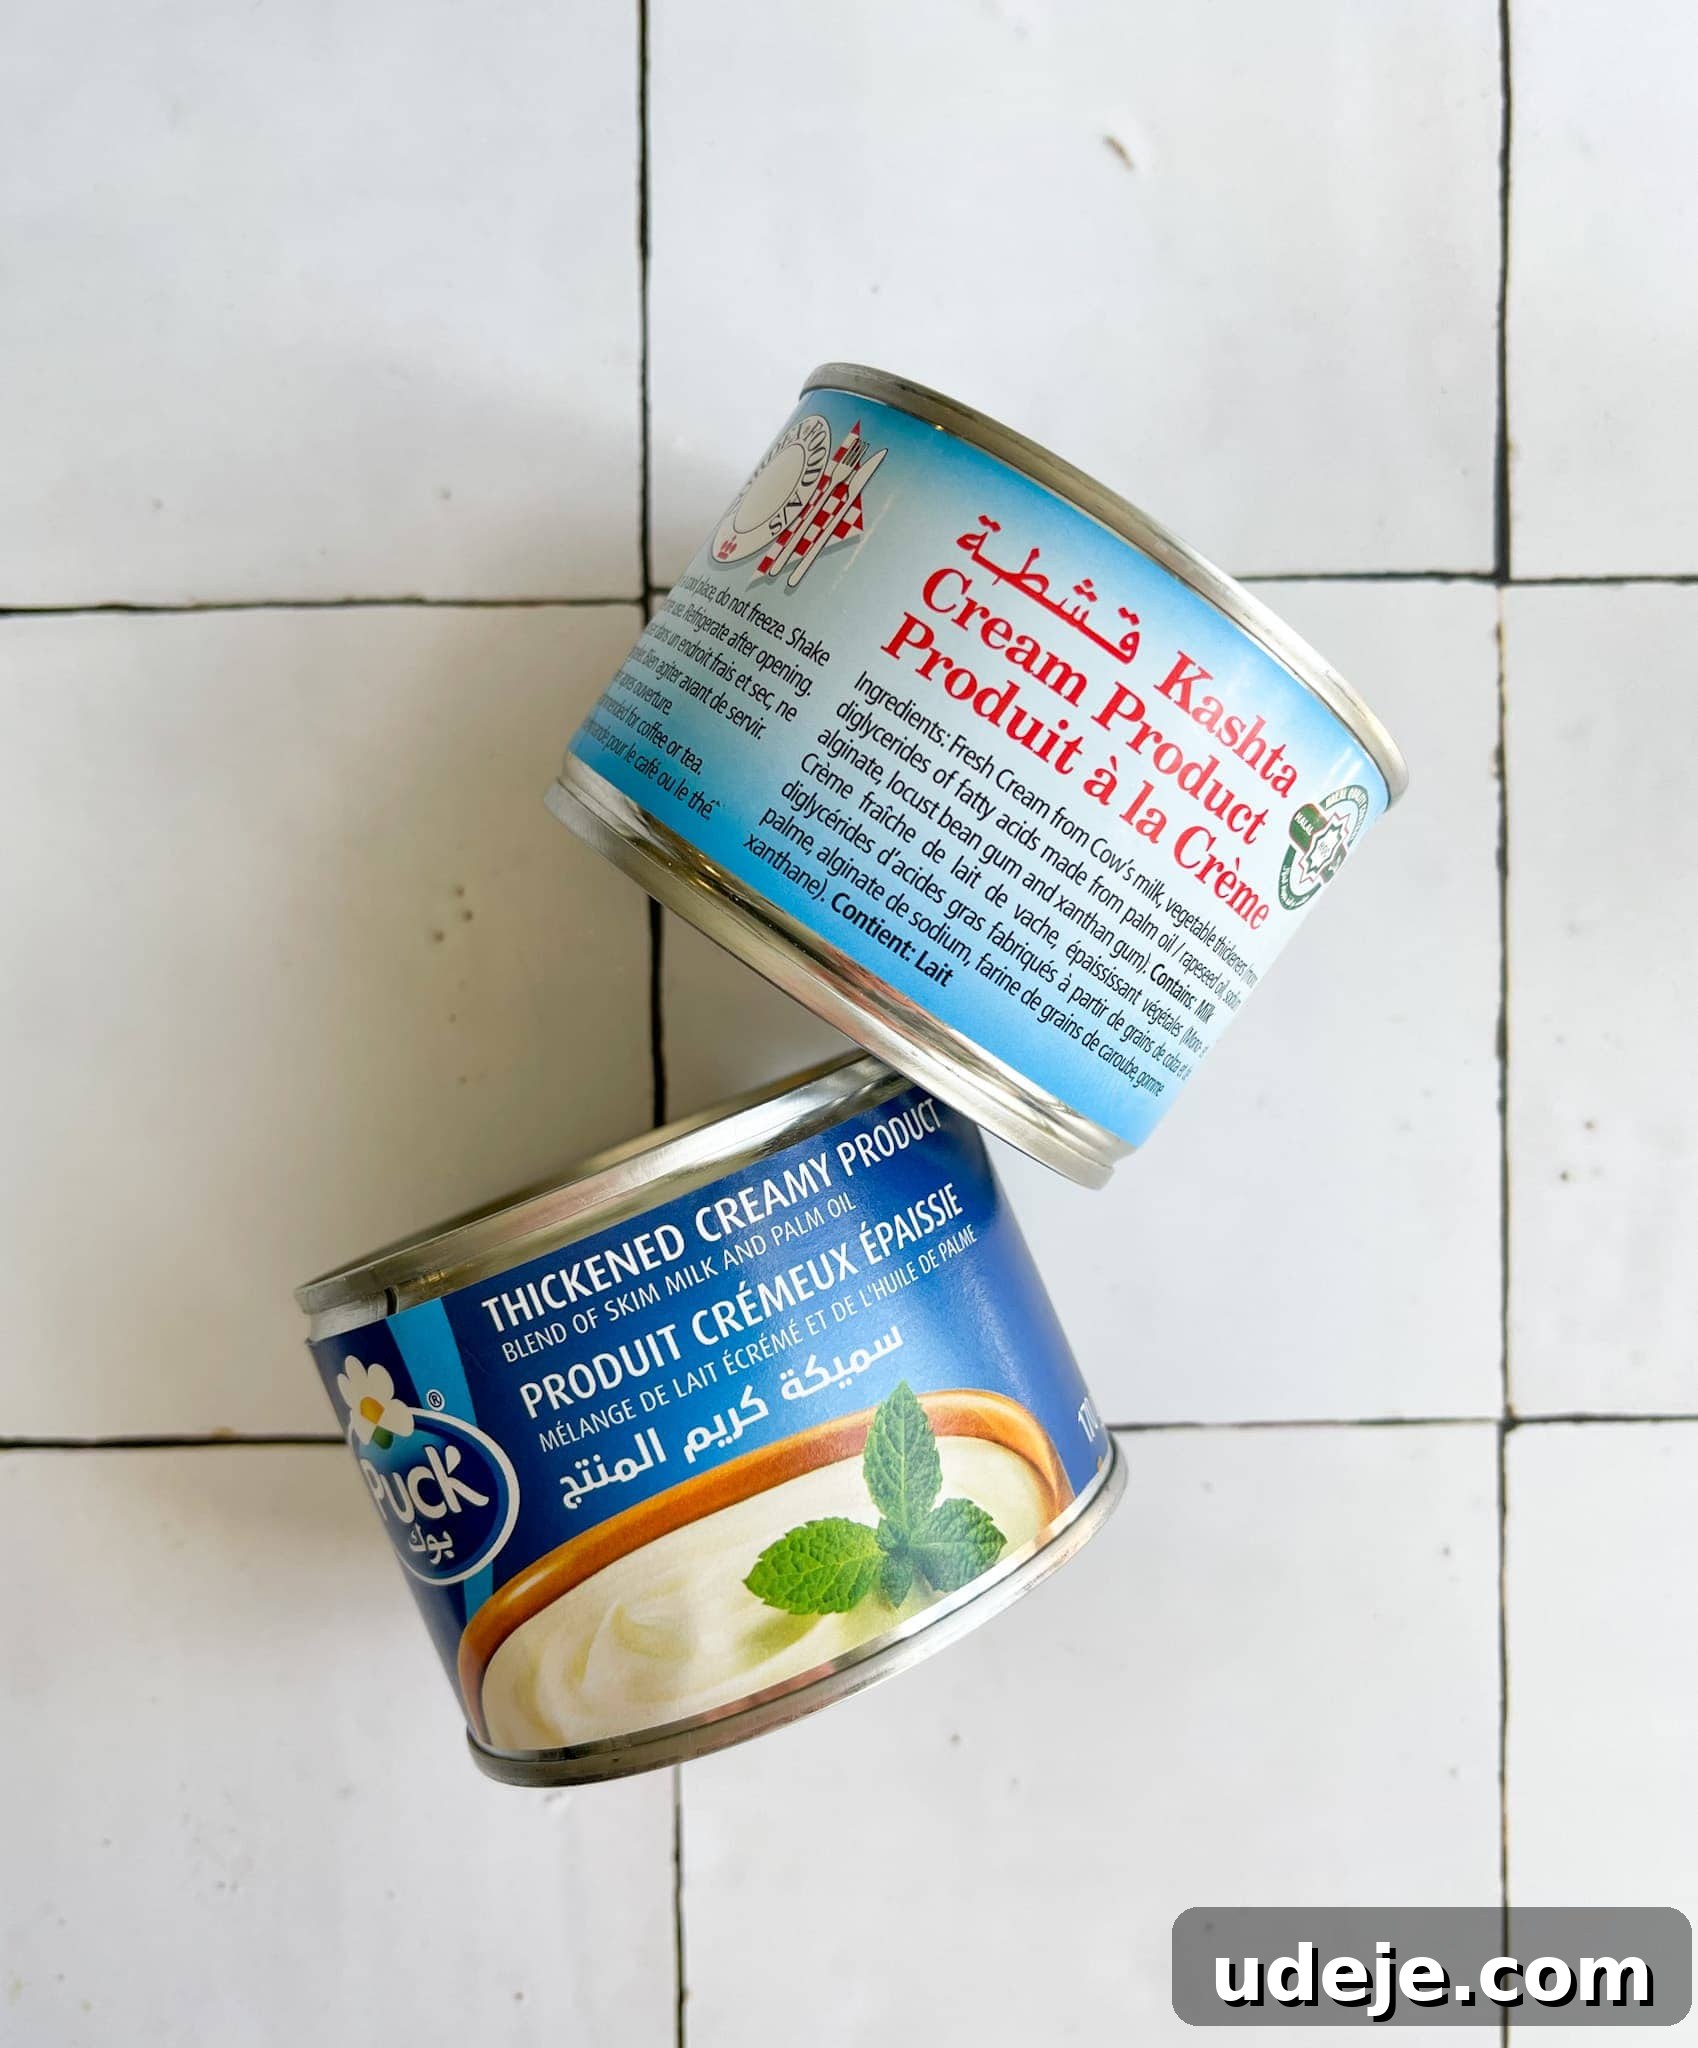
For an extra layer of richness and creaminess, I love to add a touch of thick cream, or ashta, to the cheese mixture. If you can’t find the specific canned variety often pictured in Middle Eastern recipes, don’t worry! You can easily omit it entirely or substitute it with ricotta cheese for a similar luscious texture. This addition truly elevates the indulgence factor of the Kunafa.
Step-by-Step Guide to Crafting Your Kunafa
The journey to homemade Kunafa begins with preparing the essential simple syrup, which needs time to cool before use. This sweet, aromatic liquid is what gives Kunafa its signature moistness and delectable flavor.
1. Prepare the Simple Syrup
In a medium saucepan, combine the sugar, water, and a squeeze of lemon juice. Bring the mixture to a boil over high heat, stirring occasionally to dissolve the sugar. Once boiling, reduce the heat to medium and let it simmer gently for about 10 minutes. The syrup should have a runny consistency – you don’t want it too thick. Remove from heat and, if using, stir in the rose water or orange blossom water. Allow the syrup to cool completely to room temperature on your counter. This cooling step is crucial; pouring hot syrup on hot Kunafa can make it soggy.
2. Prepare the Cheese Filling
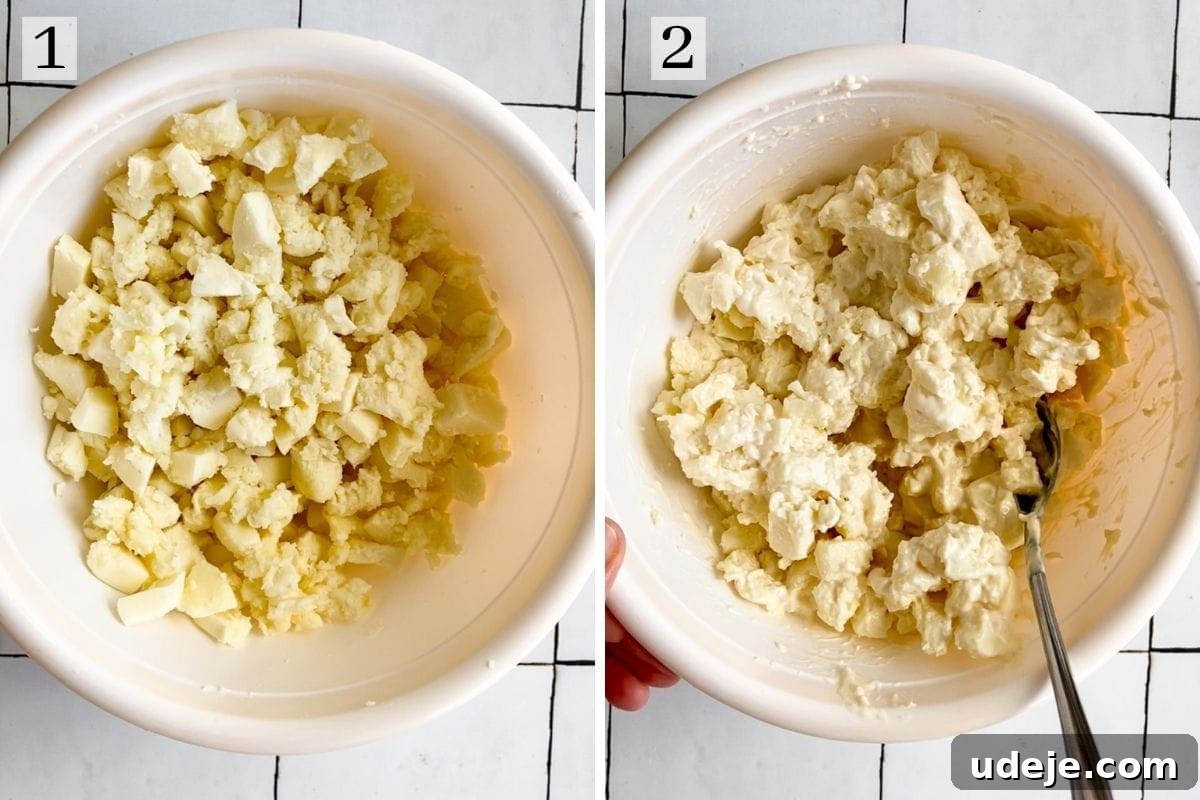
For the cheese filling, grate your mozzarella cheese or chop it into very small, uniform pieces. If you’ve chosen to include the thick cream or ashta, gently mix it thoroughly with the prepared mozzarella. This combination will create that wonderfully gooey, slightly stretchy center that is so characteristic of Kunafa.
3. Prepare the Kataifi Dough
Next, tackle your kataifi dough. If it’s frozen, remember to thaw it overnight in the refrigerator. For best results, take it out of the fridge about an hour before you plan to use it, allowing it to come closer to room temperature and become more pliable.
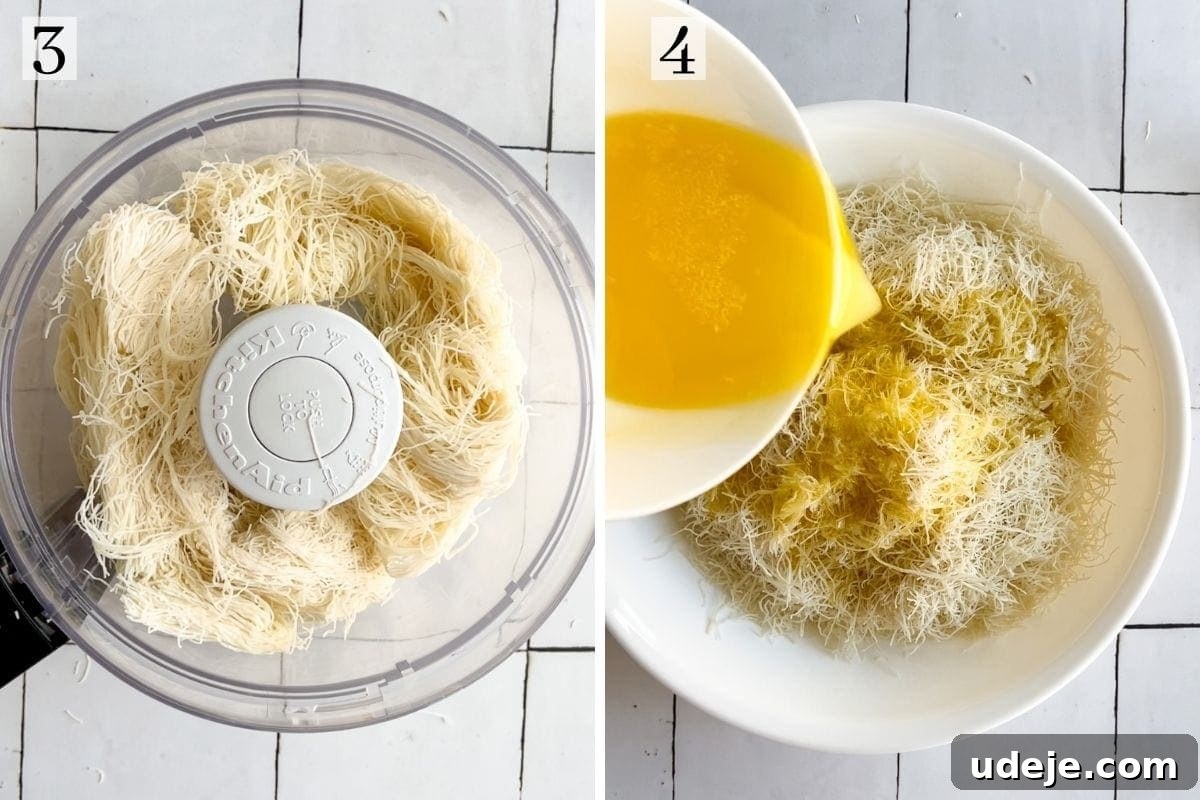
Take the thawed kataifi dough and place it in a food processor, pulsing for a few seconds until it’s broken into small, uniform strands. If you don’t have a food processor, a sharp knife will also work perfectly for finely chopping the dough. Once shredded, transfer the kataifi to a large bowl. Pour the melted butter over the dough and, using your hands, gently massage the butter into every strand. This step is crucial for achieving that irresistible golden crispness during baking.
4. Assemble and Bake the Kunafa
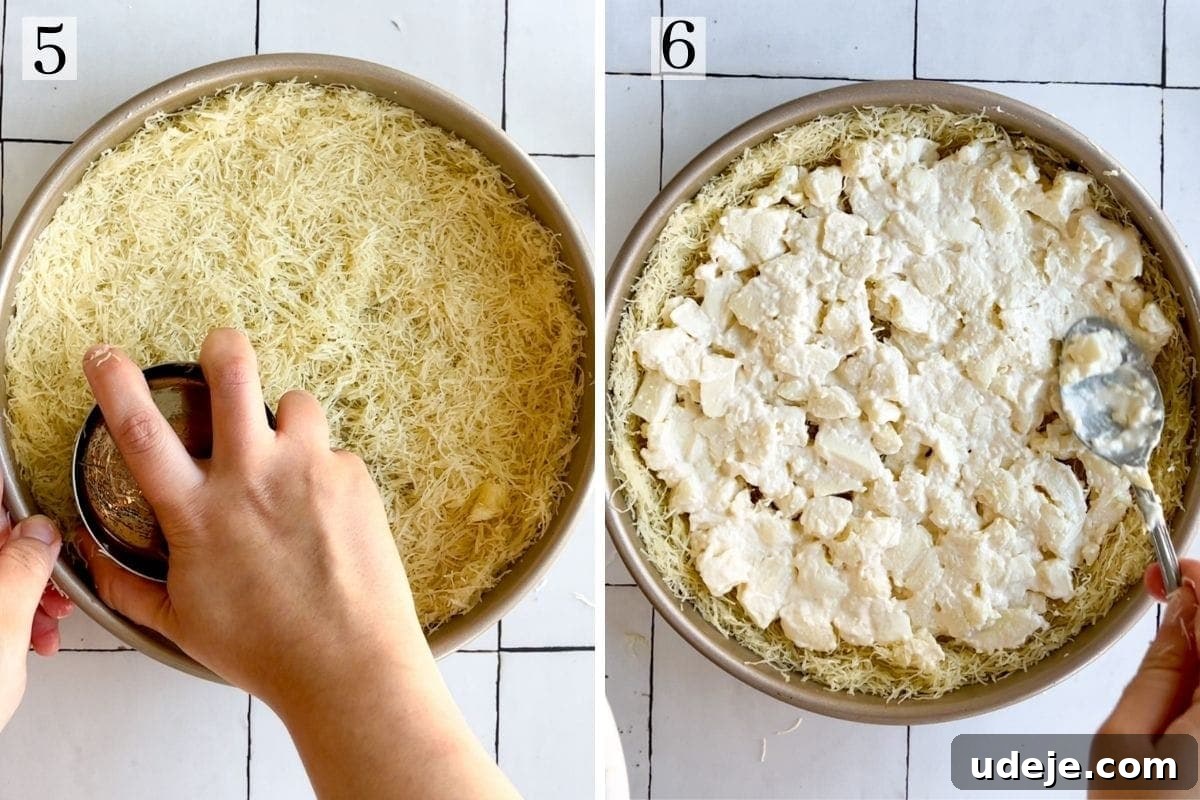
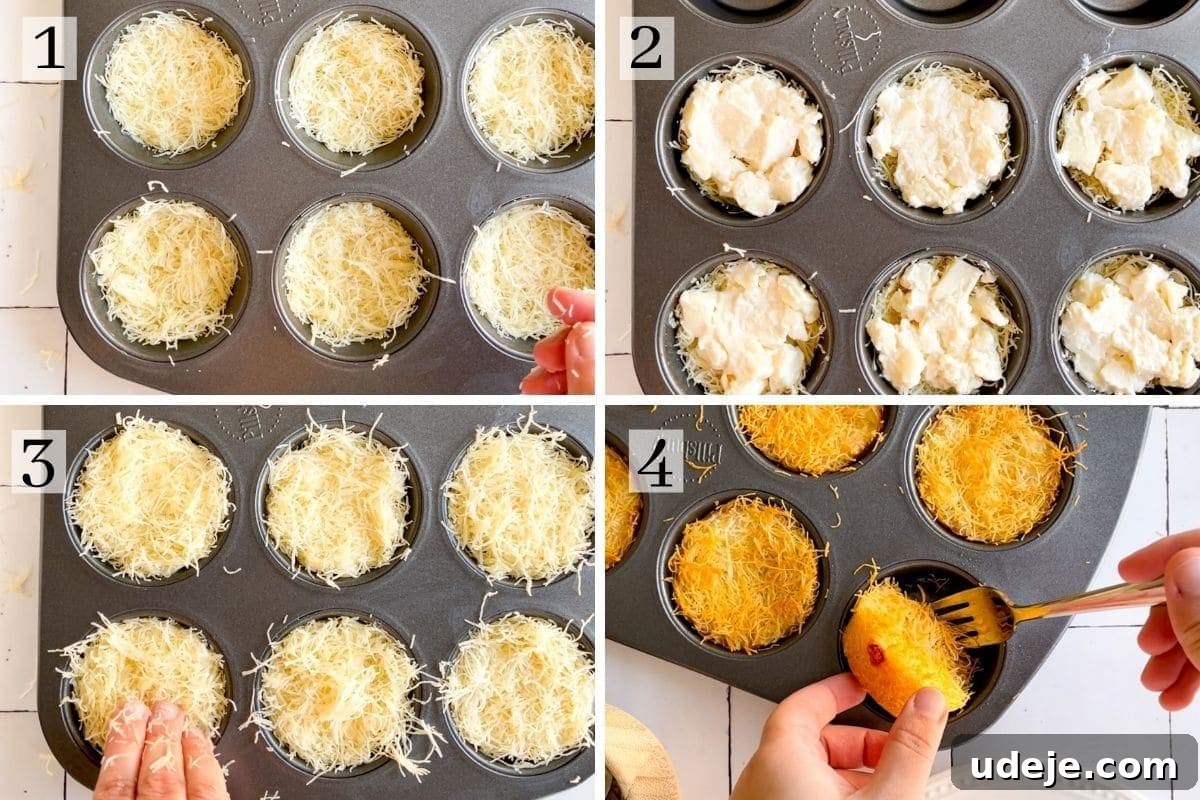
Preheat your oven to 350°F (175°C). Lightly brush the bottom of your baking pan with some additional melted butter. Take half of the butter-coated kataifi dough and firmly press it into the bottom of the pan. Use the flat bottom of a cup or a glass to pack it down tightly and evenly, creating a slight edge around the perimeter to contain the cheese. Spoon the prepared cheese mixture over this layer, spreading it out evenly without pressing down. Finally, spread the remaining kataifi dough over the cheese, ensuring it’s completely covered. Press down lightly to adhere the layers. Bake in the preheated oven for approximately 40-50 minutes, or until the edges and top achieve a rich, deeply golden and crispy appearance.
5. Serve Your Golden Delight
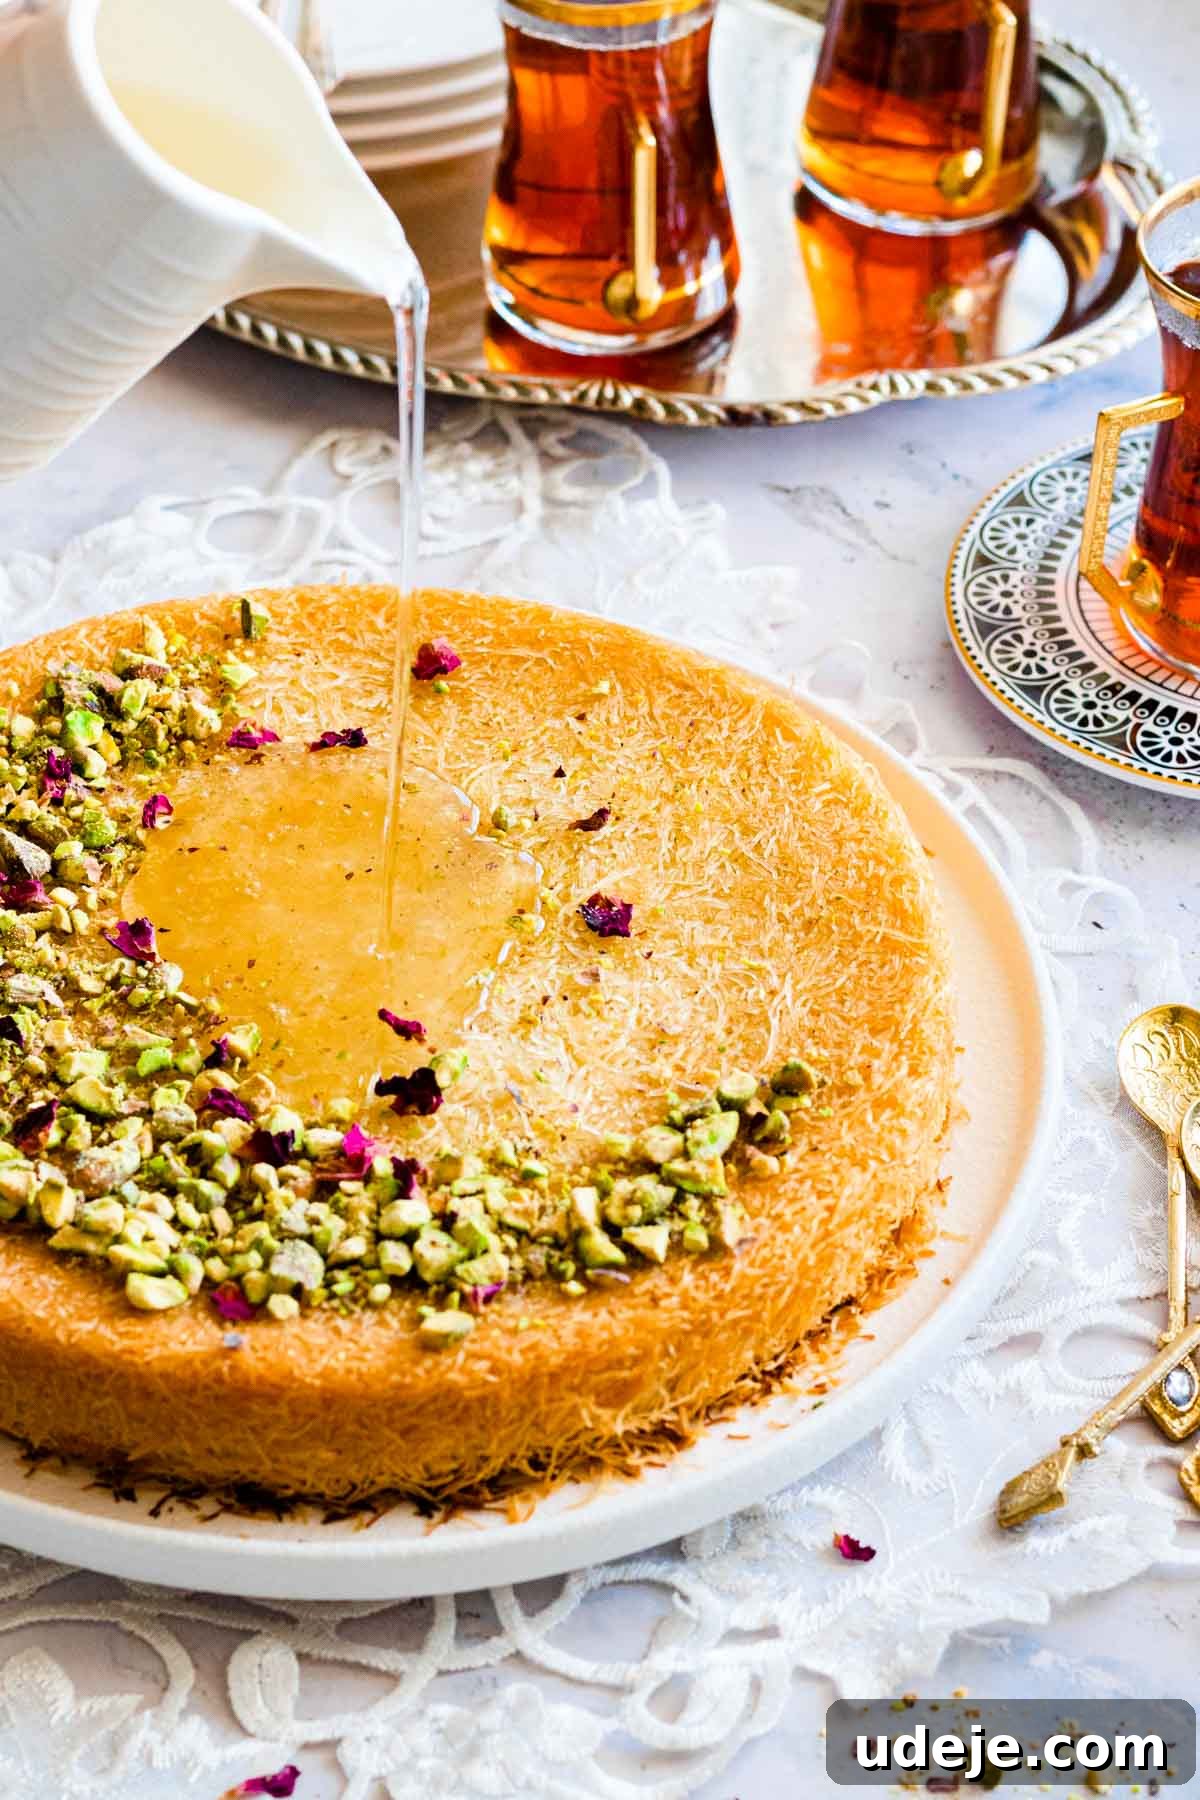
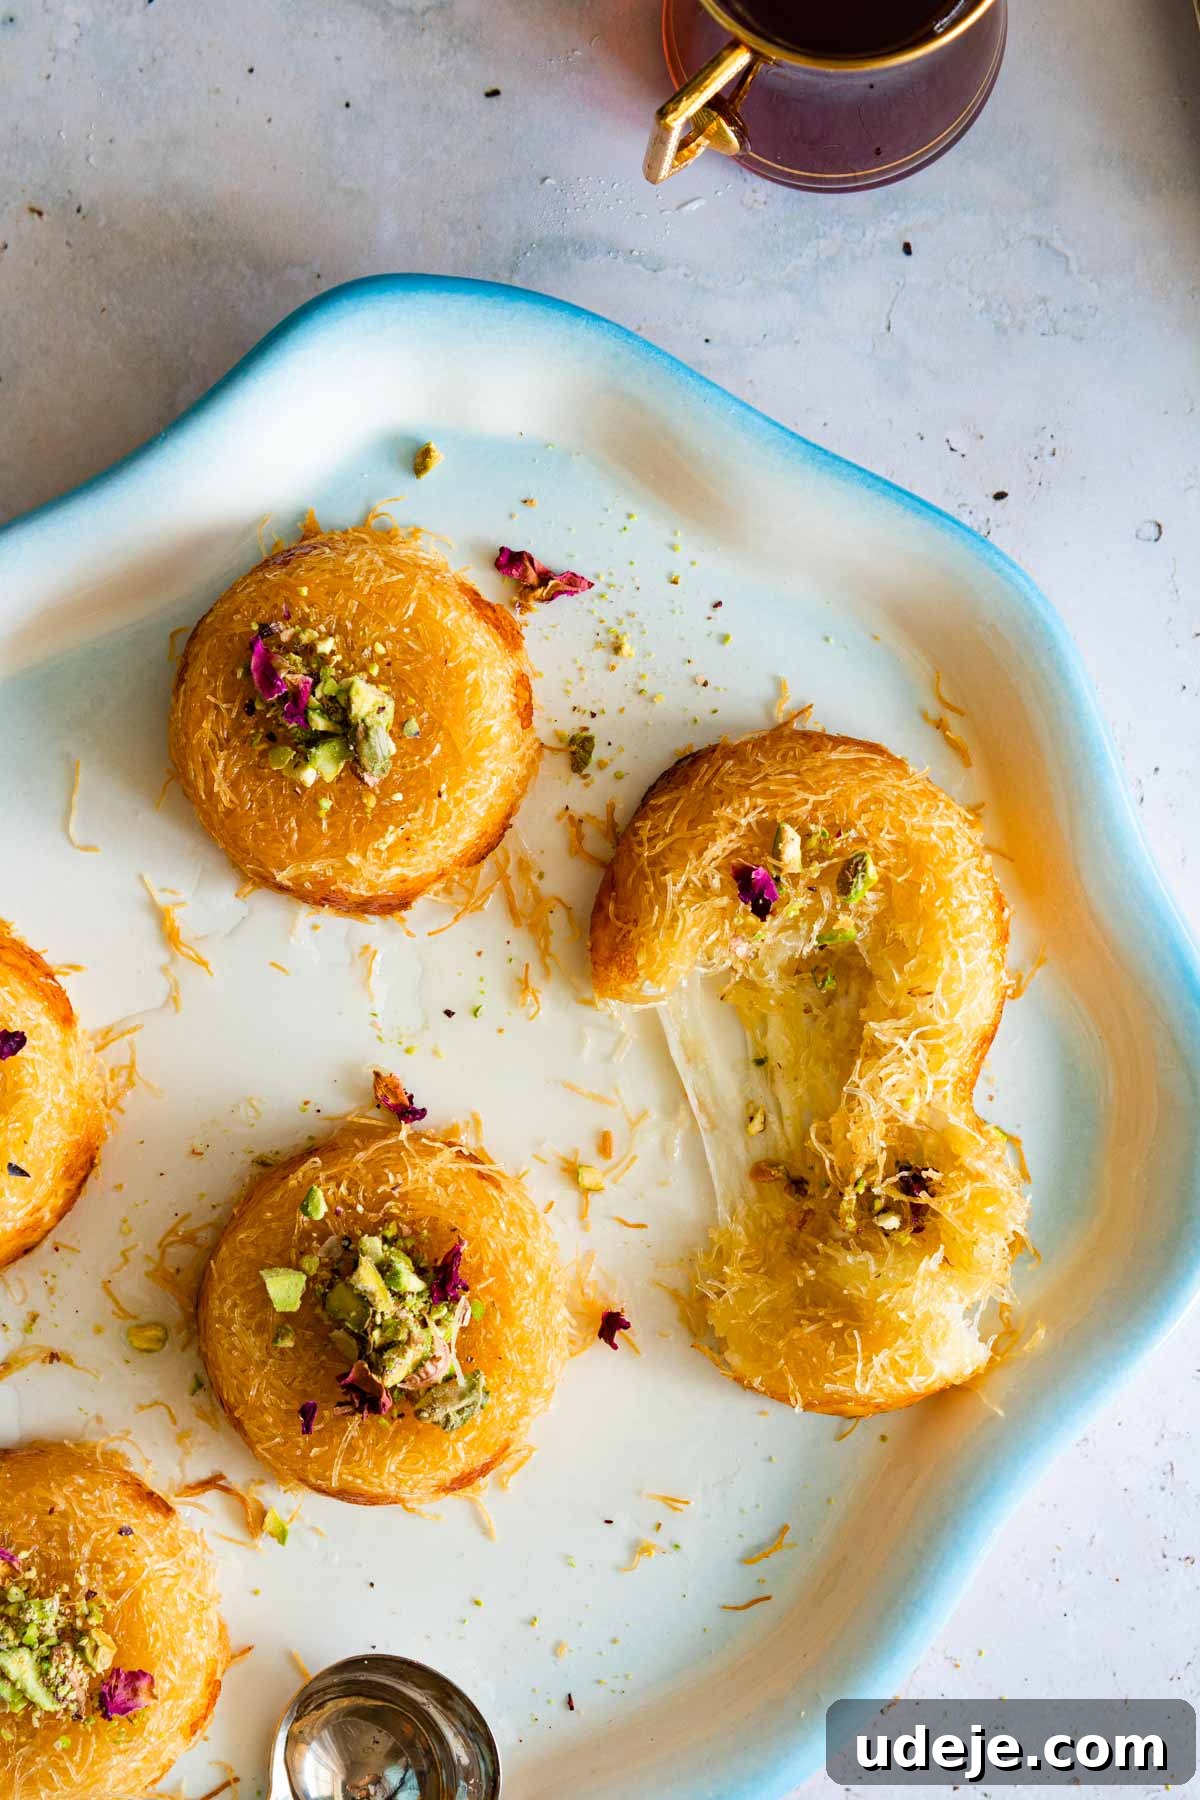
Immediately upon removing the Kunafa from the oven, generously drizzle about three-quarters of the cooled simple syrup over the entire surface. This allows the hot Kunafa to properly absorb the fragrant syrup. Reserve the remaining syrup on the side for those who prefer extra sweetness. Allow the Kunafa to cool and soak for about 10 minutes before serving. To present it beautifully, carefully invert it onto a serving platter (or simply serve directly from the pan). Garnish lavishly with crushed pistachios, slice into portions, and serve warm. The contrast of the warm, gooey cheese with the crispy pastry and cool syrup is truly divine!
Mini Kunafa: Adorable and Perfectly Portioned
For those who adore individual servings or want to create an impressive dessert spread, transforming this recipe into cute mini Kunafas is incredibly easy. Simply follow the exact same preparation steps, but instead of using a large pan, utilize a standard muffin tin. This recipe yields approximately 12 delightful mini Kunafa portions. Remember to significantly decrease the baking time when making smaller sizes, as they will cook much faster than a large Kunafa. Keep a close eye on them to ensure they reach that perfect golden hue without overbaking.
Choosing the Right Pan Size for Your Kunafa
The beauty of Kunafa is its versatility, extending even to the baking pan you choose. This specific recipe is designed to yield a generously thick 9-inch Kunafa, along with an additional 6 individual muffin-sized portions. Your pan choice ultimately depends on your personal preference for the pastry-to-cheese ratio. I personally enjoy a good amount of crispy pastry, providing a satisfying crunch that complements the abundant, stretchy cheese filling. However, some enthusiasts prefer a thinner Kunafa with a more pronounced cheese layer.
You can replicate my yield (one 9-inch Kunafa and 6 mini ones), or opt for a single, larger Kunafa using a 12-inch circular pan. If a circular pan isn’t available, a rectangular baking dish can also be used effectively. Just ensure the dough is evenly spread and packed, regardless of the pan’s shape, to achieve uniform crispness and baking.
Pro Tips for a Flawless Kunafa
- **Syrup Management:** Always ensure your simple syrup is completely cool before drizzling it over the hot Kunafa. This temperature contrast is key to maintaining the pastry’s crispness and preventing it from becoming soggy.
- **Even Browning:** Ovens can be temperamental. If you notice the top of your Kunafa browning too quickly while the edges are still pale, a small piece of aluminum foil placed gently over the center can help shield it, allowing the edges to catch up and crisp perfectly.
- **Customizing Sweetness:** Not everyone enjoys the same level of sweetness. It’s a great idea to reserve some of the simple syrup and offer it on the side. This allows guests to add more to their individual portions according to their preference.
- **Fresh Mozzarella is Key:** Opt for high-moisture, fresh mozzarella (often found in balls or logs packed in water) over pre-shredded varieties. Fresh mozzarella melts more smoothly and has a less salty flavor, contributing to a superior Kunafa.
- **Butter Saturation:** Don’t skimp on butter or rush the process of massaging it into the kataifi. Each strand needs to be thoroughly coated to ensure maximum crispiness and a beautiful golden color.
Other Dessert Recipes You Will Love
If you’ve fallen in love with the flavors of Kunafa, you’re in for a treat with these other delightful Middle Eastern desserts:
If you tried these recipes, please consider leaving a star ⭐⭐⭐⭐⭐ rating in the recipe card below and/or a review in the comments section further down the page – I’d love to hear from you! You can also hop on over to Instagram and say hello!
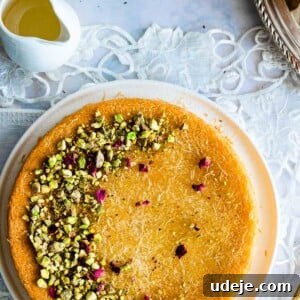
Crispy Kunafa with Mozzarella Cheese (Easy!)
12 servings
15 mins
45 mins
1 hr
Amina Al-Saigh
Leave a Review
Pin Recipe
Ingredients
For the Simple Syrup
- 2 1/2 cups sugar
- 1 1/4 cups water
- 1 tablespoon rose water or orange blossom water, optional
- 1 squeeze lemon juice
For the Kunafa
- 454 g Kataifi Dough, (shredded phyllo dough)
- 1 cup melted butter
- 600 g mozzarella cheese, high moisture, at least 50%
- 170 ml thick cream, (optional, see photos in post)
- 1/2 cup crushed pistachios, to garnish
- 2 tablespoons dry rose petals for garnish, optional
Equipment
-
Food Processor (optional)
-
Oven
-
Medium saucepan
-
Baking pan (9-inch round or rectangular)
Instructions
For the simple syrup
-
In a medium saucepan, combine the water, sugar and squeeze of lemon. Place on high heat and bring to a boil.
-
Once boiling, lower heat to medium and allow it to simmer for 10 minutes. Turn off the heat. It should have a runny syrup consistency (not too thick). Add the tablespoon of rose water or orange blossom water at the end, if using, and allow it to cool completely to room temperature on the counter.
For the Kunafa
-
Take out the frozen kataifi dough and leave it to thaw for an hour or so on the counter. Preheat oven to 350°F (175°C).
-
Shred the mozzarella cheese or cut it up into small cubes. Mix it thoroughly with the thick cream, if you are using it.
-
Break up the kataifi dough and place it in a food processor. Pulse for a few seconds until it is broken up into small, even pieces. If you don’t own a food processor, you can finely chop it using a sharp knife or even break it up with your hands.
-
Place the shredded kataifi dough in a large bowl and pour over the melted butter. Using your hands, massage the butter into the dough, ensuring every strand is well-saturated. The better you incorporate the butter, the more evenly crispy and golden your Kunafa will be.
-
Brush the bottom of your chosen pan with a bit of melted butter. You can use a 12-inch pan for one large Kunafa, or two 9-inch pans for two smaller ones. (Refer to the notes section for more on pan sizes.)
-
Take half of the butter-coated kataifi dough and firmly pack it into the bottom of the pan. Use the flat bottom of a cup or a glass to press it down tightly, forming a slight edge around the perimeter to hold the cheese.
-
Evenly spoon the cheese mixture inside, spreading it gently over the packed kataifi layer.
-
Take the remaining kataifi dough and spread it over the cheese, ensuring it completely covers the filling. Lightly press it down to secure the top layer.
-
Bake for 40-50 minutes, or until the top and edges are deeply golden and crispy.
-
Immediately after removing the Kunafa from the oven, generously drizzle about 3/4 of the cooled simple syrup over the entire surface, making sure to cover it evenly. Reserve some syrup on the side for those who prefer extra.
-
Allow it to cool slightly and soak up the syrup for about 10 minutes. Then, carefully invert it onto a serving platter (or you can serve it directly from the tray). Garnish with crushed pistachios and optional dry rose petals, cut into pieces, and serve warm.
Notes
- This recipe can make 2x 9″ Kunafas or one larger 12″ one. You can also make one 9″ one and 6 mini Kunafa using a muffin tin.
- Be sure to reserve some of the syrup and not use it all immediately. Some people don’t like their dessert too sweet, and this allows individuals to add more to their liking.
- Depending on your oven, if you start to notice that the top is browning too fast and the edges are still not golden, you can place a small piece of aluminum foil in the middle to cover it while the rest of it crisps up.
Did you make this recipe?
Please leave a star rating and review below!