
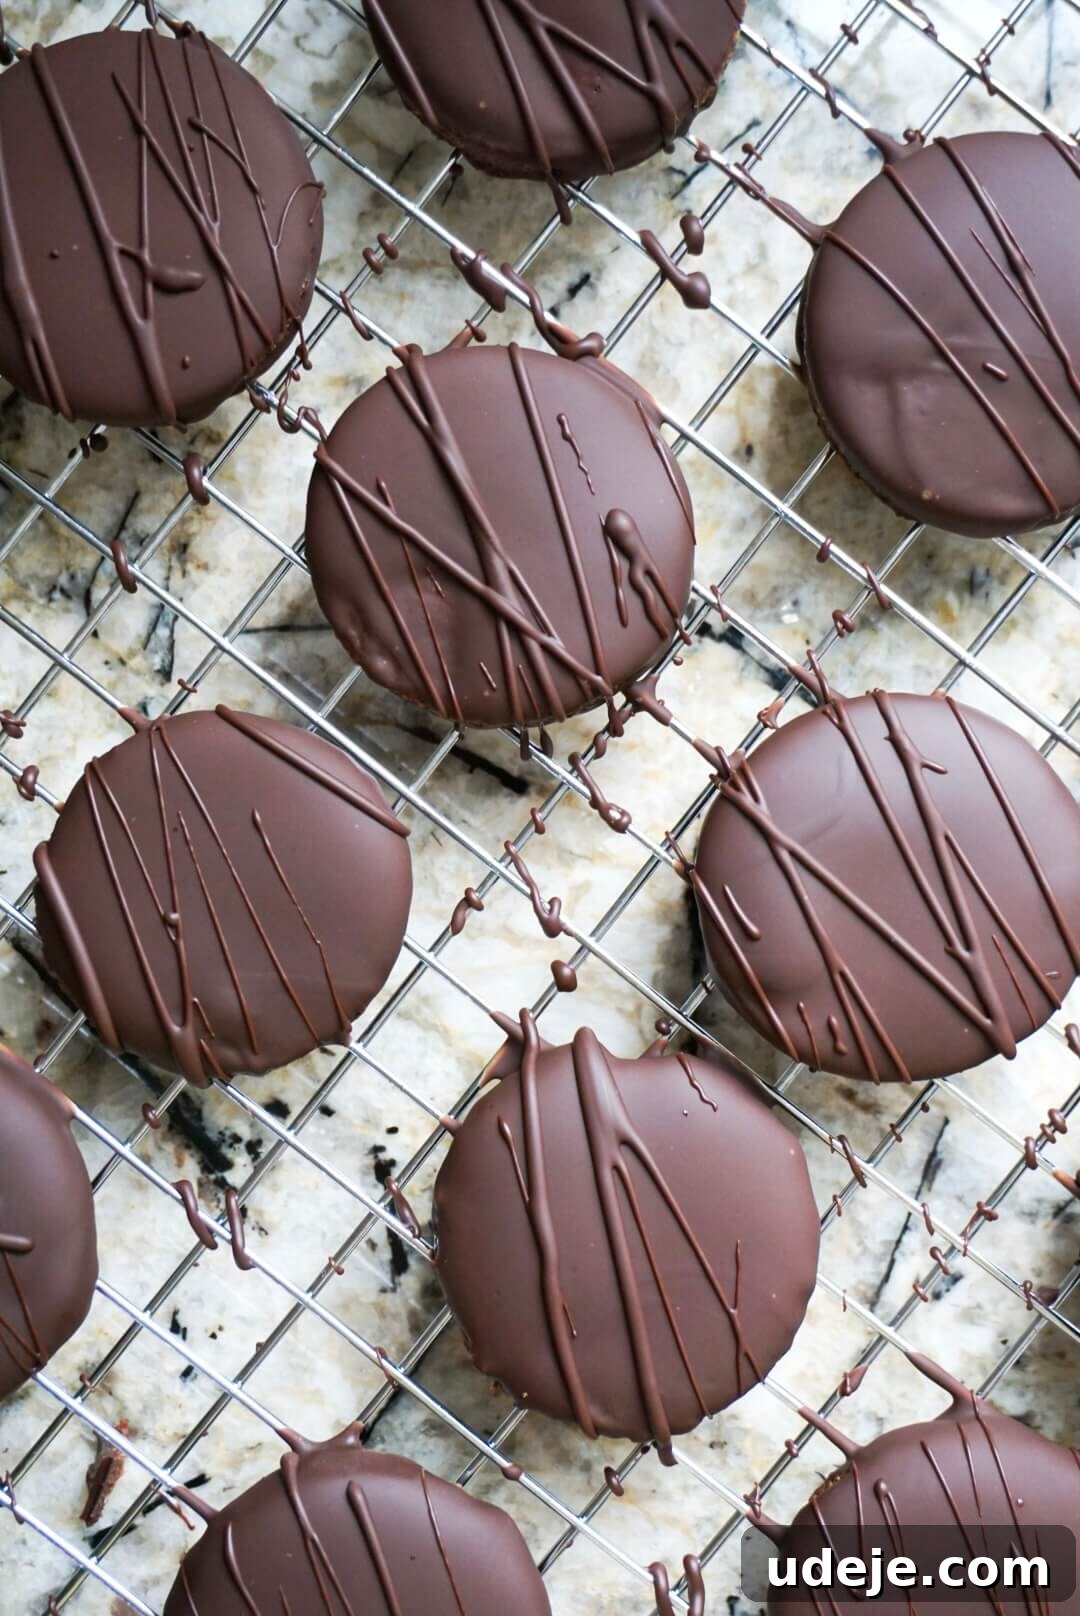
Homemade Thin Mints: A Healthier, Vegan & Gluten-Free Twist on a Classic
Craving the iconic taste of Thin Mints but looking for a healthier alternative? Look no further! This recipe delivers all the beloved chocolate and minty crunch of the classic Girl Scout cookie, but with a wholesome twist. Made with only 7 simple ingredients, these gluten-free cookies are completely vegan and refined sugar-free, allowing you to indulge guilt-free.
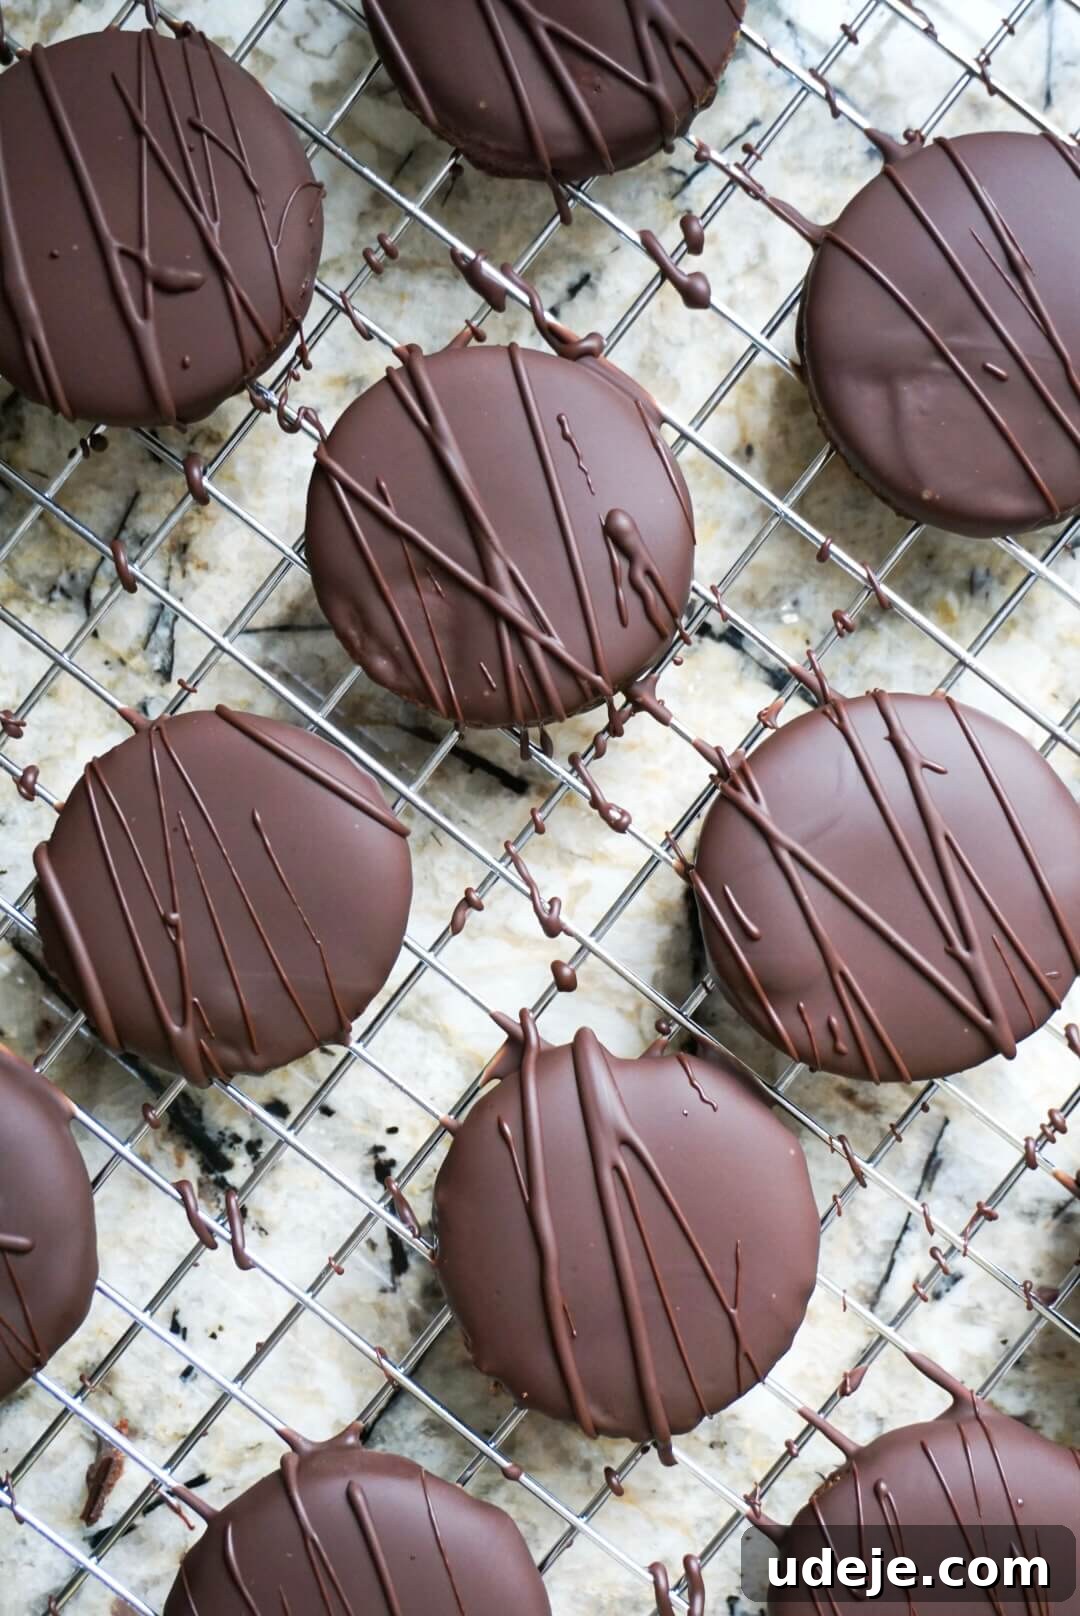
Girl Scout cookie season holds a special place in many hearts, often conjuring up cherished memories. For me, it instantly brings back the comforting scent of home after school, eagerly unwrapping a box of Thin Mints, and settling in for a dose of Disney Channel magic. Those were truly the good old days, filled with simple pleasures and irresistible treats.
Growing up, my absolute favorite Girl Scout cookies were always a tie between Tagalongs and Thin Mints. However, it seemed we invariably had an abundance of Thin Mints in our pantry – a happy accident, perhaps? And for all my fellow Samoas lovers out there, you absolutely must give my homemade Samoas cookie recipe a try; it’s a game-changer!
My mom had a brilliant trick for elevating the Thin Mint experience: she’d always store them in the freezer. This simple act didn’t just make them extra crunchy, but it also intensified that delightful peppermint flavor, creating an even more refreshing bite. Did anyone else adopt this genius method? The cool crispness and enhanced mint were simply unparalleled.
Inspired by these frosty, minty delights and the desire to enjoy them without compromise, I embarked on a mission to recreate them in a way that aligned with a healthier lifestyle. The goal was simple: make them vegan, gluten-free, and refined sugar-free, all while preserving that unmistakable Thin Mint taste and texture. After much experimentation, I can confidently say that these homemade Thin Mints truly taste just like the real thing, offering a nostalgic flavor explosion with every bite.
Why You’ll Fall in Love with These Healthier Thin Mints
These homemade Thin Mints aren’t just a delicious treat; they’re a conscious culinary creation designed to bring joy and satisfaction. Here’s why they’re destined to become a new favorite in your kitchen:
- Family-Friendly & Kid-Approved Goodness: Forget the struggle of finding healthy snacks that everyone enjoys. These Thin Mints are a fun, wholesome treat that delights the whole family. Even the pickiest eaters and the most discerning little ones will happily gobble up this healthier version, making them perfect for after-school snacks, lunchbox additions, or a delightful dessert everyone can share.
- Authentic Flavor & Perfect Crunch: Prepare to be amazed by how closely these cookies mimic the original! They are bursting with that notoriously rich chocolate and invigorating minty flavor, perfectly balanced. Each bite offers a satisfying crunch, a textural hallmark of the classic Thin Mint, ensuring a truly authentic and nostalgic experience.
- Wholesome & Simple Ingredients: You’ll love the simplicity of this recipe, which uses only 7 clean, readily available ingredients. This recipe is not only vegan and gluten-free, catering to various dietary needs, but also refined sugar-free, using natural sweeteners. The result is a delicious cookie that you can feel good about enjoying, free from artificial additives and excessive sugars.
- Dietary Inclusive Delight: Whether you’re navigating allergies, following a vegan lifestyle, or simply seeking more wholesome options, these cookies are a dream come true. They prove that you don’t have to sacrifice flavor or fun to eat well, offering an inclusive treat for almost everyone.
- Easy to Make at Home: Despite their sophisticated taste, these Thin Mints are surprisingly straightforward to prepare. The steps are easy to follow, making this recipe accessible for both seasoned bakers and beginners alike. Enjoy the satisfaction of creating a beloved classic right in your own kitchen.
The Simple Ingredients You’ll Need
Crafting these delectable homemade Thin Mints requires just a handful of wholesome ingredients. Each component plays a vital role in achieving that signature flavor and texture while keeping them healthy and dietary-friendly. For precise measurements, please refer to the detailed recipe card below.
- Almond Flour: This is the star of our cookie base, providing a wonderful tender texture and nutty flavor. I adore baking with almond flour not just for its gluten-free properties, but also for its exceptional nutritional value. Unlike highly refined flours that offer minimal nutrients, almond flour is packed with healthy fats, protein, and fiber, making these cookies more satisfying and beneficial.
- Cocoa Powder: Essential for that deep, rich chocolate flavor that defines Thin Mints. Opt for a high-quality unsweetened cocoa powder to ensure an intense chocolate experience without added sugars. It contributes significantly to the characteristic dark color of the cookies.
- Cornstarch: A crucial ingredient in gluten-free baking, cornstarch helps to thicken the cookie dough, providing structure and contributing to the perfect crisp-tender crumb. It also helps prevent the cookies from becoming too crumbly, a common challenge with gluten-free flours.
- Maple Syrup: Our natural sweetener of choice! Pure maple syrup adds a lovely warmth and sweetness without the need for refined sugars. Its liquid form also helps bind the ingredients together, creating a perfectly pliable dough. Ensure you use pure maple syrup, not pancake syrup, for the best flavor and health benefits.
- Coconut Oil: Used in both the cookie dough and the chocolate coating. For a neutral flavor that won’t overpower the mint and chocolate, I highly recommend using refined coconut oil. If you don’t mind a slight coconut hint, unrefined (virgin) coconut oil works too. It provides the necessary fat for a tender cookie and a smooth, glossy chocolate shell.
- Peppermint Extract: What are Thin Mints without that exhilarating burst of peppermint? This extract is key to replicating the signature refreshing taste. Be mindful of the quantity, as a little goes a long way in achieving the perfect minty balance.
- Vegan Chocolate Chips: To keep this recipe completely vegan and dairy-free, use high-quality dairy-free chocolate chips. There are many excellent brands available that melt beautifully and provide a rich, chocolatey coating. Dark chocolate varieties tend to work best for that classic Thin Mint intensity.
How To Master Homemade Thin Mints: A Step-by-Step Guide
Creating these delightful Thin Mints is a straightforward and enjoyable process. Follow these detailed steps to ensure perfectly crisp, minty, chocolatey cookies every time.
- Prepare the Dough to Perfection: In a spacious mixing bowl, combine the dry ingredients: almond flour, cornstarch, cocoa powder, and a pinch of salt. Whisk them thoroughly until well combined, ensuring there are no lumps. Next, introduce the wet ingredients: maple syrup, melted coconut oil, and peppermint extract. Stir everything together until a cohesive, slightly sticky dough forms. The consistency is key here; if your dough feels excessively wet, gradually add a tablespoon more almond flour at a time until it reaches a soft, manageable, and just-sticky texture that’s easy to work with but not overly wet.
- Chill for Optimal Handling: Once your dough is ready, gently shape it into a flat disc. This form makes it easier to roll out later. Wrap the disc tightly in plastic wrap and transfer it to the freezer. Allow it to chill for a minimum of 30 minutes. This crucial step firms up the dough, preventing it from spreading excessively during baking and making it much easier to roll and cut precise cookie shapes.
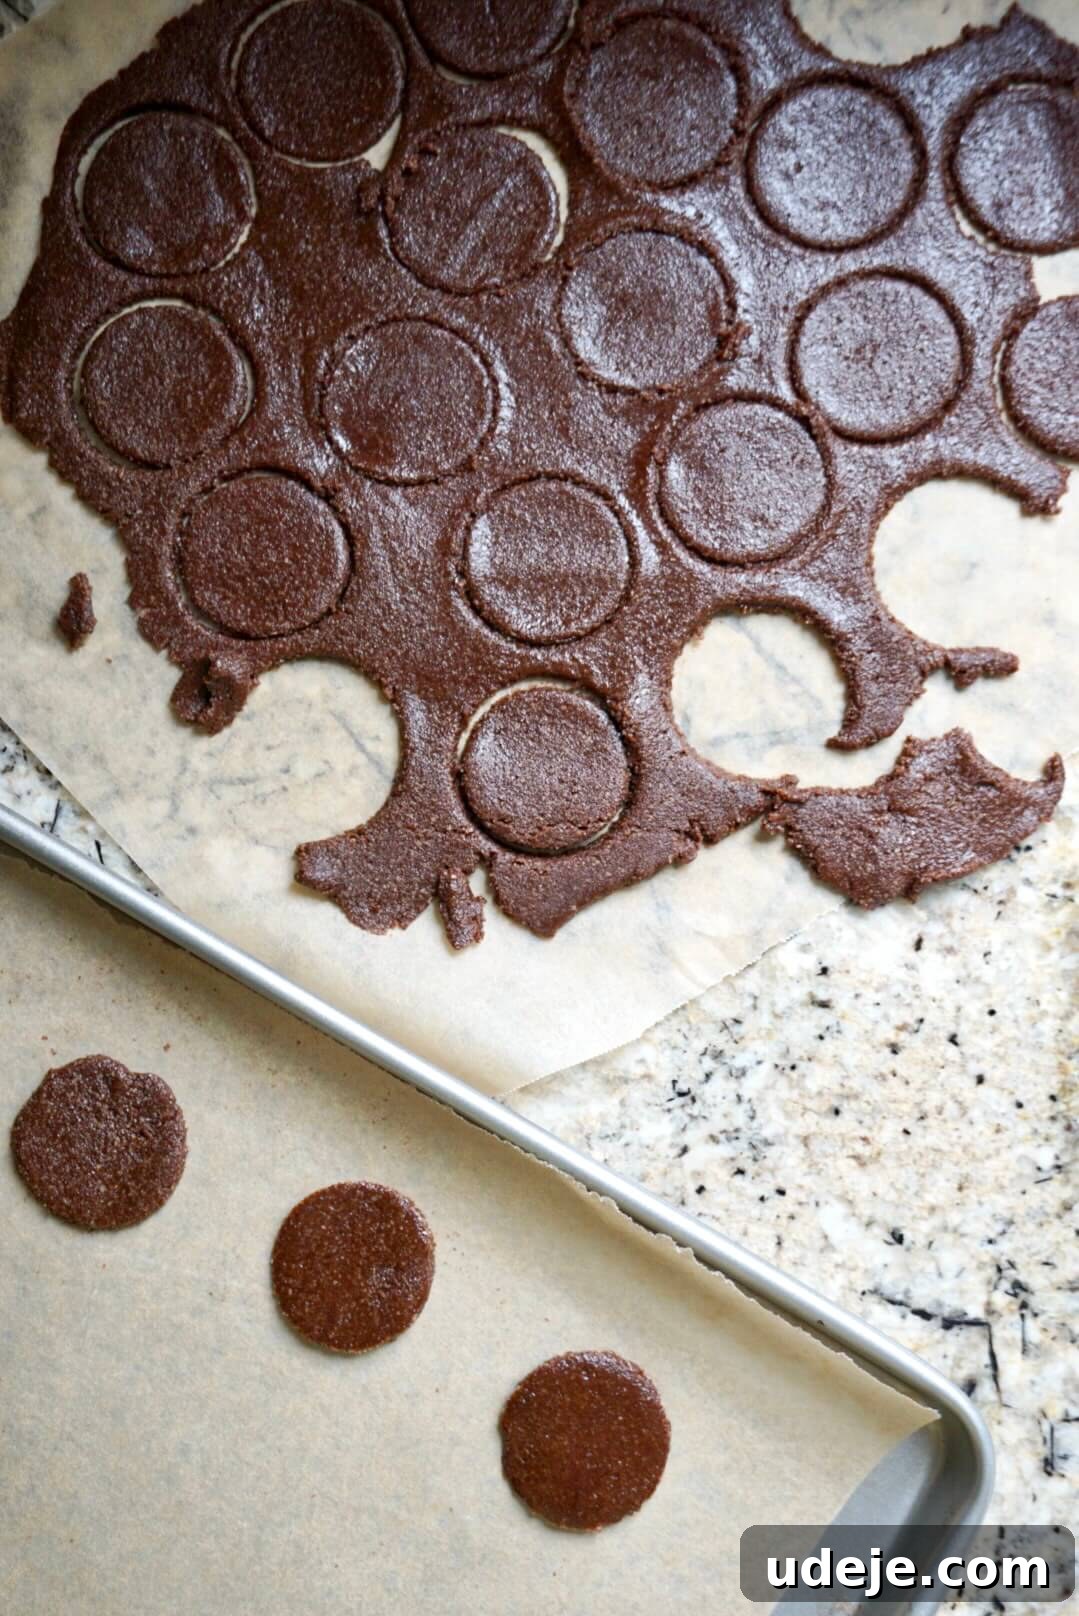
- Precision Cutting for Classic Shapes: Retrieve the chilled dough and place it between two sheets of parchment paper. This technique prevents sticking and ensures an even roll. Roll out the dough to an approximate thickness of ¼-inch. Then, use a 1 ½-inch circular cookie cutter (a shot glass can serve as a perfect substitute if you don’t have a cutter) to meticulously cut out individual cookie circles. If, at any point, the dough becomes too soft and difficult to handle while cutting, simply return it to the freezer for a few minutes to re-firm. Gather any dough scraps, re-roll them, and continue cutting until all the dough has been utilized.
- Bake to a Crisp Finish: Preheat your oven to 350°F (175°C). Line a baking sheet with parchment paper to prevent sticking. Before baking, place the tray of cut cookies back into the freezer while your oven comes to temperature. This extra chill helps the cookies maintain their shape during baking. Bake for 10-12 minutes. Upon removing them from the oven, resist the urge to move them immediately. Allow the cookies to rest on the baking sheet for at least 15 minutes, or until they are completely cooled. A crucial note for almond flour cookies: they will feel quite soft directly out of the oven, but they firm up beautifully and achieve that desired crispness as they cool down!
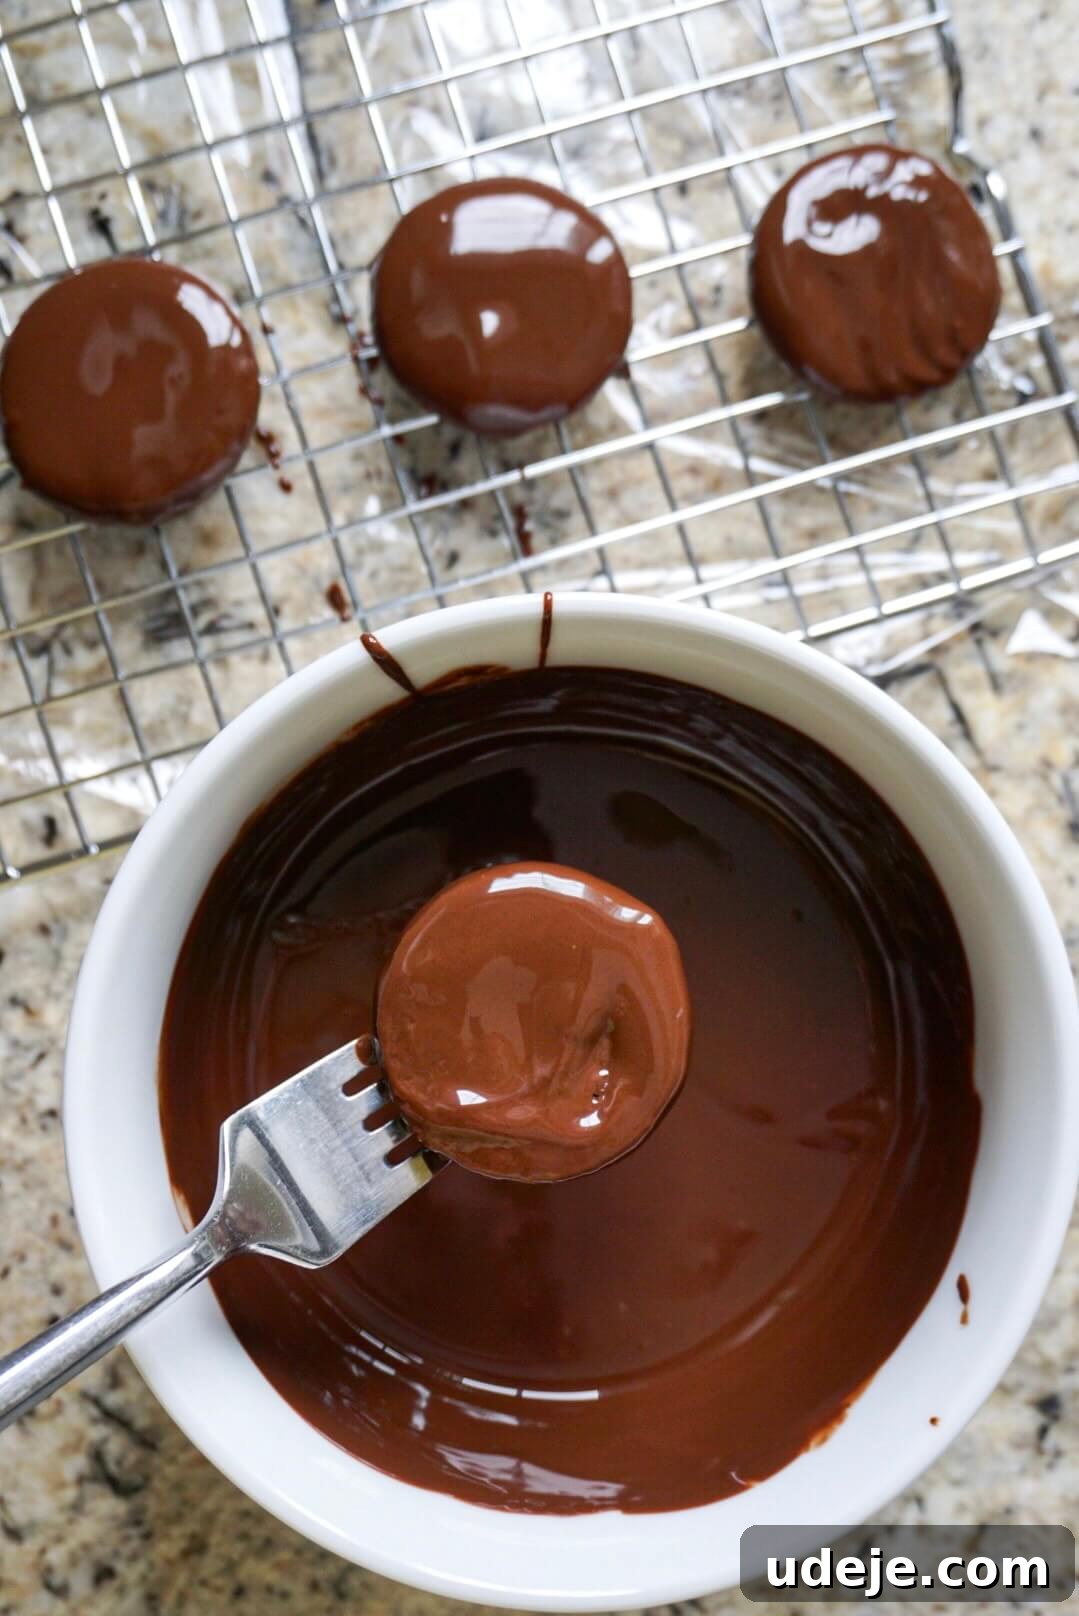
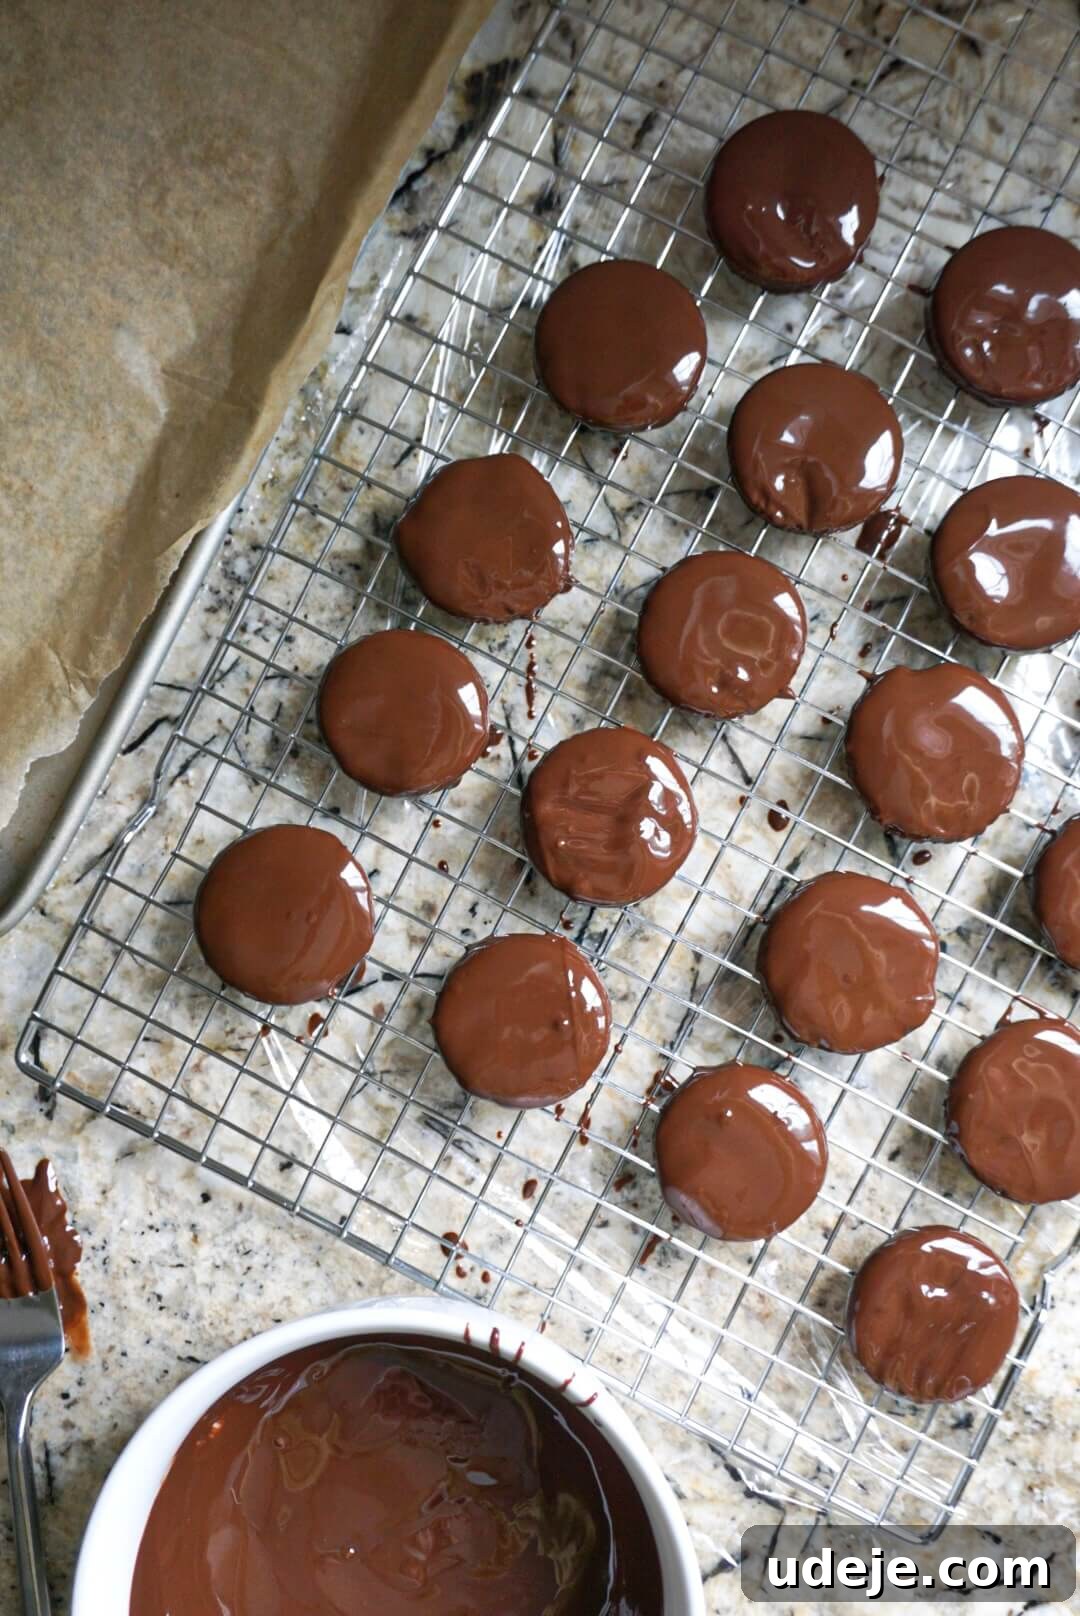
- The Iconic Chocolate Coating: In a microwave-safe bowl, combine your vegan chocolate chips and the remaining coconut oil. Melt them in 30-second intervals, stirring thoroughly between each interval, until the mixture is completely smooth and glossy. Once melted, stir in the final ¼ teaspoon of peppermint extract to infuse the coating with that signature minty aroma. Using a fork, carefully dip each cooled cookie into the melted chocolate, ensuring it’s fully coated. Lift the cookie, allowing any excess chocolate to drip off, and then place it onto a clean parchment-lined tray. To set the chocolate, refrigerate or freeze the cookies for 15-20 minutes until the coating is firm and snap-ready. If you happen to have any extra melted chocolate, get creative! Drizzle it over the set cookies for a beautiful, decorative touch. Once the chocolate has hardened completely, your homemade Thin Mints are ready to be devoured!
Just like their original counterparts, these homemade Thin Mints truly taste best when enjoyed cold, straight from the fridge or freezer. The chill enhances the crispness and intensifies the refreshing peppermint flavor, making them an incredibly satisfying treat.
Homemade Versions
Girl Scout Cookie Recipes
Storage and Enjoyment Tips
To keep your homemade Thin Mints at their peak deliciousness, proper storage is key. Store them in an airtight container:
- In the refrigerator: They will stay fresh and perfectly crisp for up to a week. The cold enhances their texture and minty flavor, just like the classic.
- In the freezer: For longer storage, place them in a freezer-safe airtight container or bag. They can last for several weeks, or even up to a month. Enjoy them straight from the freezer for an extra firm, refreshing bite!
These cookies are truly best served chilled, so make sure to give them some time in the fridge or freezer before indulging.
Why Make Your Own Healthier Thin Mints?
Beyond the sheer joy of baking, there are several compelling reasons to try your hand at these homemade Thin Mints:
- Control Over Ingredients: When you bake at home, you know exactly what goes into your treats. No hidden preservatives, artificial flavors, or high-fructose corn syrup. You choose high-quality, wholesome ingredients that align with your dietary preferences and health goals.
- Catering to Dietary Needs: For those with gluten sensitivities, dairy allergies, or following a vegan diet, store-bought options can be limited and often contain processed ingredients. This recipe provides a delicious solution that is naturally gluten-free, dairy-free, and vegan-friendly.
- Refined Sugar-Free Indulgence: By using natural sweeteners like maple syrup, you can enjoy a sweet treat without the downsides of refined sugars, making it a better choice for your overall well-being.
- Freshness and Flavor: Nothing beats the taste of freshly baked cookies. The vibrant peppermint and rich chocolate flavors are more pronounced and enjoyable when made from scratch, offering a superior taste experience.
- A Fun and Rewarding Activity: Baking can be a wonderfully therapeutic and creative outlet. Involving family members, especially children, in the process can create lasting memories and foster a love for healthy cooking.
Troubleshooting Common Baking Questions
Even with simple recipes, questions can arise. Here are some tips for a smooth baking experience:
- Dough too sticky? If after adding the recommended almond flour, your dough is still too wet to handle, add an additional tablespoon of almond flour at a time, mixing until it reaches a soft, pliable consistency that’s easy to roll. The humidity in your environment can sometimes affect dough consistency.
- Dough cracking when rolling? This usually means the dough is too cold. Let it sit at room temperature for a few minutes to soften slightly, or work it gently with your hands to warm it up before rolling between parchment paper.
- Chocolate seizing when melting? If your chocolate becomes thick and clumpy, it might have come into contact with a tiny bit of water or gotten too hot too quickly. To avoid this, ensure all your equipment is completely dry and melt in short bursts, stirring frequently. If it does seize, sometimes adding a teaspoon of melted coconut oil or vegetable oil and stirring vigorously can help salvage it.
- Cookies are too soft after cooling? While almond flour cookies firm up as they cool, if they remain overly soft, they might need an extra minute or two in the oven during baking. Ensure your oven temperature is accurate and the cookies are baked until the edges are just set.
If you embark on this delicious journey and make this recipe, please share your experience! Be sure to leave a comment and a ★★★★★ star rating below, letting me know how much you enjoyed it. Your feedback is invaluable, helping others discover and delight in my recipes. As always, I deeply appreciate your support. xo, Megan

Homemade Thin Mints (Vegan & Gluten Free)

Megan
22
cookies
25 minutes
10 minutes
20 minutes
55 minutes
Pin Recipe
Ingredients
Cookies
-
1 ¼ cup
almond flour -
¼ cup
cocoa powder -
2 tbsp
cornstarch -
pinch
salt -
¼ cup
maple syrup -
2 tbsp
refined coconut oil, melted -
¾ tsp
peppermint extract
Chocolate Coating
-
1 cup
vegan chocolate chips -
2 tbsp
refined coconut oil -
¼ tsp
peppermint extract
Instructions
-
In a large bowl, whisk together the almond flour, cornstarch, cocoa powder, and salt.
-
Stir in the maple syrup, melted coconut oil, and peppermint extract until a sticky dough forms. If the dough is too wet, add more almond flour, one tablespoon at a time, until it is soft and slightly sticky but not overly wet.
-
Shape the dough into a disc, wrap it in plastic wrap, and freeze for at least 30 minutes to firm up.
-
Place the dough between two sheets of parchment paper and roll it out to about ¼-inch thickness.
-
Use a 1 ½-inch cookie cutter (or shot glass) to cut out circles. If the dough softens too much while cutting, return it to the freezer for a few minutes. Re-roll the scraps and continue cutting until all the dough is used.
-
Preheat the oven to 350°F (175°C) and line a baking sheet with parchment paper. Place the tray of cookies in the freezer while the oven heats.
-
Bake the cookies for 10-12 minutes. Remove them from the oven and let them rest on the baking sheet for at least 15 minutes, or until completely cooled. Since we’re using almond flour, the cookies will feel soft at first but will firm up as they cool!
-
In a microwave-safe bowl, melt the chocolate chips and coconut oil in 30-second increments, stirring in between until smooth. Once melted, stir in the peppermint extract.
-
Using a fork, dip each cookie into the melted chocolate, ensuring they are fully coated. Place them on a parchment-lined tray and refrigerate or freeze for 15-20 minutes until the chocolate hardens. If you have extra melted chocolate, drizzle it on top for a decorative touch. Once the chocolate has set, dig in!
Equipment
Video
Notes
- Store in an airtight container in the fridge for up to a week, or in the freezer for longer enjoyment.
- For the best crispness and flavor, always serve these Thin Mints chilled.
Serving:
1
cookie
,
Calories:
114
kcal
,
Carbohydrates:
10
g
,
Protein:
2
g
,
Fat:
9
g
,
Saturated Fat:
4
g
,
Polyunsaturated Fat:
0.05
g
,
Monounsaturated Fat:
0.2
g
,
Sodium:
1
mg
,
Potassium:
23
mg
,
Fiber:
2
g
,
Sugar:
6
g
,
Calcium:
29
mg
,
Iron:
1
mg
Did you make this recipe?
Tag @booboosbakeryy with hashtag #booboosbakery on Instagram. We love to see what you make!