
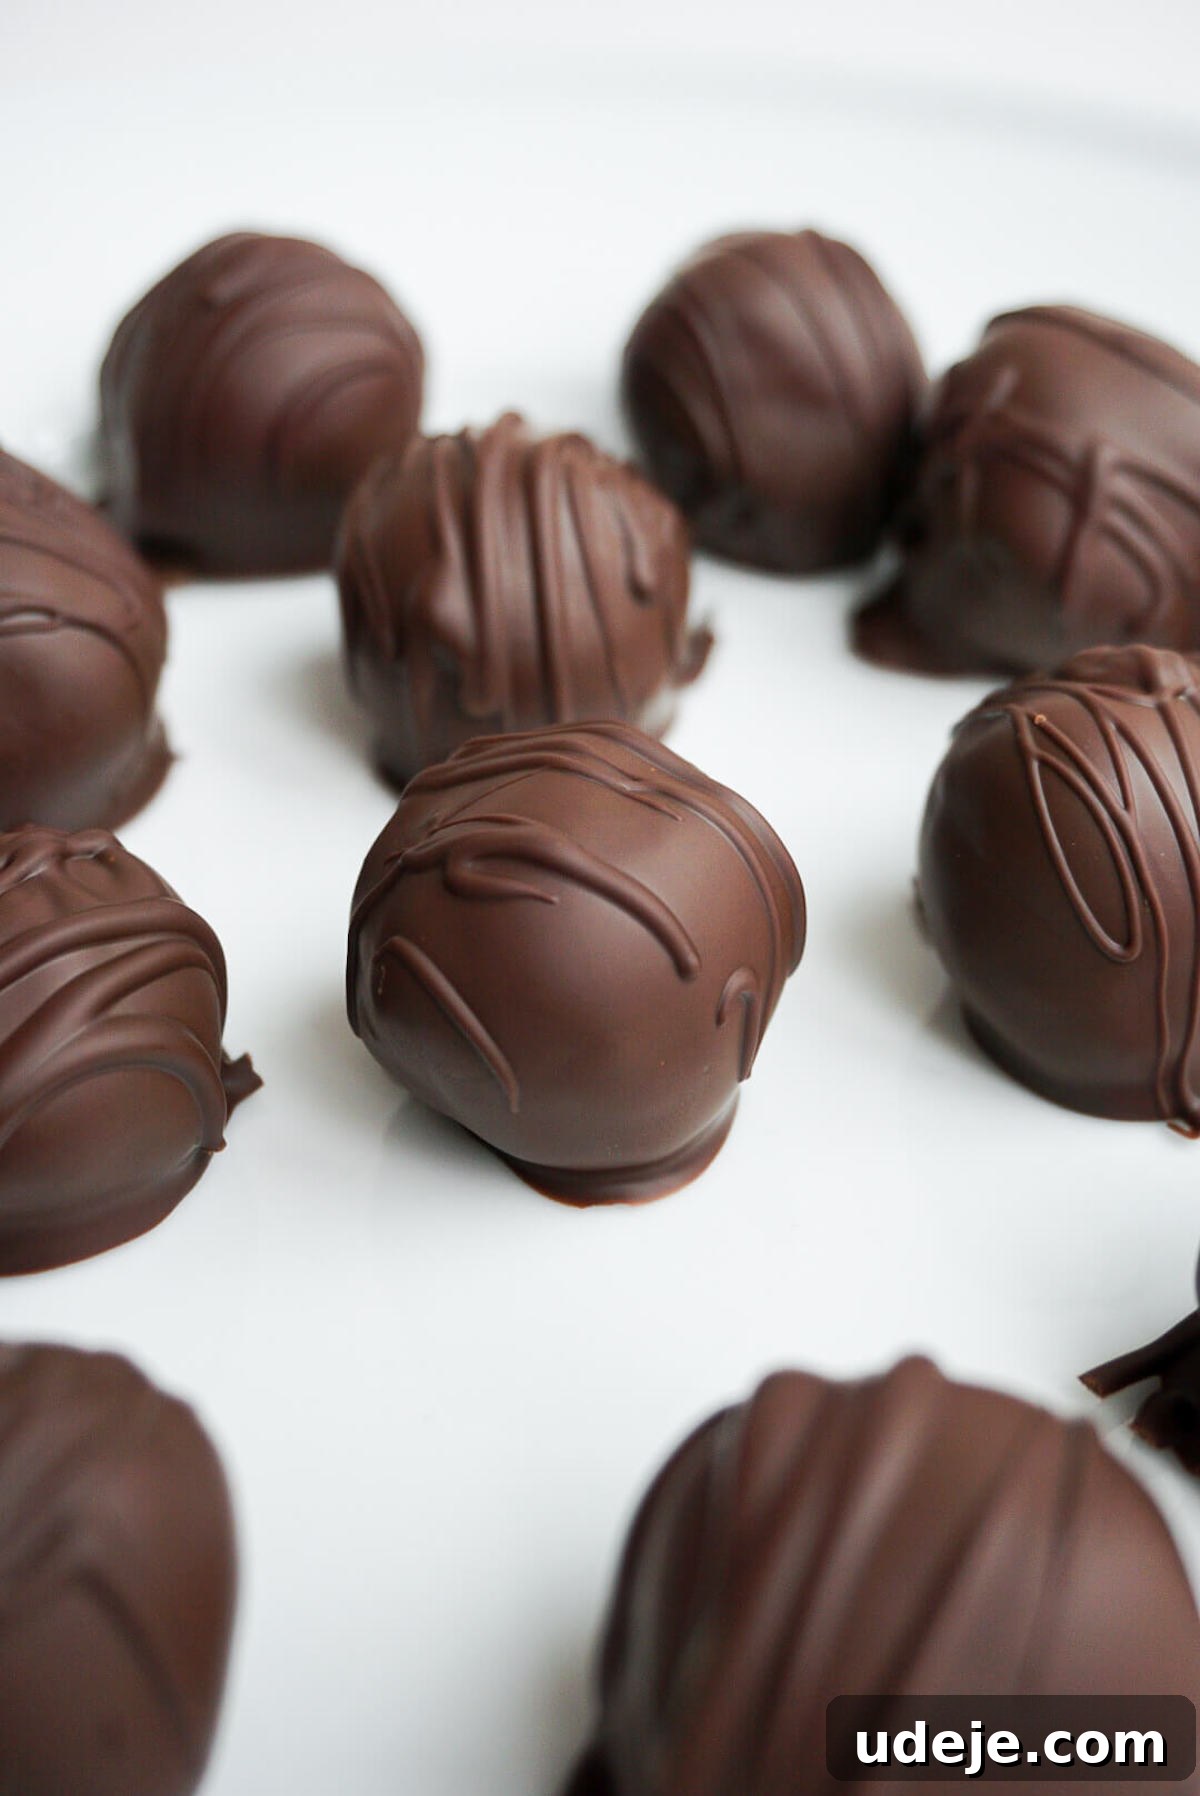
Irresistible No-Bake Vegan & Gluten-Free Brownie Batter Truffles
Imagine biting into the rich, fudgy essence of homemade brownie batter, perfectly encapsulated in a delightful, bite-sized truffle. Now, imagine doing all of this without ever needing to turn on your oven! These incredible No-Bake Brownie Batter Truffles are not just a dream – they are a delicious reality. Crafted with wholesome ingredients, they are completely vegan, gluten-free, naturally sweetened, and promise to satisfy even the most intense chocolate cravings.
If your heart beats for brownies, prepare to fall in love with these elegant truffles. They capture all the decadent flavor and comforting texture of your favorite baked treat, but with unparalleled ease. Beyond being incredibly simple to make, these truffles are a fantastic option for gatherings, holidays, or any occasion where you need a quick yet impressive dessert. They consistently become the star of any dessert table, garnering requests and compliments from everyone who tries them.
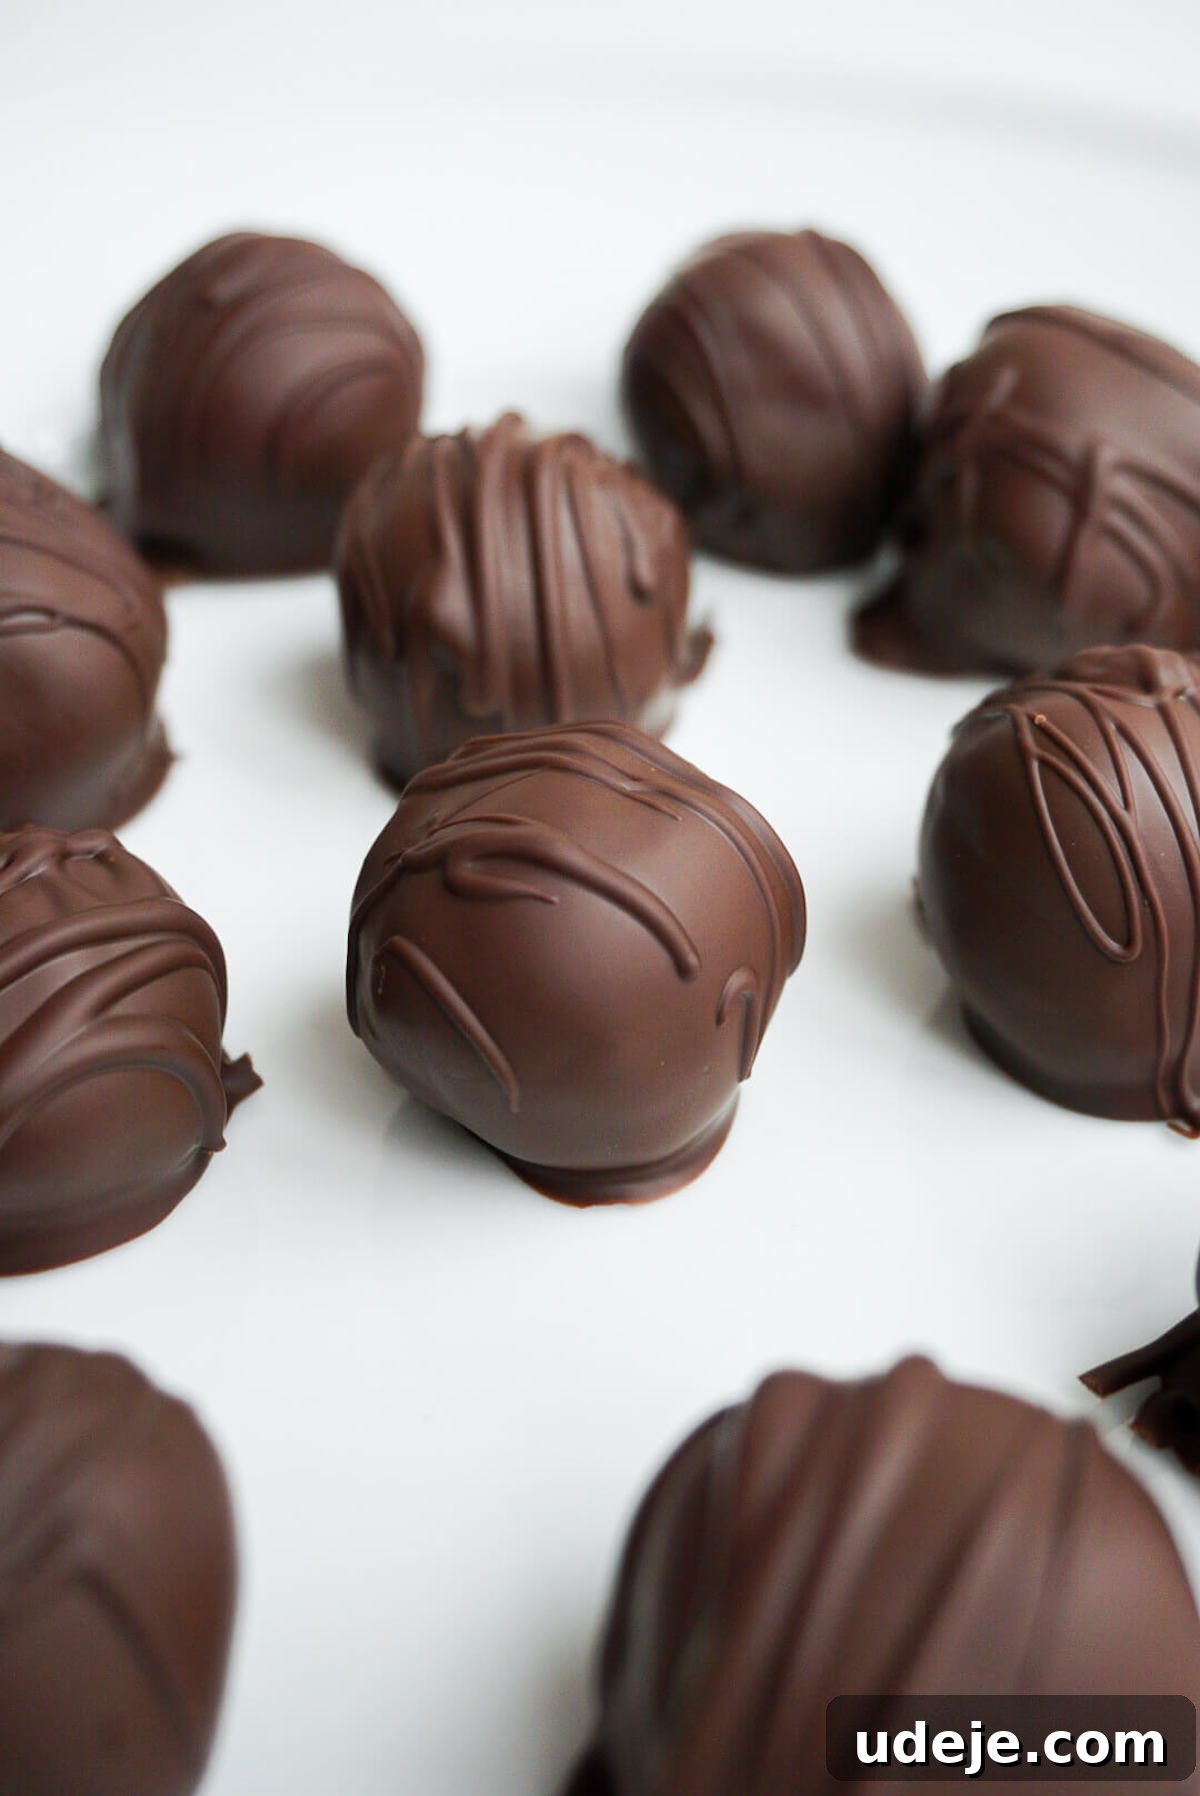
The Magic of No-Bake: Why You’ll Love These Brownie Truffles
The allure of no-bake desserts is undeniable. They offer a simple solution for delicious treats without the fuss and heat of an oven. This makes them ideal for warm summer days, busy schedules, or simply when you want a quick fix for your sweet tooth. These brownie batter truffles embody that convenience perfectly. You can whip up a batch in minimal time, with no baking skills required, making them accessible to everyone from seasoned chefs to kitchen novices.
Furthermore, these truffles offer a safe and delightful way to enjoy the classic taste of brownie batter without any concerns about raw eggs. This means you can indulge freely, knowing every ingredient contributes to both taste and well-being. Their vegan and gluten-free nature also makes them an inclusive dessert option, perfect for sharing with friends and family who have various dietary preferences or restrictions. It’s proof that a dessert can be both incredibly rich and surprisingly wholesome.
Essential Ingredients for Decadent Vegan & Gluten-Free Brownie Batter Truffles
The secret to these sensational truffles lies in a thoughtfully selected list of just a few ingredients, each playing a vital role in creating their unique flavor and texture. Here’s a closer look at what you’ll need to create your batch of perfect no-bake brownie batter truffles:
-
Blanched Almond Flour: The Soft Foundation
Our primary dry ingredient, blanched almond flour, is crucial for achieving the desired soft, delicate, and chewy texture. Unlike almond meal, blanched almond flour is made from almonds with their skins removed, resulting in a finer, smoother consistency that prevents a gritty mouthfeel. Beyond its textural benefits, almond flour adds valuable protein and healthy fats, contributing to a more nourishing treat.
-
Rich Cocoa Powder: For Deep Chocolate Flavor
The heart of any brownie-flavored dessert is its chocolate component. Using your favorite high-quality cocoa powder is essential for a deep, authentic chocolate taste. Whether you prefer natural cocoa for its slightly fruity notes or Dutch-processed cocoa for a darker, milder flavor, choose one that you love. The better the cocoa, the more intense and satisfying your brownie batter truffles will be.
-
Softened Vegan Butter: The Binding Agent
Vegan butter is indispensable for binding the dry ingredients together and imparting a rich, smooth mouthfeel reminiscent of traditional brownie batter. Both vegan butter spreads (often found in tubs) and stick formulations work effectively. Ensure your vegan butter is thoroughly softened to room temperature before mixing, as this will help achieve a consistently smooth and pliable truffle batter.
-
Pure Maple Syrup: Natural Sweetness & Moisture
Maple syrup serves as our all-natural sweetener, offering a delightful depth of flavor that complements the chocolate beautifully. Its liquid form also acts as a binding agent, contributing to the perfect moist and rollable consistency of the truffle batter. Always opt for 100% pure maple syrup to ensure the best taste and avoid unnecessary additives.
-
Vanilla Extract: Enhancing Aroma
A touch of pure vanilla extract is like a secret weapon in sweet recipes. It doesn’t just add its own flavor; it profoundly enhances and rounds out the chocolate notes, adding aromatic complexity and making the overall taste experience more vibrant and complete.
-
A Pinch of Salt: Flavor Amplifier
Often overlooked, salt plays a critical role in balancing sweetness and intensifying other flavors. Just a small pinch of salt is enough to bring out the rich chocolate and maple notes, preventing the truffles from tasting one-dimensional and truly making all the flavors pop.
-
Mini Vegan Chocolate Chips (for the Batter): Textural Delight
Folding mini vegan chocolate chips directly into the truffle batter provides delightful bursts of melty chocolate in every bite, mimicking the experience of biting into a freshly baked brownie. My personal favorite are Enjoy Life mini chocolate chips due to their consistent quality and delicious taste.
-
Refined Coconut Oil (for the Coating): Smooth & Neutral
This is a key ingredient for creating the perfect glossy, snap-worthy chocolate coating. It helps thin out the melted chocolate and makes it smooth and easy to dip. It’s crucial to use refined coconut oil, as it is neutral in flavor and won’t impart any coconut taste to your truffles. Unrefined (virgin) coconut oil, while delicious, carries a distinct coconut flavor that might not be desired here.
-
Vegan Chocolate Chips (for the Coating): The Decadent Shell
For the irresistible outer shell, choose high-quality vegan chocolate chips. I highly recommend Hu Kitchen Chocolate Chips, which are not only vegan but also refined sugar-free, offering a cleaner and equally delicious option. You can even use my special discount code: BOOBOO to save on your purchase!

Simple Steps to Create Your No-Bake Brownie Batter Truffles
Making these luscious truffles is a fun and rewarding process that comes together in just a few easy steps. No complicated techniques or lengthy baking times are required. Here’s your straightforward guide to crafting perfect no-bake brownie batter truffles:
-
Prepare the Rich Truffle Batter
Begin by gathering all your dry and wet ingredients for the truffle base. In a medium-sized mixing bowl, combine the blanched almond flour, cocoa powder, softened vegan butter, pure maple syrup, vanilla extract, and a pinch of salt. Using a sturdy spoon or a flexible rubber spatula, mix all these ingredients thoroughly. Continue to mix and press the ingredients together until a uniform, thick dough forms. It should have a consistency similar to firm cookie dough or dense brownie batter. Once the base is cohesive, gently fold in the mini vegan chocolate chips, ensuring they are evenly distributed throughout the mixture.
-
Roll and Firm Up the Truffles
Next, it’s time to shape your truffles. Scoop out small portions of the brownie batter, roughly 1 to 2 tablespoons per truffle, and roll them between the palms of your hands to form smooth, round balls. Aim for consistent sizing to ensure even chilling and a beautiful presentation. Place the rolled truffles onto a baking sheet that has been lined with parchment paper – this is essential to prevent sticking. Once all your truffles are shaped, transfer the entire tray to the freezer for a minimum of 30 minutes. This crucial chilling period ensures the truffles become firm enough to handle and dip without falling apart.
-
Melt the Decadent Chocolate Coating
While your truffle centers are firming up in the freezer, prepare the luxurious chocolate coating. In a microwave-safe bowl, combine your chosen vegan chocolate chips (like Hu Kitchen) and the refined coconut oil. Microwave the mixture in short increments, typically 30 seconds at a time. After each interval, remove the bowl and stir the chocolate well. Continue this process until the chocolate is completely melted and beautifully smooth, with no lumps remaining. Be mindful not to overheat the chocolate, as this can cause it to seize or become grainy. Alternatively, you can use a double boiler method for a more gentle and controlled melting process.
-
Dip Each Truffle to Perfection
Once your truffles are thoroughly firm and your chocolate coating is melted and slightly cooled (but still liquid and warm), it’s time for the final, most satisfying step. Using a fork or a specialized dipping tool, carefully submerge each frozen truffle into the melted chocolate. Gently turn the truffle to ensure it’s fully coated on all sides. Lift the truffle out, tapping the fork lightly against the edge of the bowl to allow any excess chocolate to drip off. Immediately place the newly coated truffle back onto the parchment-lined baking sheet.
-
Chill to Set and Enjoy!
After dipping all your truffles, return the baking sheet to the refrigerator to allow the chocolate coating to set. This process usually takes about 15-30 minutes. Once the chocolate shell is firm and crisp, your exquisite no-bake brownie batter truffles are ready to be savored! For best results and continued freshness, store any leftover truffles in an airtight container in the refrigerator.
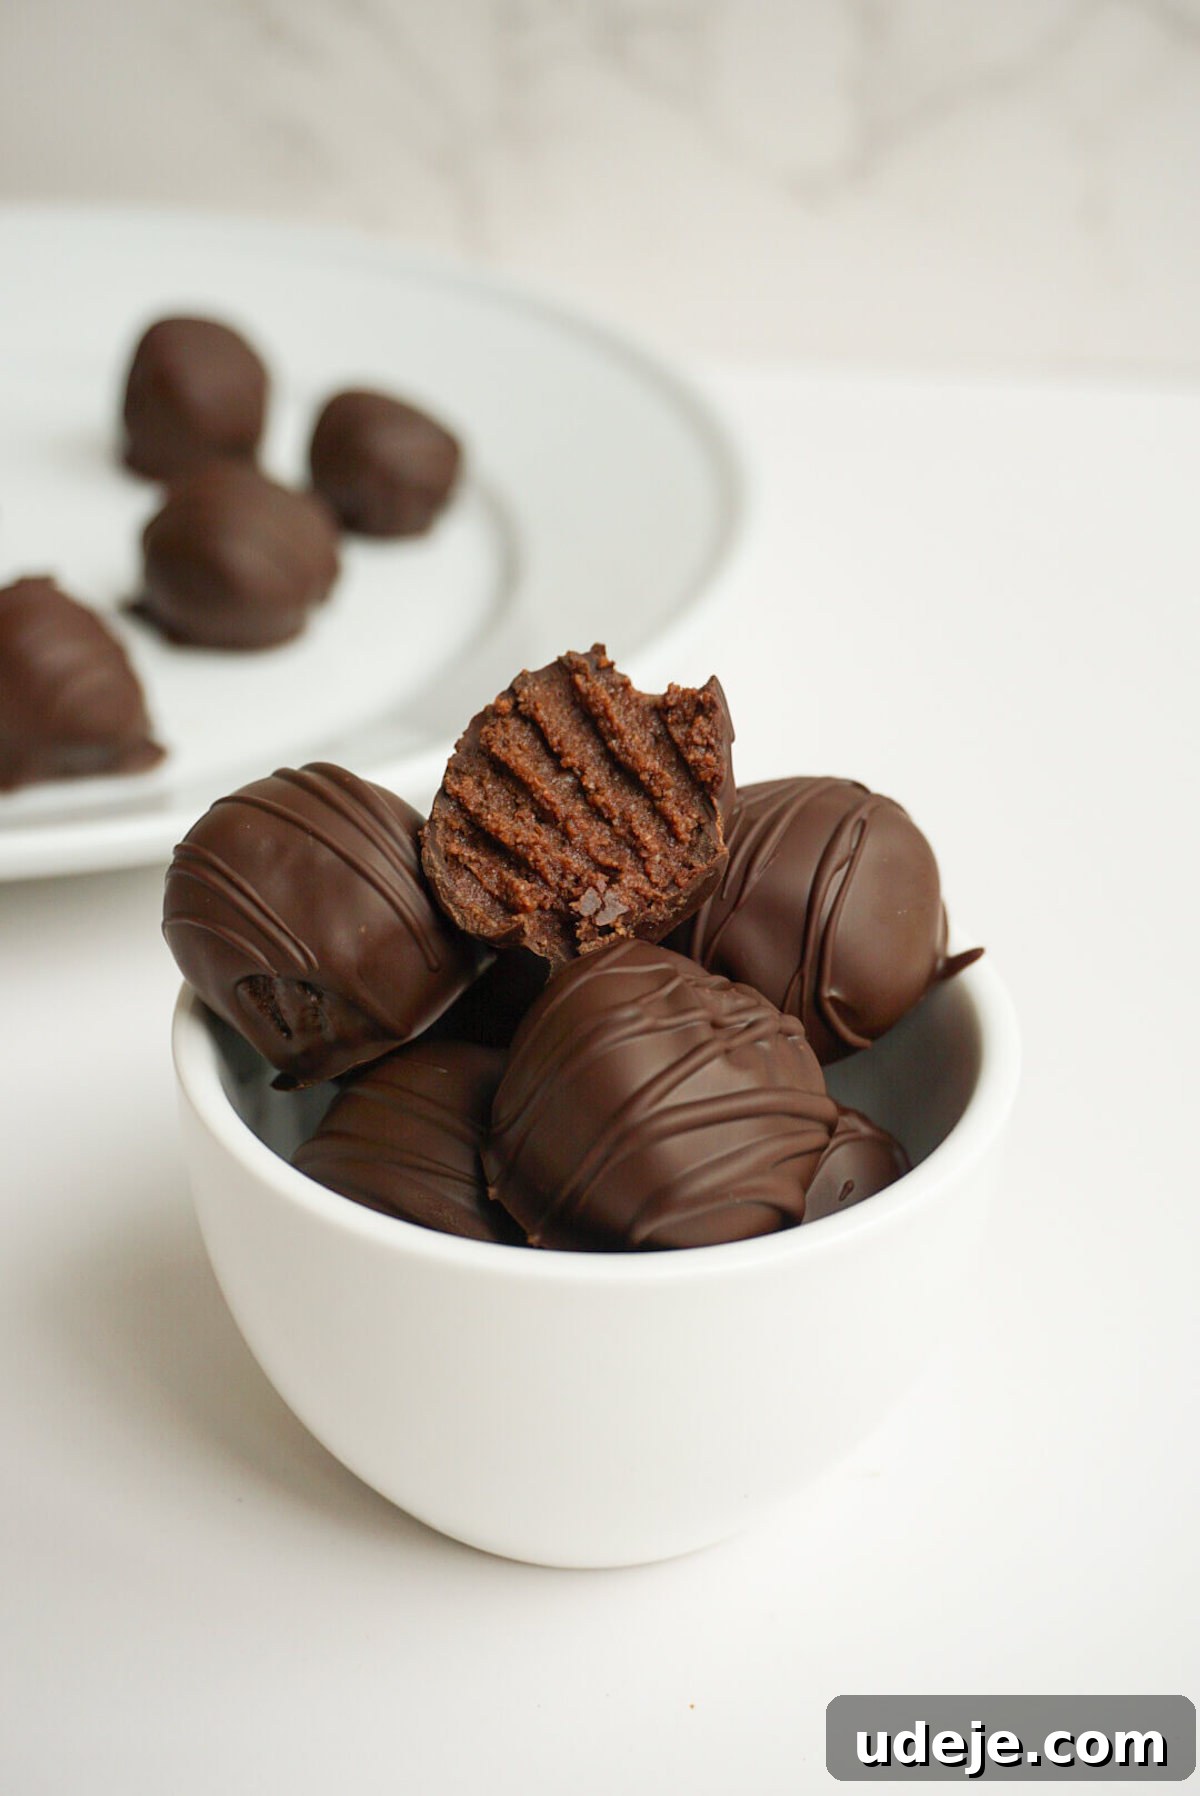
Pro Tips for the Ultimate No-Bake Truffle Experience
Achieving perfectly uniform and delicious truffles is easy with these expert tips:
- Achieving the Right Batter Consistency: If your truffle batter seems too sticky to roll easily, gradually add a small amount (half a tablespoon at a time) of extra almond flour until it’s more manageable. Conversely, if the batter appears too dry and crumbly, a tiny bit more maple syrup or softened vegan butter can help bring it together. The goal is a firm, pliable dough.
- Thorough Chilling is Non-Negotiable: Do not skimp on the freezing time for the truffle centers. A thoroughly firm truffle is crucial for a smooth dipping process. It prevents the truffle from melting into the warm chocolate and ensures it maintains its shape.
- Mastering Chocolate Melting: When melting your chocolate coating, slow and steady wins the race. Overheating chocolate can cause it to seize, becoming thick and unusable. If using a microwave, stick to short 30-second bursts, stirring diligently after each. If using a double boiler, maintain a gentle heat.
- Optimal Chocolate Coating Temperature: After melting, allow your chocolate coating to cool slightly before dipping. If it’s too hot, it can quickly melt the truffle centers. It should be warm enough to remain liquid and fluid, but not scorching.
- Get Creative with Garnishes: Enhance the visual appeal and taste of your truffles! Immediately after dipping and before the chocolate sets, consider sprinkling them with a pinch of flaky sea salt, finely chopped nuts (like pistachios or walnuts), a dusting of extra cocoa powder, or even a drizzle of contrasting white vegan chocolate.
Serving and Storage Suggestions for Your Truffles
These No-Bake Brownie Batter Truffles are incredibly versatile for any occasion. They shine brightly when presented on an elegant dessert platter, especially during festive holidays, casual potlucks, or family gatherings. Arrange them artfully, perhaps alongside some fresh raspberries or a light dusting of powdered sugar, to elevate their presentation. They also make a sophisticated individual treat, pairing wonderfully with a freshly brewed cup of coffee, a comforting tea, or a glass of your favorite plant-based milk.
To keep your exquisite truffles fresh, store them in an airtight container in the refrigerator, where they will remain delicious for up to 1 week. For longer storage or to prepare them well in advance, these truffles freeze beautifully. Arrange them in a single layer in a freezer-safe, airtight container, using parchment paper between layers to prevent sticking, and they will stay fresh for up to 1 month. When you’re ready to enjoy them, simply thaw them in the refrigerator for a few hours, or indulge in them straight from the freezer for a firmer, chewier delight!
Frequently Asked Questions (FAQ) About No-Bake Brownie Truffles
-
Can I use a different natural sweetener?
While pure maple syrup is highly recommended for its unique flavor and ideal liquid consistency, you could experiment with agave nectar as an alternative. However, be aware that the taste profile and the final texture of the truffles might vary slightly. Granular sweeteners are generally not suitable for this recipe as they can make the truffles grainy and affect their binding properties.
-
Is there a nut-free option for these truffles?
The primary structural ingredient in this recipe is almond flour, meaning these truffles are inherently nut-based. To make a truly nut-free version, you would need to replace the almond flour with an alternative such as gluten-free oat flour (ensure it’s certified if necessary) or sunflower seed flour. Please note that substitutions may require adjustments to the liquid ingredients to achieve the correct consistency.
-
How long can I store these truffles?
When stored in an airtight container, these delightful truffles will remain fresh and delicious in the refrigerator for up to 7 days. For extended freshness, they can be stored in an airtight, freezer-safe container in the freezer for up to one month. Remember to thaw them in the refrigerator before serving if they are frozen.
-
What should I do if my chocolate seizes when melting?
Chocolate seizing often occurs if it’s overheated or if even a tiny drop of water gets into it. If your chocolate seizes and becomes thick and lumpy, you might be able to salvage it by stirring in a tablespoon of hot refined coconut oil or hot plant-based milk, one spoonful at a time, until it smooths out. This rescue method, however, is not always guaranteed to restore it completely.
More No-Bake Vegan & Gluten-Free Dessert Inspirations
If you’ve fallen in love with the ease and deliciousness of these No-Bake Brownie Batter Truffles, you’re in for a treat! Explore more of our fantastic no-bake recipes, all designed to be vegan, gluten-free, and refined sugar-free for wholesome indulgence any time:
- Healthy Chocolate Truffles
- Vegan Chocolate Crunch Ice Cream Bars
- Cookie Dough Truffles
- Chocolate Date Caramels (5 ingredients)
- Pumpkin Peanut Butter Cups
We truly cherish your culinary adventures! If you make this delightful recipe, please share your experience by leaving a comment and a ★★★★★ star rating below. Your feedback and ratings are incredibly helpful to others seeking delicious recipes. Thank you, as always, for your wonderful support. xo, Megan

Brownie Batter Truffles (Vegan & Gluten-Free)
Megan
15
truffles
15 mins
15 mins
These 7-ingredient No-Bake Brownie Batter Truffles are vegan, gluten-free, naturally sweetened, and taste just like a classic brownie!
Leave a Review
Pin Recipe
Remove Ads
Ingredients
- 1 cup blanched almond flour
- 1/4 cup cocoa powder
- 3 tbsp vegan butter, softened
- 3 tbsp maple syrup
- 1 tsp vanilla extract
- 1/4 tsp salt
- 1/4 cup vegan mini chocolate chips (for the batter)
- 1 cup vegan chocolate chips (for coating)
- 1 tbsp refined coconut oil (for coating)
Instructions
- In a medium-sized bowl, thoroughly mix the almond flour, cocoa powder, softened vegan butter, maple syrup, vanilla extract, and salt until a cohesive, cookie dough-like consistency is achieved. Then, gently fold in the mini vegan chocolate chips.
- Scoop out approximately 1-2 tablespoon portions of the batter and roll them into smooth balls. Place these balls onto a parchment-lined baking sheet and freeze for at least 30 minutes, or until they are firm.
- While the truffles are chilling in the freezer, prepare the chocolate coating. Combine the vegan chocolate chips and refined coconut oil in a microwave-safe bowl. Microwave in 30-second intervals, stirring after each, until the chocolate is completely melted and smooth.
- Using a fork, dip each firm truffle into the melted chocolate, ensuring all sides are coated. Tap off any excess chocolate and return the coated truffle to the parchment-lined tray.
- Transfer the baking sheet back to the refrigerator to allow the chocolate coating to set (this typically takes 15-30 minutes). Once set, enjoy your delightful no-bake brownie batter truffles!
Equipment
Video
Did you make this recipe?
Tag @booboosbakeryy with hashtag #booboosbakery on Instagram. We love to see what you make!