
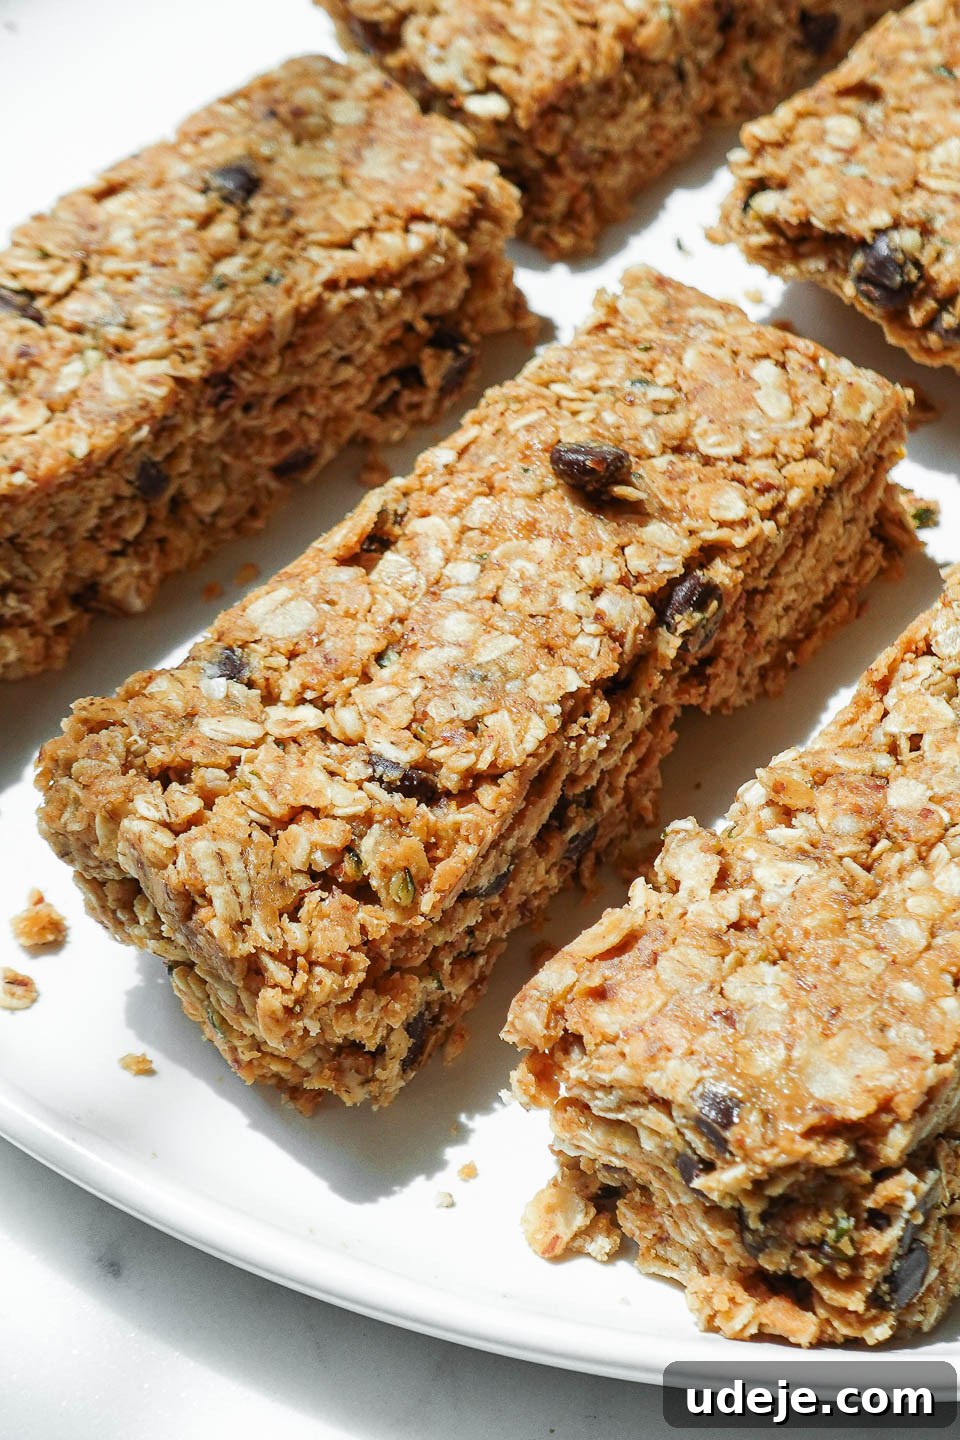
Craving a wholesome, satisfying snack that’s both delicious and incredibly easy to make? Look no further than these Healthy Granola Bars! Perfect for busy mornings, afternoon slumps, or a post-workout treat, these homemade bars are vegan and gluten-free, crafted with simple, nourishing ingredients like wholesome oats, creamy peanut butter, and delightful chocolate chips. The best part? No baking is required! Get ready to ditch those store-bought bars filled with unpronounceable ingredients and embrace the magic of making your own.
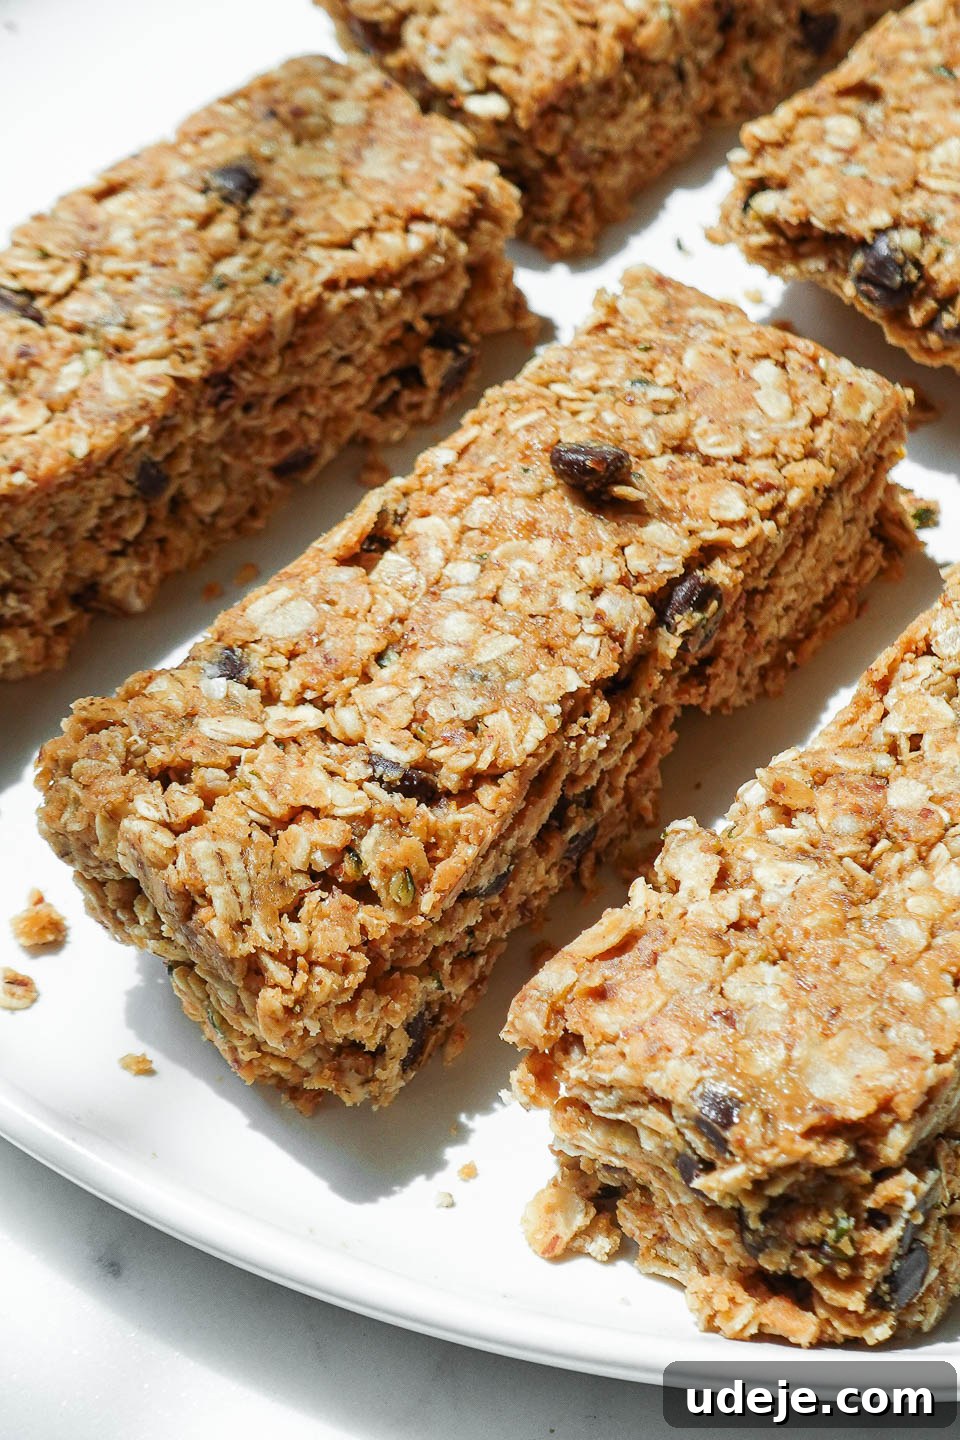
Table of Contents
- Introduction to Healthy Granola Bars
- Why You’ll Love These Healthy Granola Bars
- Essential Ingredients You’ll Need
- Step-by-Step: How to Make Healthy Granola Bars
- Expert Tips for Perfect Granola Bars
- Recipe Substitutions + Exciting Variations
- Storing Your Homemade Granola Bars
- Frequently Asked Questions
- Can I make these nut-free?
- What if my granola bars are crumbly?
- Are these granola bars freezer-friendly?
- More Delicious Healthy Snack Recipes
Unlock the Power of Homemade Snacks: Healthy Granola Bars!
In our fast-paced lives, having convenient, nourishing snacks on hand is an absolute game-changer. Granola bars, with their perfect blend of quick energy and satisfying flavor, have always been a staple in many households. Remember those childhood favorites, like the Quaker chewy chocolate chip granola bars? They evoked a sense of comfort and deliciousness, a simple pleasure that made any moment better. Now, imagine capturing that beloved taste and texture, but elevating it with wholesome, natural ingredients—that’s exactly what this homemade recipe offers!
Embarking on the journey of making my own homemade granola bars was a revelation. I was genuinely amazed by how straightforward the process was, especially since these require absolutely no baking. This recipe perfectly replicates the chewy, sweet, and nutty delight you cherished as a kid, only it’s even better! Crafted with an emphasis on health, these bars are vegan, gluten-free, and naturally sweetened, ensuring they are free from weird preservatives and unidentifiable additives often found in store-bought versions. You’ll only find pantry staples here, guaranteeing a pure and wholesome treat.
These versatile no-bake granola bars are more than just a snack; they’re a lifestyle hack. I love dedicating a little time on Sunday to meal prep a batch, along with other favorites like my Peanut Butter Date Energy Balls. This simple act sets me up for a week of success, providing easy fuel for hectic afternoons, a much-needed boost after a challenging workout, or a guilt-free sweet indulgence after dinner. They’re also wonderfully lunchbox-friendly, incredibly freezer-friendly, and essentially, designed to make life a little bit easier and a lot more delicious. Dive into the world of healthier snacking and discover the joy of these perfect peanut butter chocolate chip granola bars.
Why You’ll Absolutely Adore These Healthy Granola Bars
These isn’t just another granola bar recipe; it’s a testament to how healthy eating can be incredibly flavorful and convenient. Here are the top reasons why these homemade wonders will become your new go-to snack:
- Irresistibly Snackable: Each bite delivers a delightful combination of sweet, chewy textures and rich, nutty flavors. They hit all the right notes, making them truly addictive in the best way possible.
- A Healthier Nostalgia Trip: Recreate the comforting taste of your favorite childhood granola bars with a significantly improved nutritional profile. Enjoy all the flavor without any of the guilt or questionable ingredients.
- Ultimate Grab-and-Go Convenience: Say goodbye to processed snacks. These bars are the perfect solution for busy schedules, offering a quick, nutritious, and satisfying option for when you’re on the move.
- Effortlessly Easy & No Baking Required: Forget about preheating ovens! This no-bake recipe means less time in the kitchen and more time enjoying your delicious creations. It’s so simple, anyone can make them.
- Made with Everyday Pantry Staples: You likely already have all the ingredients needed for these bars. No need for special trips to specialty stores; just wholesome, recognizable components.
- Infinitely Customizable: This recipe serves as a fantastic base for creativity. Feel free to experiment with different add-ins and flavors to suit your personal preferences and dietary needs.
- Diet-Friendly Goodness: Naturally vegan, gluten-free, and naturally sweetened, these bars cater to a variety of dietary requirements without compromising on taste or texture.
Essential Ingredients You’ll Need for Success
Creating these delightful healthy granola bars starts with a handful of simple, high-quality ingredients. Each component plays a crucial role in achieving the perfect texture, flavor, and nutritional balance. For exact measurements, please refer to the recipe card below.
- Peanut Butter: This is the hero ingredient that binds everything together and provides that rich, nutty flavor. Opt for a natural, drippy peanut butter (one with just peanuts and salt in the ingredient list) for the best results. Its smooth consistency ensures easy mixing and a perfectly cohesive bar.
- Quick Oats: These provide the classic chewy texture of a granola bar. Unlike rolled oats, quick oats are processed to be thinner, which helps them absorb moisture and hold together beautifully in a no-bake recipe. If you’re following a gluten-free diet, ensure you select certified gluten-free quick oats.
- Maple Syrup: Our chosen natural sweetener, maple syrup not only adds a wonderful depth of flavor but also acts as a vital binding agent. Its stickiness helps keep your bars from crumbling. Honey or agave nectar can be used as alternatives, though honey will make the recipe non-vegan.
- Ground Flaxseed: A nutritional powerhouse, ground flaxseed contributes healthy fiber and omega-3 fatty acids. Crucially, it also acts as an additional binder, enhancing the structural integrity of your granola bars.
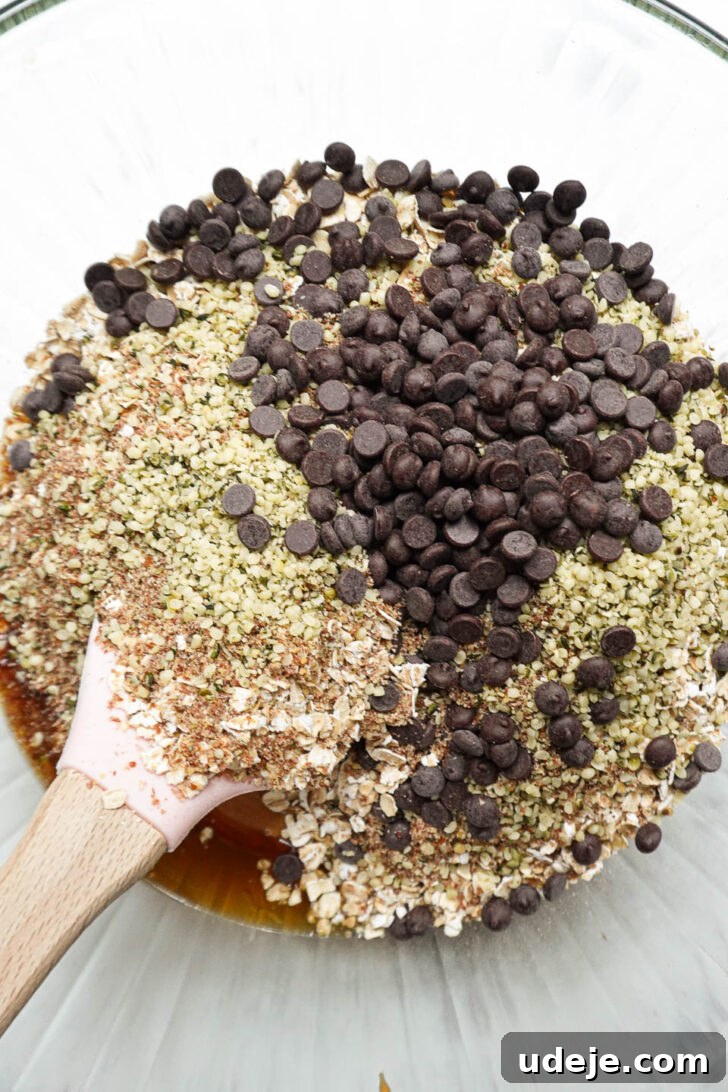
- Hemp Seeds: These tiny seeds are packed with plant-based protein and healthy fats, boosting the nutritional value of your bars. They add a subtle, pleasant texture without overpowering the other flavors.
- Vegan Mini Chocolate Chips: For that irresistible touch of sweetness and a classic granola bar appeal! Mini chips distribute more evenly throughout the mixture, ensuring a chocolatey surprise in every bite. I highly recommend mini vegan chocolate chips from Enjoy Life.
- Vanilla Extract: A splash of vanilla deepens and enhances all the other flavors, adding a warm, aromatic note that elevates the overall taste profile.
- Salt: Don’t underestimate the power of a pinch of salt! It balances the sweetness of the maple syrup and chocolate, making all the flavors truly sing.
Step-by-Step: Crafting Your Perfect Healthy Granola Bars
Making these no-bake granola bars is incredibly simple and straightforward. Just follow these easy steps to create your new favorite healthy snack:
- Prepare Your Pan: First, line an 8×8-inch baking pan with parchment paper, leaving an overhang on the sides. This will make lifting the set bars out of the pan much easier later.
- Combine Wet Ingredients: In a large mixing bowl, thoroughly stir together the runny peanut butter, maple syrup, vanilla extract, and salt until the mixture is completely smooth and well combined. This forms the sticky base for your bars.
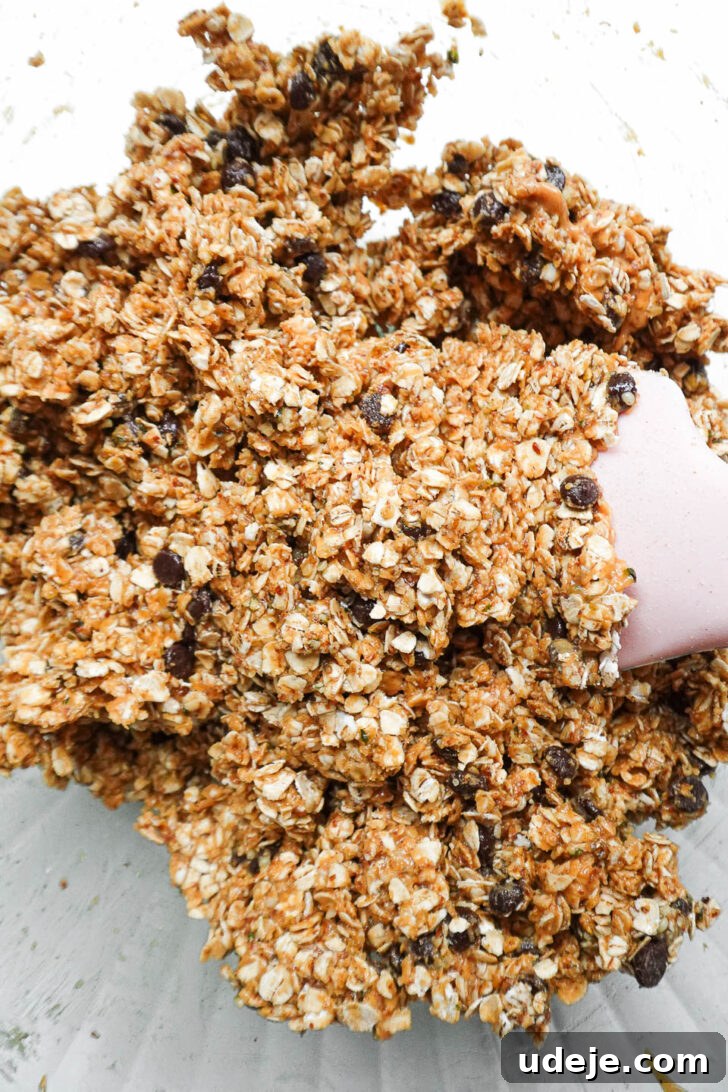
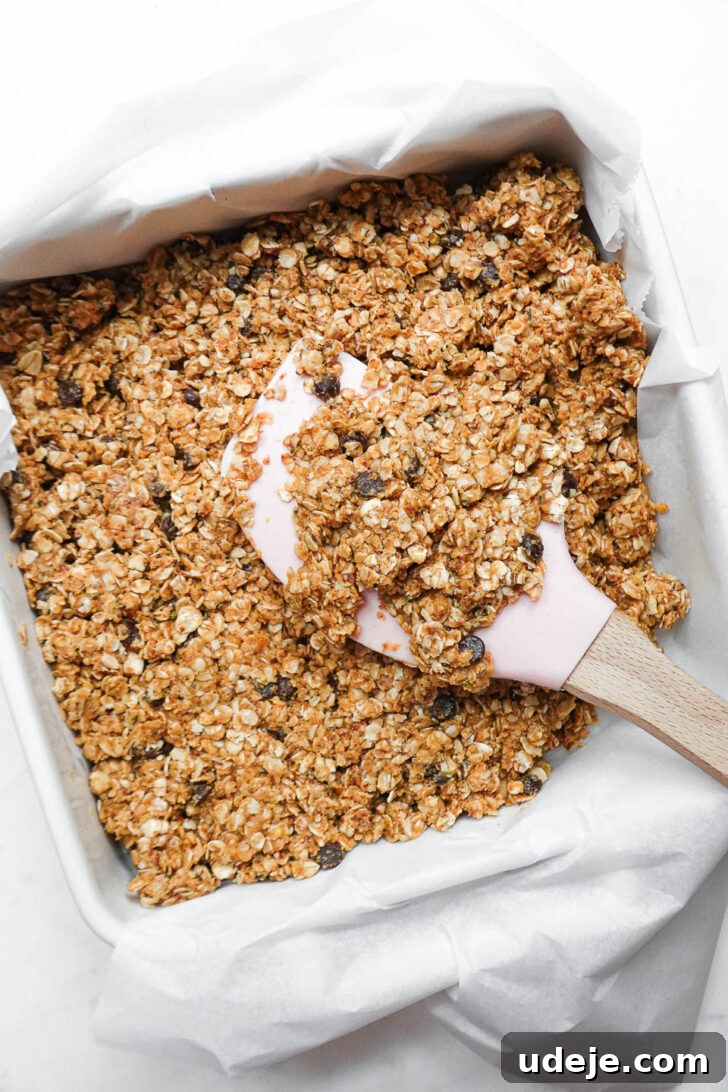
- Incorporate Dry Ingredients: Now, add the quick oats, ground flaxseed, hemp seeds, and mini chocolate chips to the wet mixture. Stir diligently until all the dry ingredients are evenly coated with the peanut butter mixture. Ensure there are no pockets of dry oats remaining.
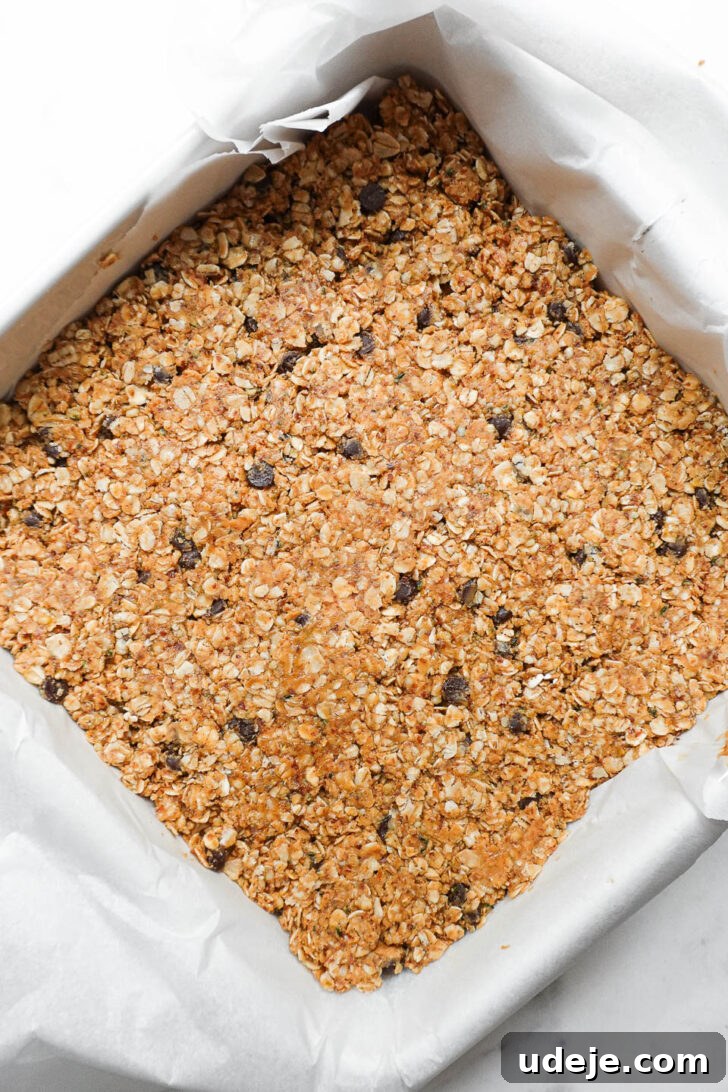
- Press into the Pan: Transfer the entire mixture into your prepared baking pan. Using the back of a spoon or your hands (lightly wet them if the mixture is too sticky), press the mixture down very firmly and evenly. The more tightly you pack it, the better your bars will hold their shape.
- Chill to Set: Place the pan in the refrigerator for at least 1–2 hours. This crucial chilling time allows the ingredients to firm up and the bars to properly set, resulting in that perfectly chewy texture. Patience here is key!
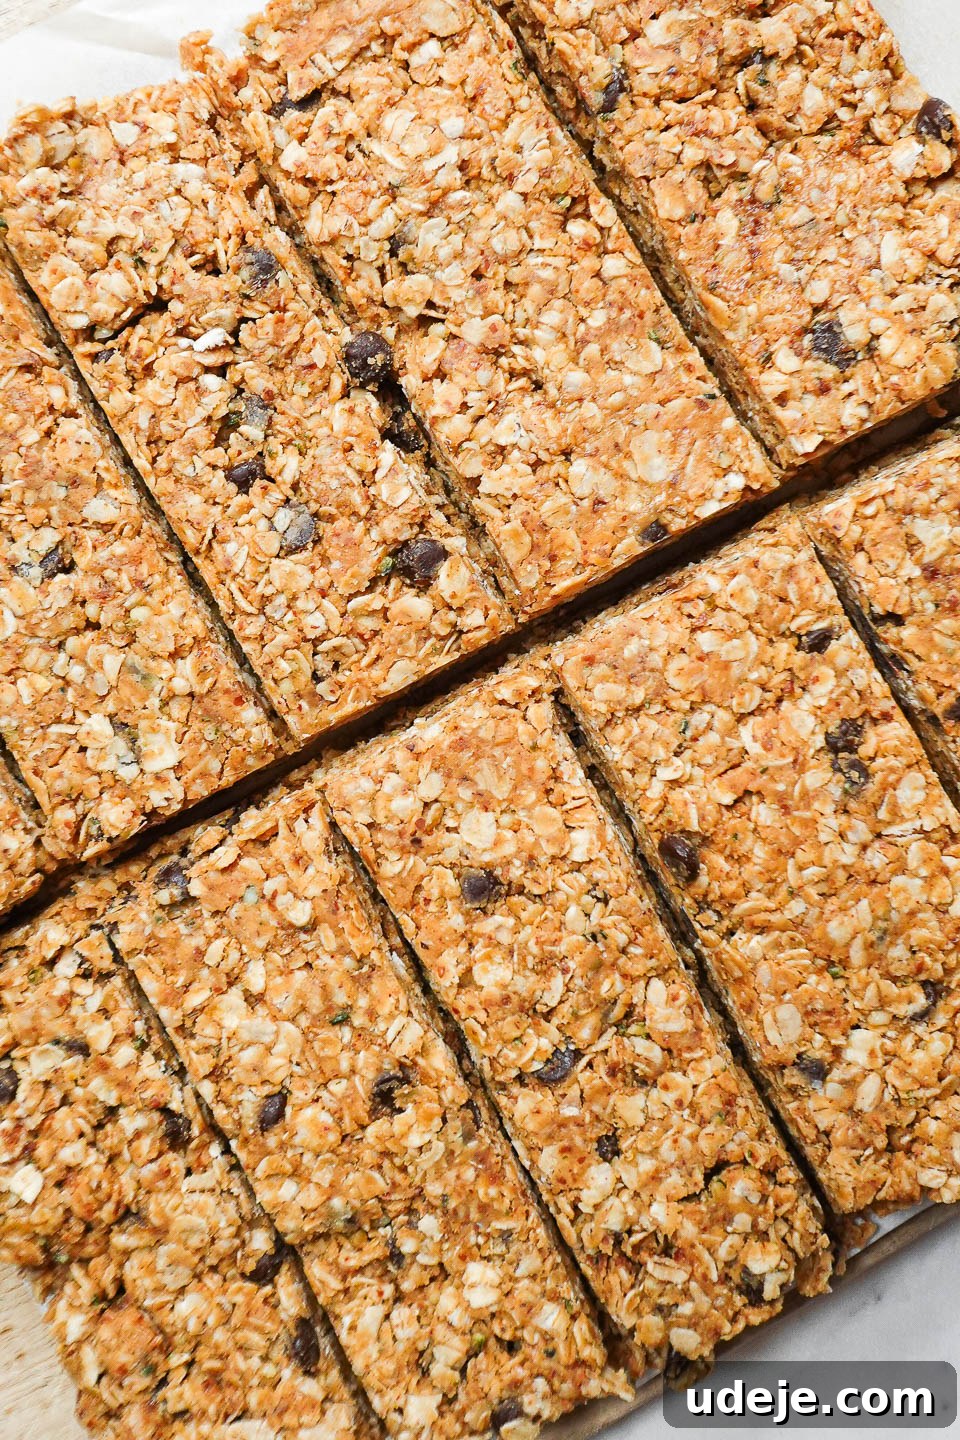
- Slice & Enjoy: Once thoroughly chilled, use the parchment paper overhang to lift the entire slab out of the pan. Place it on a cutting board and use a sharp knife to slice it into individual bars or squares of your desired size. Your delicious healthy granola bars are now ready to be enjoyed!
Expert Tips for Crafting Perfect No-Bake Granola Bars Every Time
Achieving the ideal texture and structure for your homemade granola bars is simple with these key tips. Follow these recommendations to ensure your bars are perfectly chewy and hold together beautifully.
- The Right Nut Butter is Key: The consistency of your nut butter is paramount. Always use a runny, natural nut butter—ideally one with just peanuts and salt (or your chosen nut) as ingredients. Avoid overly thick, stiff, or “no-stir” varieties, as they won’t bind the mixture effectively, leading to crumbly bars. If your natural peanut butter is separating, give it a good stir before measuring.
- Press, Press, Press FIRMLY: This cannot be emphasized enough. Once the mixture is in the pan, apply significant pressure to pack it down as densely as possible. Use the back of a spoon, a flat spatula, or even your hands (lightly dampened with water to prevent sticking). The firmer you press, the more cohesive and less crumbly your finished bars will be.
- Don’t Rush the Chill Time: Skipping or shortening the chilling period is the most common mistake that leads to soft, falling-apart bars. The refrigeration allows the fats in the nut butter to solidify and the maple syrup to truly set the mixture. Aim for at least 1-2 hours in the fridge for perfectly chewy and firm no-bake granola bars.
Recipe Substitutions and Exciting Variations to Customize Your Bars
One of the best aspects of these homemade granola bars is their versatility! This recipe is a fantastic canvas for your creativity, allowing you to tailor them to your taste preferences or dietary needs. Here are some ideas to get you started:
- Nut Butter Alternatives: While peanut butter is a classic, feel free to swap it for other creamy nut or seed butters. Almond butter or cashew butter work wonderfully for a different flavor profile. For a nut-free option, sunflower seed butter (SunButter) is an excellent choice. Just ensure it’s the runny, natural kind.
- Add a Fruity Tang: Introduce a chewy, fruity burst by stirring in dried fruits. Options like dried cranberries, tart cherries, golden raisins, or finely chopped apricots add natural sweetness and a lovely texture.
- Boost the Crunch & Nutrients: Enhance the texture and nutritional value with extra add-ins. Consider incorporating chopped nuts (almonds, walnuts, pecans), pumpkin seeds, chia seeds for extra omega-3s, or shredded coconut flakes for a tropical twist.
- For the Ultimate Chocolate Lover: If you’re a true chocoholic, take your bars to the next level! Instead of mini chocolate chips, use dark chocolate chunks for a more intense flavor. You could also melt extra chocolate and drizzle it over the top of the chilled bars for an elegant finish.
- Pump Up the Protein: Looking for a more substantial snack or post-workout fuel? Add a scoop of your favorite plant-based protein powder to the mixture. If the consistency becomes too dry, simply add a splash of non-dairy milk (almond, oat, or soy) to bring it back to the right consistency.
- Spice It Up: For a warming twist, add a pinch of cinnamon, nutmeg, or even a touch of pumpkin pie spice, especially during the colder months.
- Swap Sweeteners: While maple syrup is fantastic, you can experiment with other liquid sweeteners like agave nectar or even a date syrup for a different flavor profile and subtle caramel notes.
Storing Your Homemade Granola Bars for Lasting Freshness
Proper storage is essential to maintain the optimal chewy texture and extend the shelf life of your delicious homemade granola bars. Since they are no-bake and contain nut butter, keeping them cool is key.
For the best texture and to prevent them from softening too much, I highly recommend storing your granola bars in an airtight container in the refrigerator. They will remain wonderfully chewy and fresh for up to 1 week. To prevent them from sticking together, you can place a piece of parchment paper between layers of bars within the container.
These bars are also incredibly freezer-friendly, making them perfect for long-term meal prepping! Wrap individual bars tightly in plastic wrap or place them in an airtight freezer-safe container, again, separating layers with parchment paper. They will keep beautifully in the freezer for up to 3 months. To enjoy, simply thaw them in the refrigerator overnight or let them sit at room temperature for 20-30 minutes before eating. This convenient storage option ensures you always have a healthy, homemade snack ready whenever a craving strikes!
Frequently Asked Questions About Healthy Granola Bars
Here are some common questions about making and enjoying these healthy granola bars:
Can I make these granola bars nut-free?
Absolutely! To make these bars entirely nut-free, simply swap the peanut butter for an equal amount of sunflower seed butter (SunButter). Ensure all other ingredients you use, such as oats and chocolate chips, are also certified nut-free if severe allergies are a concern.
What if my granola bars are crumbly and won’t hold together?
If your granola bars are crumbly, it’s usually due to the consistency of your nut butter or insufficient pressing. Ensure you’re using a runny, natural peanut butter. If the mixture still feels too dry, try adding an extra tablespoon or two of maple syrup or a bit more peanut butter. Mix thoroughly again, and most importantly, press the mixture into the pan very firmly. Don’t underestimate the power of a good, tight press!
Are these healthy granola bars freezer-friendly?
Yes, they are! These no-bake granola bars freeze beautifully. To store, place them in an airtight container, separating layers with parchment paper to prevent sticking. They can be frozen for up to 3 months. When you’re ready to enjoy one, simply thaw it in the refrigerator overnight or at room temperature for about 20-30 minutes.
Explore More Delicious Healthy Snack Recipes
If you’re a fan of these easy, no-bake healthy granola bars, you’ll love exploring some of my other favorite wholesome snack recipes. Perfect for meal prep, lunchboxes, or a quick energy boost, these treats are sure to satisfy:
If you try this recipe for Healthy Granola Bars, please take a moment to leave a comment and a ★★★★★ star rating below! Your feedback helps others discover and enjoy these delicious recipes. Thank you for your continued support, as always. xo, Megan
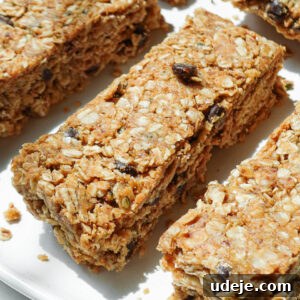
Healthy Granola Bars (Vegan, Gluten-Free)
 Megan
MeganLeave a Review
Pin Recipe
Remove Ads
Ingredients
- 1 cup peanut butter, runny consistency
- ⅓ cup maple syrup
- 1 teaspoon vanilla extract
- ½ teaspoon salt
- 2 cups quick oats
- 2 tablespoons ground flaxseed
- 2 tablespoons hemp seeds
- ¼ cup vegan mini chocolate chips
Instructions
-
Line an 6-inch or 8-inch baking pan with parchment paper.
-
In a large bowl, stir together the peanut butter, maple syrup, vanilla extract, and salt until smooth.
-
Stir in the quick oats, ground flaxseed, hemp seeds, and mini chocolate chips. Mix until everything is evenly coated.
-
Transfer the mixture to the pan and press it down evenly and firmly so the bars hold together. Wet your hands a little if they are sticking.
-
Place in the fridge for 1–2 hours to set.
-
Lift the mixture out of the pan and use a sharp knife to cut into bars or squares. Enjoy!
Equipment
Notes
- Use a creamy, all natural peanut butter (just peanuts + salt)
- Firmly press the mixture into the pan so your bars stay together.
- Chill before slicing—clean cuts are worth the wait!
- Keep in the fridge for up to 1 week or stash in the freezer for 3 months.
- Swap chocolate chips for dried fruit, chopped nuts, or coconut flakes.