
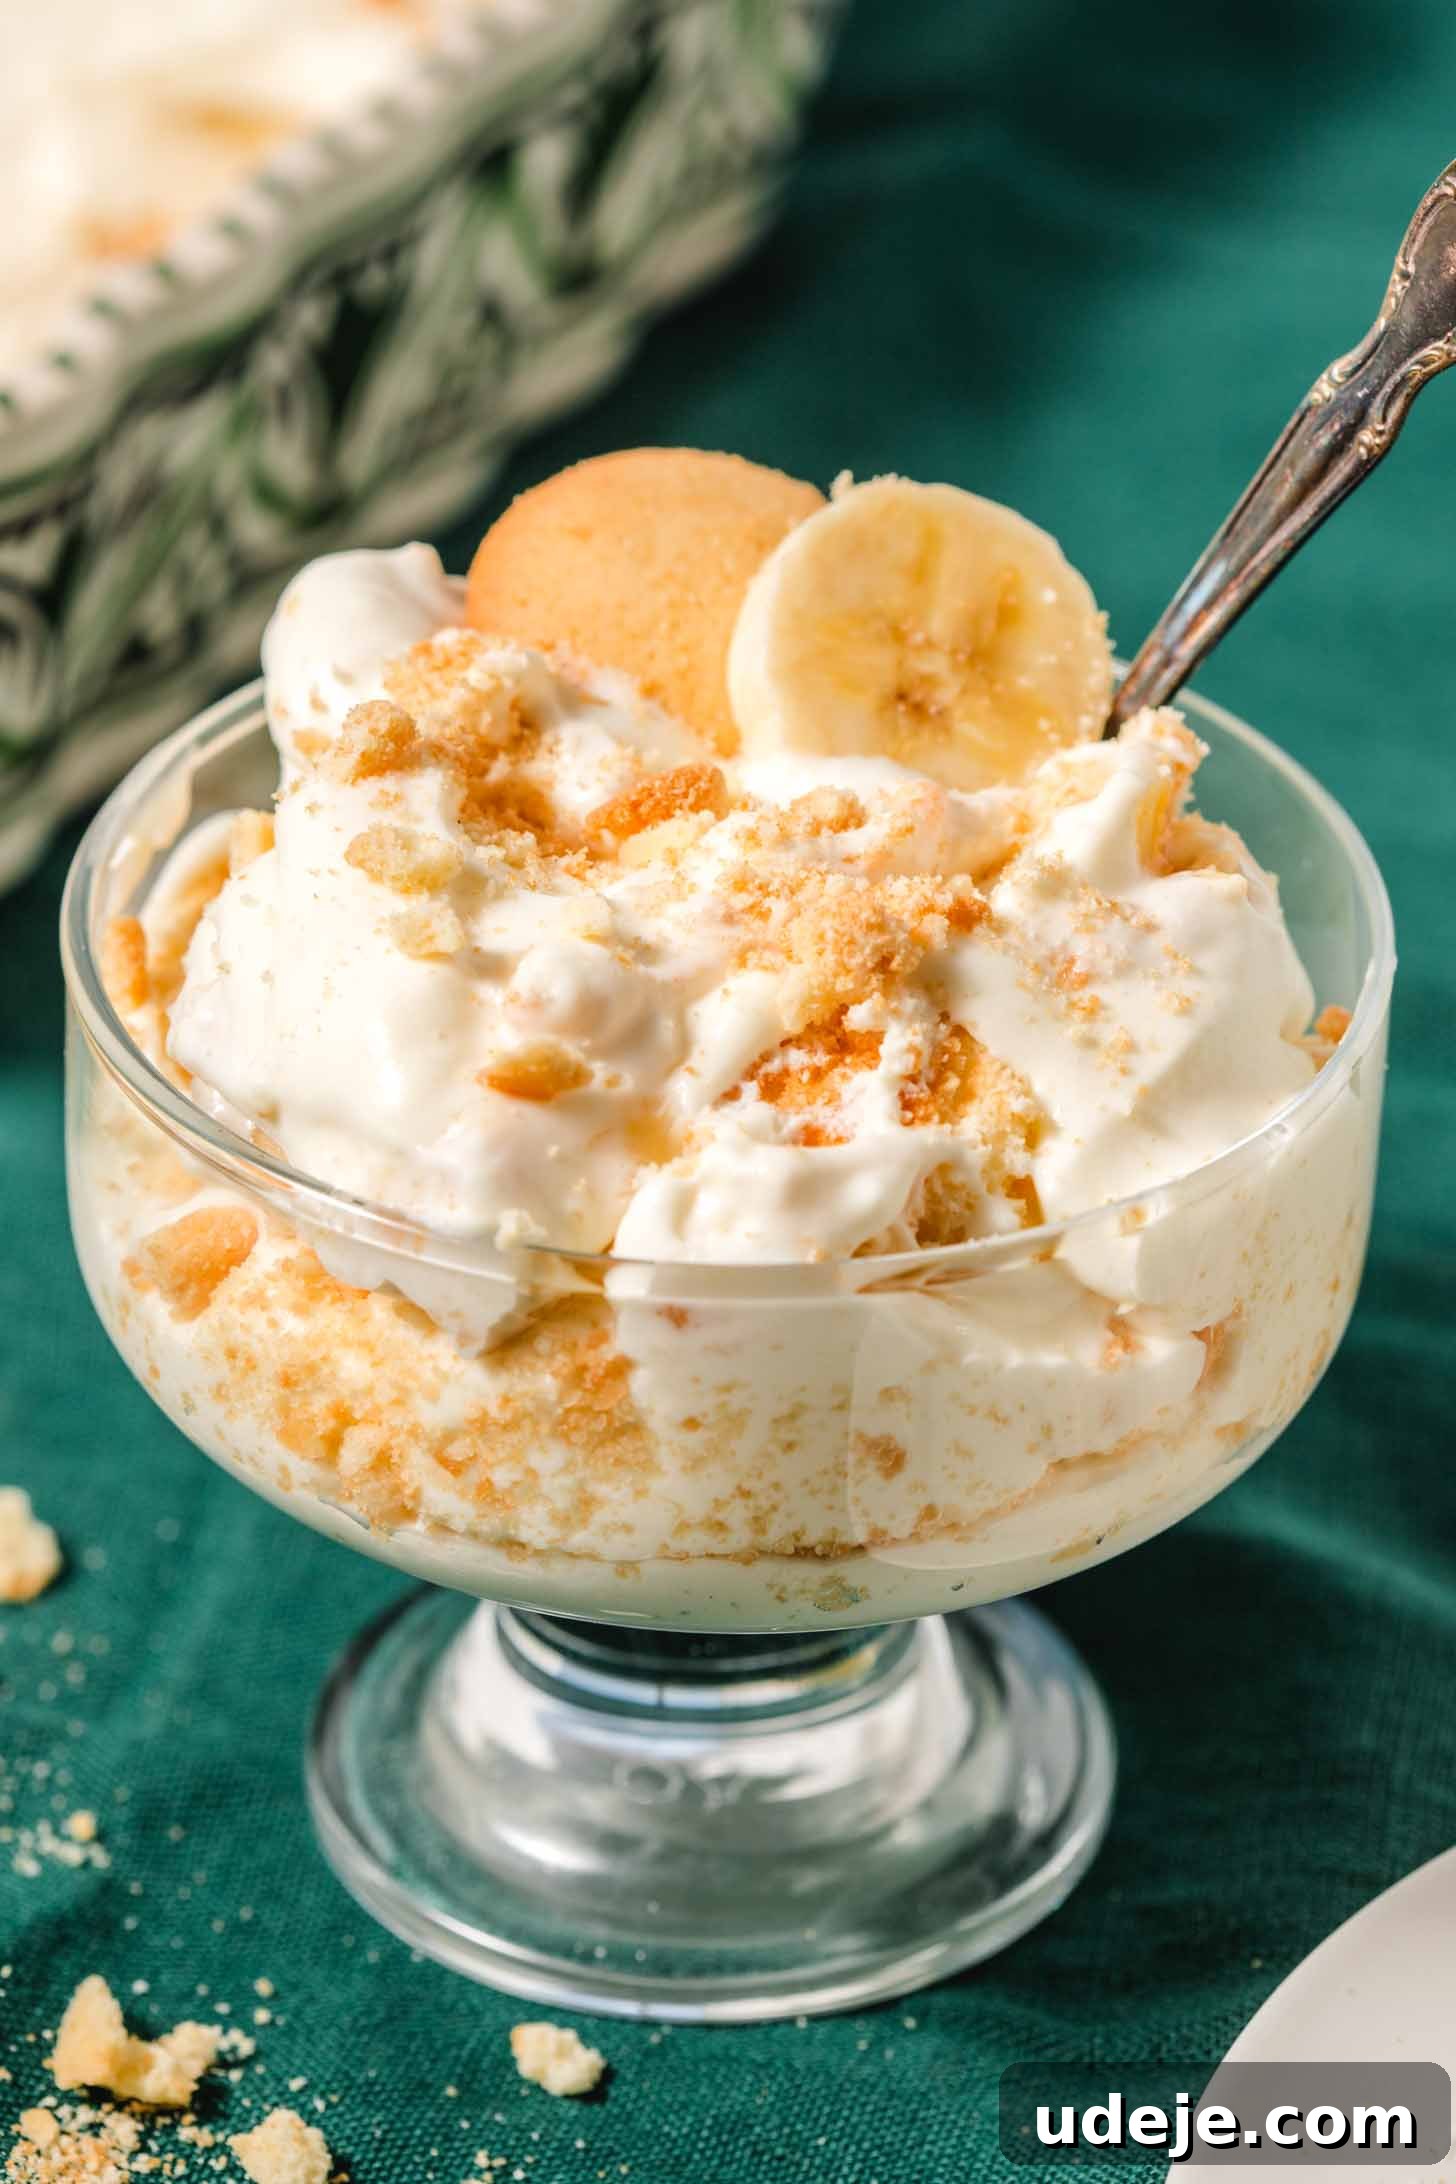
If you’ve ever savored a spoonful of Magnolia Bakery’s legendary banana pudding, you understand the devotion it inspires. This iconic no-bake dessert captivates with its ethereal layers of light, velvety vanilla pudding, perfectly ripe banana slices, and softened Nilla wafers. It’s a symphony of textures and flavors that feels both sophisticated and utterly comforting. The wonderful news? You don’t need a trip to New York City to experience this culinary delight. With just a handful of readily available ingredients and a little patience, you can recreate this beloved treat right in your own kitchen.
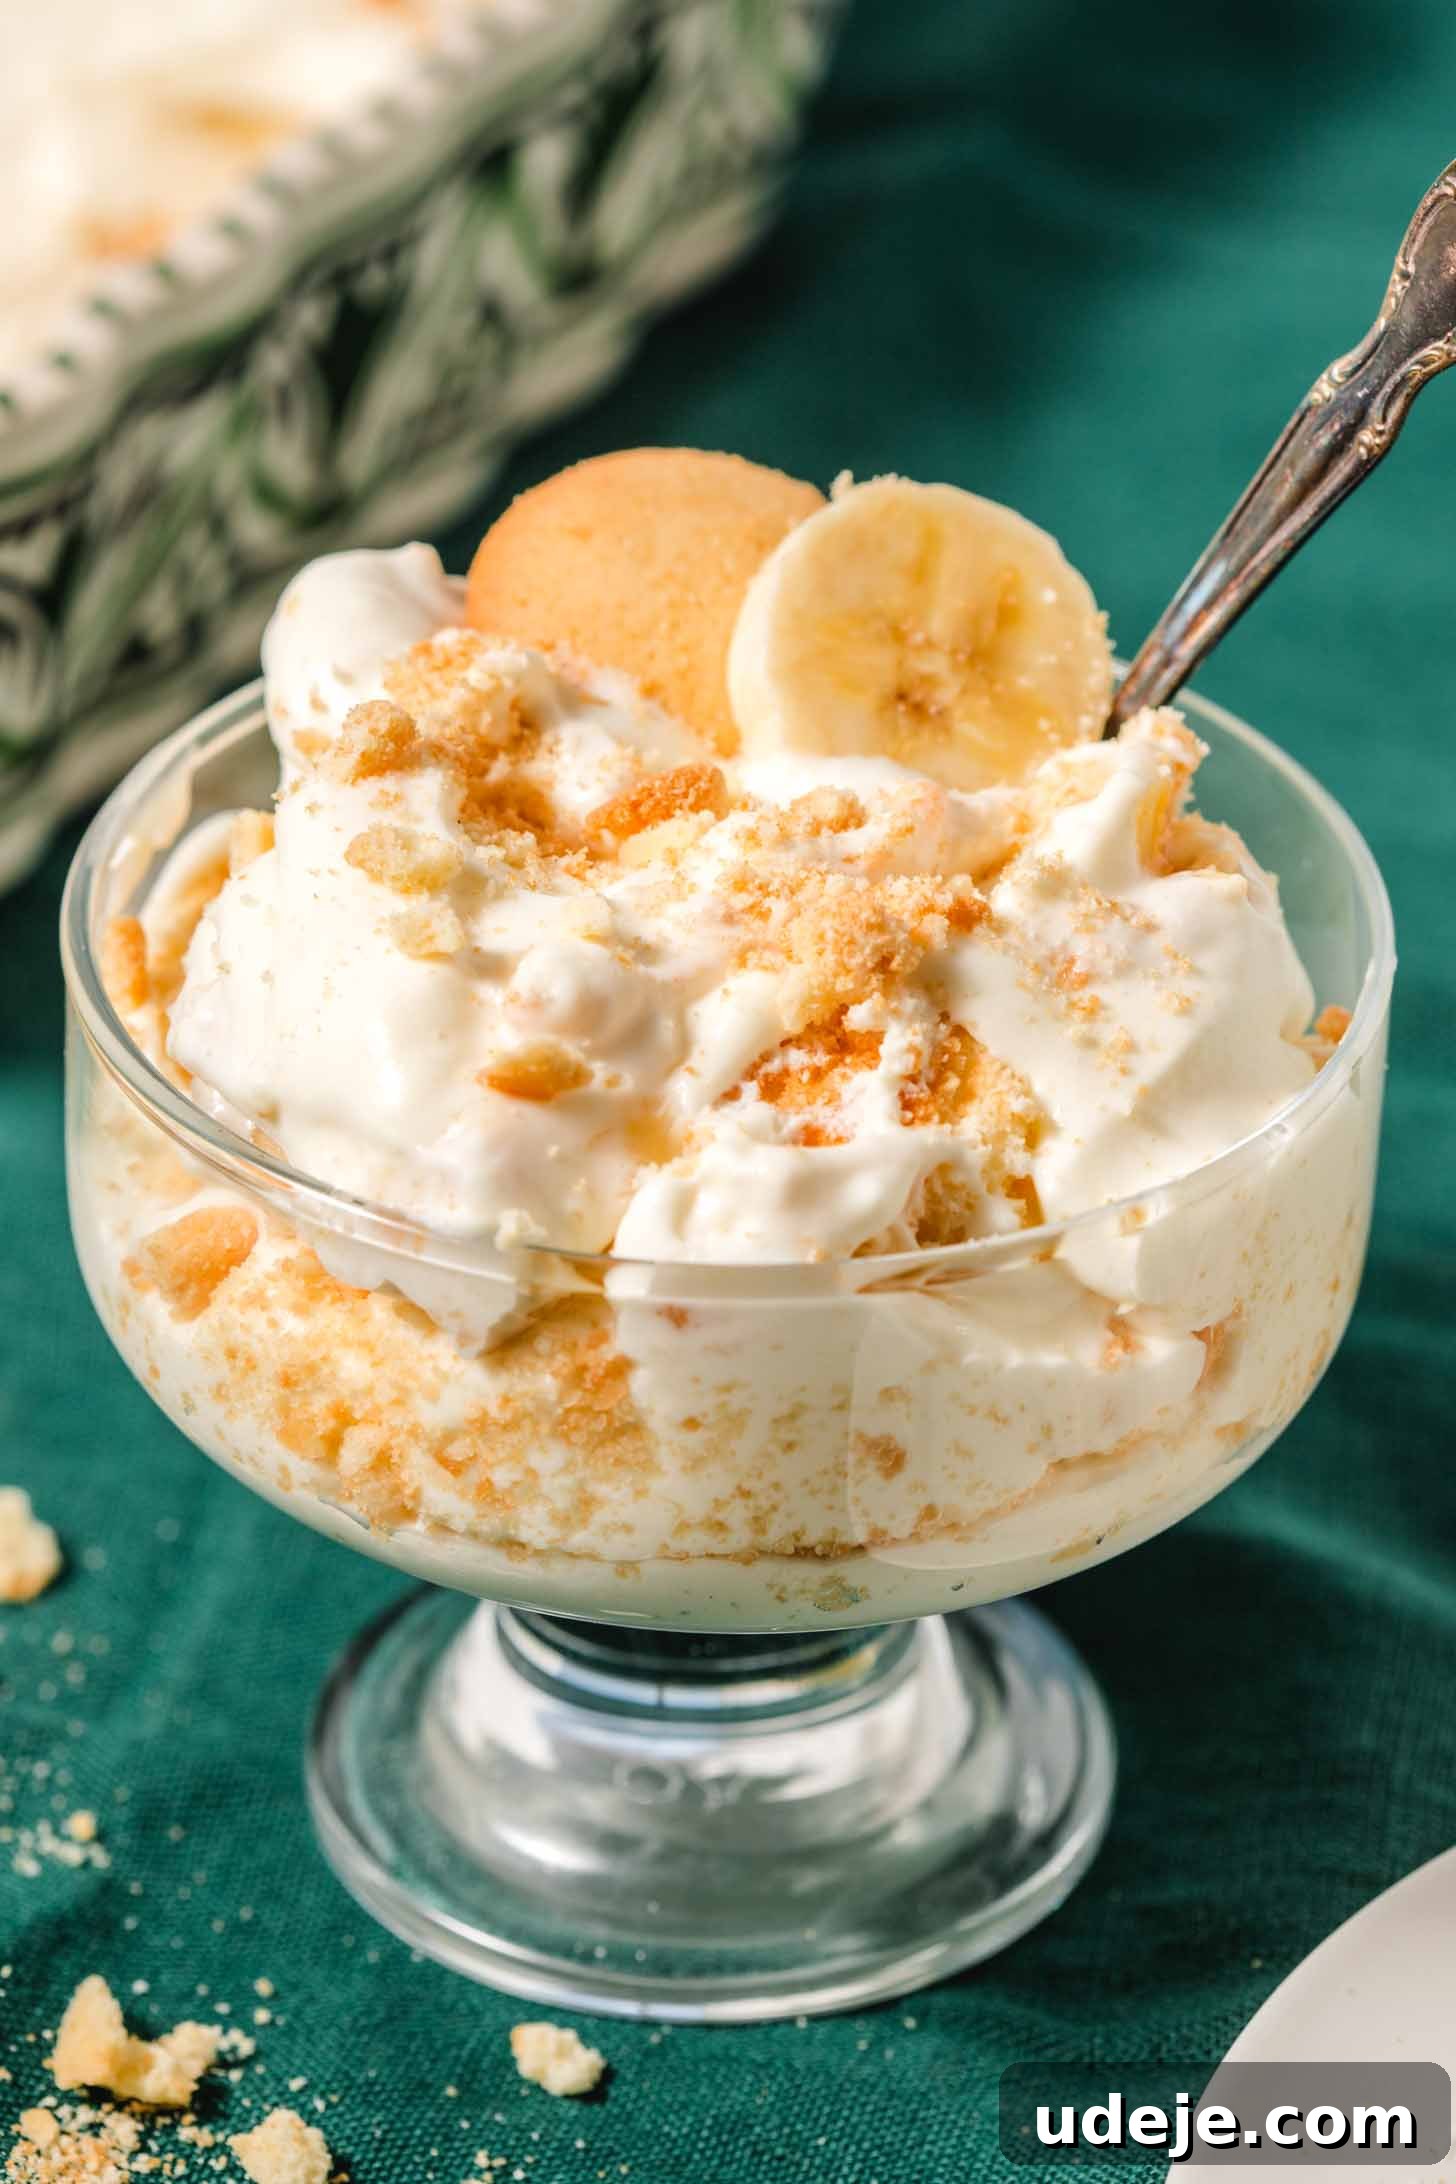
Recreating the Magic: Your Guide to Copycat Magnolia Bakery Banana Pudding
The allure of Magnolia Bakery’s banana pudding isn’t just hype; it’s a culinary phenomenon rooted in pure, simple pleasure. This dessert has earned a reputation for its uniquely smooth and creamy texture, a delightful contrast to the tender slices of banana and the yielding bite of vanilla wafers. It’s the kind of dessert that feels gourmet yet accessible, making it a perfect choice for any occasion, from casual family dinners to elegant holiday gatherings. Our copycat recipe aims to capture every bit of that magic, ensuring a truly authentic taste experience that rivals the original. Get ready to impress your friends and family with this incredibly easy, yet consistently impressive, no-bake dessert.
My Personal Encounter with Magnolia’s Legendary Banana Pudding
Truth be told, I’m not one to typically chase after every viral food trend. So, when I found myself in New York City last summer, a pilgrimage to Magnolia Bakery for their famed banana pudding wasn’t high on my agenda. Fate, however, had other plans. I stumbled upon a branch just around the corner from my hotel, and a curious thought crept in: “What’s all the fuss about?” That initial, unassuming purchase quickly spiraled into a three-time affair over a single trip. I was utterly smitten. The taste was simply divine – rich, comforting, and undeniably addictive.
My only minor grievance with the original, if I had to find one, was a slight scarcity of vanilla wafers in each cup. While the pudding and bananas were perfect, I longed for more of those delightfully soft, soaked cookies in every single bite. This minor imperfection ignited a mission when I returned home. Armed with their official cookbook, I was determined to recreate the exact recipe, but with a personal touch: ensuring a generous wafer presence in every glorious spoonful.
Among my repertoire of favorite no-bake desserts, which includes the delightful Nescafe cake made with tea biscuits, the indulgent chocolate lazy cake, and my luscious pistachio tiramisu, this banana pudding now proudly holds the number one spot. It’s a testament to its irresistible charm and ease of preparation. Trust me, this is one recipe you absolutely must try!
Essential Ingredients for Your Authentic Banana Pudding
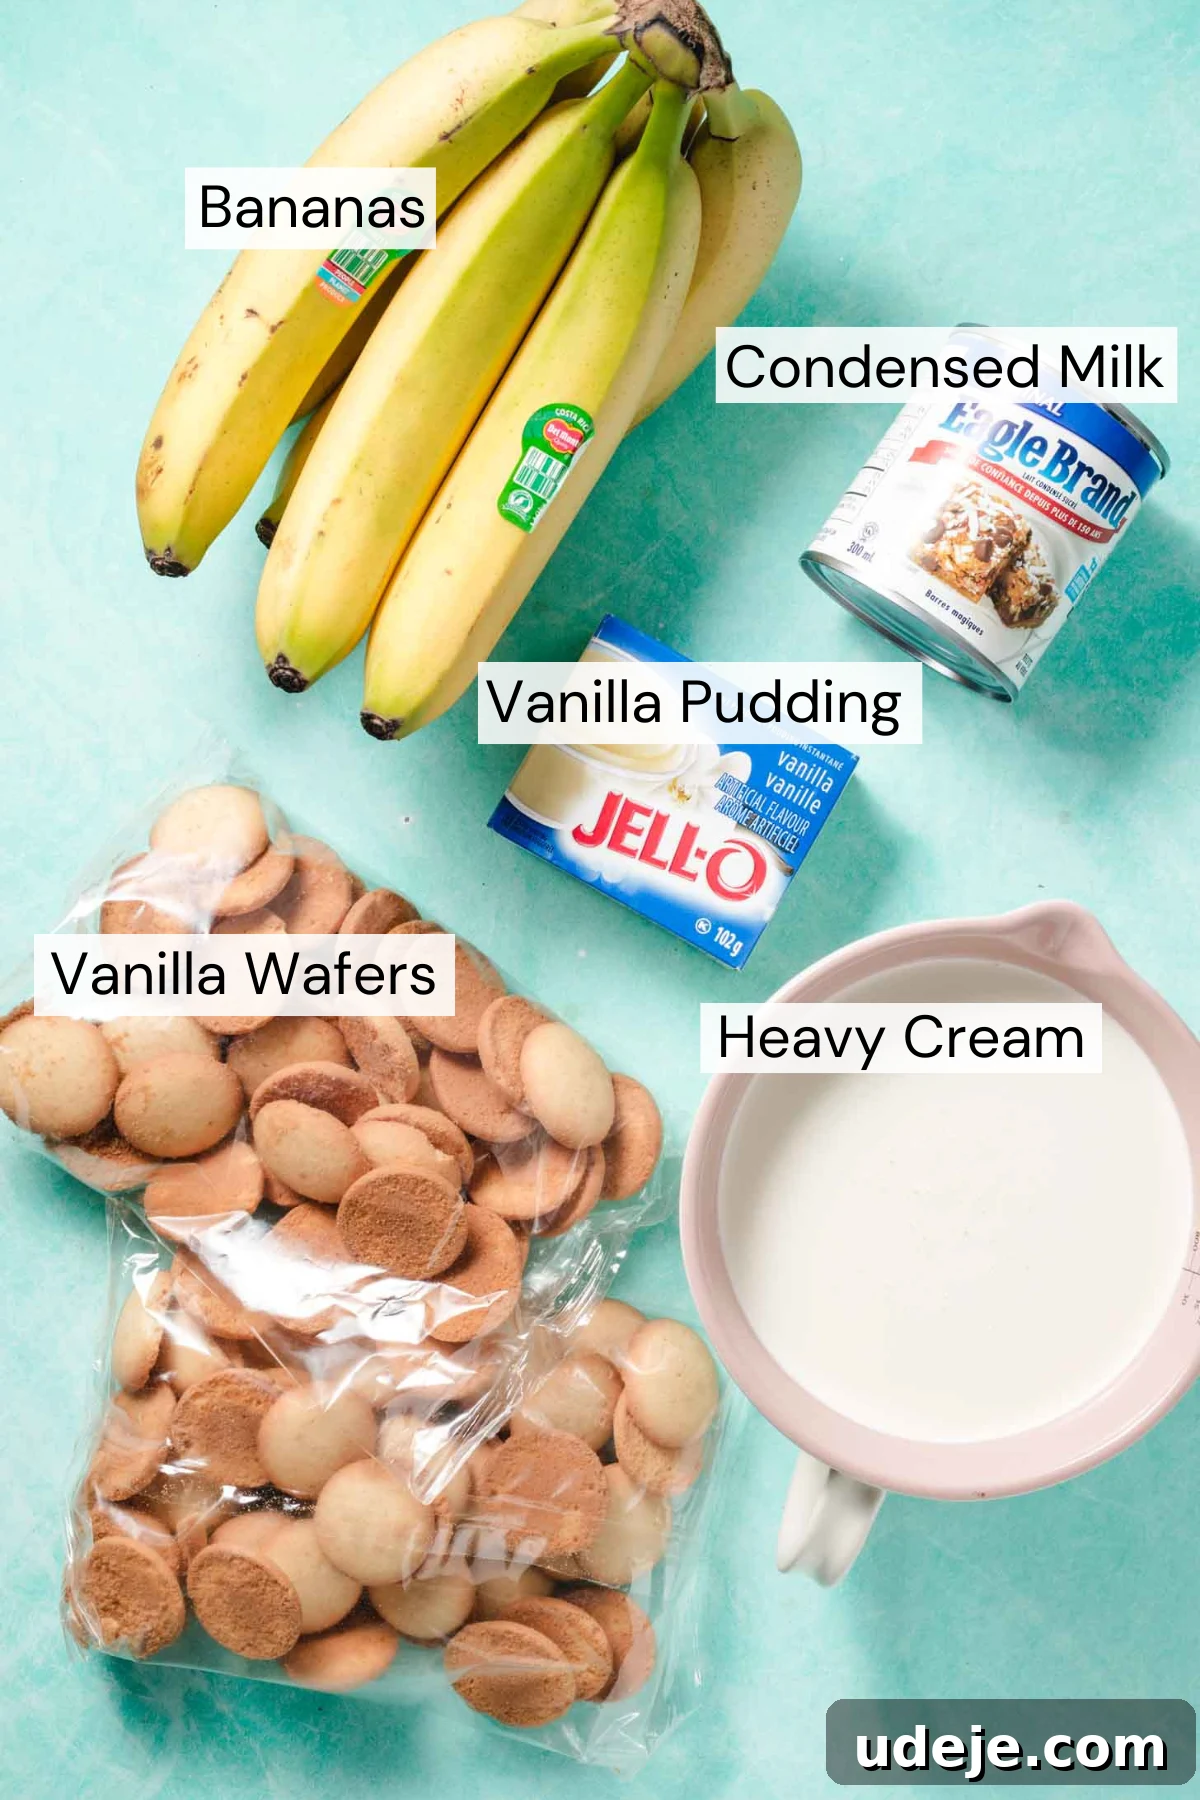
When I first discovered the official recipe for this celebrated pudding, I was genuinely surprised by its remarkable simplicity. You only need five core ingredients, each playing a crucial role in achieving that signature Magnolia taste and texture. However, a few important notes on selecting these components will ensure your success:
- Bananas: The Key to Freshness and Texture
The ripeness of your bananas is paramount. Opt for bananas that are just ripe, ideally with a slight greenish tint at the ends. Overly ripe bananas (those with significant brown spots) can become mushy quickly and will brown faster when exposed to air in the pudding. Using slightly under-ripe bananas ensures they hold their shape, contribute a firmer texture, and last longer without excessive browning in the refrigerator, allowing the flavors to meld beautifully. Slice them evenly for consistent layering. - Vanilla Wafers: The Signature Softness
For those in the USA, the classic choice is undoubtedly Nilla wafers. Their distinctive flavor and ability to soften to the perfect consistency are integral to this recipe. If, like me, you’re in a region where Nilla wafers are hard to come by (such as Canada), don’t despair! I’ve had excellent results using these alternative wafers, which achieve a similar delightful softness when soaked in the pudding. The key is finding a thin, plain vanilla cookie that readily absorbs moisture. - Sweetened Condensed Milk: The Heart of Sweetness and Creaminess
This is not just a sweetener; it’s a vital component that contributes to the pudding’s luxurious, dense, and uniquely sweet profile. It’s what gives the Magnolia banana pudding its distinctive richness and prevents it from being just another bland dessert. Ensure you use sweetened condensed milk, not evaporated milk. - Instant Vanilla Pudding Mix: The Foundation
This recipe relies on instant vanilla pudding mix, not the cook-and-serve variety. The instant mix creates a wonderfully fluffy yet stable pudding base that, when combined with whipped cream, forms the irresistible creamy layers. Any standard brand of instant vanilla pudding mix will work well. - Heavy Cream: For Lightness and Volume
Heavy whipping cream, typically with 35% milk fat, is essential for achieving the light and airy texture of the overall dessert. When whipped to stiff peaks and gently folded into the pudding, it adds volume and a delicate richness that perfectly balances the sweetness of the condensed milk. Make sure it’s well-chilled before whipping for the best results.
Step-by-Step Guide to Crafting Your Banana Pudding Masterpiece
Creating this irresistible banana pudding is surprisingly straightforward, but it does require careful timing due to the essential chilling periods. Plan accordingly based on when you intend to serve your dessert. The vanilla pudding base needs 3-4 hours to set, and the assembled pudding requires a minimum of 7-12 hours in the refrigerator for the wafers to soften and flavors to fully develop. I often prepare the pudding mixture the night before, letting it chill overnight, and then assemble the layers the following morning for an evening serving.
1. Prepare the Vanilla Pudding Base
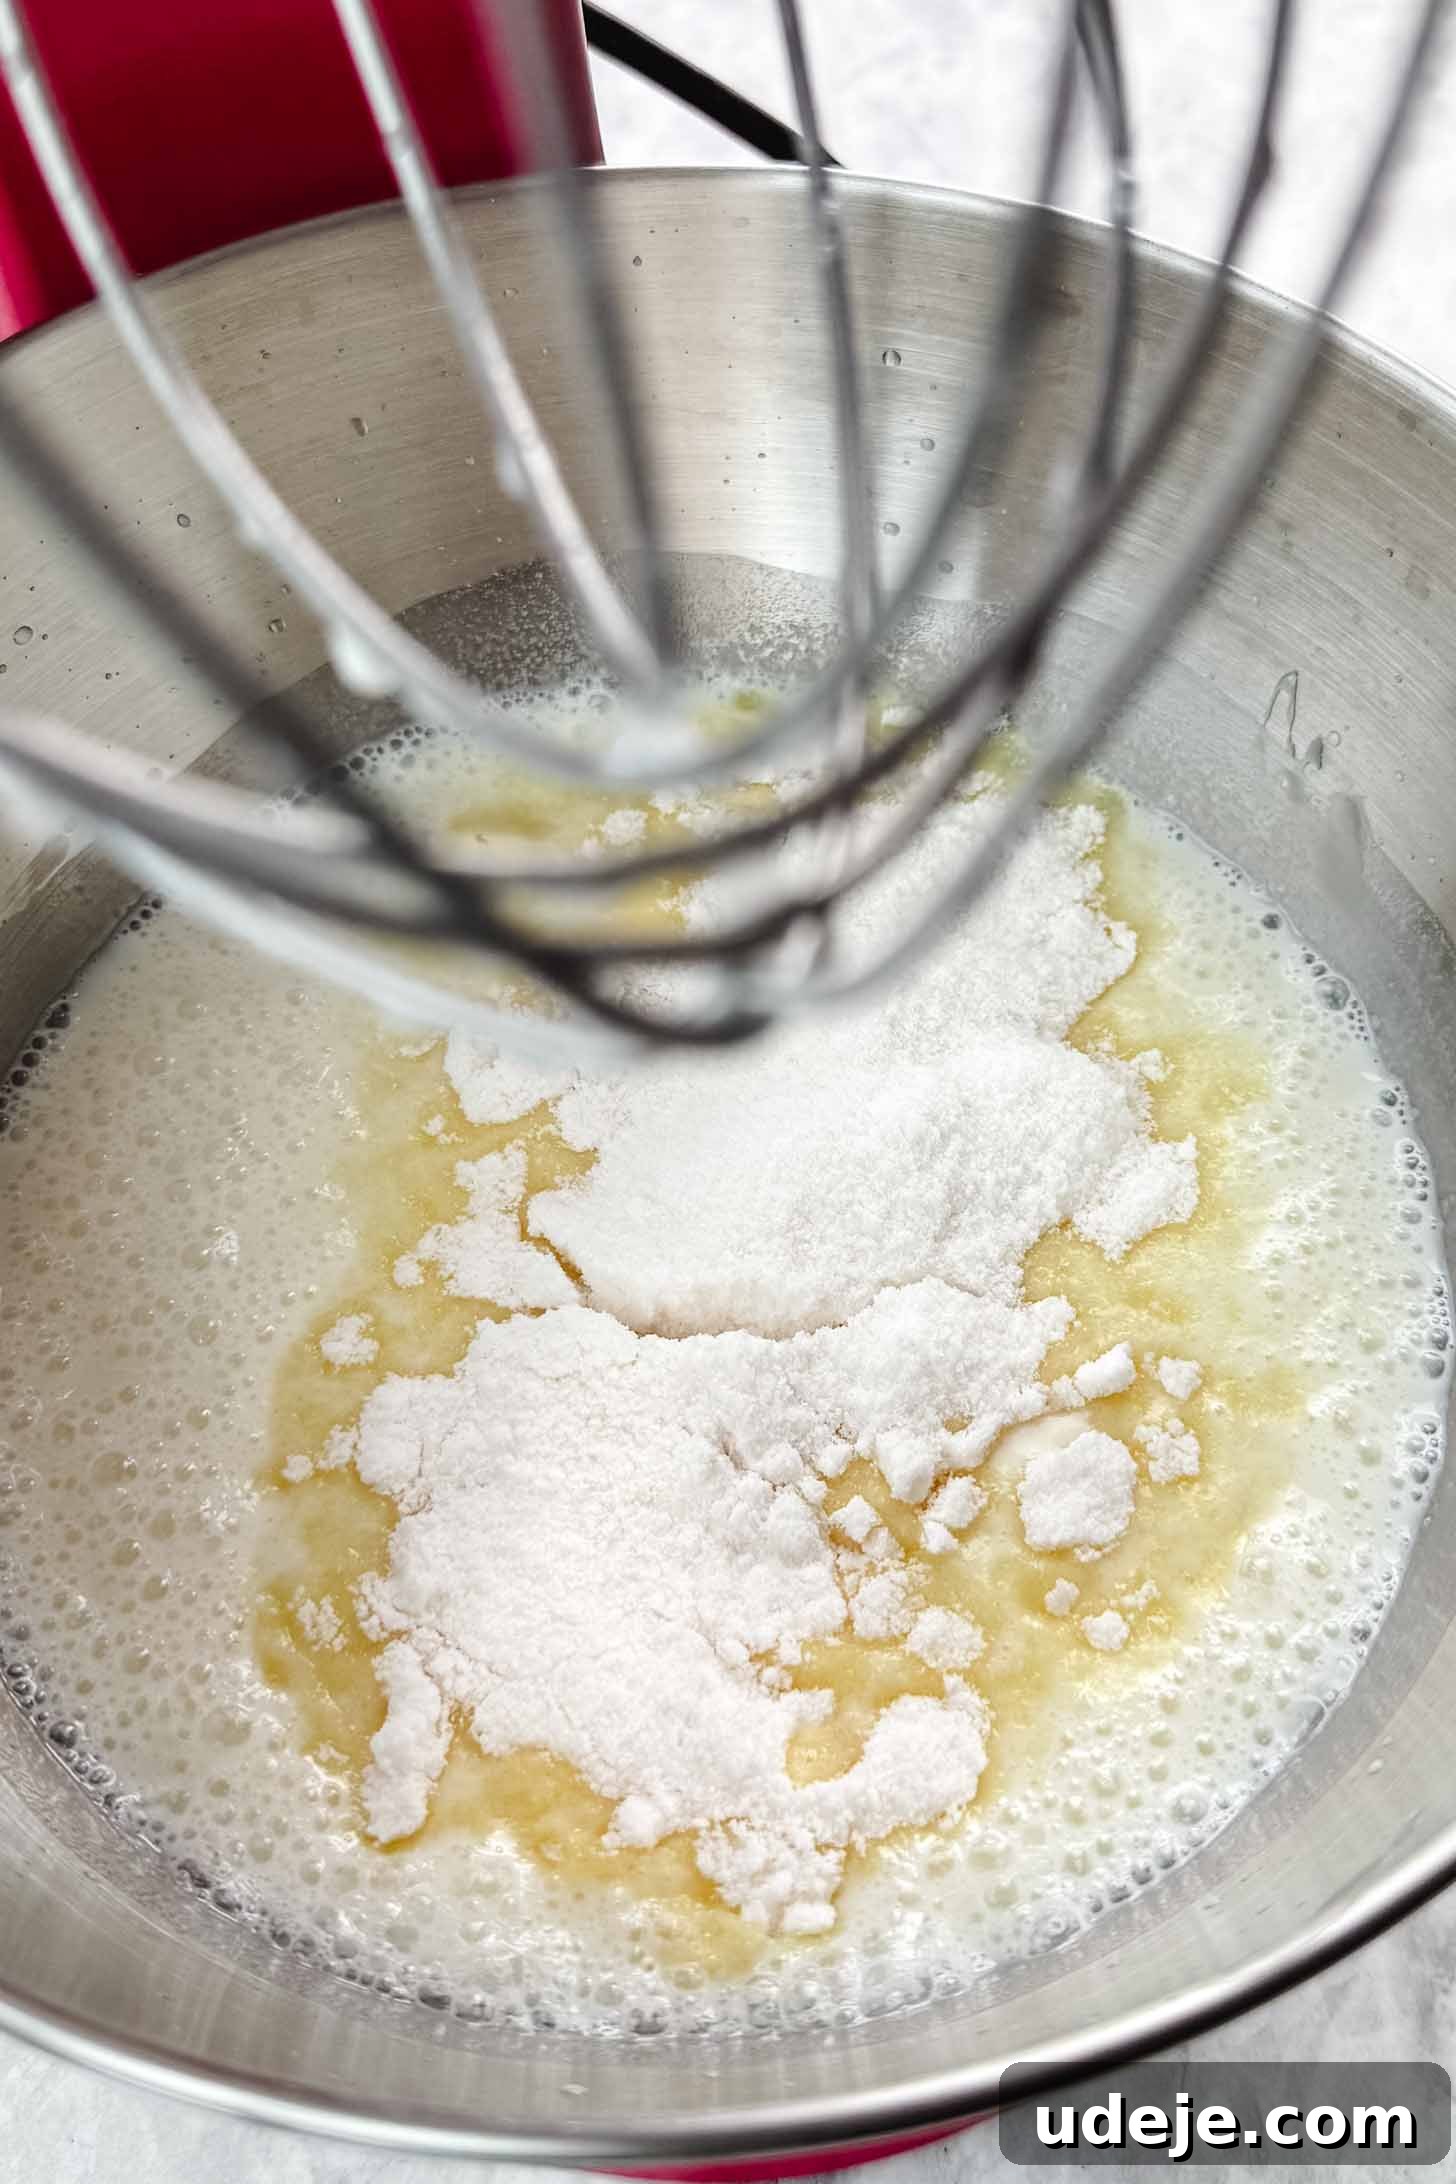
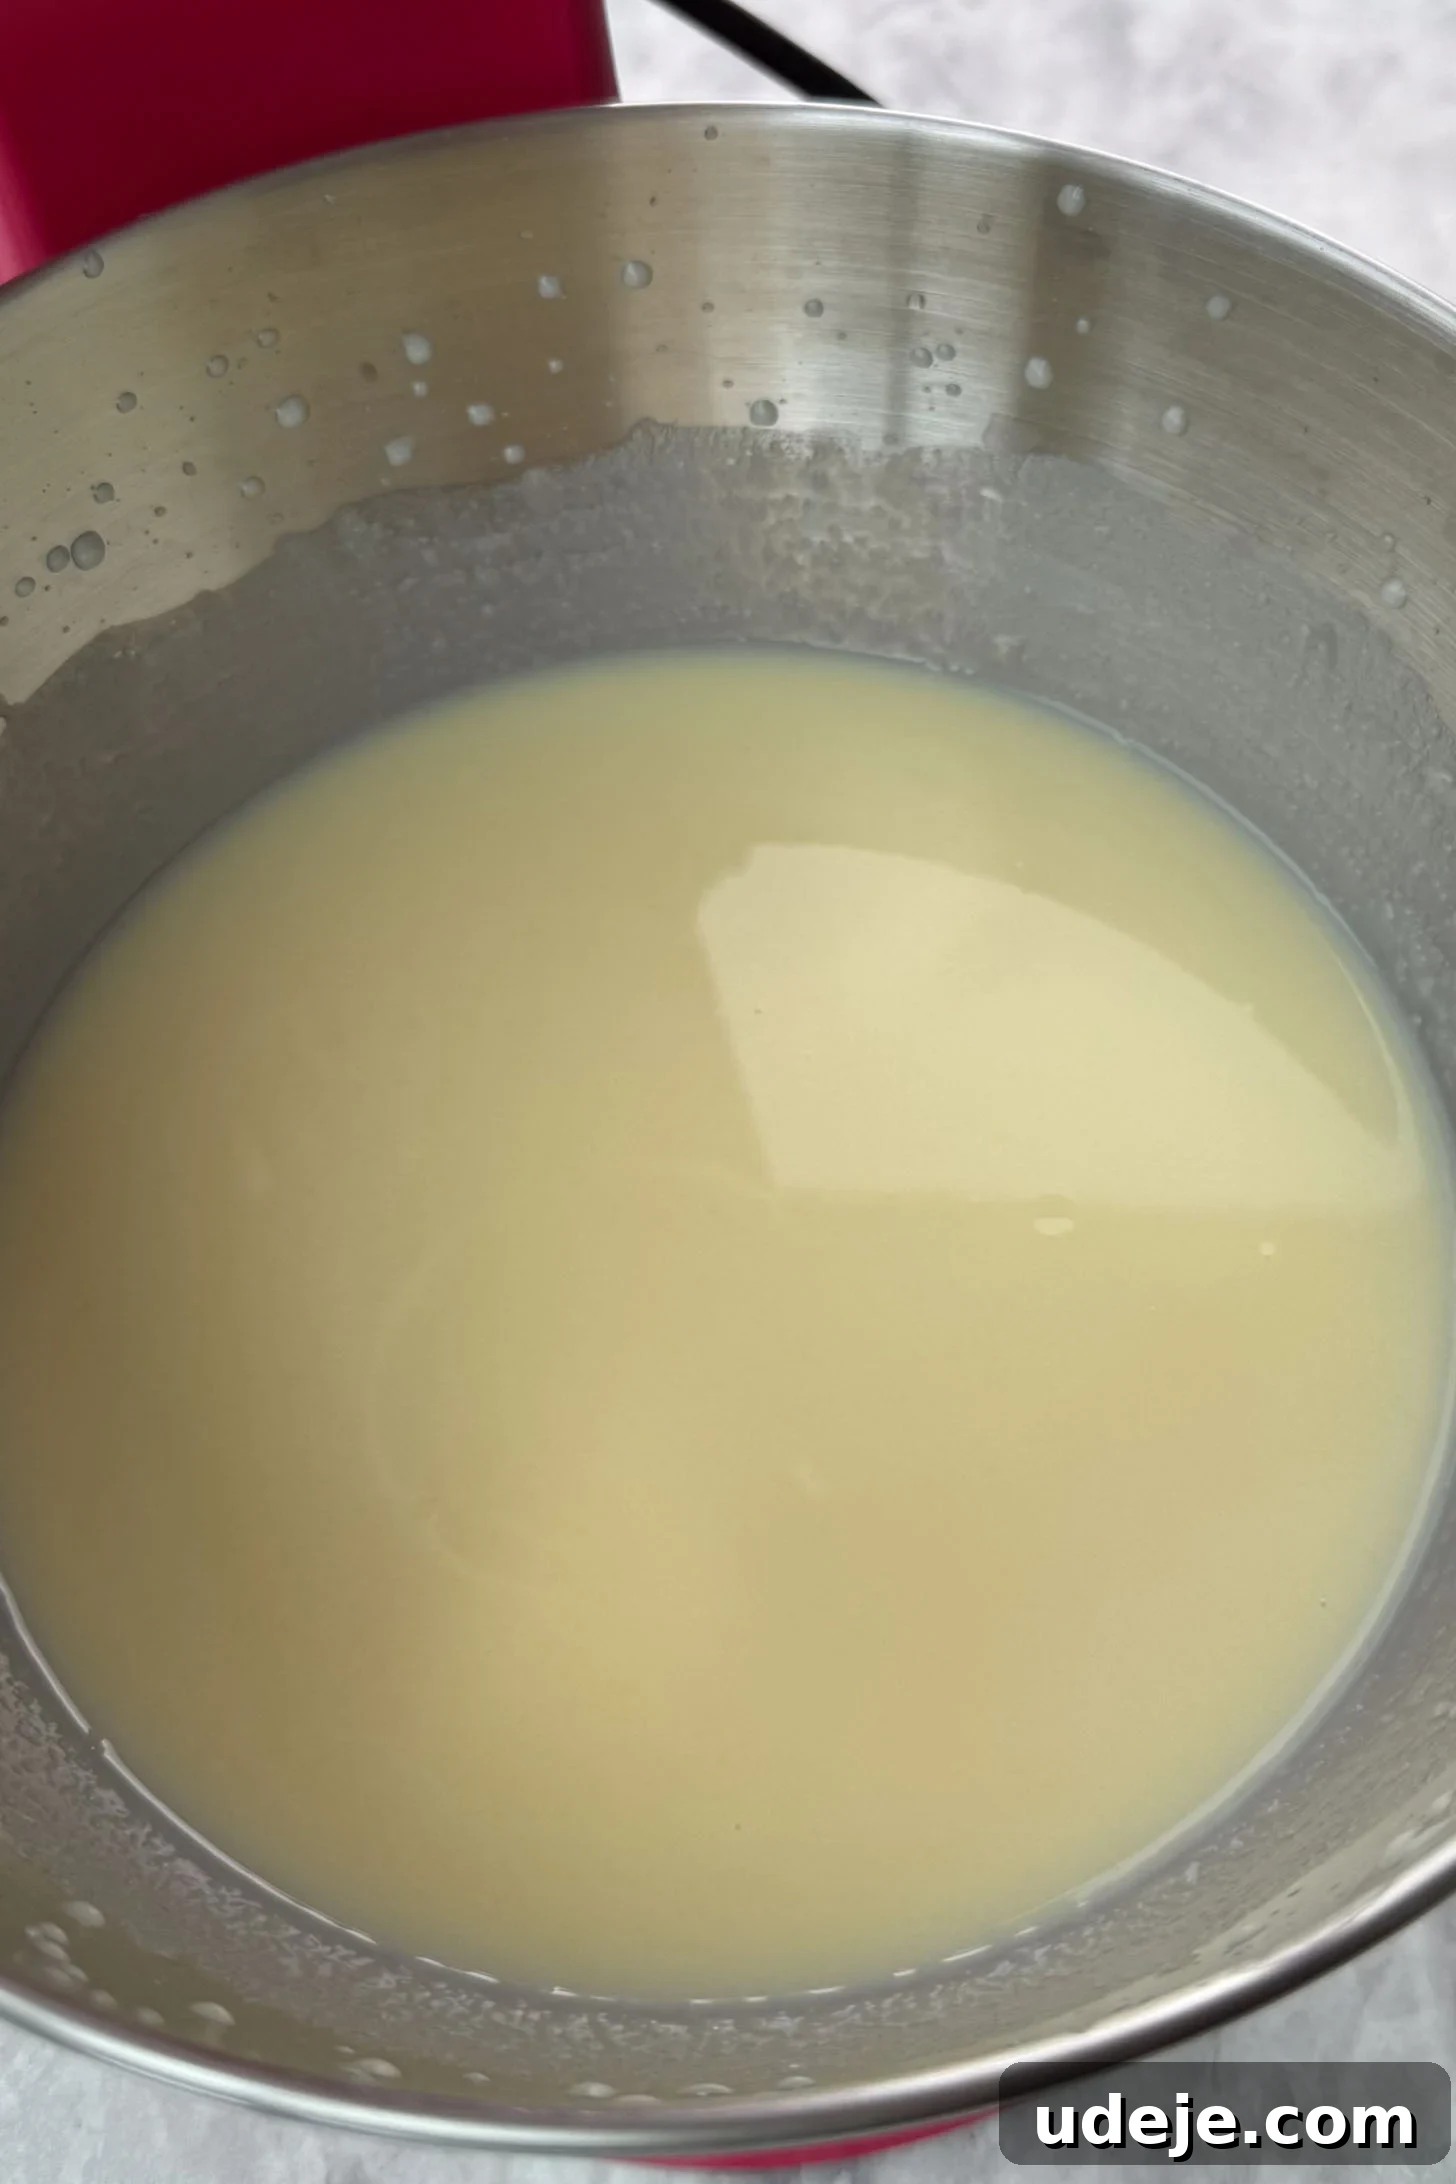
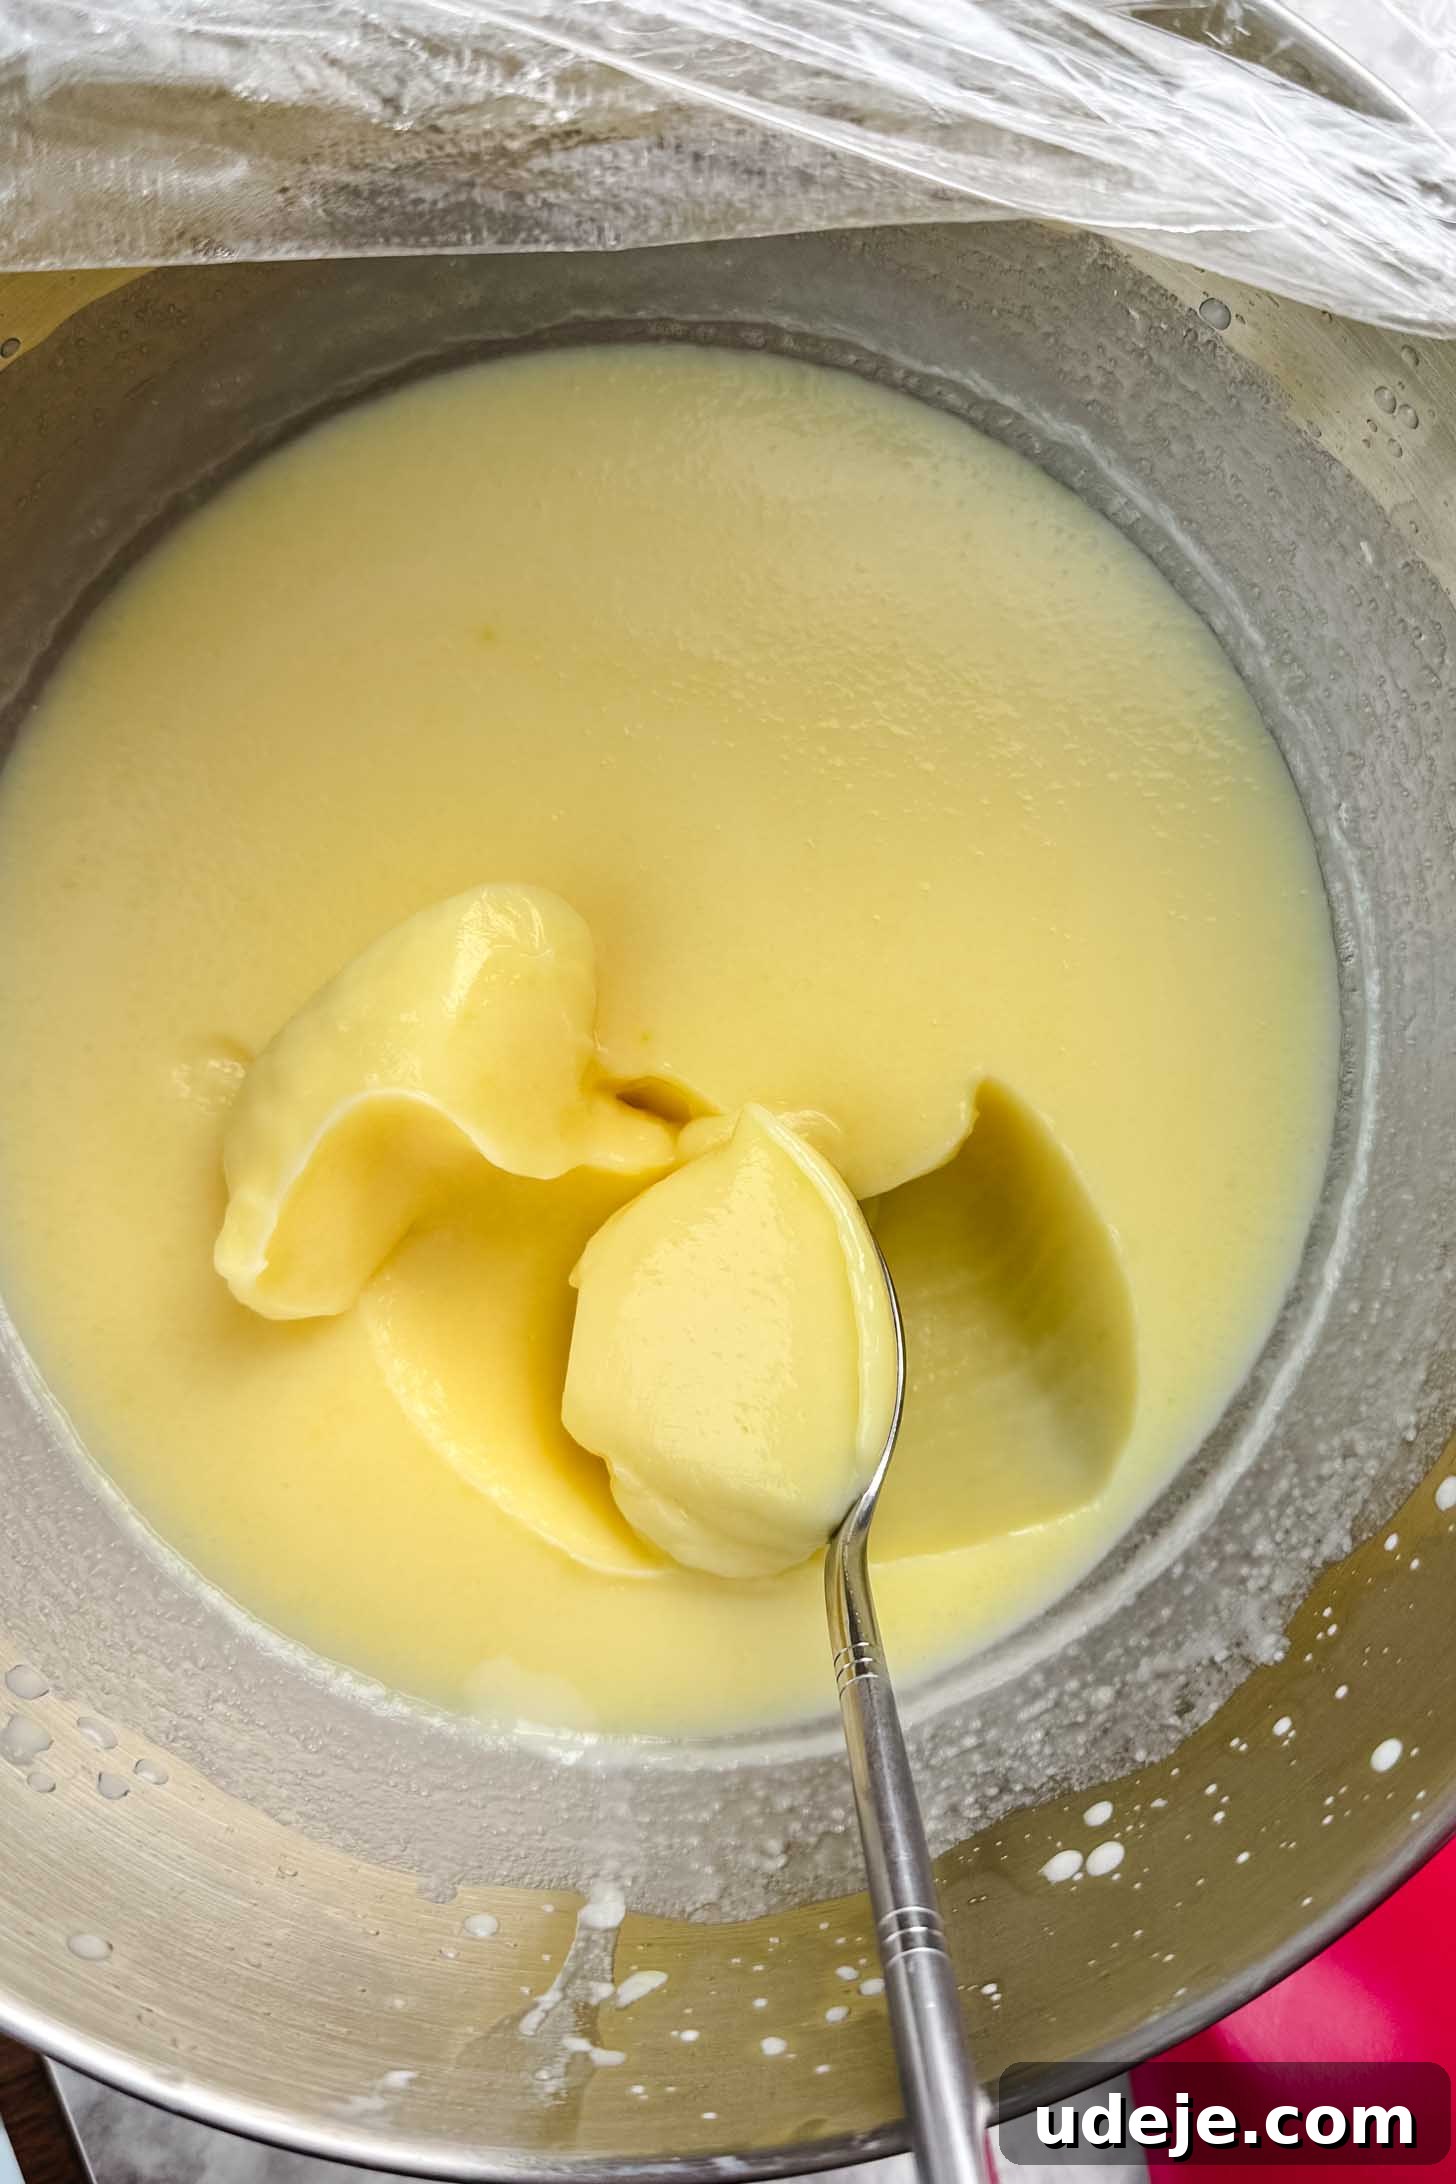
Begin by whisking together the ice-cold water, sweetened condensed milk, and instant vanilla pudding mix in a medium-sized bowl. Whisk vigorously until the mixture is smooth and well combined, ensuring no lumps remain from the pudding powder. This can be done effectively with a hand whisk or a stand mixer fitted with the whisk attachment. Once thoroughly mixed, cover the bowl tightly with plastic wrap to prevent a skin from forming and refrigerate for 3 to 4 hours. The pudding should be thick and scoop-able once properly chilled.
2. Whip the Heavy Cream and Combine with Pudding
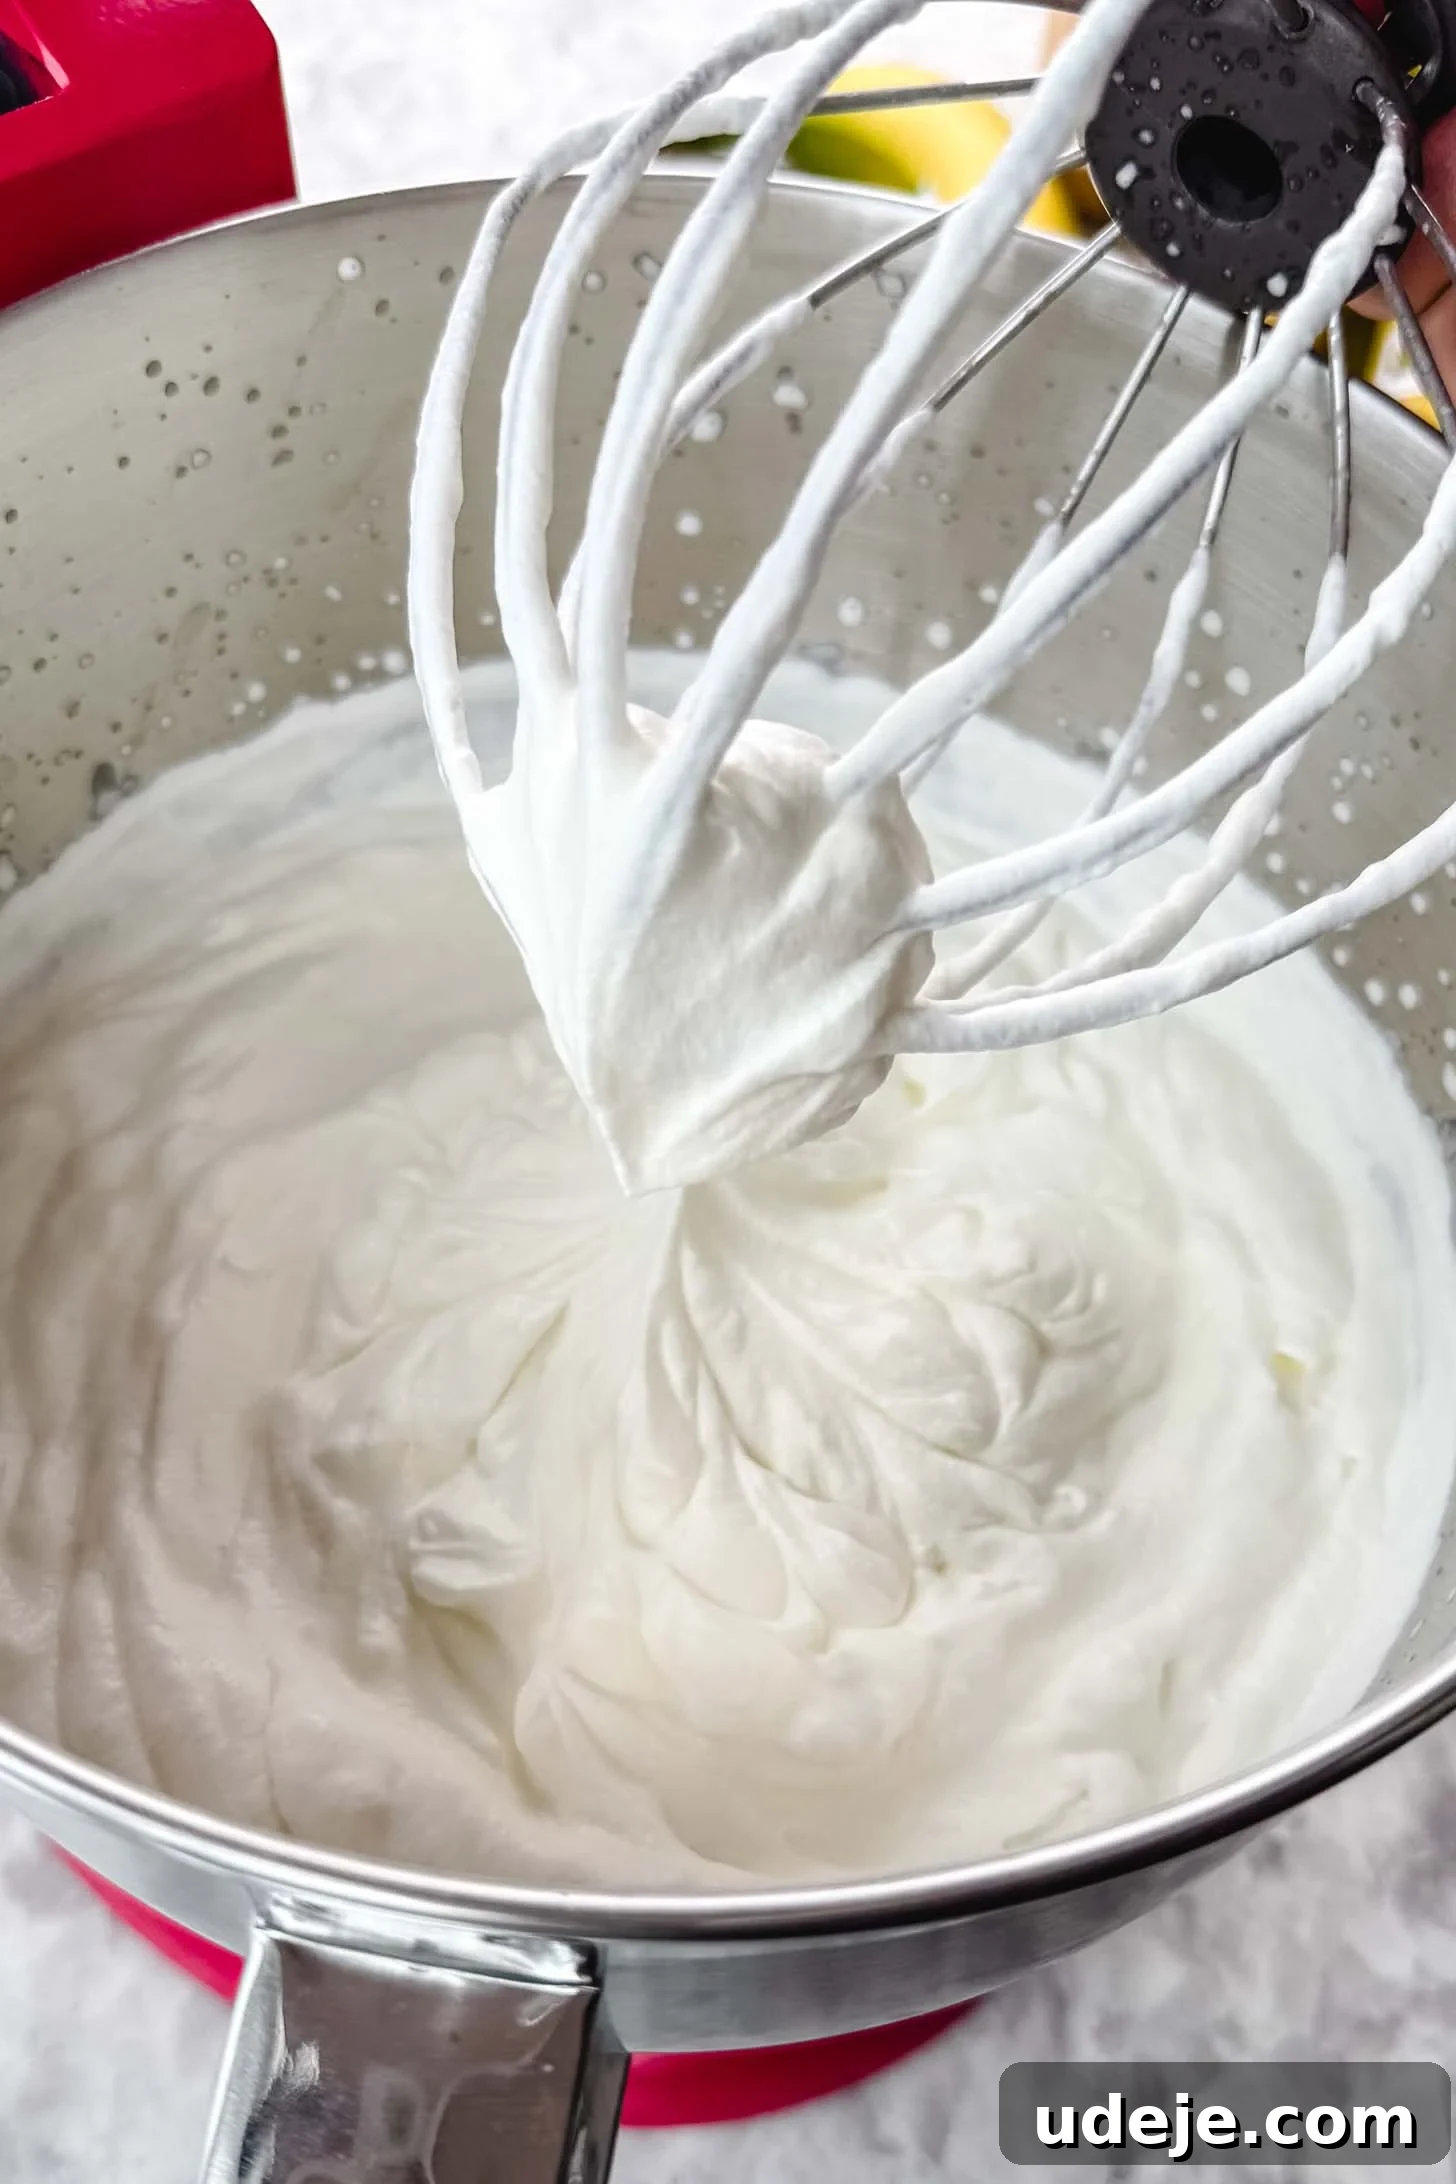
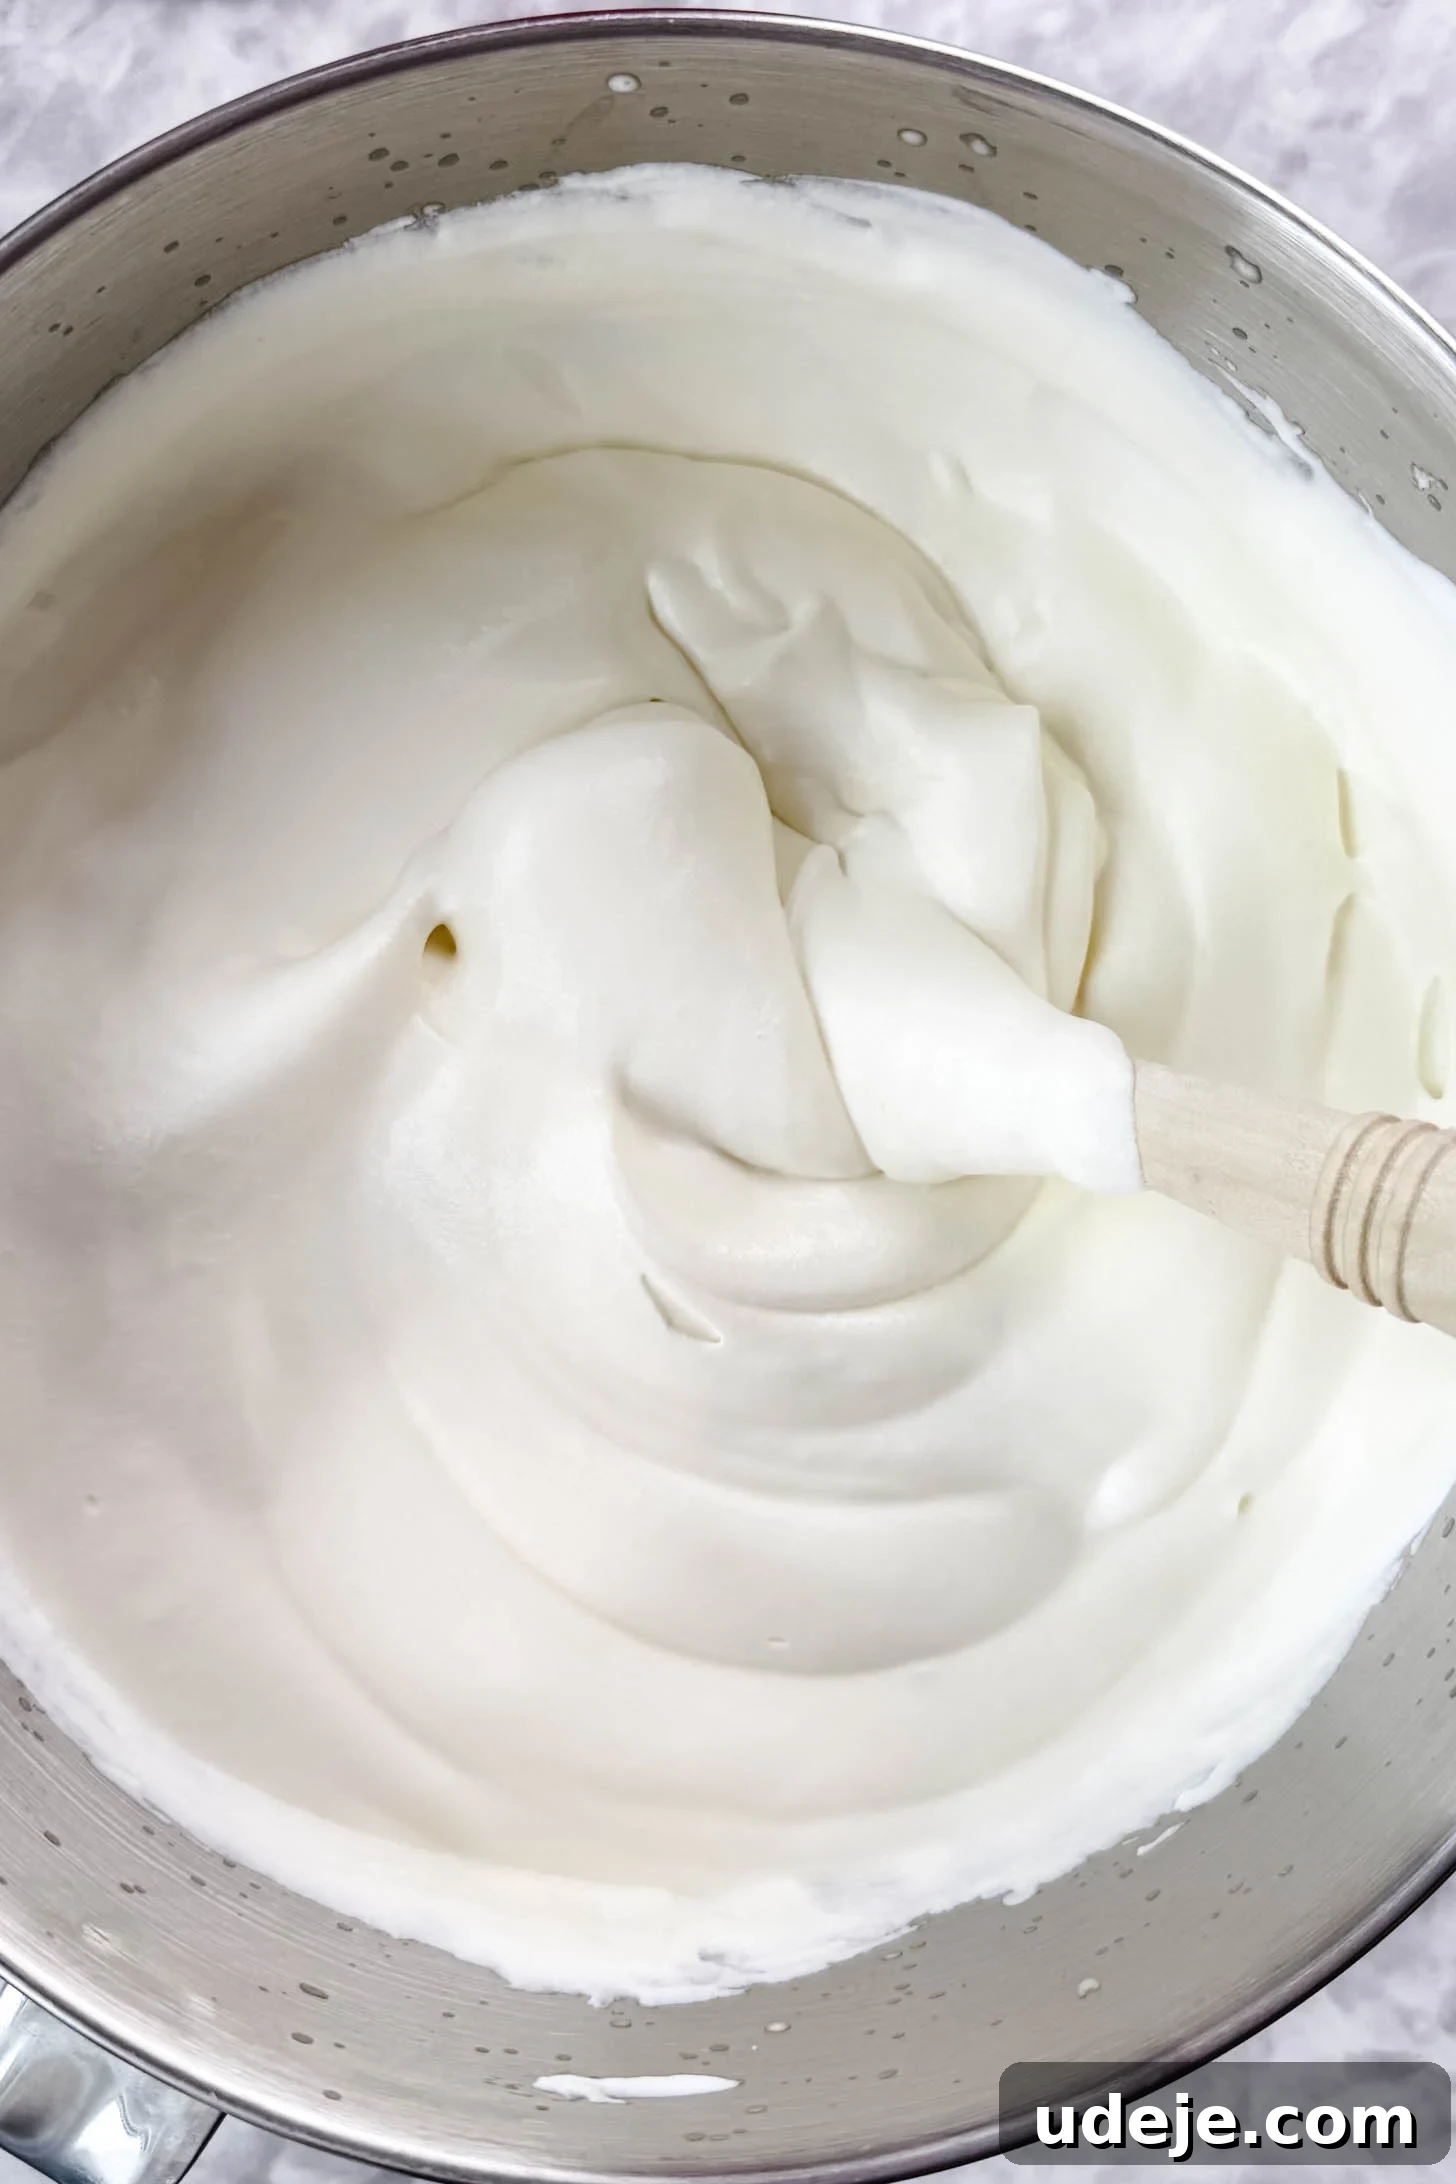
Once your vanilla pudding has set in the fridge, it’s time for the next crucial step. In a separate, clean bowl (preferably a chilled one for best results), use a stand mixer with a whisk attachment or a hand mixer to beat the cold heavy cream. Start on medium speed and gradually increase to high. Continue whipping until stiff peaks form. This means when you lift the whisk, the cream holds its shape firmly. Be careful not to over-whip, as it can turn granular.
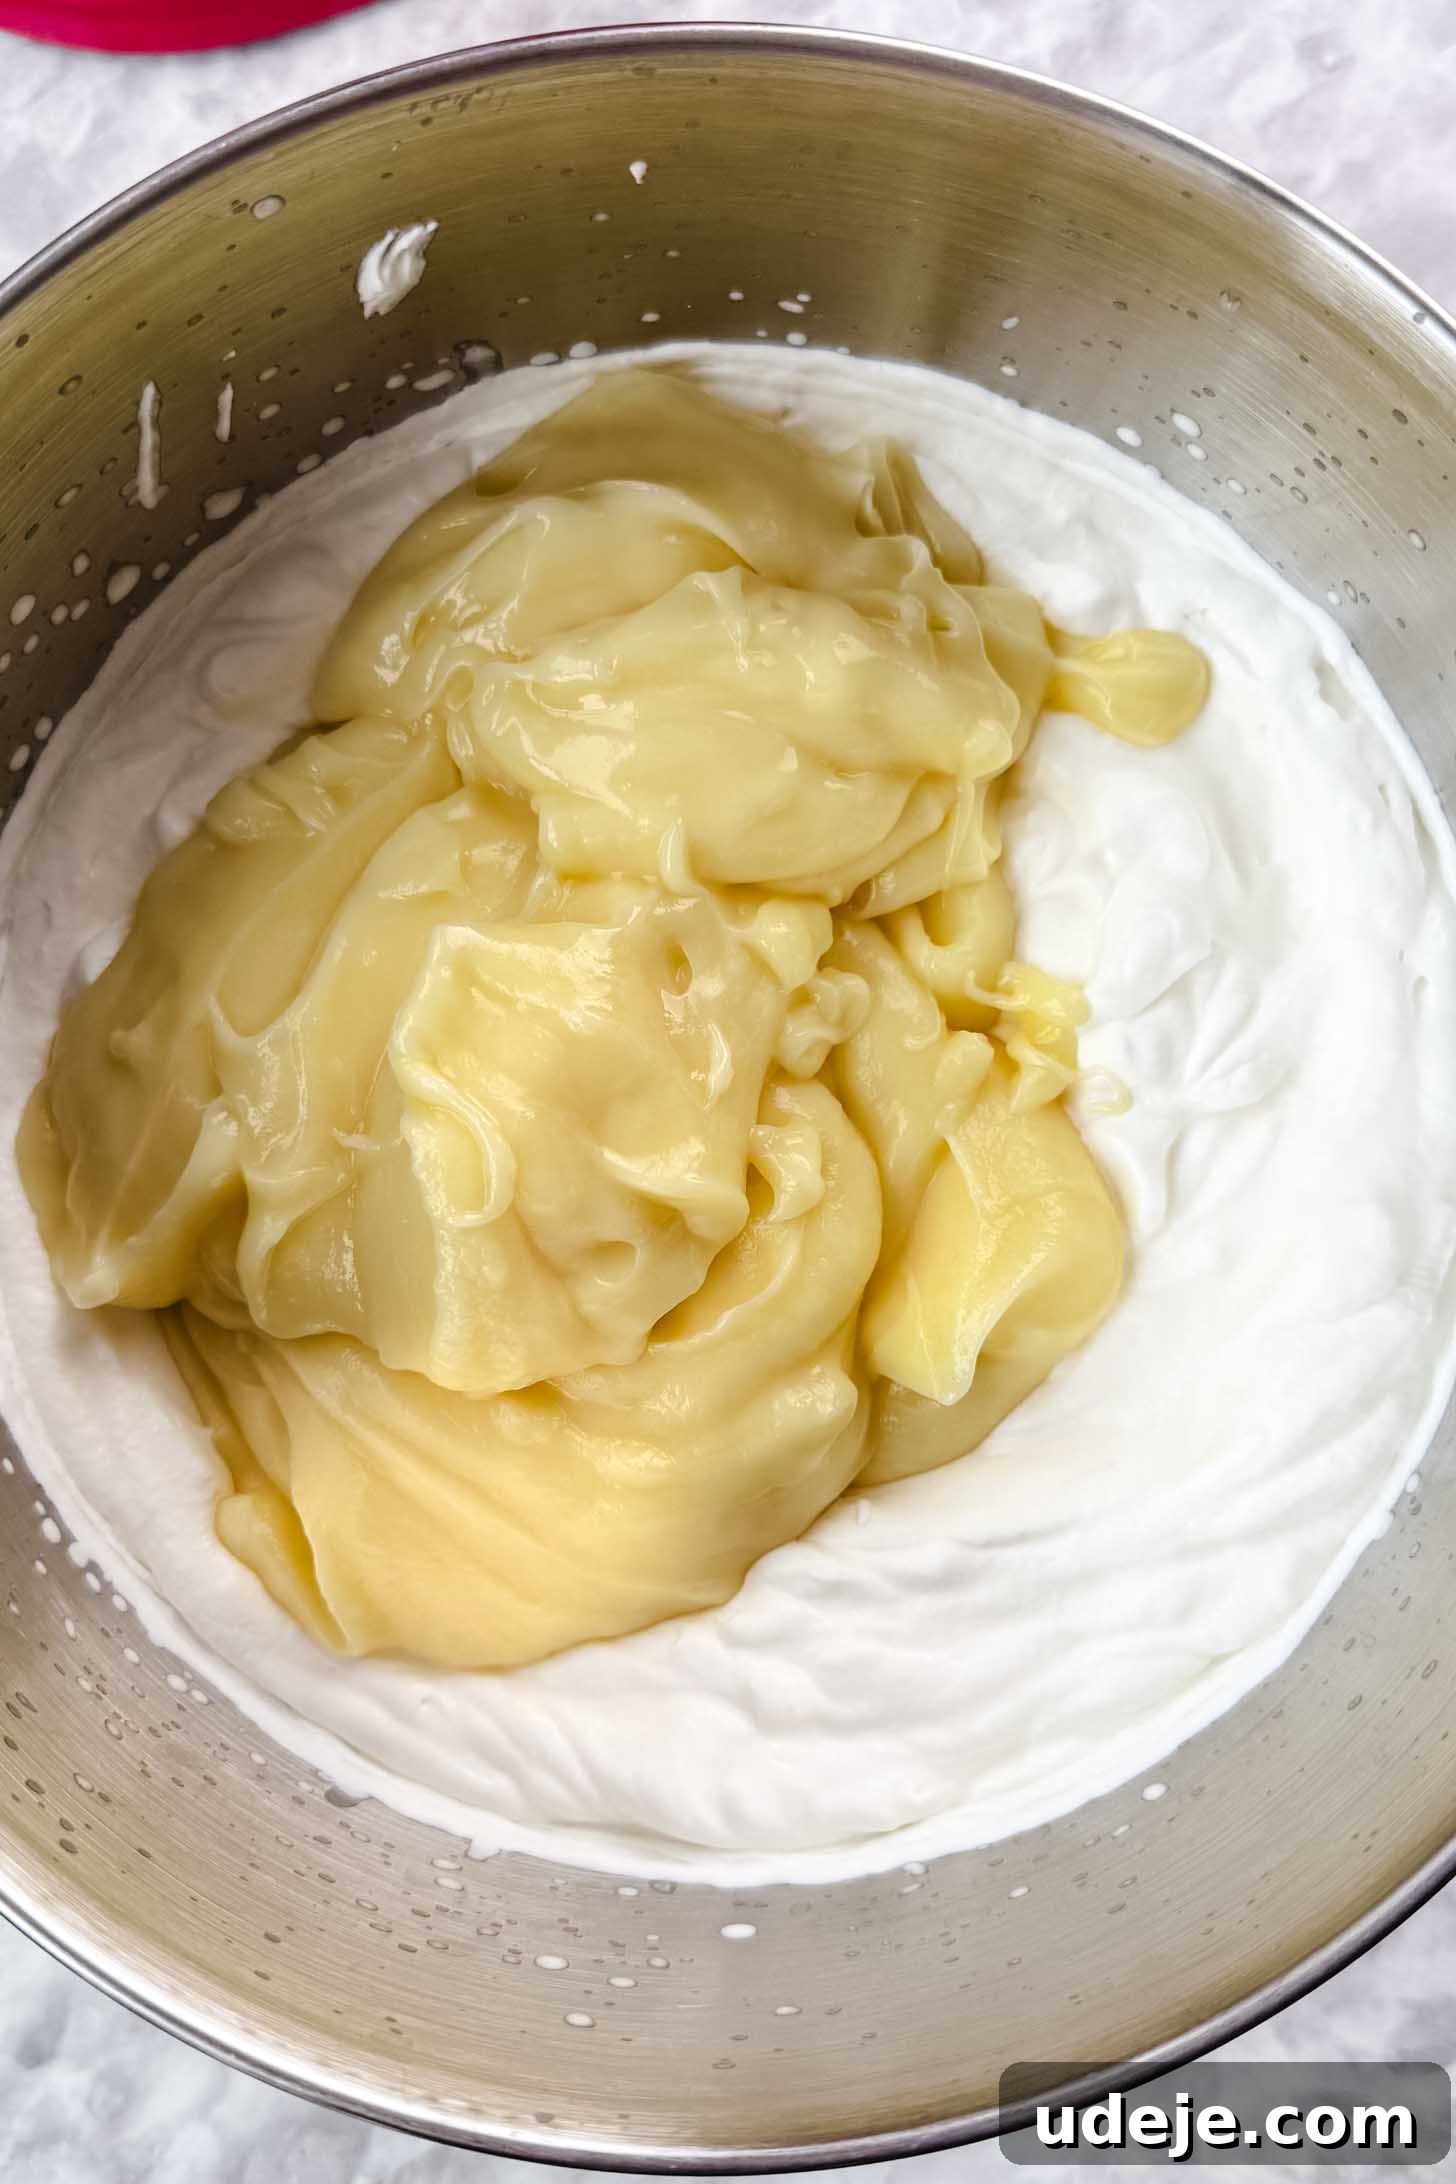
Gently fold the whipped cream into the prepared vanilla pudding mixture. Use a spatula and a light hand, mixing until the two components are fully incorporated and no streaks of pudding or cream are visible. The goal is to maintain the airy texture of the whipped cream, so avoid overmixing. This combined mixture will be the luxurious, creamy base for your pudding layers.
3. Layer Your Banana Pudding
Now comes the fun part: assembly! My preferred method is layering the pudding in a large casserole dish (an 8×12 inch dish, at least 2 inches deep, works perfectly). This approach allows for easy scooping into individual serving cups later, replicating the charming presentation found at Magnolia Bakery.
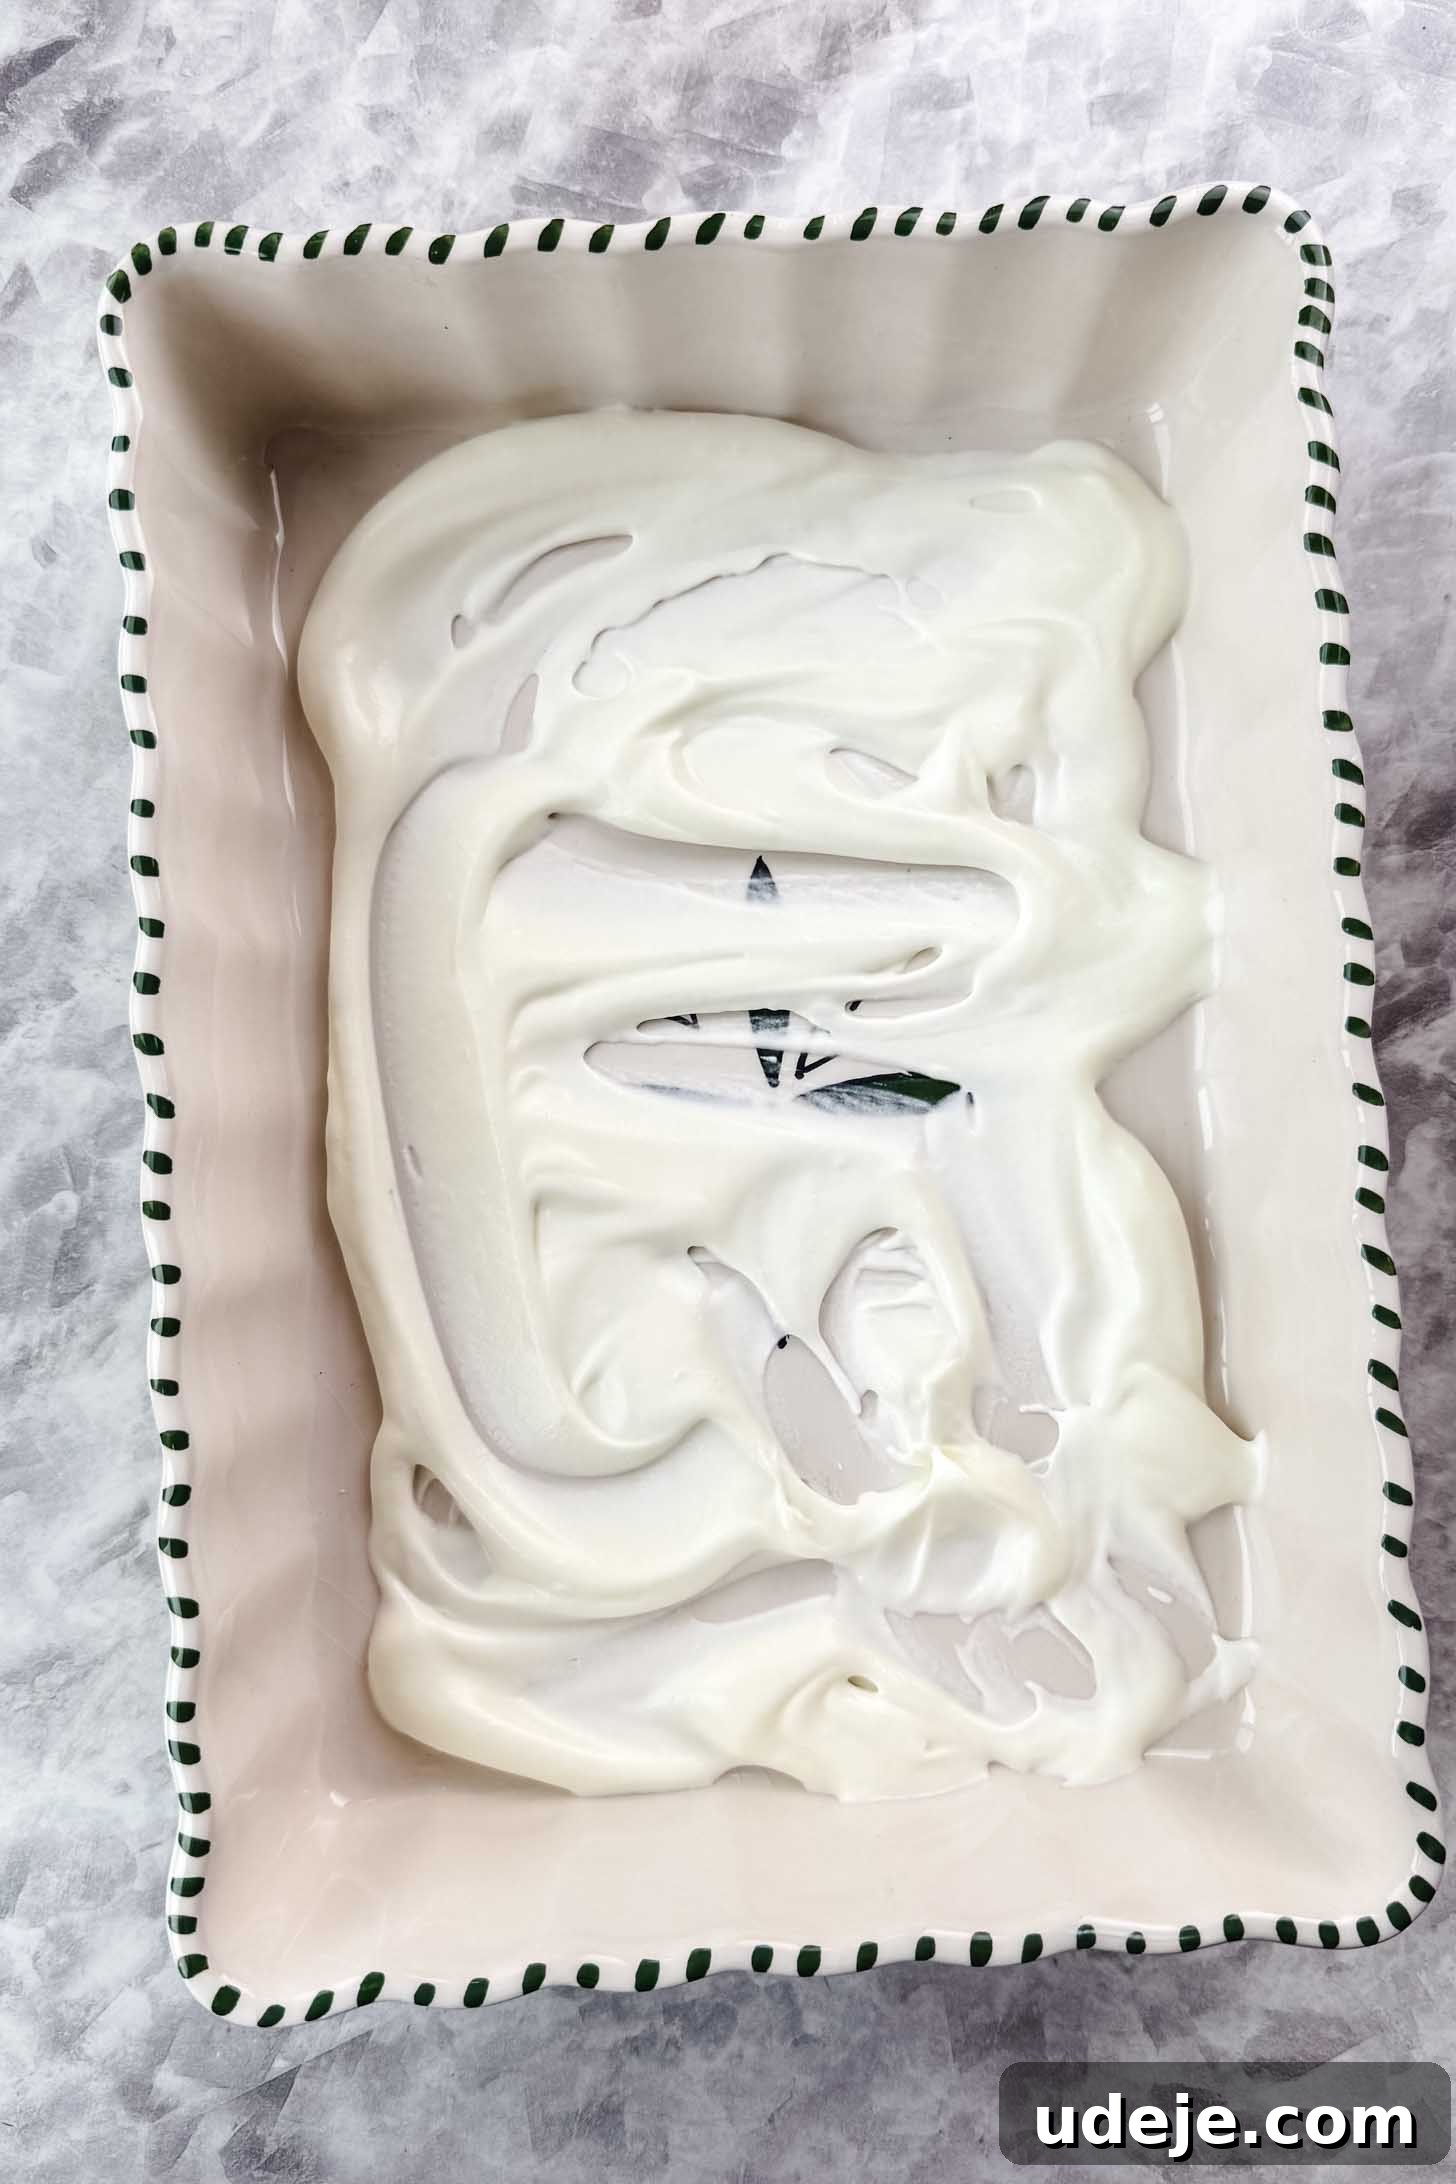
Peel and slice your bananas into even, coin-shaped pieces. Begin with a thin, even layer of the prepared creamy pudding mixture at the bottom of your dish. This provides a soft base and helps hold the first layer of wafers in place. Next, arrange a single layer of vanilla wafers side-by-side over the cream. Ensure good coverage to get a wafer in every bite. Follow this with a layer of your sliced bananas, spreading them out evenly. Repeat these layers: cream, then wafers, then bananas. Conclude with a final generous layer of the creamy pudding mixture on top, creating a smooth, inviting surface.
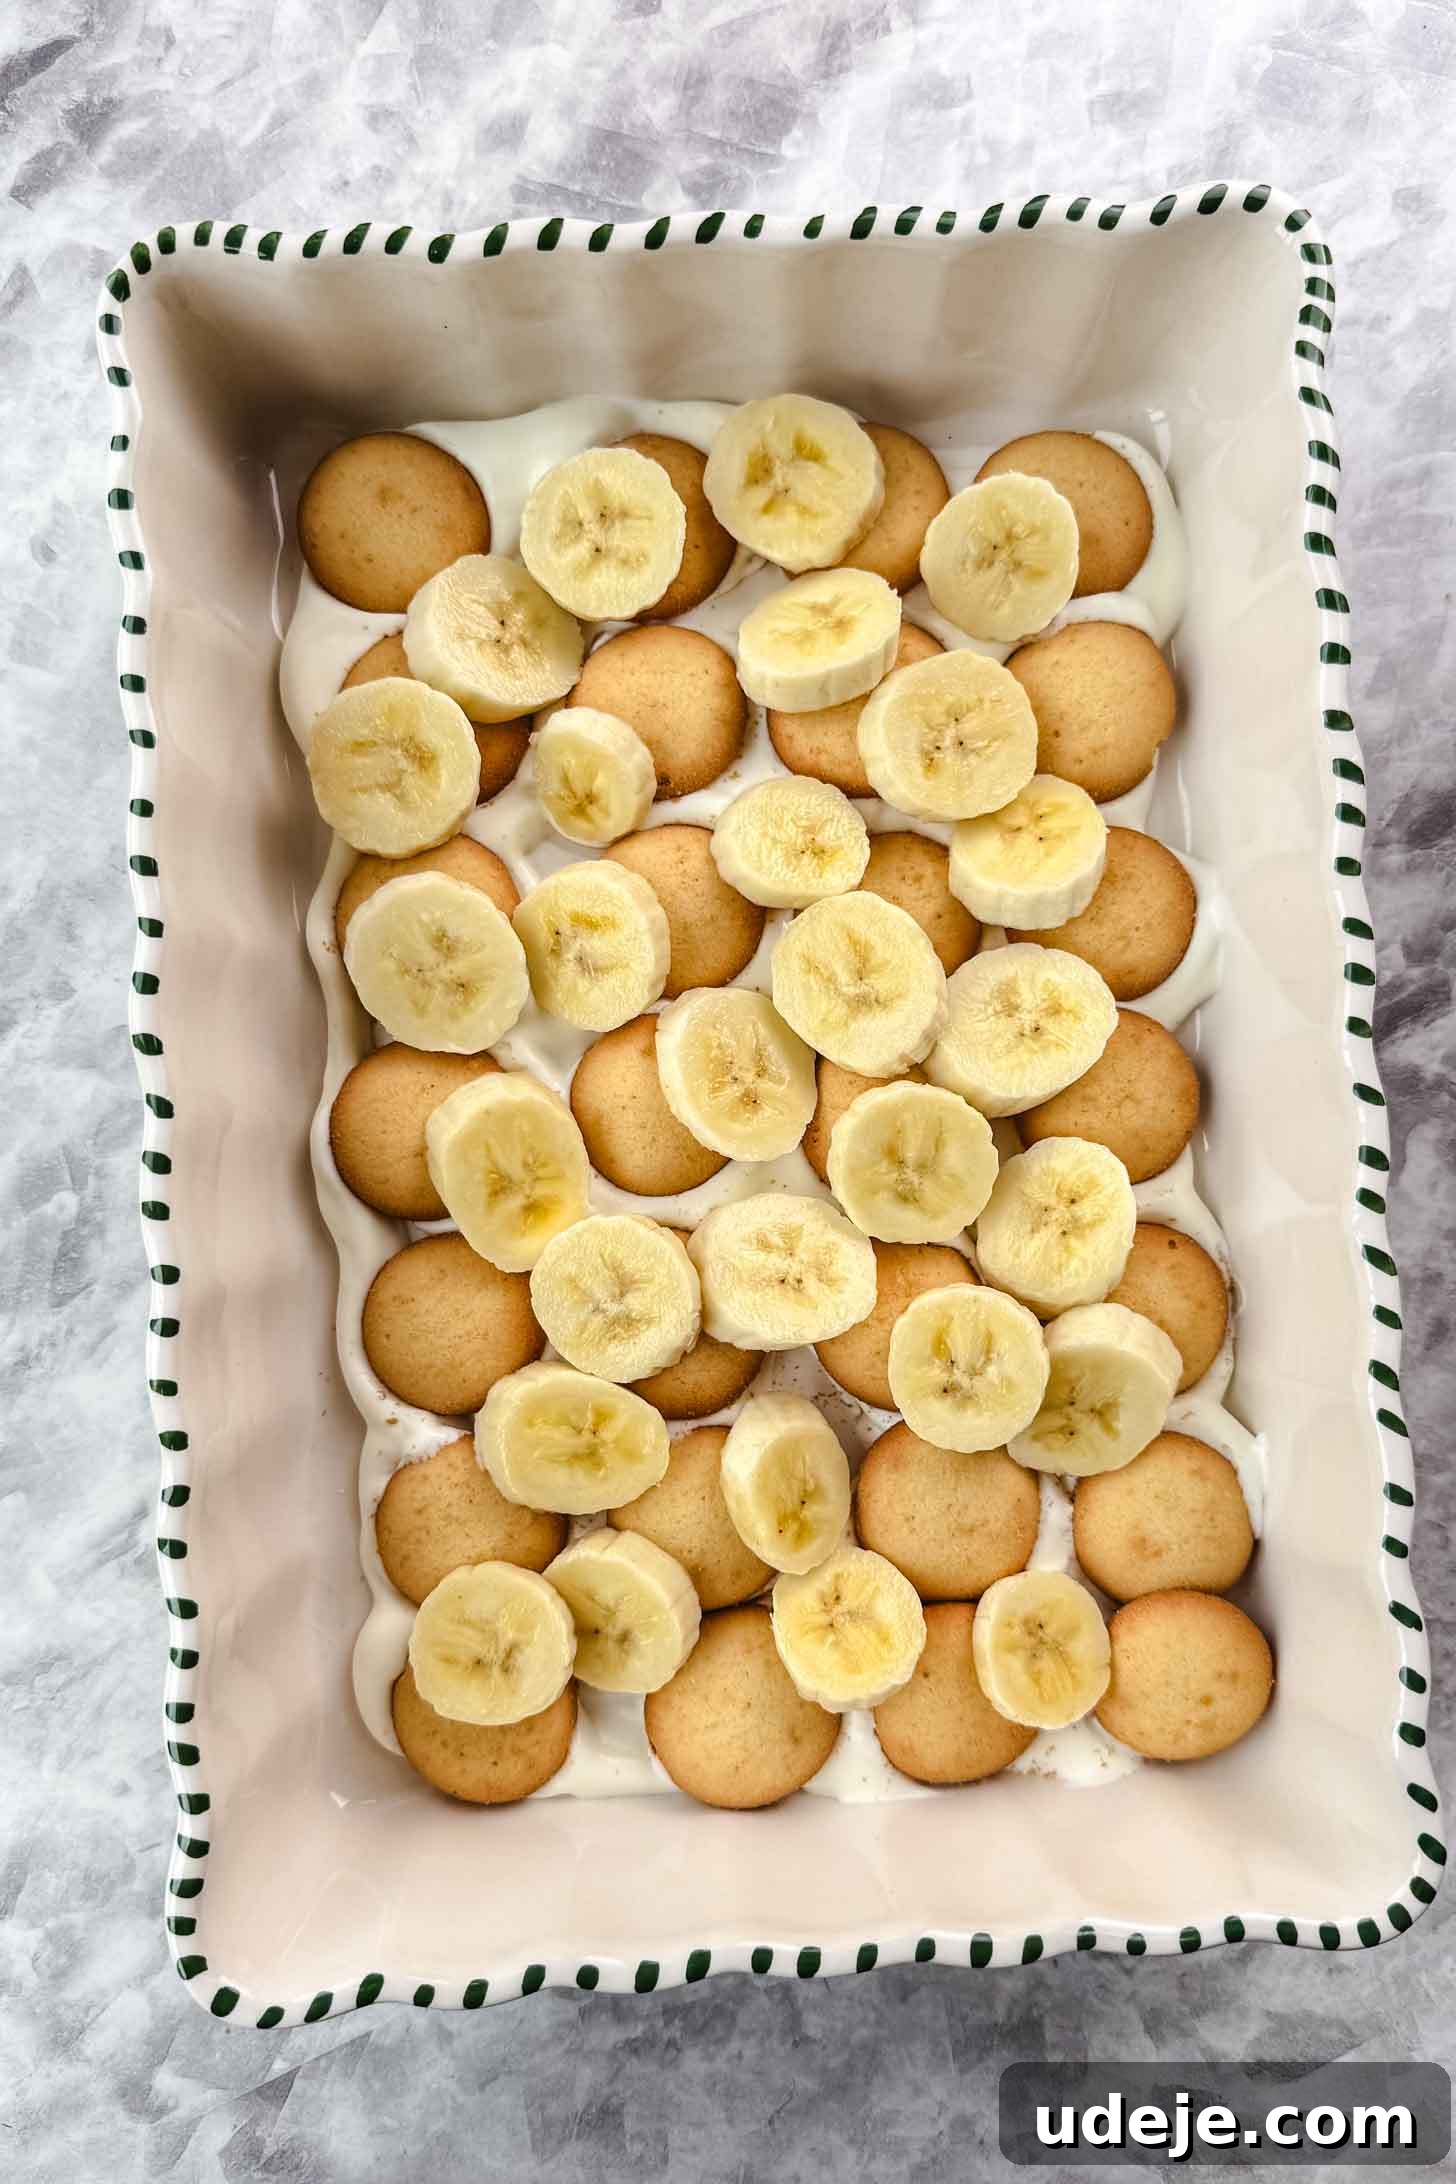
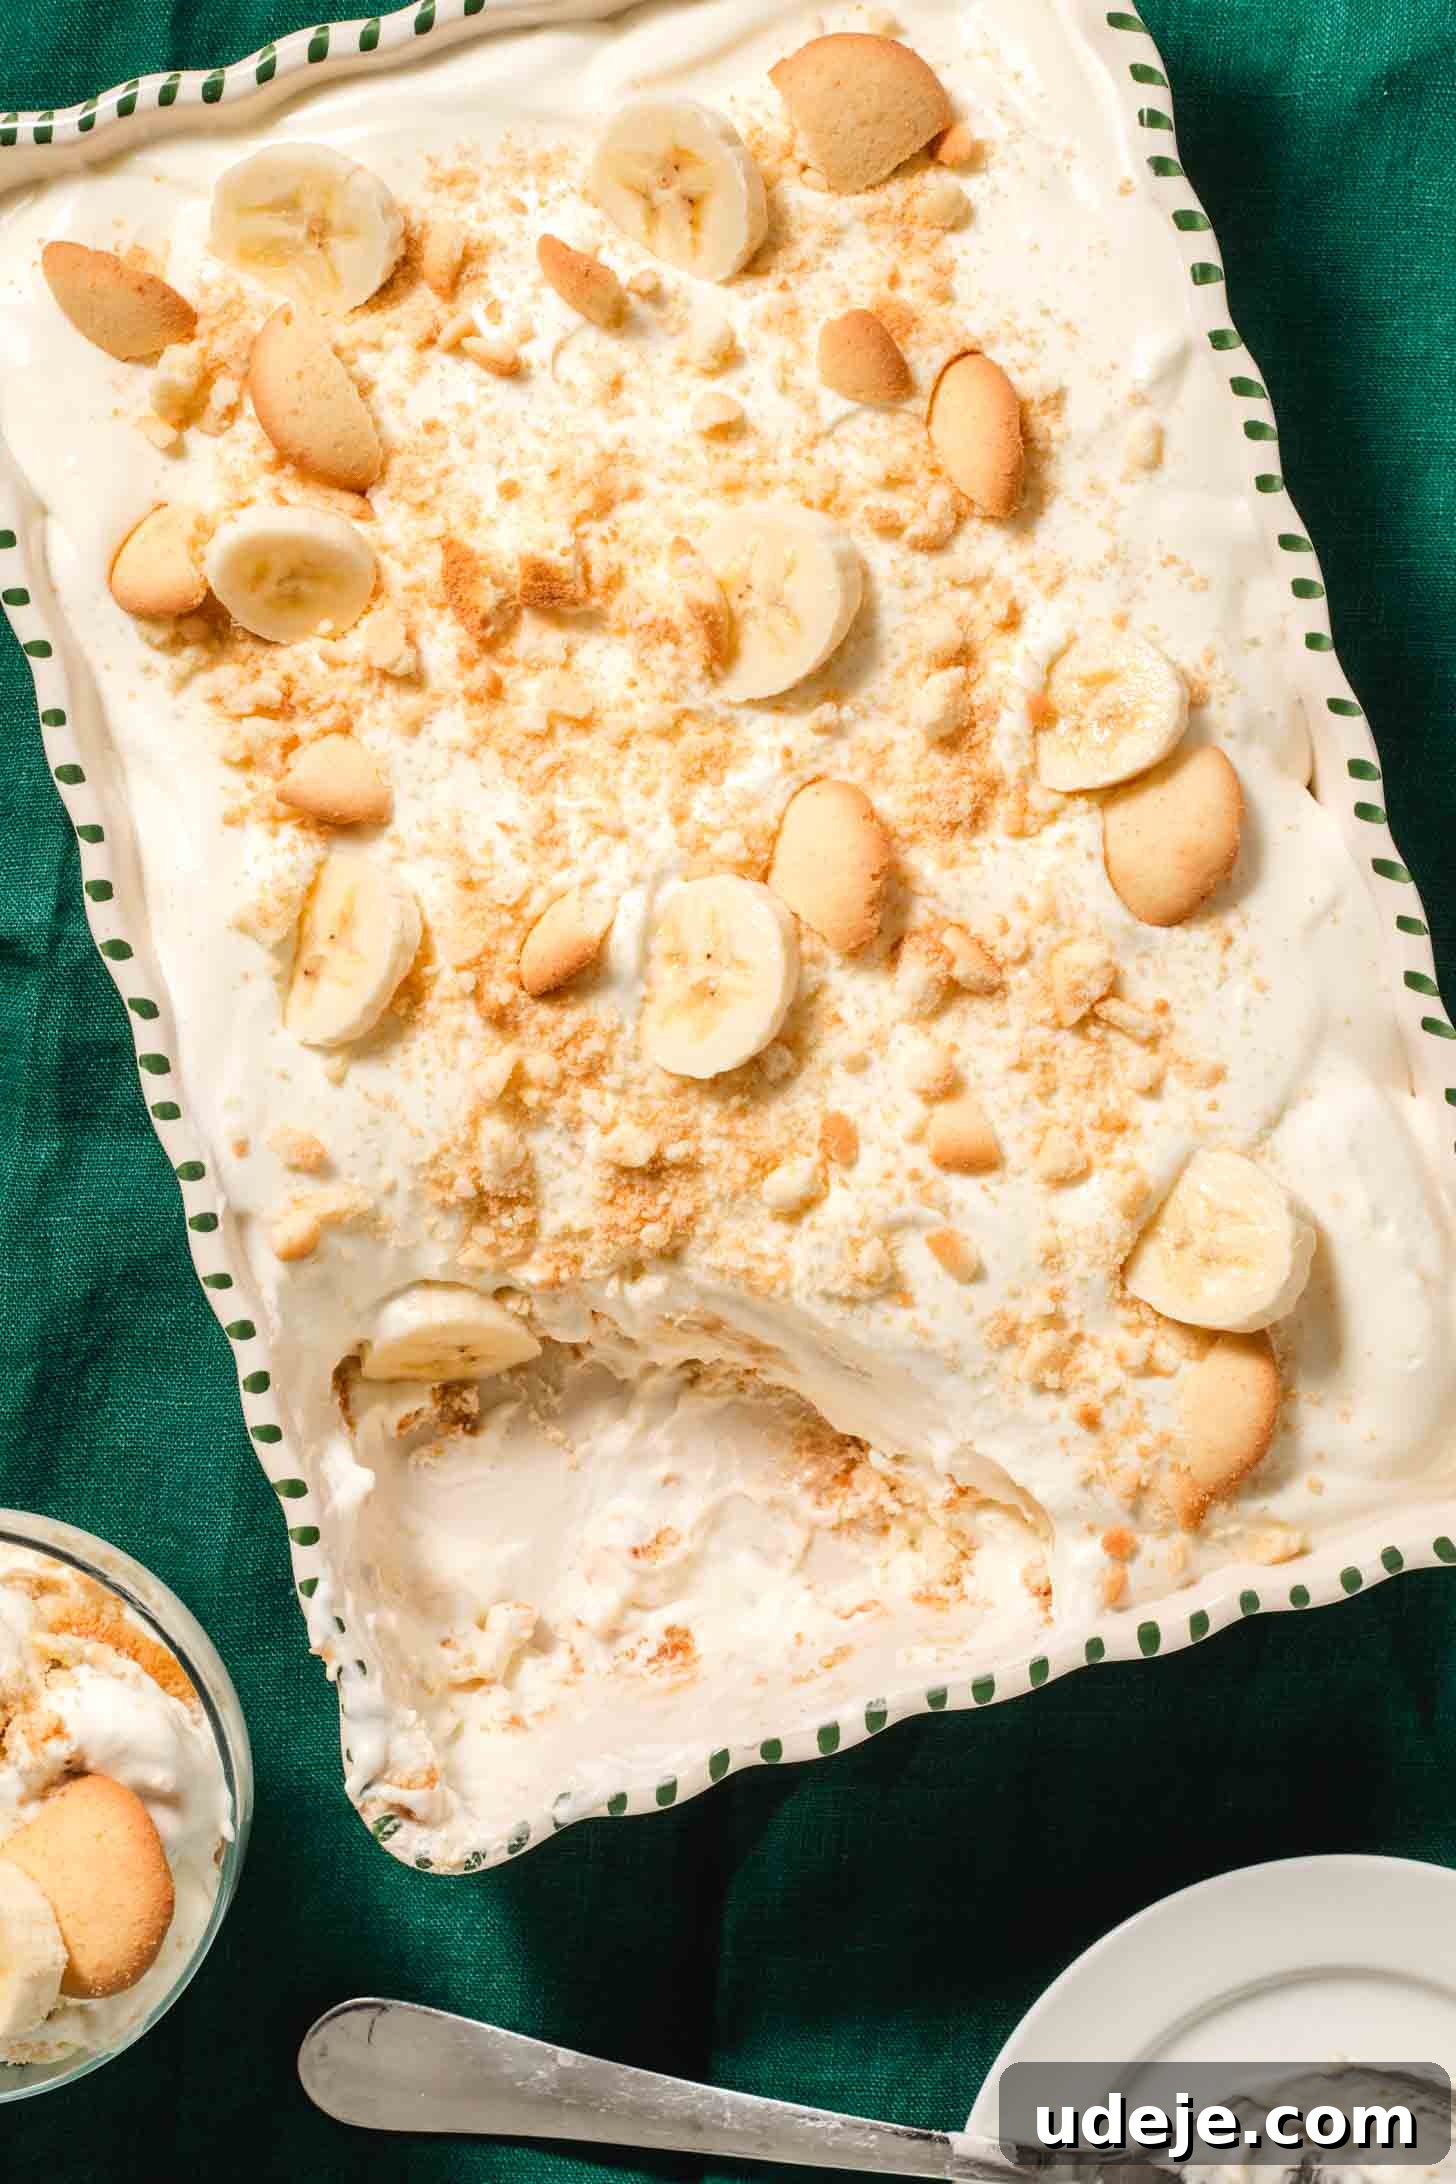
If you have any leftover wafer pieces, you can crumble them over the top layer of cream for an added textural element. Once assembled, cover the dish tightly with plastic wrap, ensuring it touches the surface of the pudding to prevent air exposure and keep the bananas fresh. Refrigerate the pudding for a minimum of 7 hours, and ideally 10-12 hours. This extended chilling time is crucial; it allows the vanilla wafers to absorb moisture from the pudding, transforming them into that signature melt-in-your-mouth soft texture that defines authentic banana pudding. Rushing this step will result in crunchy wafers, missing a key textural component.
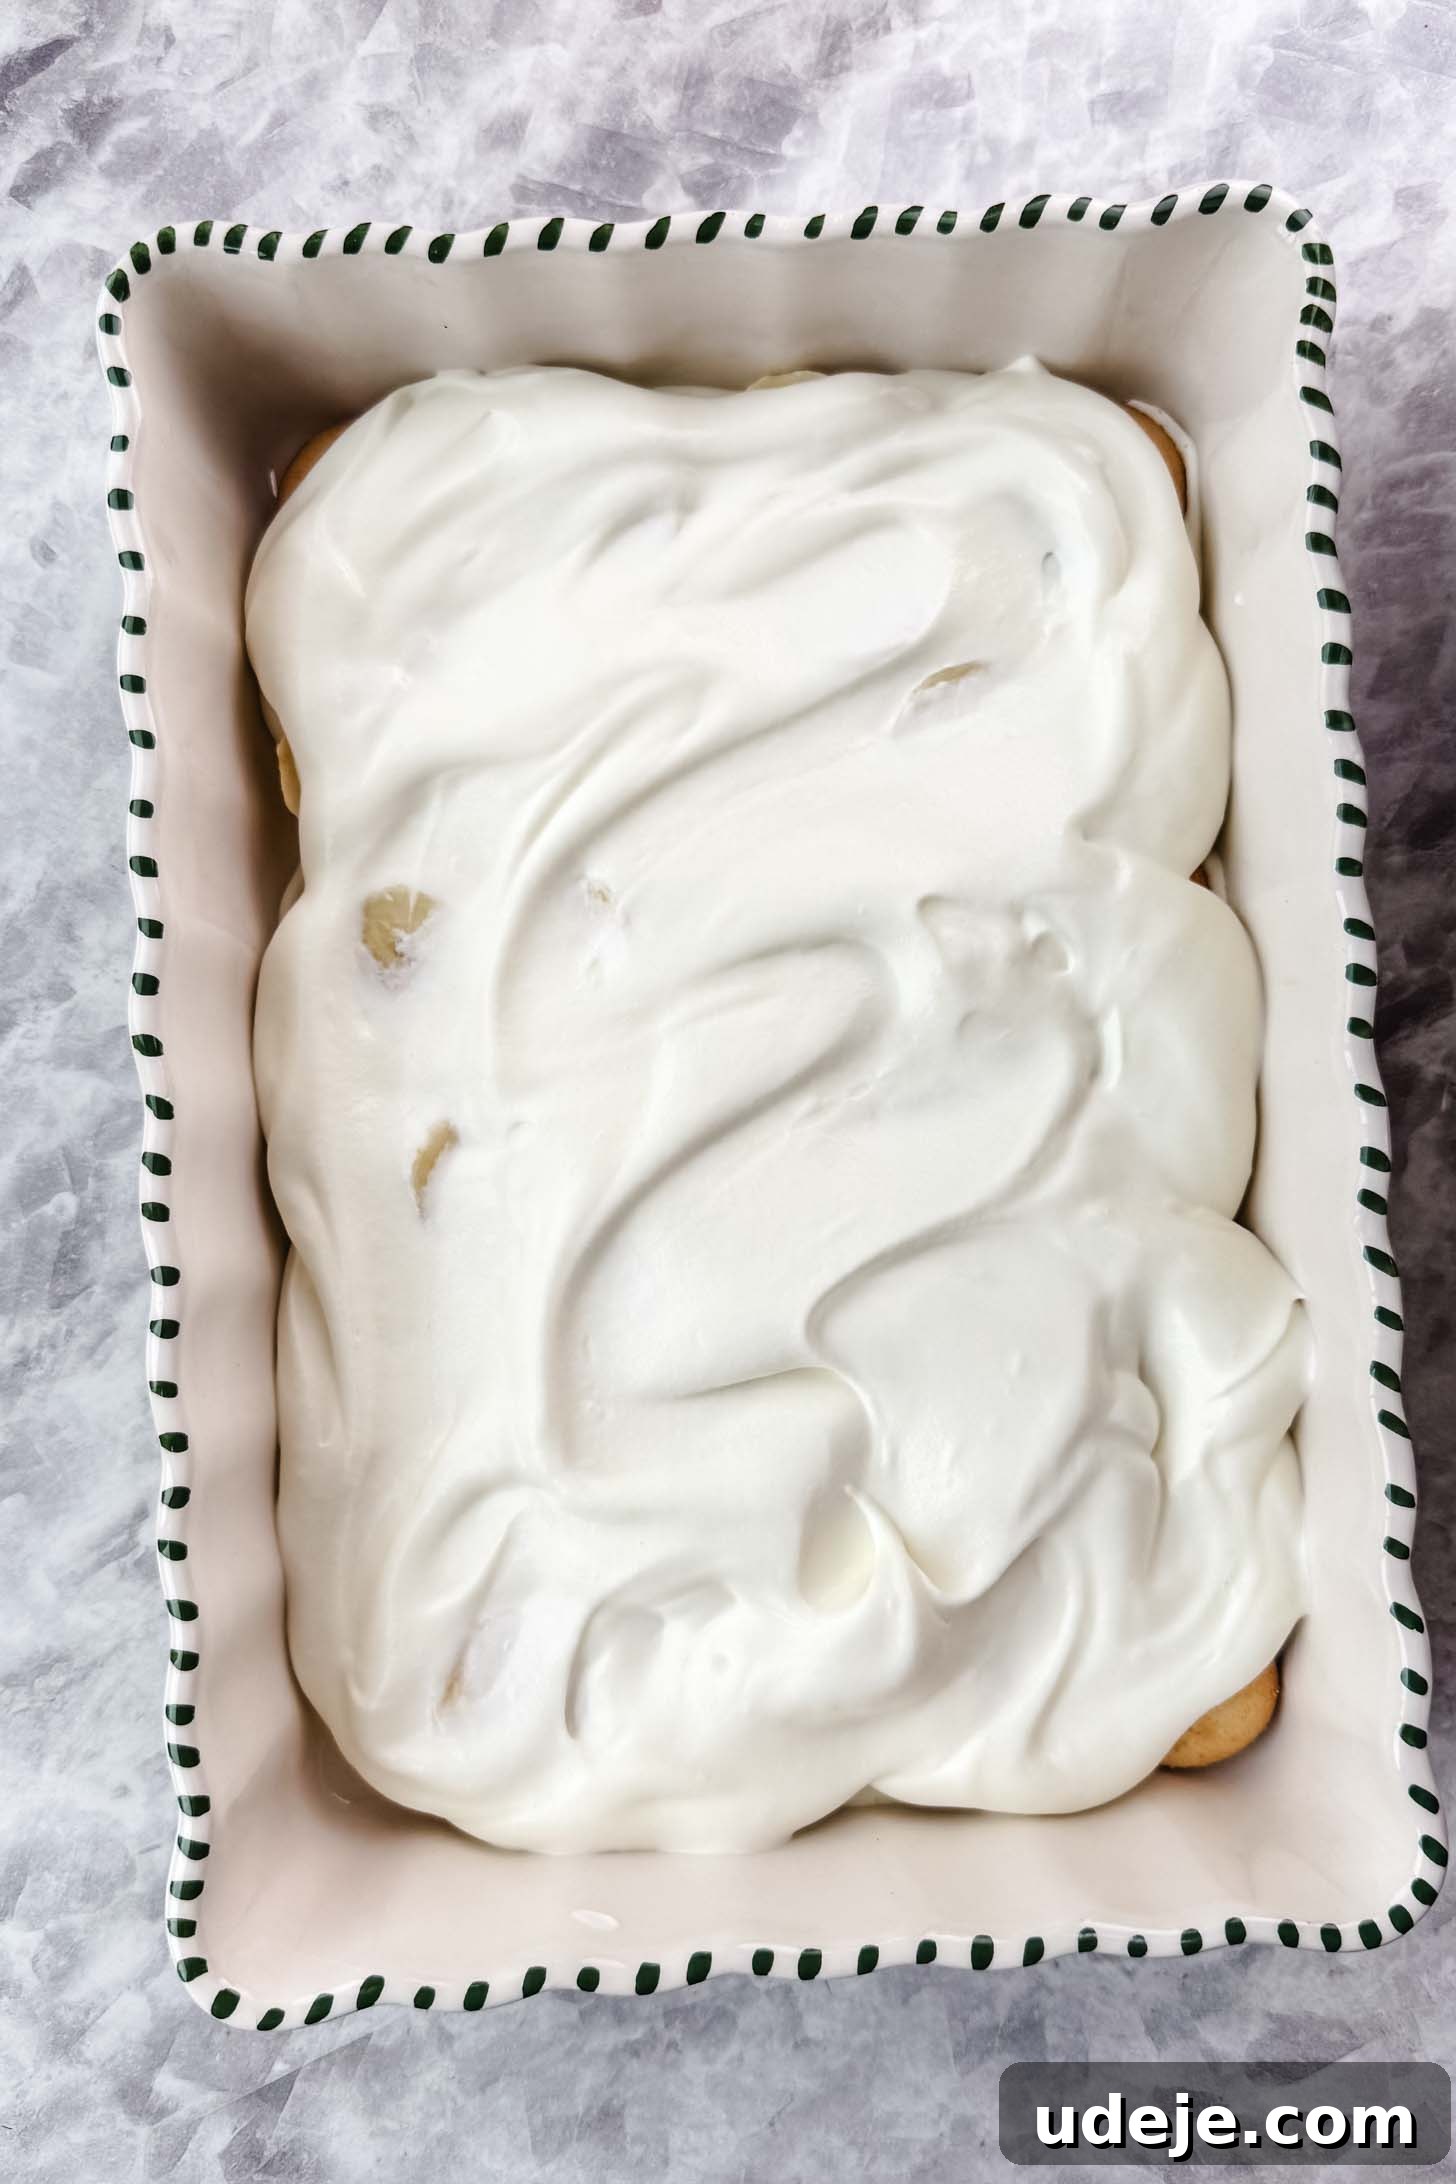
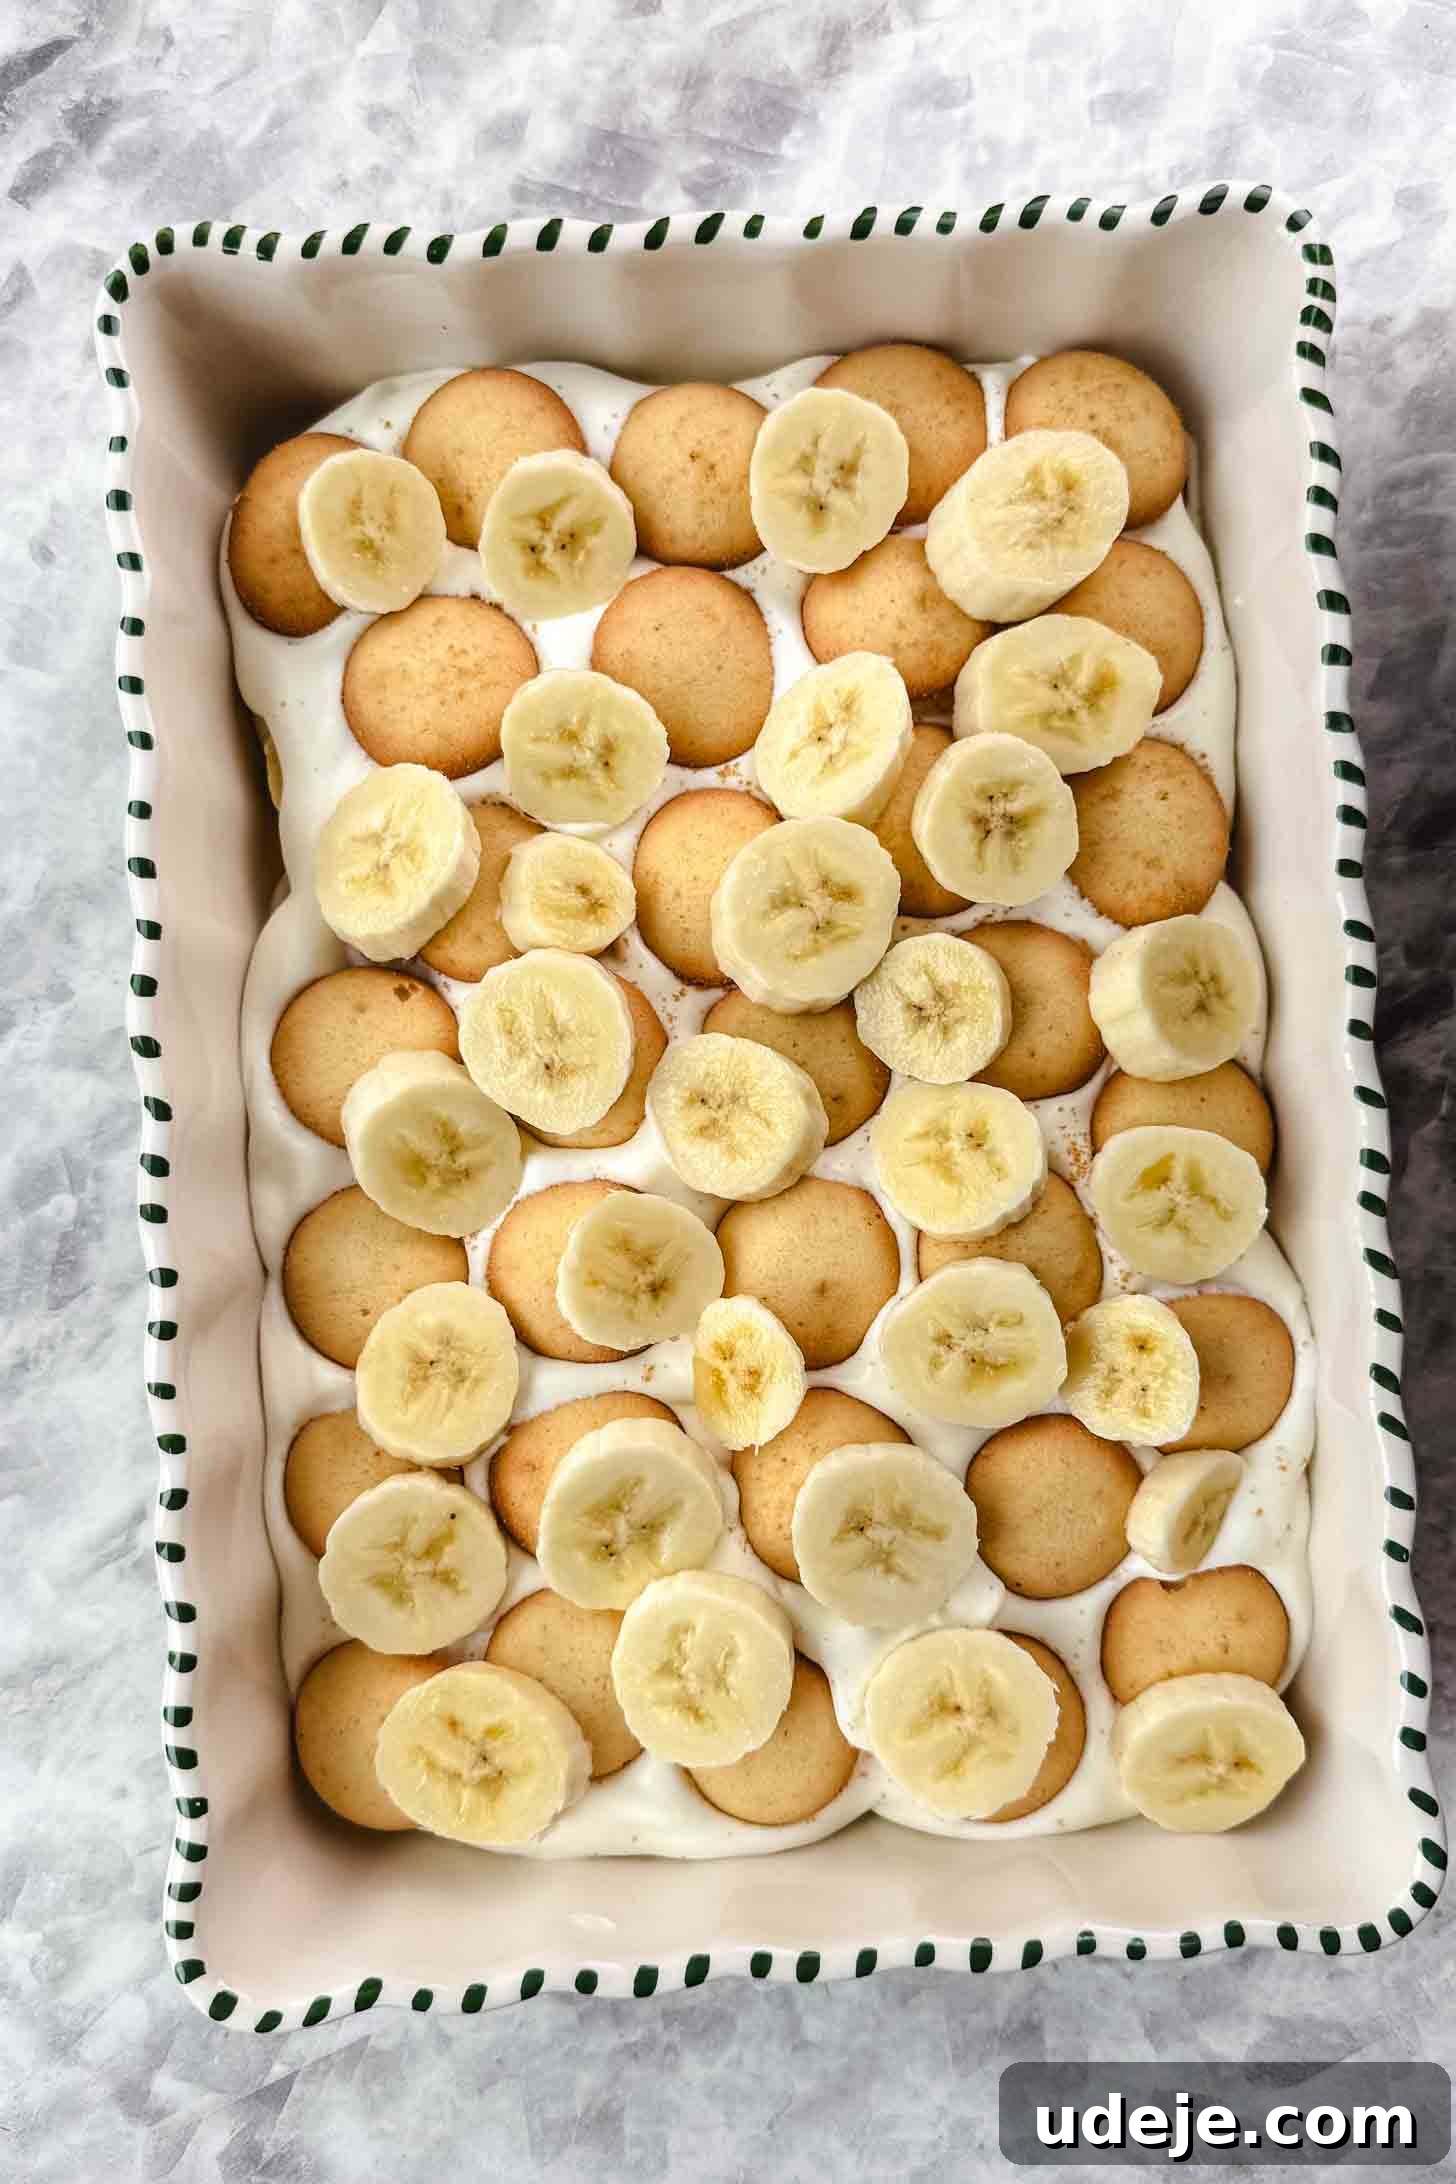
Important Note on Banana Browning: Through multiple trials, I’ve observed that the banana slices nestled within the cream layers generally remain perfectly fine for up to 24 hours. So, if you plan to prepare this dessert a day in advance, rest assured it will hold up beautifully, especially if you used just-ripe bananas. Once you begin serving and expose the pudding to air, a slight browning of the bananas is inevitable, but it minimally impacts the flavor and isn’t overtly noticeable. Prioritize the chilling time; soft, fully hydrated wafers are far more critical to the overall experience than perfectly unblemished bananas!
Serving and Storage Suggestions
This banana pudding is such a crowd-pleaser that you likely won’t have to worry about leftovers! However, if you do, it stores remarkably well. You can comfortably keep it refrigerated for up to 24 hours. In my experience, even after 48 hours, it remains perfectly delicious, albeit with a negligible amount of browning on some of the exposed banana slices. The flavors continue to meld and deepen over time, making it an excellent make-ahead dessert.
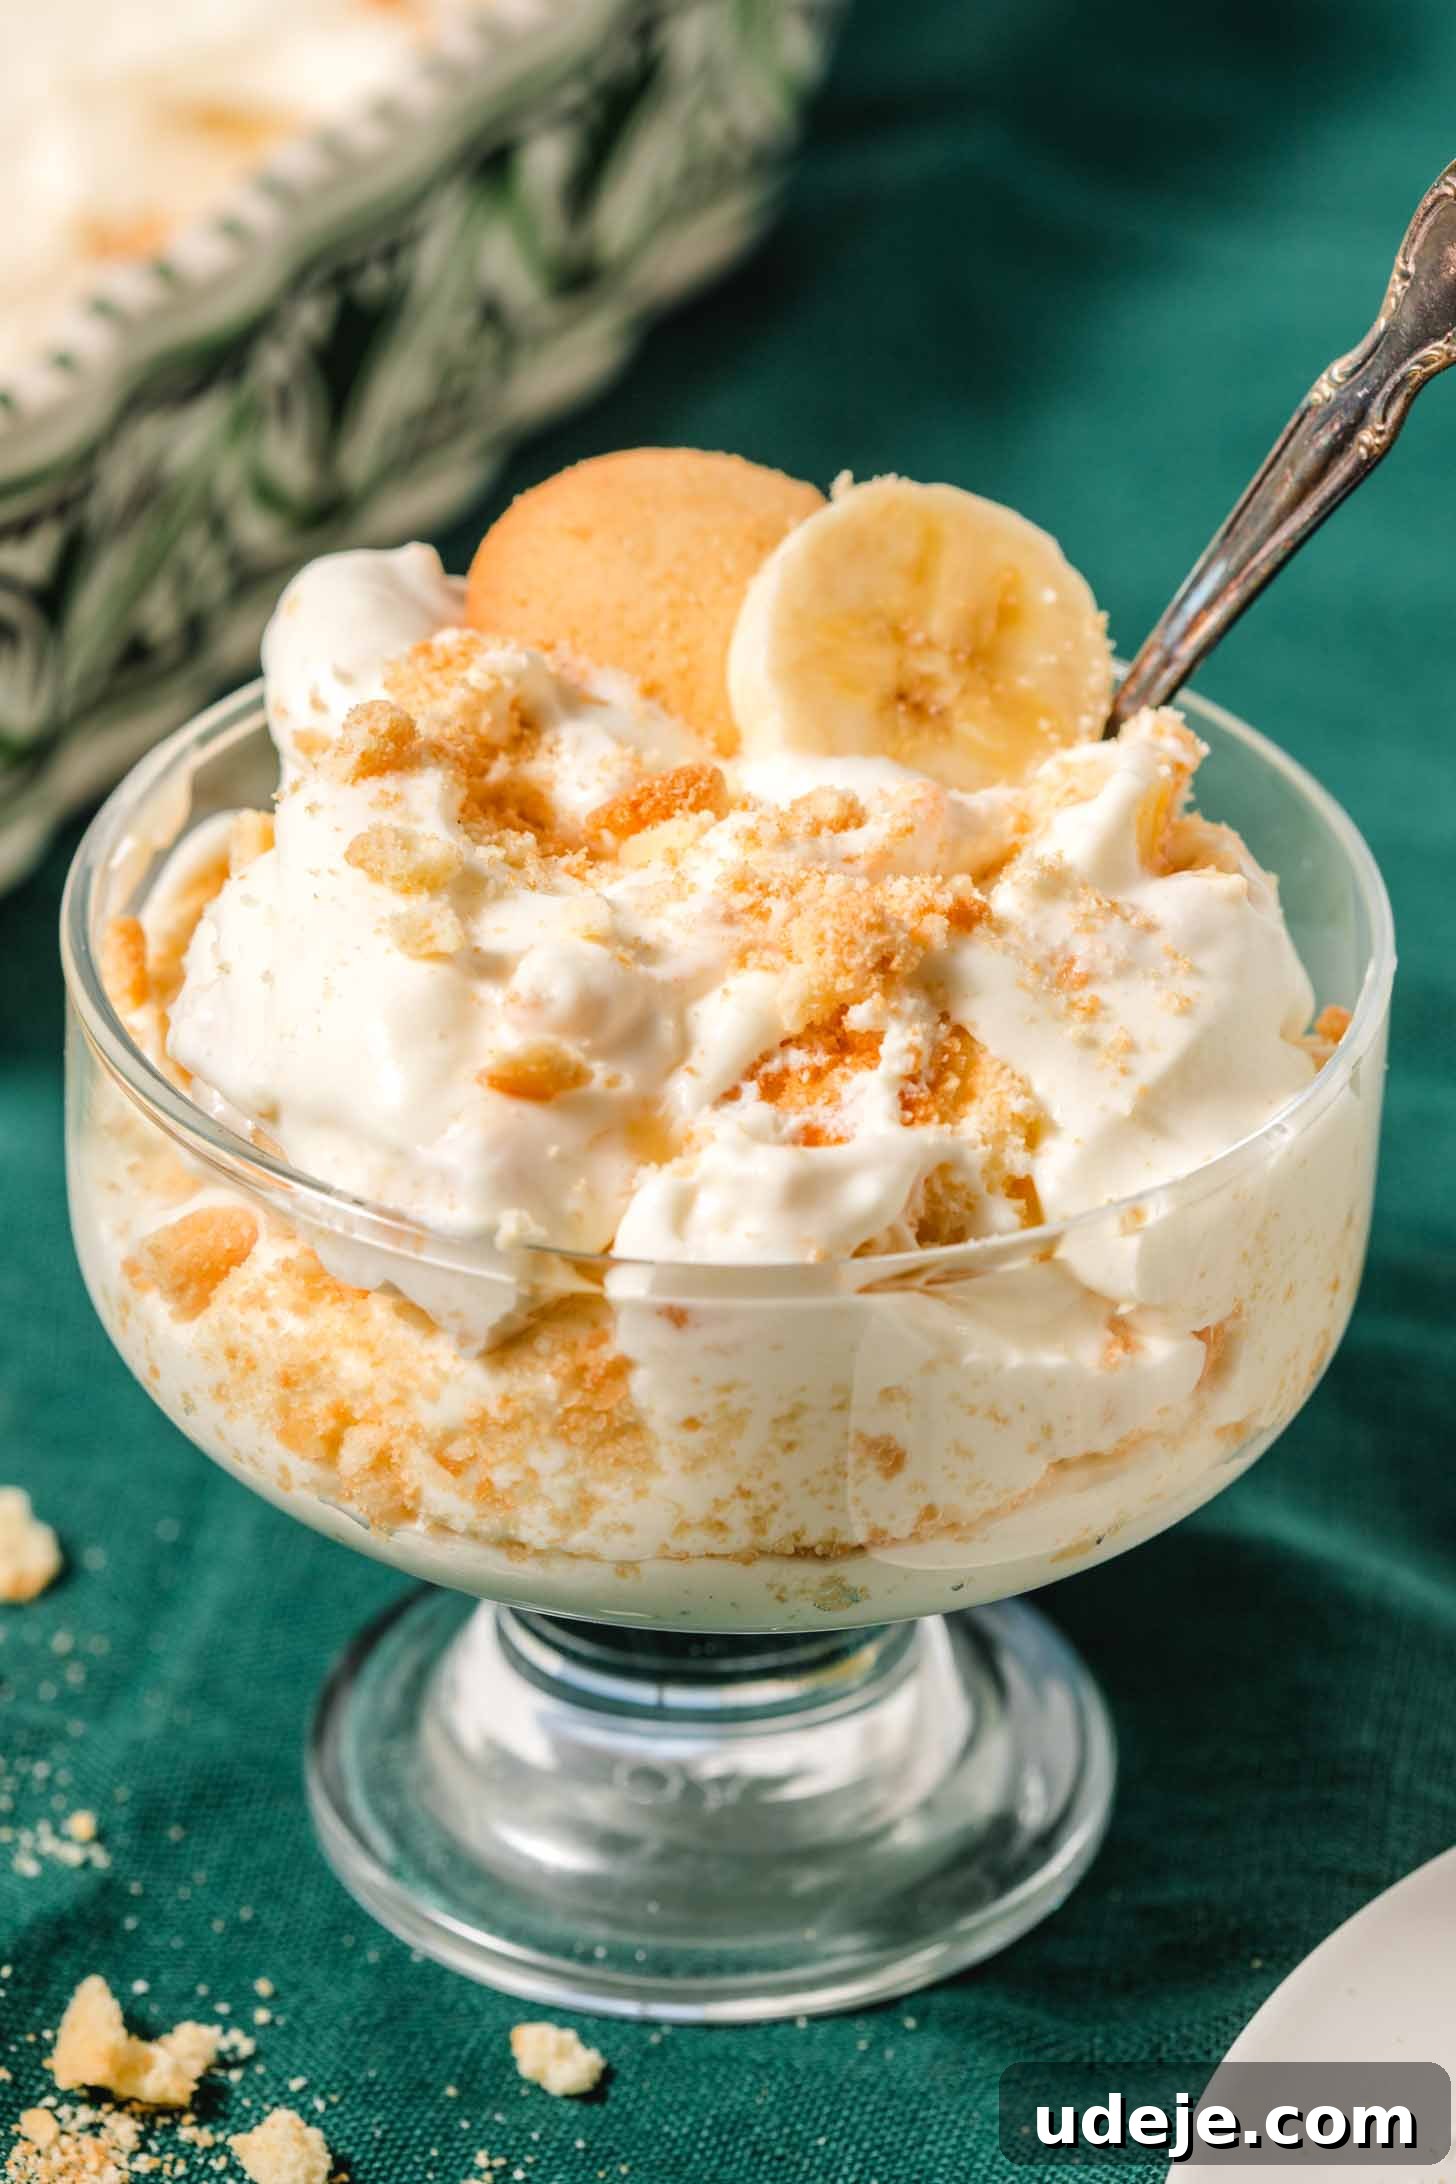
To serve, I highly recommend adding freshly sliced bananas and a sprinkle of crumbled vanilla wafers on top just before presenting. This adds a beautiful fresh garnish and a pleasing textural contrast to the soft pudding and wafers within. Scoop generous portions into individual glass bowls or elegant parfait glasses to showcase the inviting layers. The visual appeal is almost as delightful as the taste itself.
Tips for Achieving Banana Pudding Perfection
While this recipe is incredibly forgiving, a few expert tips can elevate your homemade Magnolia Bakery banana pudding to truly legendary status:
- Embrace Just-Ripe Bananas: Resist the urge to use overly ripe, spotted bananas. Those with a slight green tint at the ends offer the best texture and longevity, preventing your pudding from becoming watery or mushy too quickly. Slice them uniformly for even layers.
- Chill Everything Thoroughly: Cold ingredients are your best friend, especially for whipping cream. Ensure your heavy cream is well-chilled, and even consider chilling your mixing bowl and whisk for a few minutes before whipping. This helps achieve stiff peaks faster and more reliably.
- Don’t Rush the Folding: When incorporating the whipped cream into the pudding mixture, use a gentle folding motion with a spatula. This preserves the airiness of the cream, resulting in a lighter, fluffier overall pudding texture.
- Patience with Chilling is a Virtue: The 7-12 hour chilling time for the assembled pudding is non-negotiable. It allows the vanilla wafers to completely soften and absorb the creamy goodness, creating the signature melt-in-your-mouth texture. Anything less, and the wafers might still be too firm.
- Cover Tightly: Always cover the pudding with plastic wrap, pressing it directly onto the surface of the top cream layer. This minimizes air exposure, which helps prevent banana browning and keeps the pudding fresh.
- Choose Your Dish Wisely: An 8×12 inch casserole dish is ideal for achieving the perfect number of layers and proportions. However, you can adapt to a slightly larger or smaller dish, just be aware that your layer count may vary. For individual servings, prepare them in small jars or glasses.
- Garnish Just Before Serving: To maintain freshness and visual appeal, add any extra sliced bananas or crumbled wafers as a garnish right before serving. This ensures they look their best and retain their desired texture.
Delicious Variations to Explore
While the classic Magnolia Bakery banana pudding is perfection in itself, there’s always room for a little creative twist:
- Chocolate Lover’s Delight: Swap out half of the vanilla wafers for chocolate wafers. The combination of banana, vanilla pudding, and chocolate creates a decadent new flavor profile.
- Caramel Swirl: Drizzle a thin layer of salted caramel sauce over the cream layers before adding wafers or bananas. This adds a rich, buttery depth that pairs beautifully with the banana.
- Toasted Coconut Bliss: Sprinkle lightly toasted coconut flakes between the layers or on top for a tropical hint and added texture.
- Nutty Crunch: For those who enjoy a bit of crunch, finely chopped pecans or walnuts can be sprinkled sparingly between layers. Be mindful not to overwhelm the delicate texture of the pudding.
- Spiced Banana Pudding: Add a pinch of cinnamon or nutmeg to the vanilla pudding mixture for a warmer, more aromatic dessert, especially lovely during cooler months.
- Individual Parfaits: Instead of a large casserole dish, assemble the pudding in individual clear glasses or mason jars. This makes for an elegant presentation and easy portion control, perfect for parties.
Other Creamy Desserts You Will Love
If you tried these recipes, please consider leaving a star ⭐⭐⭐⭐⭐ rating in the recipe card below and/or a review in the comments section further down the page – I’d love to hear from you! You can also hop on over to Instagram and say hello!
Magnolia Bakery Banana Pudding (Addictive!)
Leave a Review
Pin Recipe
Ingredients
- 396 g Condensed milk (14 oz)
- 1 1/2 cups ice cold water
- 96 grams Vanilla pudding (1 box, 3.4oz)
- 3 cups Whipping cream, 35%
- 4 cups sliced bananas (4 to 6 bananas)
- 680 grams vanilla wafers (2 boxes, 12 oz each)
Instructions
- Start by combining the condensed milk and ice cold water in a medium bowl. Whisk to combine thoroughly. Then add the vanilla pudding mix and whisk until well combined and smooth. You can do this using a whisk or a stand mixer. Cover the bowl tightly with plastic wrap and refrigerate for 3 to 4 hours, until the pudding is set and scoop-able.
- When the vanilla pudding base is ready, use a stand mixer or hand mixer to beat the heavy cream until stiff peaks form. Gently fold the whipped cream into the chilled pudding mixture until they are well incorporated and no streaks are visible. This ensures a light and airy texture.
- Peel and slice the bananas into even circles. In an 8×12 inch casserole dish (at least 2 inches deep), add a thin, even layer of the combined cream mixture. Then, arrange a layer of vanilla wafers side-by-side over the cream, ensuring good coverage. Top with an even layer of sliced bananas. Repeat these layers: cream, then wafers, then bananas. The final top layer should be the cream mixture.
- Crumble any leftover wafer pieces over the top layer of cream for garnish. Cover the dish tightly with plastic wrap, pressing it directly onto the surface of the pudding, and refrigerate for at least 7 hours, or ideally 12 hours. Chilling for anything less than 7 hours may result in wafers that are not sufficiently soft. While bananas may brown slightly after 10-12 hours, this is minimal and does not affect the delicious flavor. Do not place any fresh bananas on top until you are ready to serve, as bananas nestled within the cream layers are protected and will stay fresh longer.
- To serve, chop fresh bananas and arrange them on top of the pudding. Scoop the chilled pudding into individual bowls or cups and enjoy!
Notes
- You can use a larger or smaller casserole dish, but this may alter the number of layers you achieve. The quantities listed here are designed for 2 layers of bananas and wafers, and 3 layers of cream in an 8×12 inch dish.
- For Canadian bakers, where original Nilla wafers might be unavailable, please refer to the ingredient section for an alternative vanilla wafer link that works wonderfully.
- This dessert can be stored in the refrigerator for 24 to 48 hours. Although some minor browning of the bananas may occur after 24 hours, it’s largely unnoticeable and the pudding remains perfectly delicious. Don’t hesitate to make it ahead!
Nutrition Information (per serving):
- Serving: 1 Serving
- Calories: 645 kcal
- Carbohydrates: 80 g
- Protein: 7 g
- Fat: 34 g
- Saturated Fat: 19 g
- Polyunsaturated Fat: 5 g
- Monounsaturated Fat: 8 g
- Trans Fat: 0.1 g
- Cholesterol: 79 mg
- Sodium: 337 mg
- Potassium: 407 mg
- Fiber: 2 g
- Sugar: 50 g
- Vitamin A: 995 IU
- Vitamin C: 6 mg
- Calcium: 136 mg
- Iron: 0.3 mg
Did you make this recipe?
Please leave a star rating and review below!