

Welcome to the world of homemade Labneh, a truly delightful Middle Eastern culinary staple! If you’ve ever dreamt of crafting creamy, tangy, and utterly delicious strained yogurt cheese right in your own kitchen, you’re in the right place. Forget store-bought versions; this guide reveals how to create authentic Labneh with just two simple ingredients and minimal effort. In a matter of minutes, you’ll set the stage for a rich, versatile spread that can transform breakfasts, elevate appetizers, and add a gourmet touch to countless dishes. Get ready to embark on a culinary journey, guided by easy-to-follow steps and insightful tips for achieving Labneh perfection.
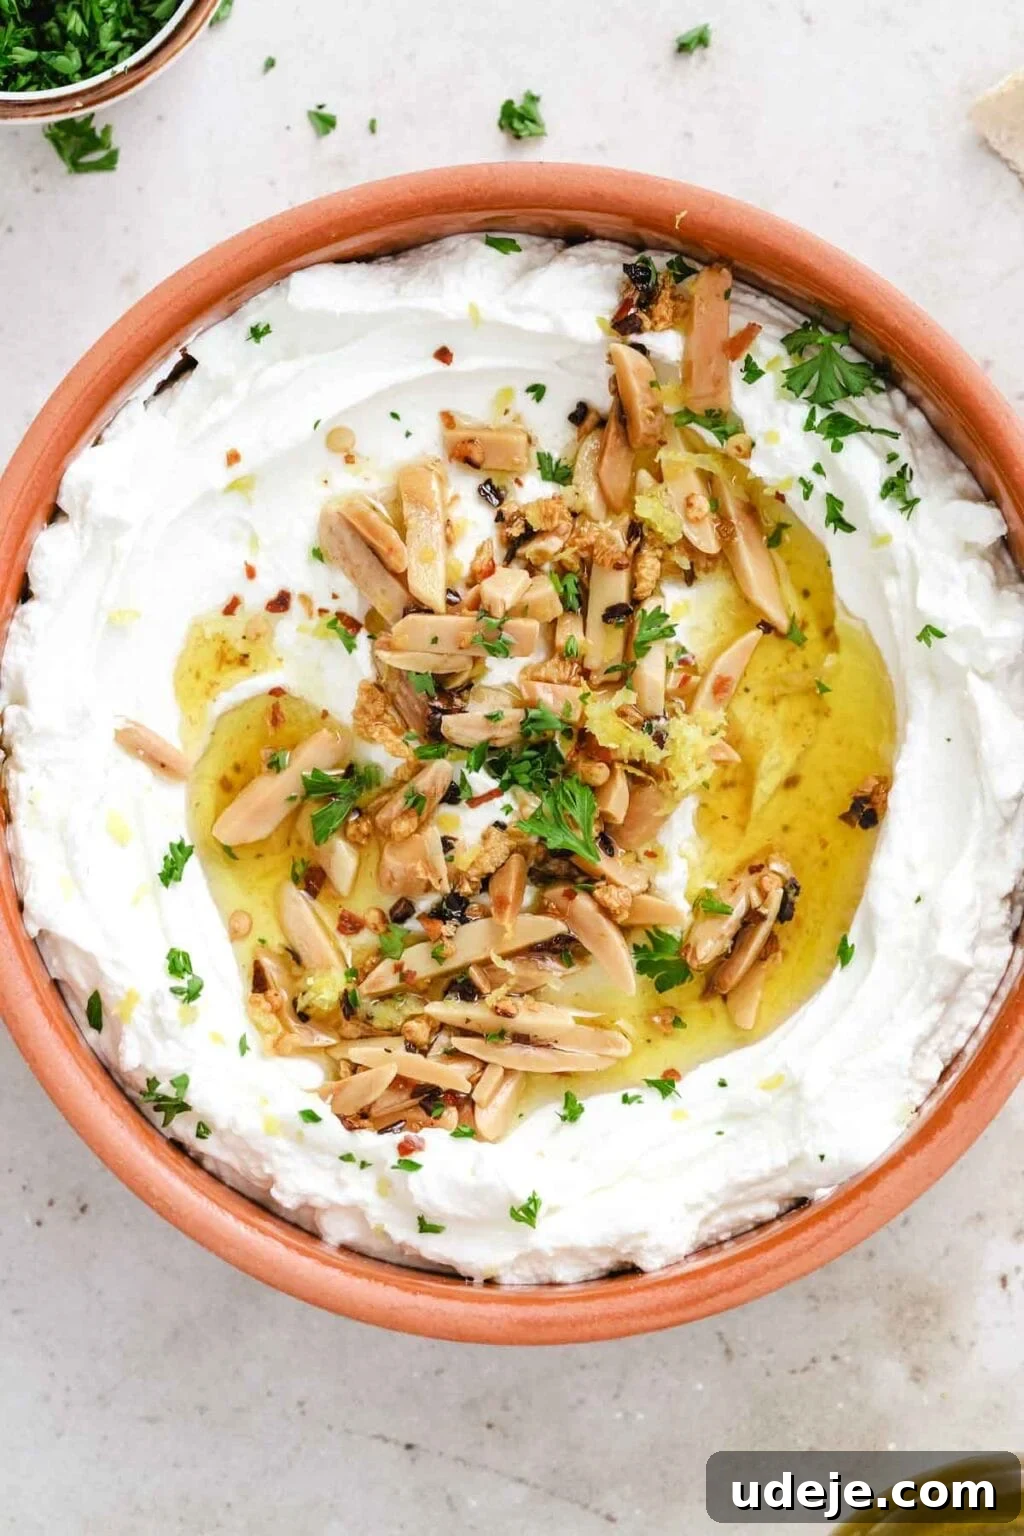
What is Labneh? Unveiling the Creamy Delicacy
Labneh, often pronounced as labna or labne, is a traditional Middle Eastern soft cheese made from strained yogurt. It holds a cherished place in the culinary traditions of the Levant region, encompassing modern-day Syria, Lebanon, Jordan, and Palestine, and is also widely enjoyed in Turkey and beyond. While its base is yogurt, the meticulous straining process transforms it into a texture remarkably similar to cream cheese – incredibly thick, smooth, and spreadable, yet with a distinctively tart and refreshing flavor.
This unique dairy product is more than just a dip; it’s a versatile ingredient that embodies simplicity and wholesome goodness. Unlike regular yogurt, Labneh has a significantly higher protein content and a lower lactose level due to the removal of whey, making it a favorite for those seeking nutritious and delicious options. Its mild tang pairs beautifully with both savory and sweet accompaniments, cementing its status as a foundational element in Middle Eastern cuisine.
Culturally, Labneh is synonymous with hospitality and daily enjoyment. It frequently features as a cornerstone of the mezze spread (a selection of small dishes served as appetizers) alongside other iconic dips such as creamy hummus and smoky baba ghanoush. It’s also a beloved breakfast item, often generously spread on warm pita bread, drizzled with rich olive oil, and sprinkled with fragrant Za’atar spice. Fresh vegetables like cucumber, tomatoes, and herbs such as mint and parsley complete this classic morning ritual. The beauty of Labneh lies in its ability to be both comforting and exotic, a simple food with profound cultural roots.
The Unrivaled Benefits of Homemade Labneh
While store shelves might offer Labneh, there’s an undeniable magic and a multitude of advantages to making it yourself. The homemade version isn’t just a recipe; it’s an experience that guarantees unparalleled freshness, superior flavor, and complete control over ingredients.
Unbeatable Freshness and Flavor: When you make Labneh at home, you’re starting with fresh yogurt, ensuring that the end product is vibrant, tangy, and free from any artificial preservatives or stabilizers. The flavor profile of homemade Labneh is often described as cleaner and more authentic than its commercial counterparts, with a rich, nuanced tang that truly shines.
Cost-Effective Culinary Excellence: Producing your own Labneh is significantly more economical than purchasing it from specialty stores. Yogurt is a relatively inexpensive ingredient, and with just a pinch of salt, you can create a substantial batch of this gourmet cheese for a fraction of the price. This makes it an accessible luxury for any home cook.
Complete Control Over Ingredients: This is perhaps one of the most compelling reasons to go homemade. You choose the quality of your yogurt, the type of salt, and can even experiment with different fat percentages to achieve your desired richness. For instance, using full-fat, grass-fed yogurt can result in an exceptionally creamy and flavorful Labneh, while a lower-fat option will yield a lighter version. You also control the salt content, tailoring it perfectly to your palate or dietary needs.
Customizable Consistency: The straining time is entirely in your hands. Want a slightly looser, dip-like consistency? Strain it for a shorter period. Craving a super thick, spreadable cheese akin to cream cheese? Extend the straining time. This level of customization is simply not available with pre-packaged Labneh.
Nutritional Advantages: Straining yogurt removes a significant amount of whey, which means a higher concentration of protein in the final product. It also reduces the lactose content, making homemade Labneh potentially easier to digest for those with mild lactose sensitivity, while retaining the beneficial probiotics from the yogurt culture. It’s a healthy, protein-packed addition to any diet.
Beyond these practical benefits, there’s immense satisfaction in creating something so delicious from scratch. The process is simple, therapeutic, and yields a product that will impress your family and friends. You can even take your homemade Labneh endeavors a step further by transforming it into extra-special Labneh balls, perfect for marinating in olive oil with herbs and spices.
Essential Ingredients and Equipment for Perfect Labneh
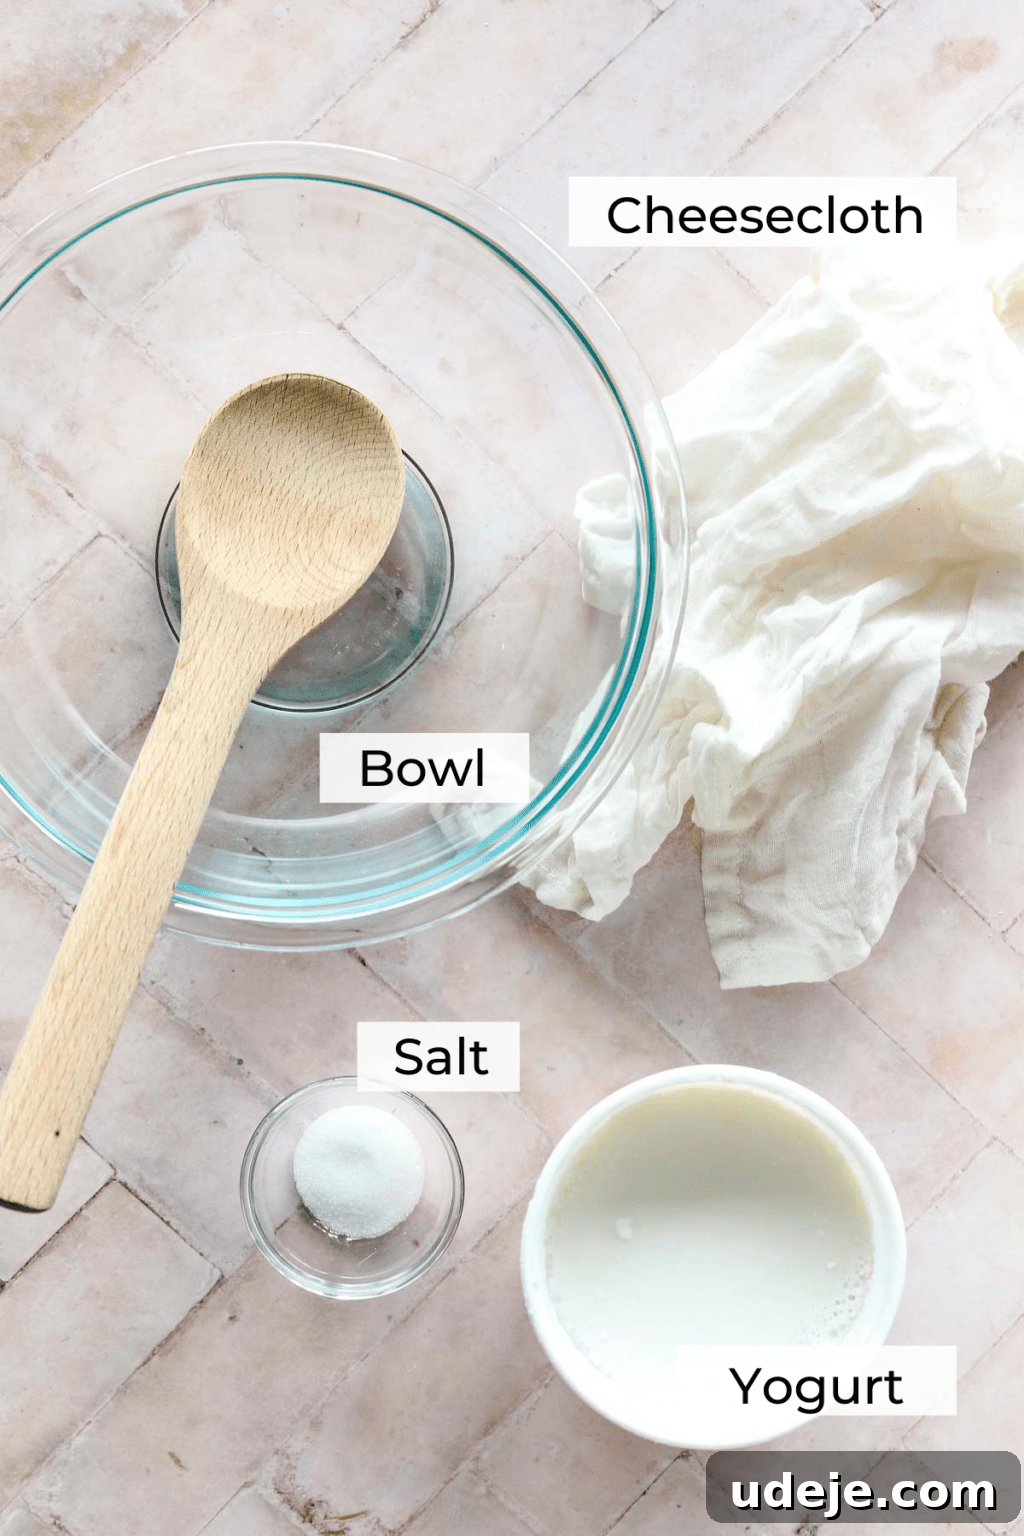
One of the most appealing aspects of making Labneh is its minimal ingredient list. You literally only need two core items, plus one essential piece of equipment for the straining process. Simplicity truly meets deliciousness here.
The Core Ingredients:
- Plain Whole Milk Yogurt: This is the foundation of your Labneh. Opt for high-quality, full-fat plain yogurt. The higher the fat content (e.g., 6% to 11% fat), the creamier and richer your resulting Labneh will be. Whole milk Greek yogurt is also an excellent choice, as it already has a thicker consistency, which can sometimes reduce straining time slightly. Avoid flavored yogurts or those with added sugars, as these will compromise the authentic taste of your Labneh. For an even more traditional and unique flavor, some chefs prefer to use goat or sheep milk yogurt.
- Salt: A crucial ingredient that not only seasons the Labneh but also aids in drawing out the whey from the yogurt, facilitating the straining process. Fine sea salt or kosher salt are excellent choices. Start with the recommended amount and adjust to your taste in subsequent batches. The salt helps balance the tanginess of the yogurt and enhances its overall flavor.
Essential Equipment:
- Cheesecloth: This gauze-like, loosely woven fabric is specifically designed for cheesemaking and straining. It allows the liquid whey to pass through while retaining the thick yogurt solids. Look for a fine-mesh cheesecloth that won’t let too much yogurt escape.
- Mesh Strainer: You’ll need a sturdy, fine-mesh strainer to hold the cheesecloth and yogurt.
- Bowl: A deep bowl is essential to place underneath the strainer. This bowl will collect the liquid whey as it drains from the yogurt. The key is to ensure the strainer sits well above the bottom of the bowl, preventing the yogurt from sitting in the collected whey, which would hinder the straining process.
No Cheesecloth? No Problem! Clever Alternatives:
If you don’t have a cheesecloth on hand, don’t despair! You can still make fantastic Labneh using common kitchen items:
- Paper Towels: Line a fine-mesh strainer with several layers of high-quality paper towels. Ensure there are no gaps where the yogurt can escape. You’ll need to be gentle when handling and changing them, as they can tear.
- Clean Kitchen Towel or Muslin Cloth: A clean, lint-free kitchen towel (preferably plain white to avoid dye transfer) or a piece of muslin cloth works perfectly. Make sure it’s washed without fabric softener, which can impart unwanted flavors.
- Coffee Filters: For smaller batches, heavy-duty coffee filters placed inside a regular strainer can also do the trick, though they might strain more slowly.
Gathering these simple ingredients and tools is the first step towards creating your own batch of creamy, delicious homemade Labneh.
How to Make Labneh: A Step-by-Step Guide to Creamy Perfection
Crafting your own Labneh is an incredibly straightforward process that requires patience more than skill. Follow these steps to achieve that perfect tangy, creamy texture:
Step 1: Prepare the Yogurt Mixture
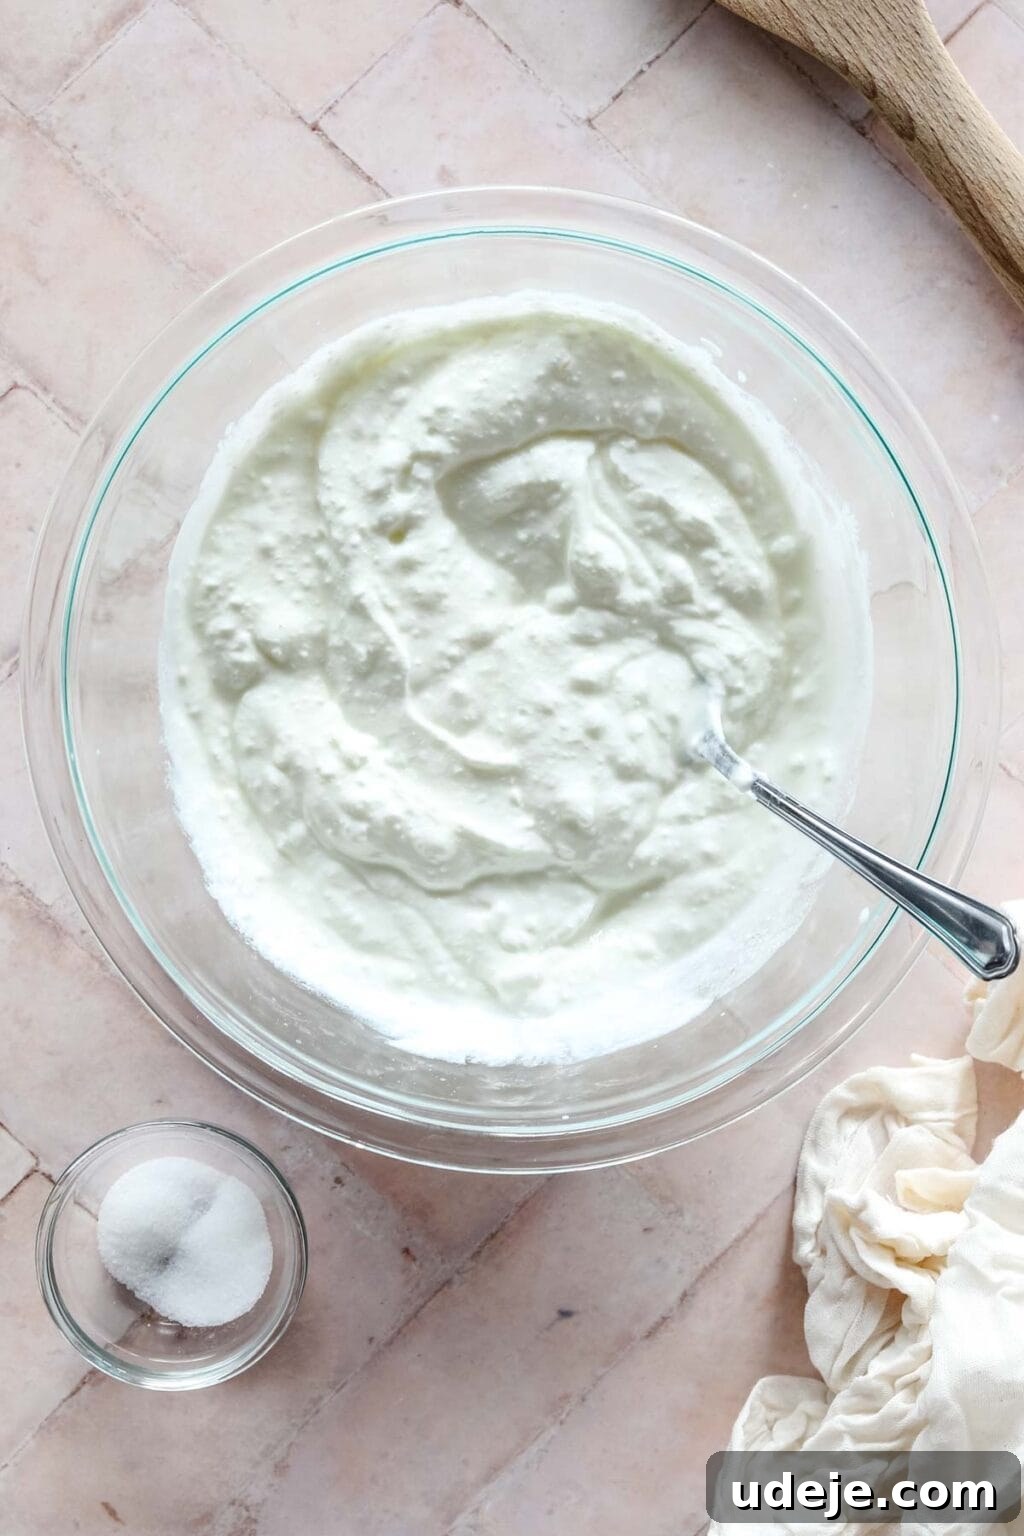
Begin by placing your plain whole milk yogurt into a medium-sized mixing bowl. Add the salt to the yogurt. Using a spoon or spatula, mix the yogurt and salt thoroughly until the salt is fully incorporated. This initial mixing is crucial as the salt not only seasons the yogurt but also helps draw out the excess liquid (whey) more efficiently during the straining process. As a general guideline, 2 cups of plain yogurt will typically yield approximately 1 cup of delicious Labneh.
Step 2: Set Up Your Straining Apparatus
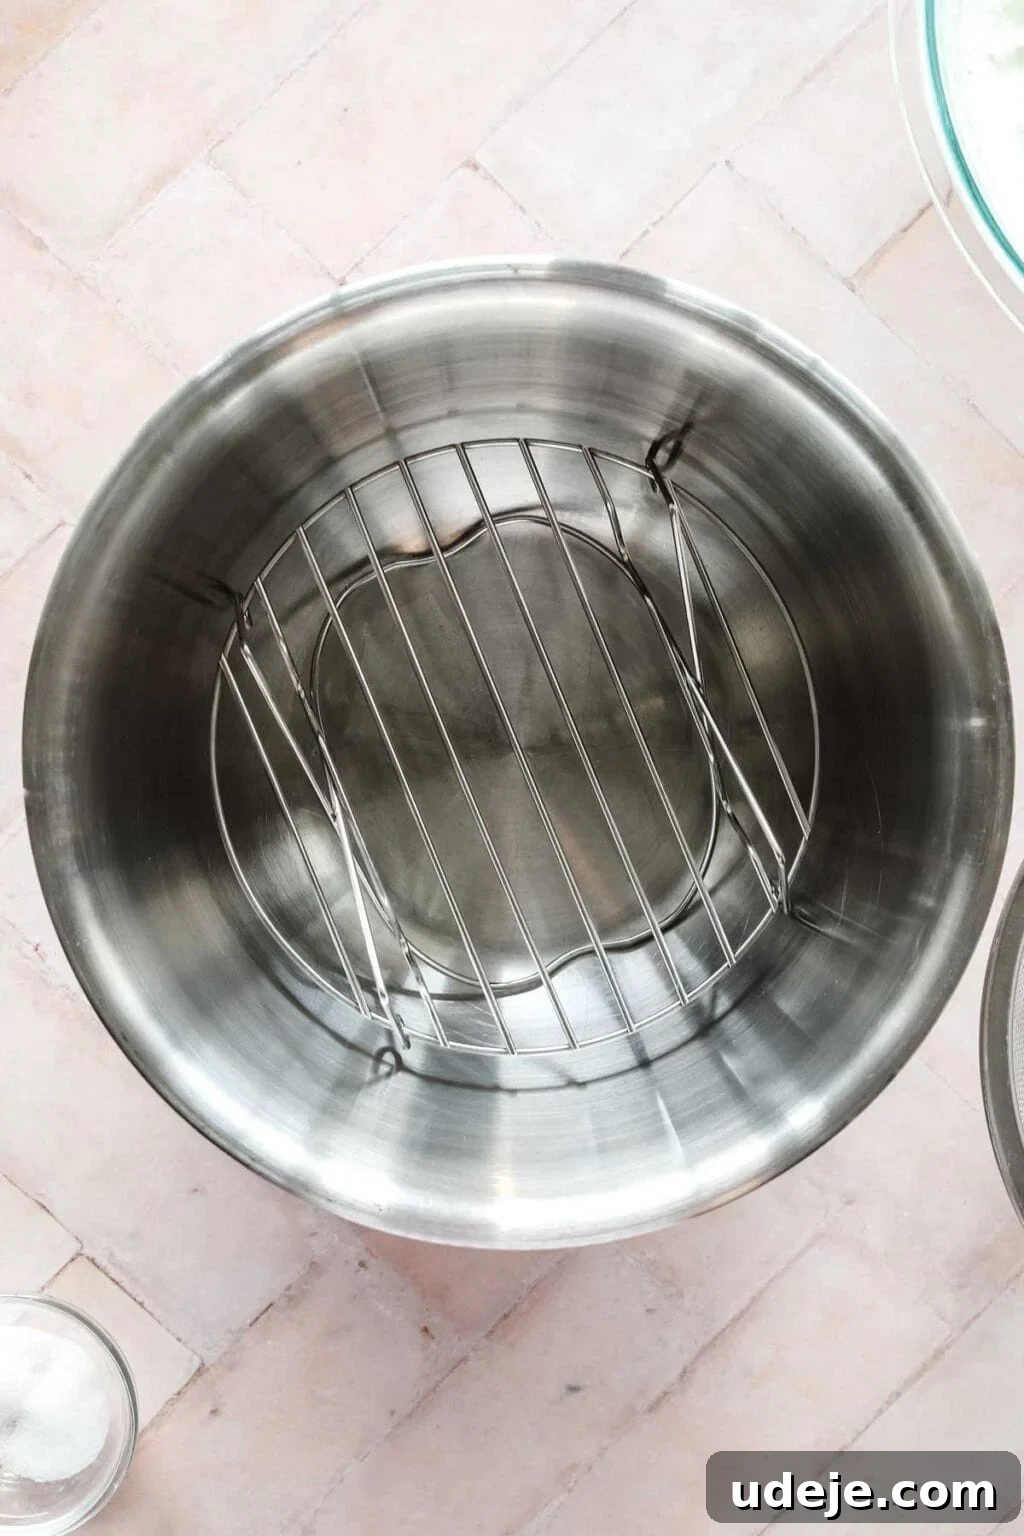
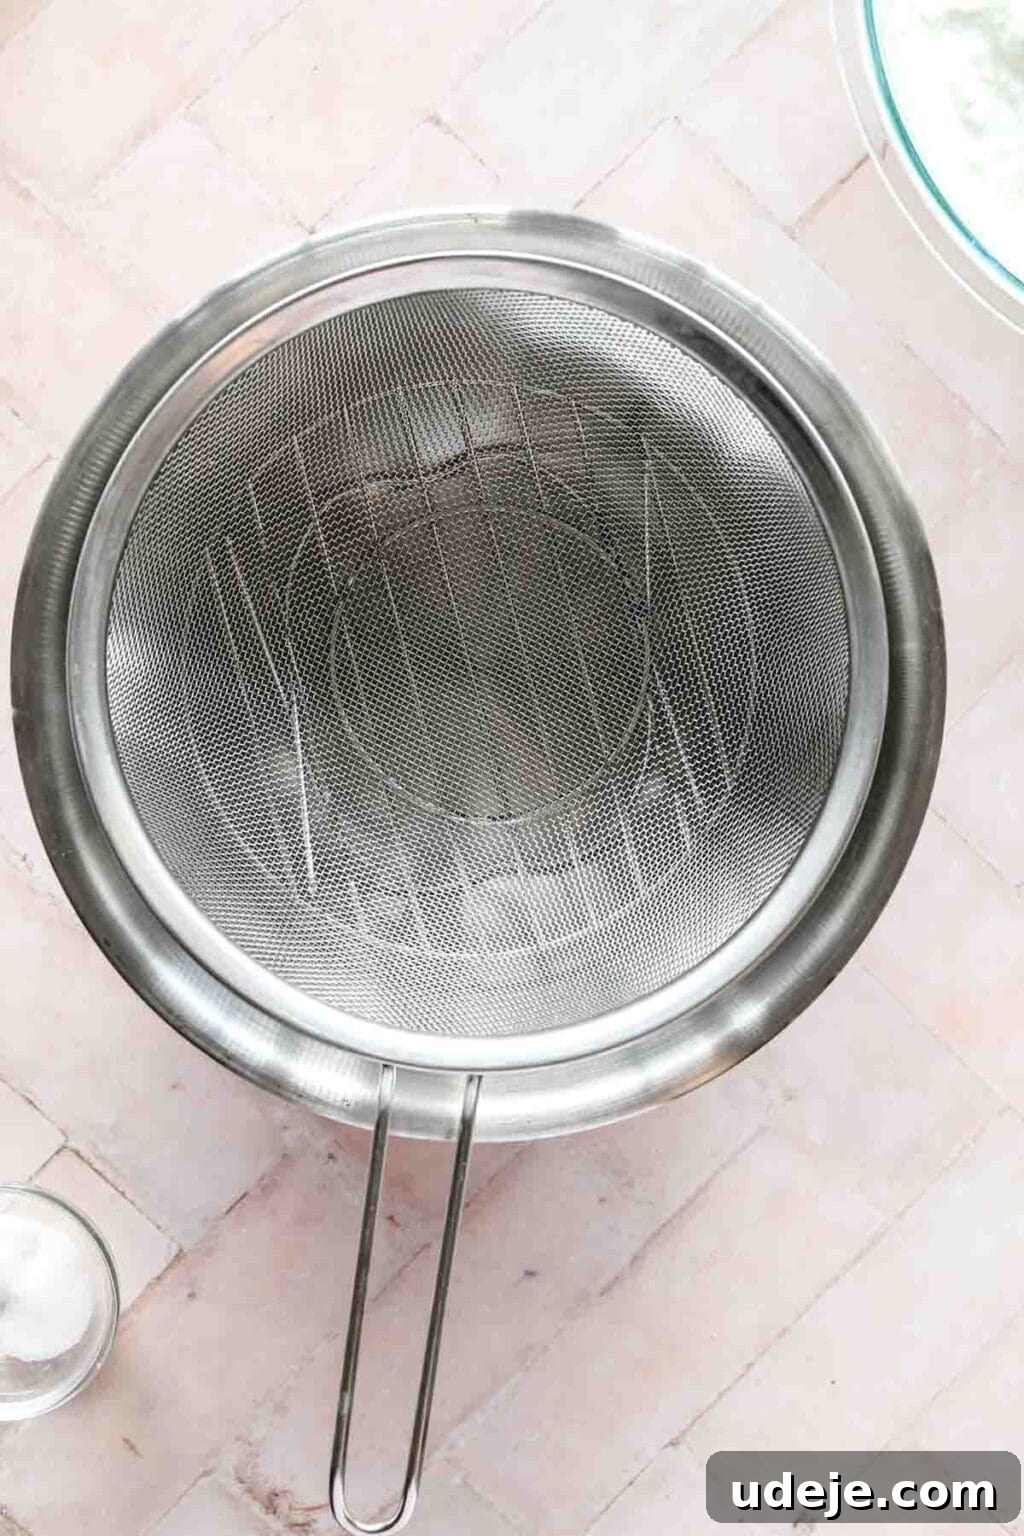
The goal of this step is to create a system where the yogurt can drain freely without sitting in its own liquid. Take a deep bowl and place a mesh strainer on top. The strainer should be elevated so that there’s a good amount of space between its bottom and the bottom of the bowl. This space is where the whey will collect. You can achieve this elevation using a small trivet, an inverted smaller bowl, or even by selecting a strainer that naturally has feet tall enough to clear the bowl’s bottom.
Step 3: Line the Strainer and Add Yogurt
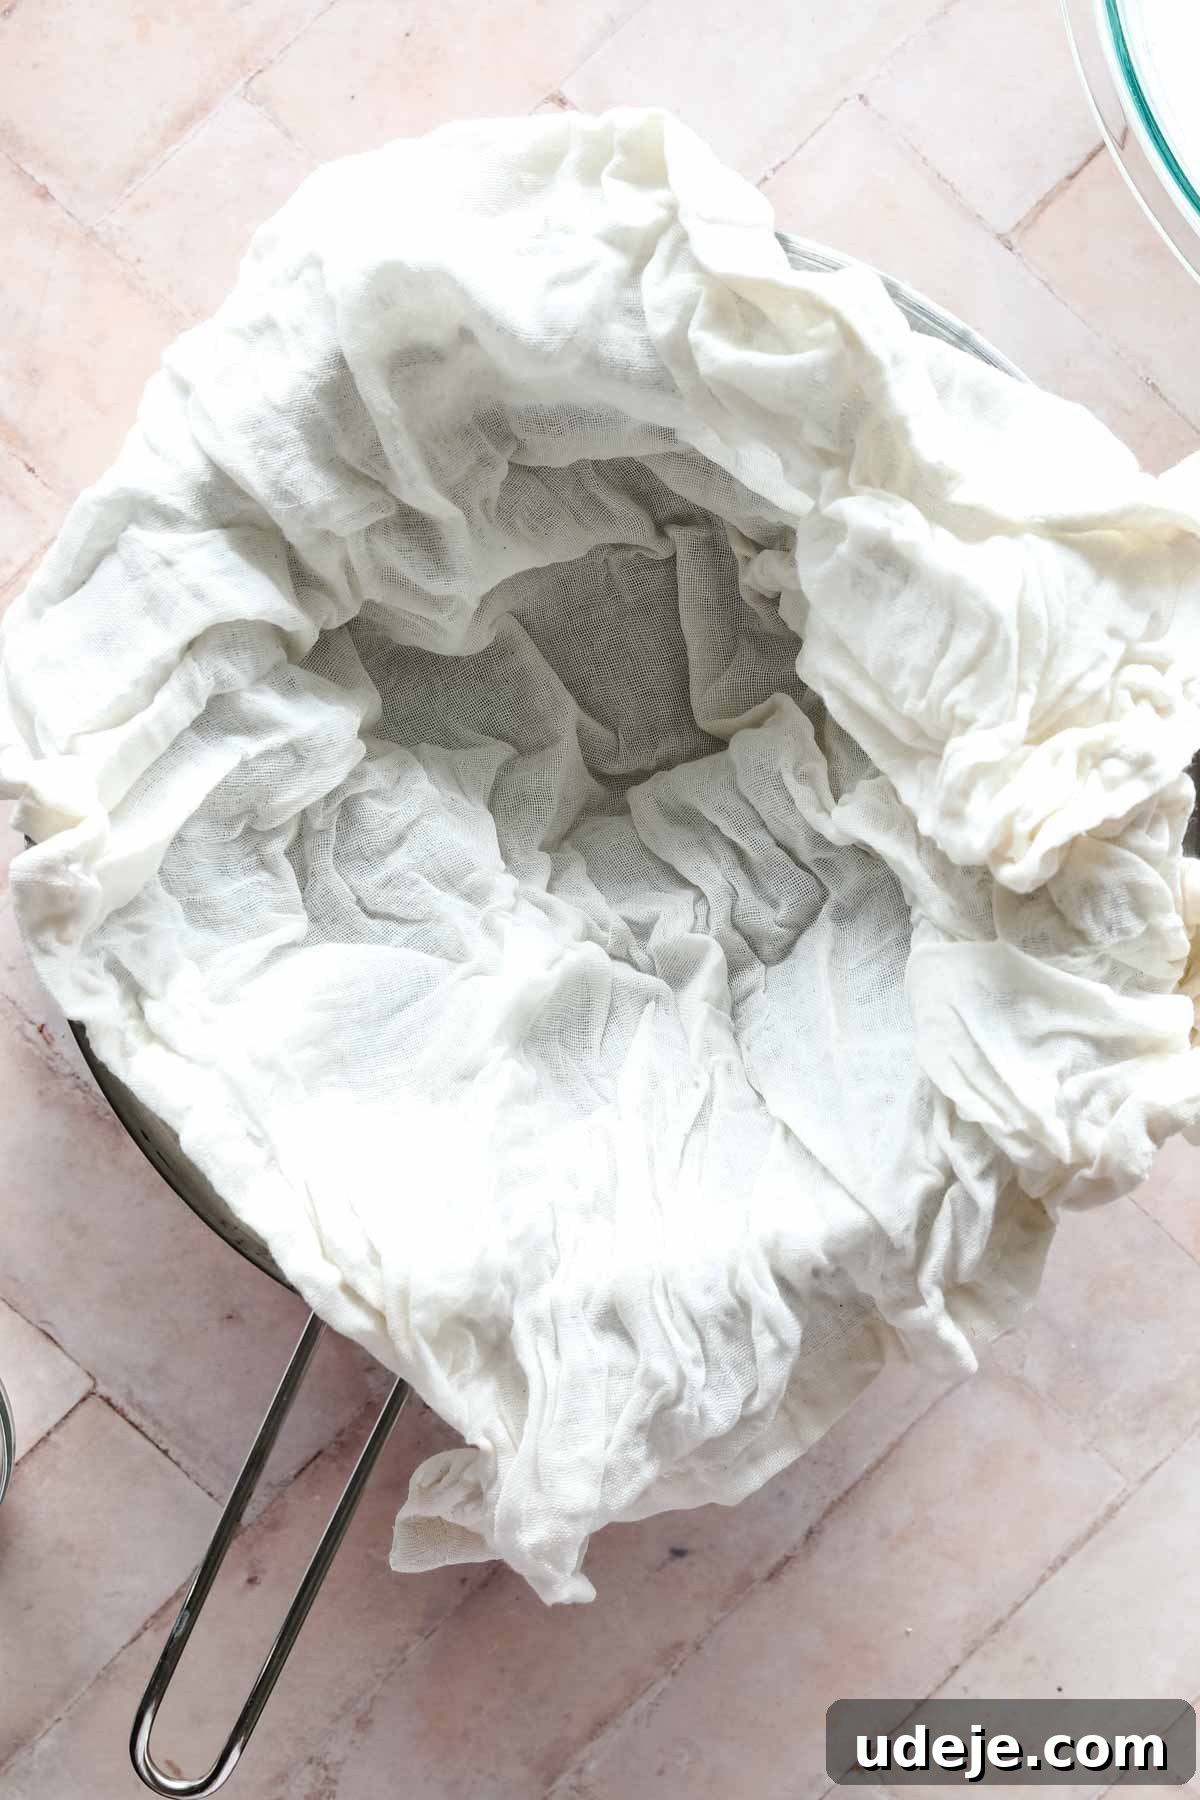
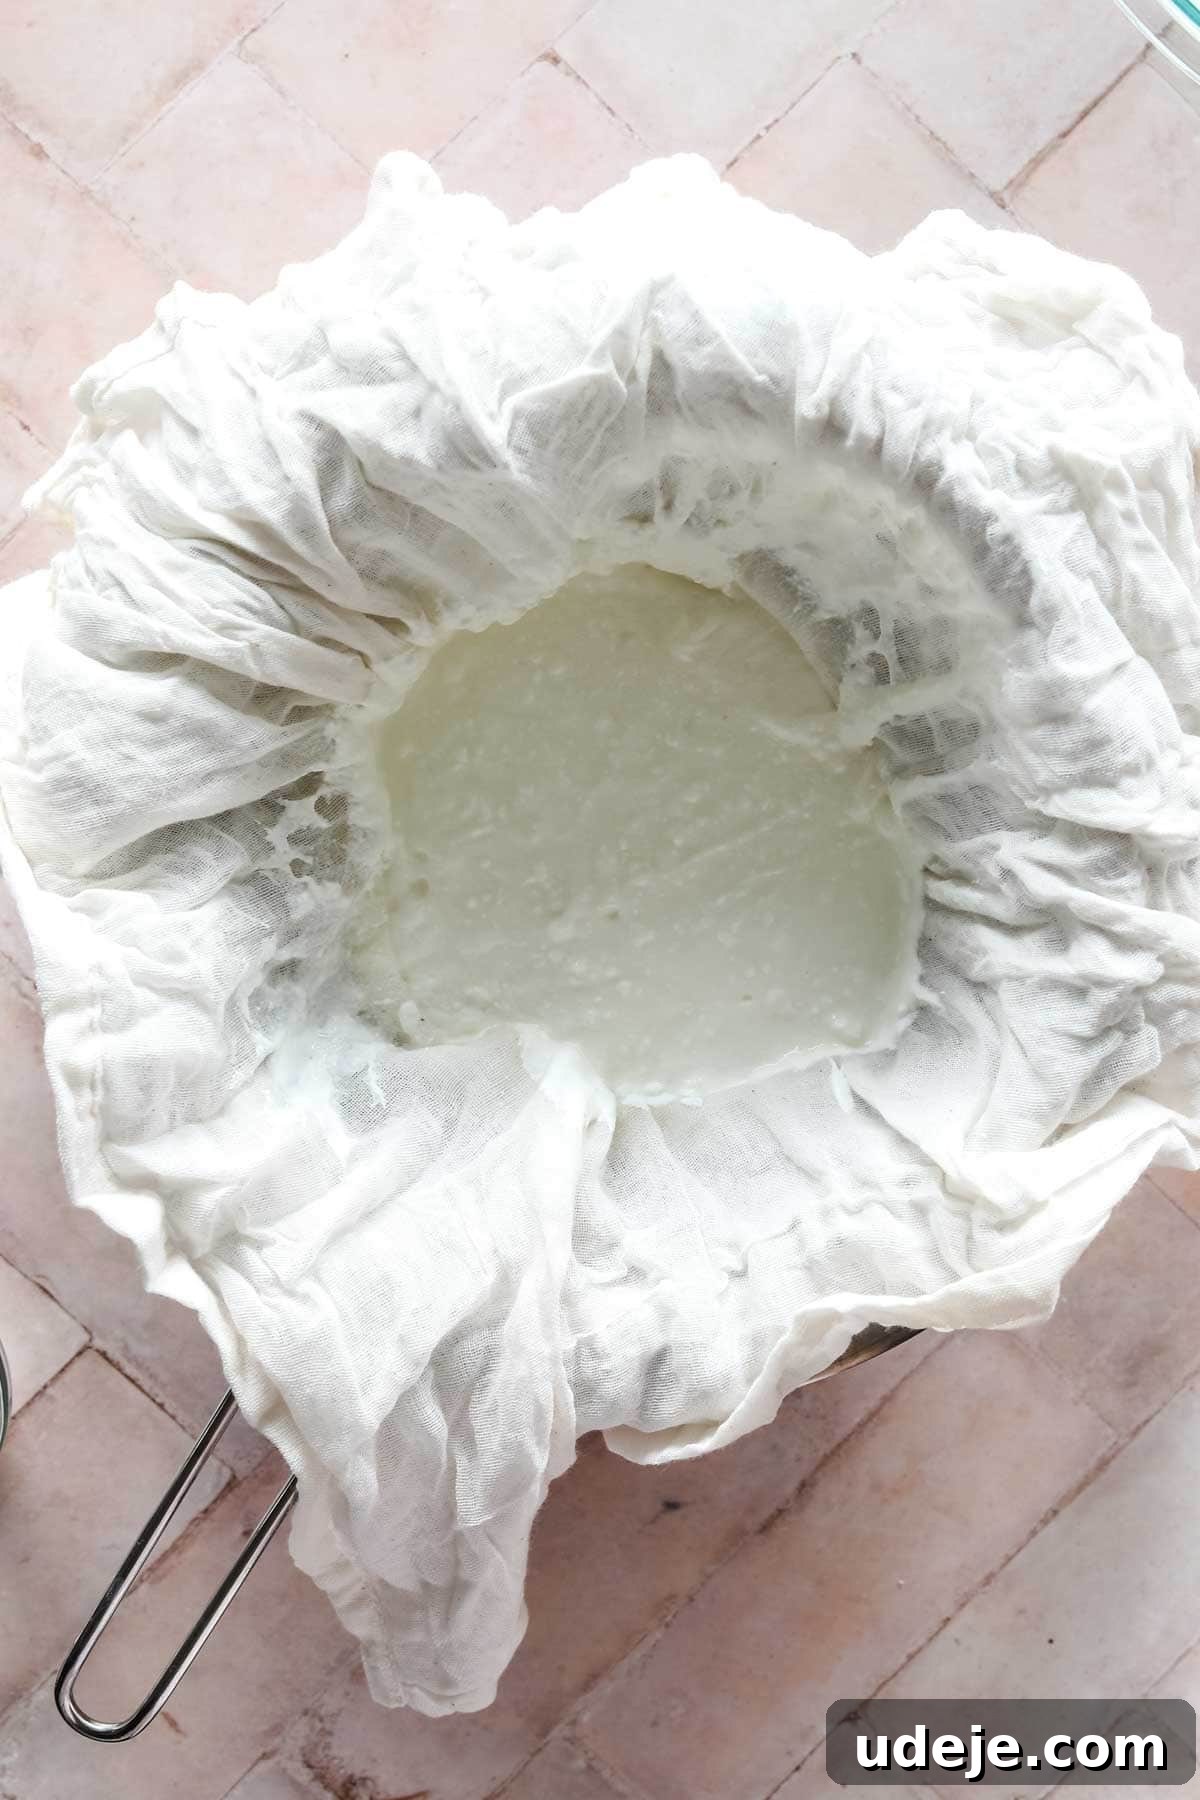
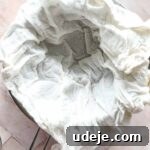
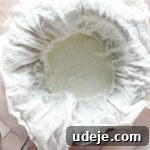
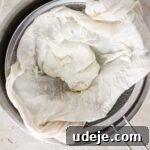
Carefully spread your cheesecloth (or chosen alternative like multiple layers of paper towels) inside the mesh strainer, allowing the edges to hang over the sides. Ensure the cheesecloth completely lines the strainer to prevent any yogurt from escaping. Now, spoon all of your salted yogurt mixture into the cheesecloth-lined strainer.
Step 4: Secure the Cheesecloth and Elevate
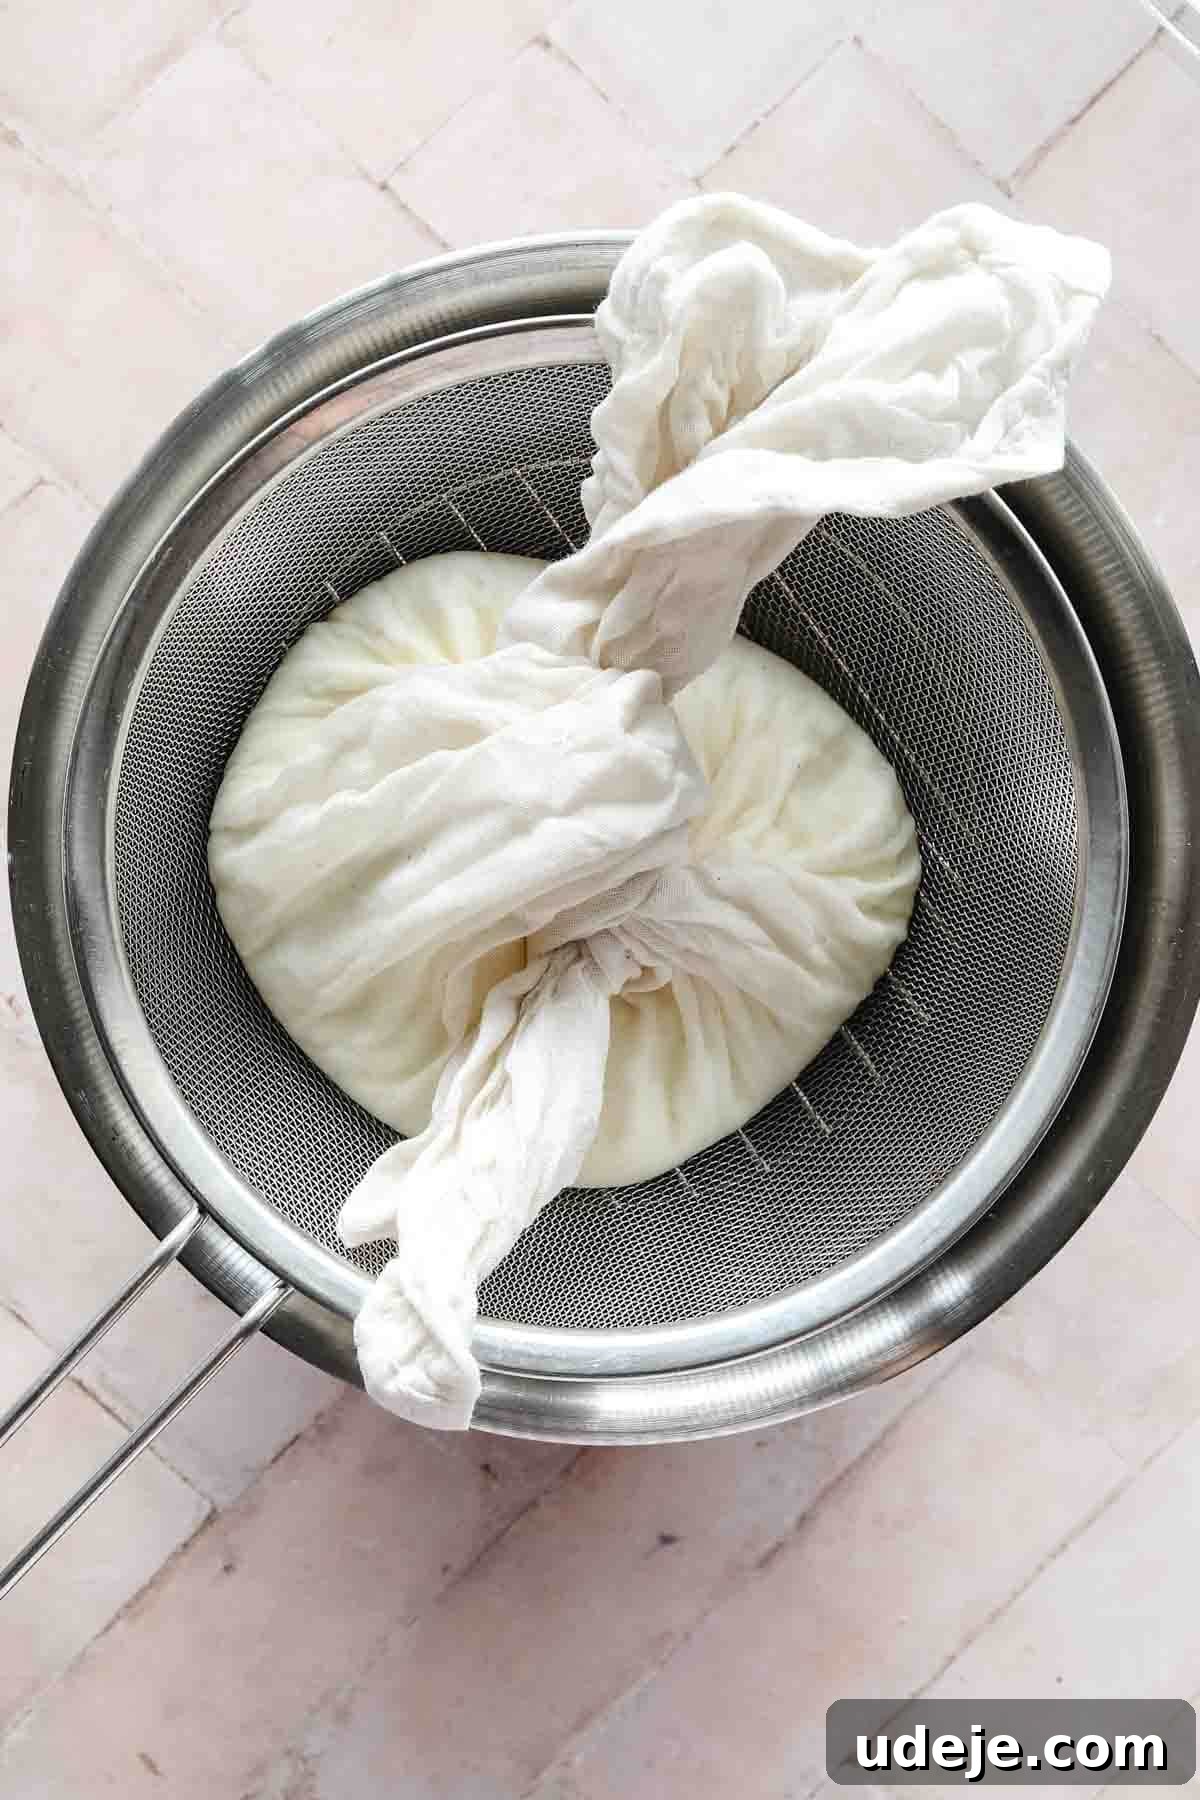
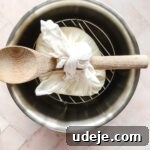
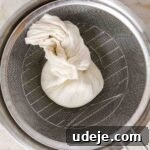
Gather the corners of the cheesecloth together and tie them securely to form a pouch. The critical point here is to make sure the yogurt ball inside the cheesecloth is suspended above the bottom of the collection bowl. It must not touch the draining liquid, as this would stop the straining process. An alternative method for elevation is to tie the cheesecloth pouch around the handle of a wooden spoon, then rest the spoon across the top rim of the deep bowl, allowing the yogurt to hang freely.
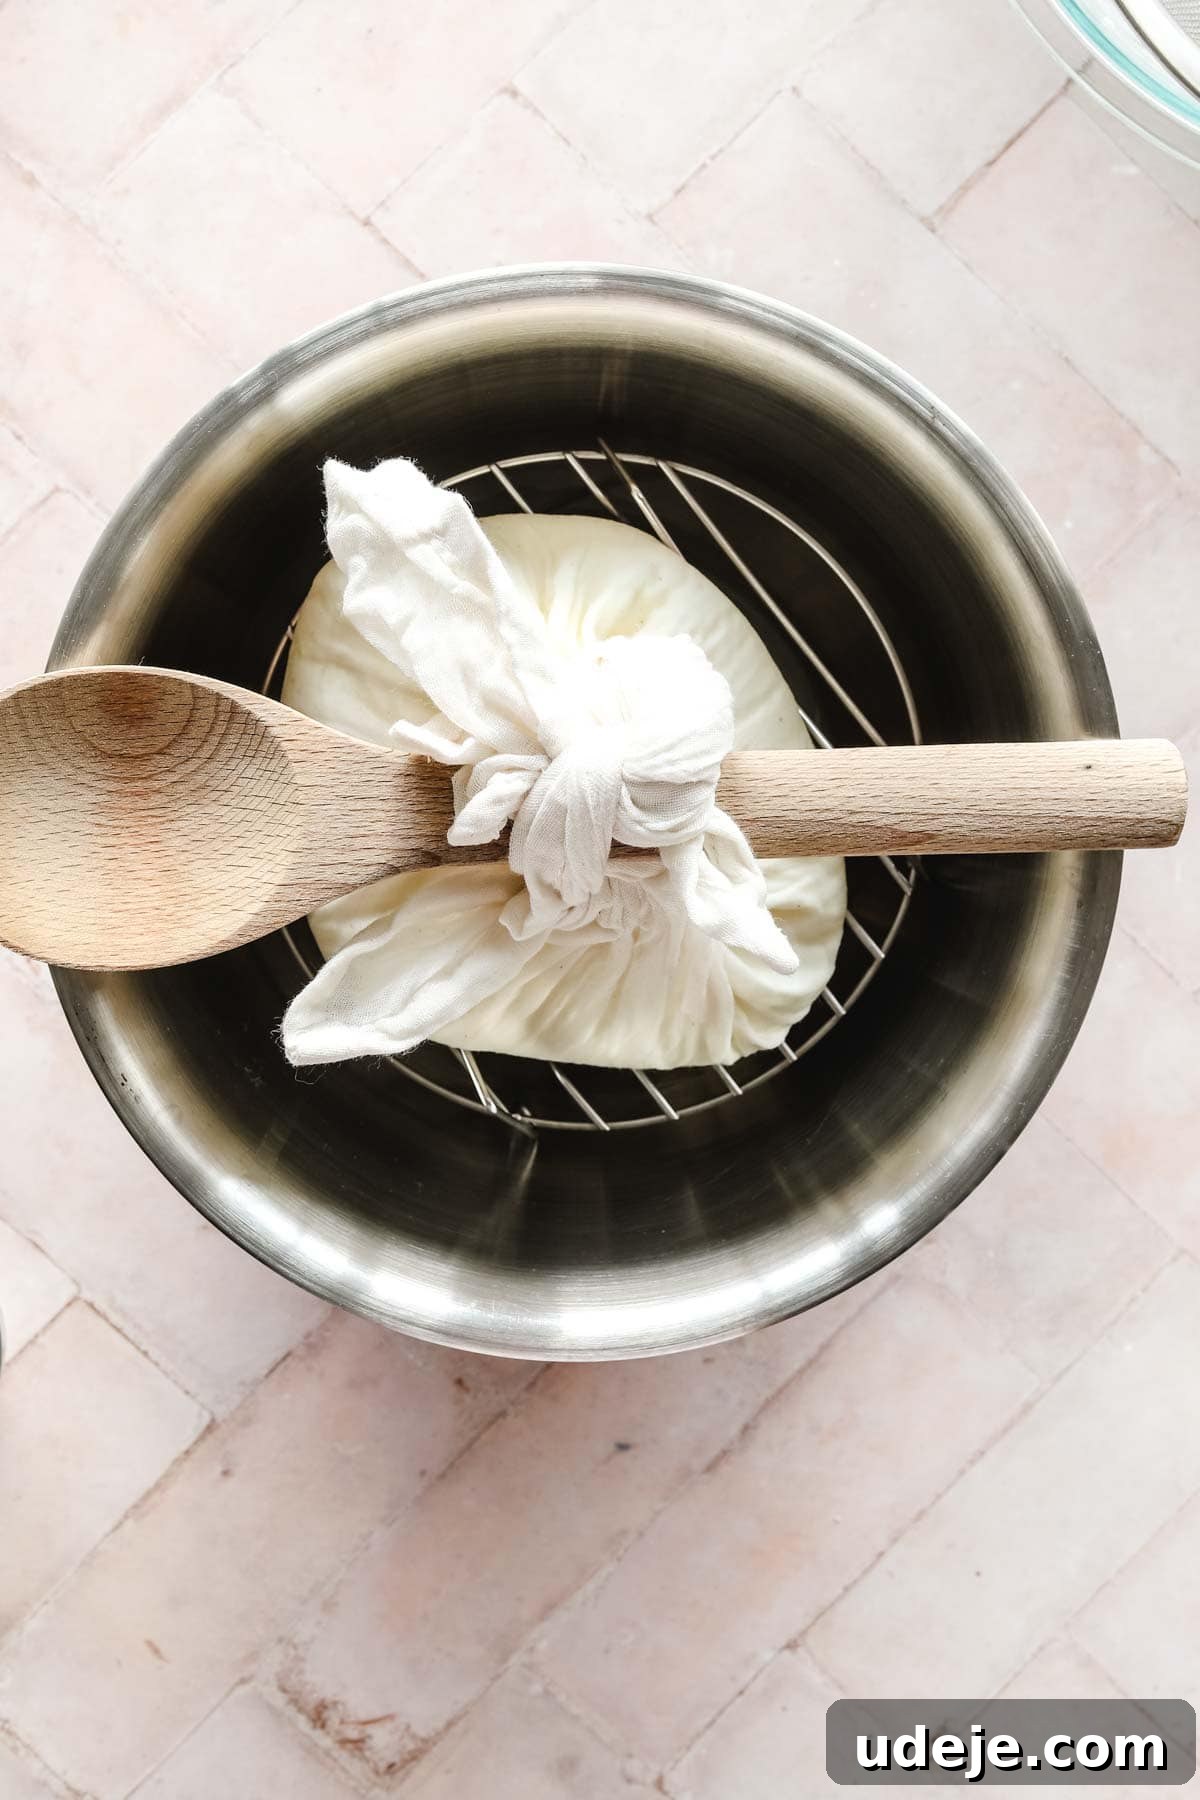
Step 5: The Straining Process (Patience is Key!)
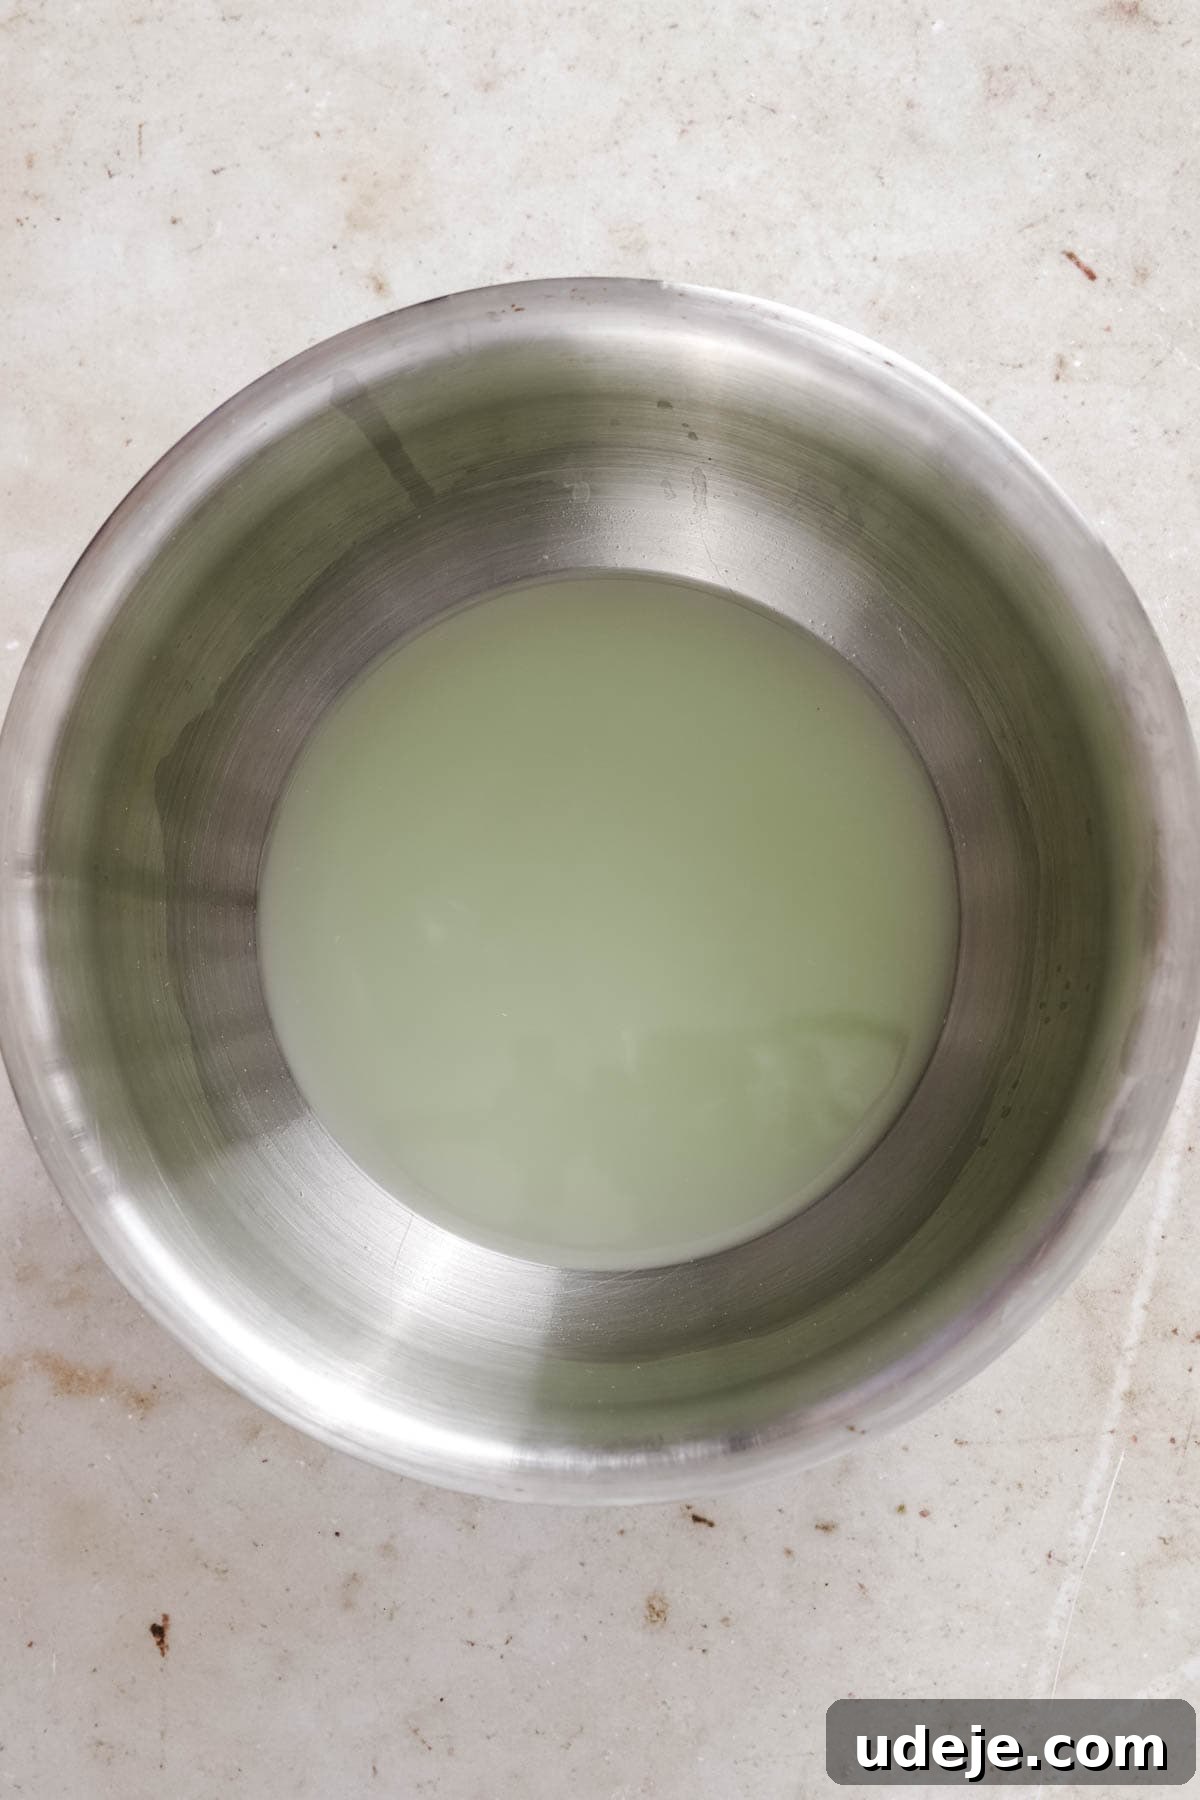
Carefully place your entire straining setup (bowl with elevated yogurt pouch) into the refrigerator. Allow the yogurt to strain for a minimum of 24 hours, or up to 48 hours, depending on your desired consistency. After 24 hours, the Labneh will have a lovely, thick, and creamy consistency, perfect for dipping. If you prefer a much firmer, cream cheese-like texture that’s excellent for spreading or forming into balls, allow it to strain for the full 48 hours. During this time, the whey will continuously drip into the bowl, leaving behind the rich, concentrated Labneh.
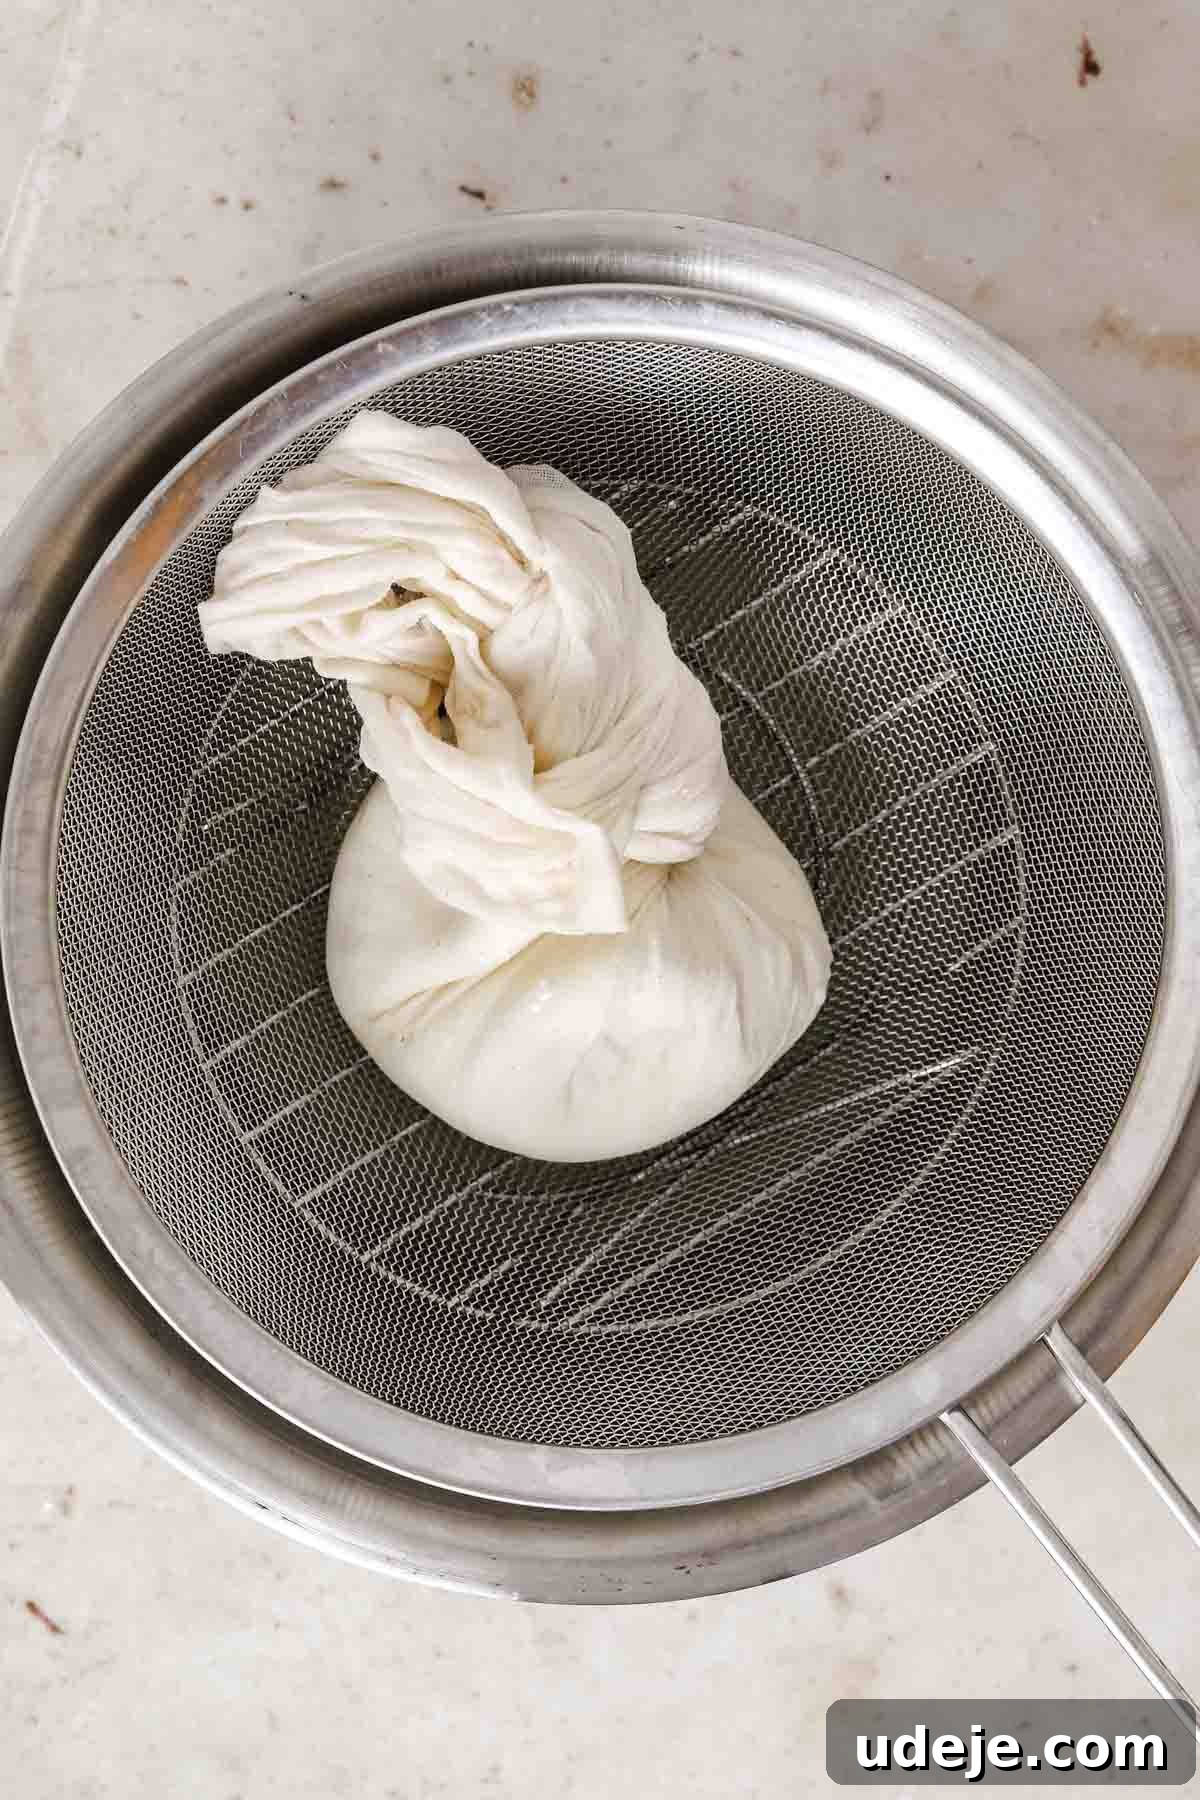
Step 6: Unveil and Serve Your Labneh
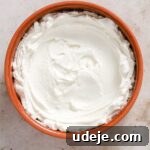
Once the straining is complete and your Labneh has reached the desired consistency, carefully remove it from the cheesecloth. It will have formed a smooth, dense mass. Immediately wash the cheesecloth with warm water and soap to prevent any remaining yogurt from sticking and hardening, making it difficult to clean later. Transfer your freshly made Labneh to a serving bowl or plate.
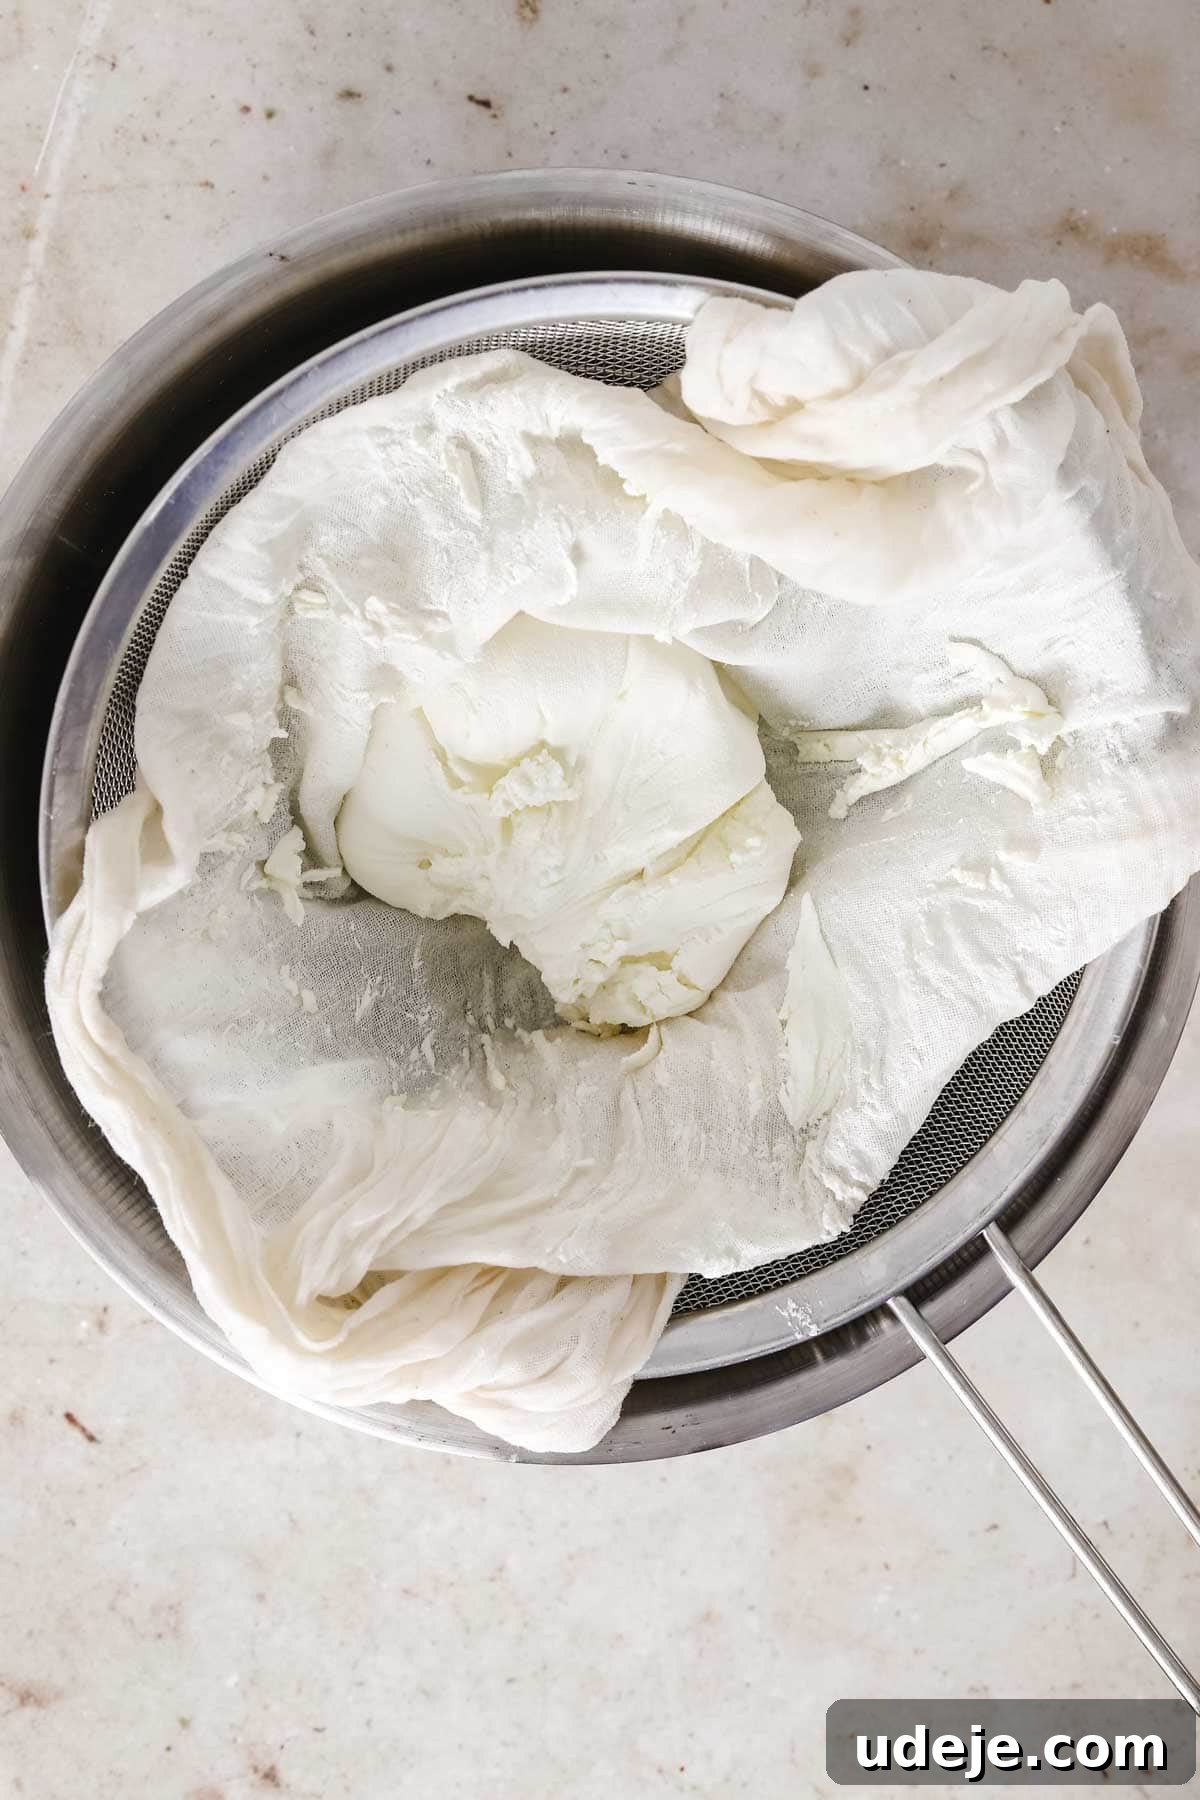
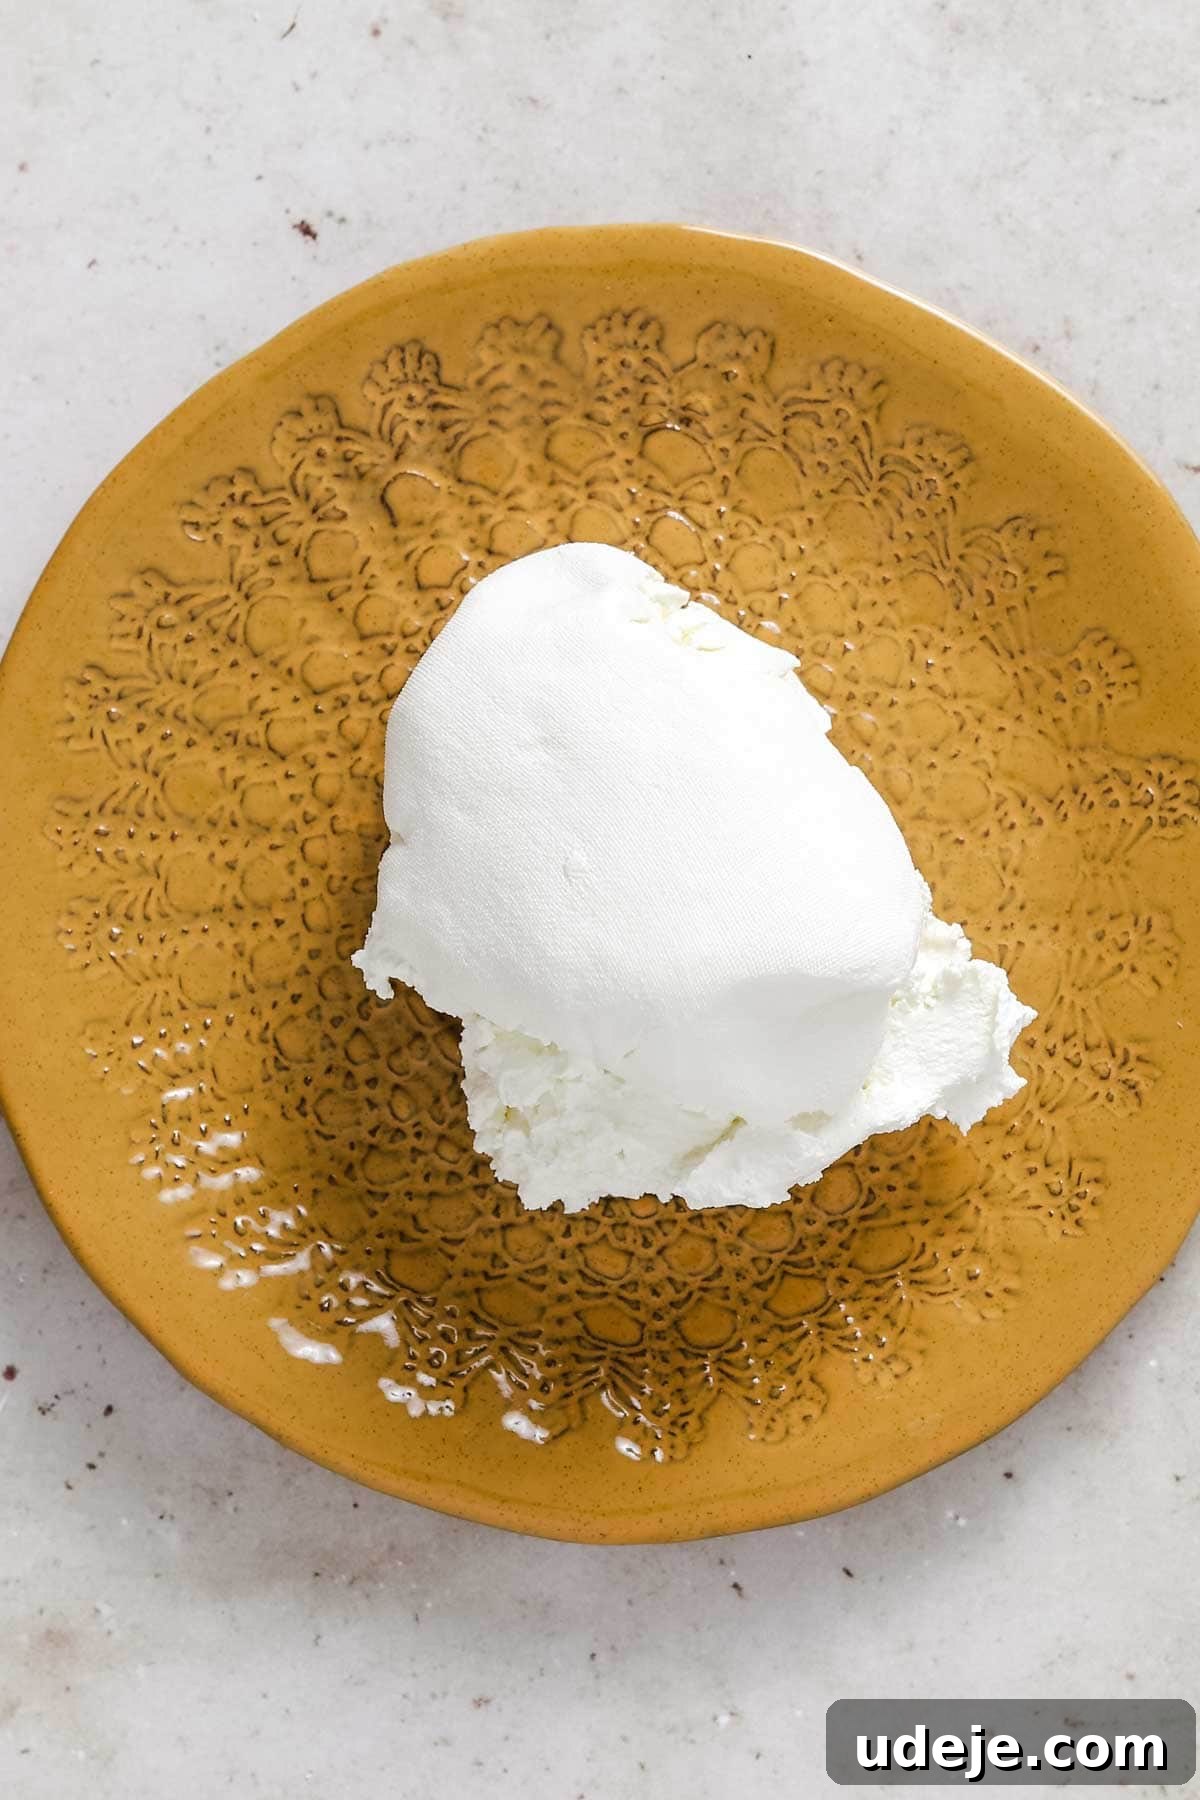
Now comes the fun part: creating a beautiful Labneh spread! Drizzle a generous amount of high-quality extra virgin olive oil over the top. Then, let your creativity flow with toppings. The classic choice is a sprinkle of Za’atar, a fragrant Middle Eastern spice blend. Alternatively, for a delightful crunch and hint of spice, lightly fry some slivered almonds with minced garlic and chili flakes in a little olive oil until golden, then spoon over the Labneh. Serve immediately with warm pita bread, fresh vegetables, or crackers for dipping.
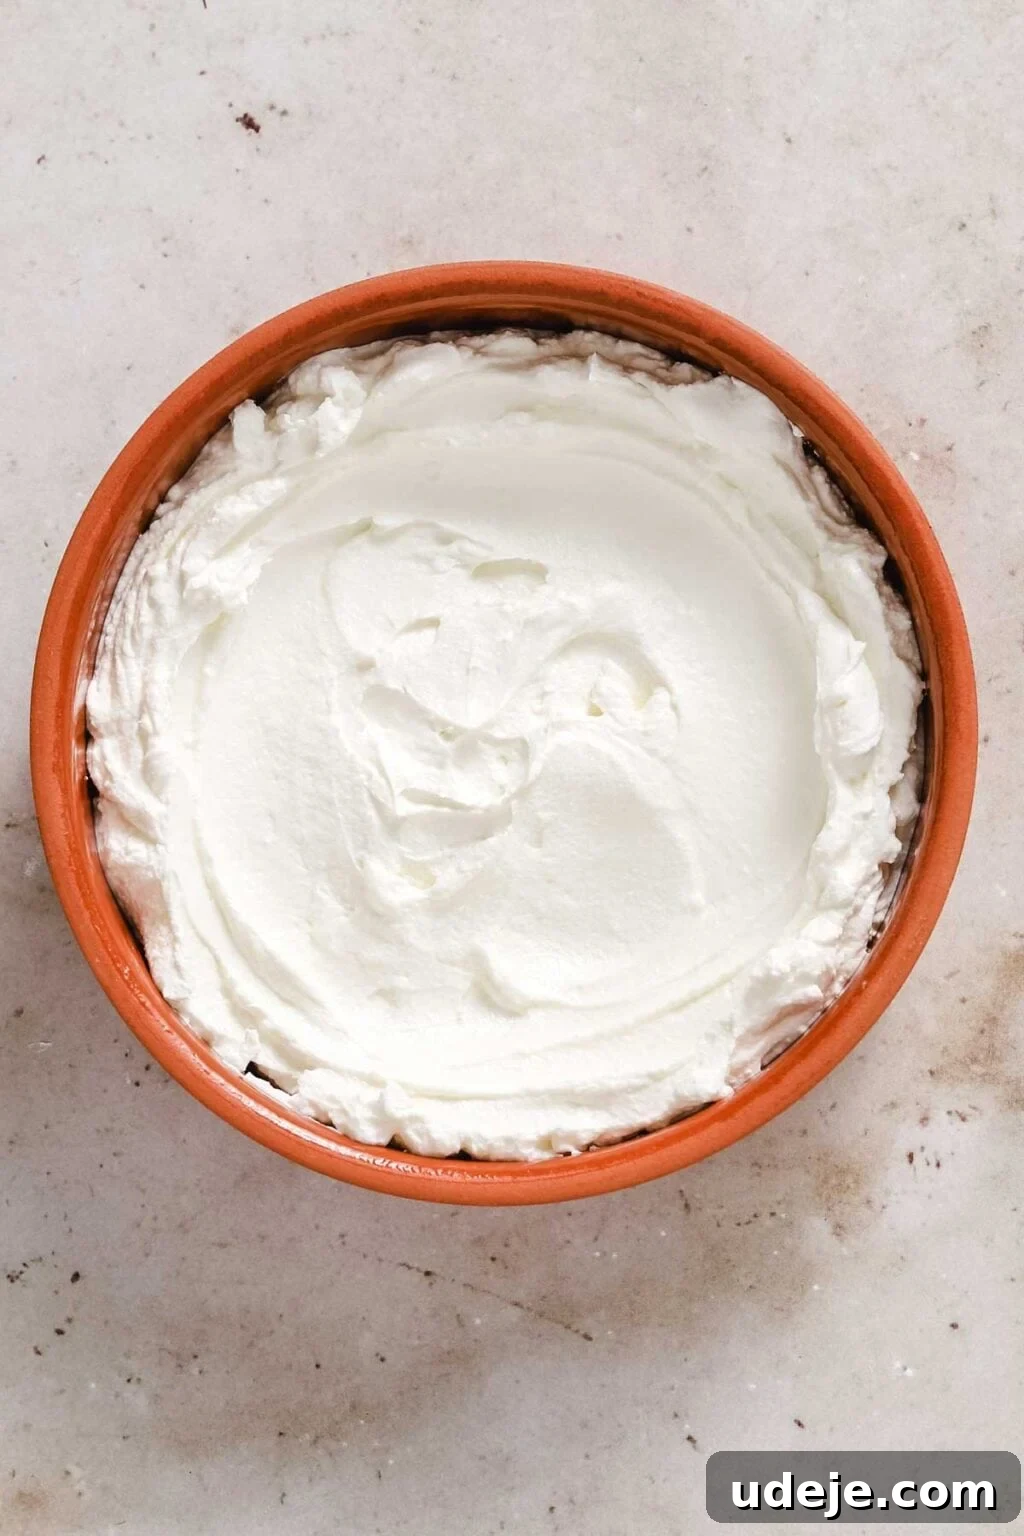
Creative Ways to Savor Your Homemade Labneh
Labneh’s versatility is one of its greatest strengths, allowing it to shine in a multitude of culinary applications. Traditionally enjoyed in Middle Eastern culture, it’s always elevated with a generous drizzle of good quality extra virgin olive oil, which adds a silky texture and complementary peppery notes.
For Breakfast and Brunch:
- Classic Spread: The most common way to enjoy Labneh is as a spread on warm pita bread, fresh crusty bread, or toast. Sprinkle it with Za’atar, a blend of dried thyme, sumac, and sesame seeds, and drizzle with olive oil.
- Labneh Wraps: Create savory breakfast wraps by spreading Labneh on pita, then adding fresh vegetables like thinly sliced cucumber, tomato, radishes, and fragrant herbs such as mint and parsley.
- Sweet Variations: While often savory, Labneh can be a delightful sweet treat. Top it with honey or date syrup, fresh berries, sliced fruit, or a sprinkle of chopped nuts for a healthy and satisfying breakfast.
As a Dip or Appetizer (Mezze Essential):
- Mezze Platter Star: Labneh is an indispensable component of any Middle Eastern mezze platter. Serve it alongside other popular dips like hummus and baba ghanoush. Provide an assortment of dipping vessels: fresh pita bread, pita chips, crunchy vegetables (carrot sticks, bell pepper strips, celery), and olives.
- Gourmet Toppings: Experiment with toppings beyond Za’atar. Consider:
- Sautéed garlic and chili flakes in olive oil.
- Toasted pine nuts or slivered almonds.
- Fresh herbs: chopped mint, parsley, or dill.
- Sumac for a lemony tang, or Aleppo pepper for mild heat.
- A sprinkle of dried mint.
- Caramelized onions or roasted red peppers.
Beyond the Traditional: Culinary Uses:
- Sandwich & Wrap Spread: Use Labneh as a healthier, tangier alternative to mayonnaise or cream cheese in sandwiches and wraps. It pairs beautifully with grilled vegetables, chicken, or falafel.
- Salad Dressing Base: Whisk Labneh with a little water or lemon juice, herbs, and spices to create a creamy, probiotic-rich salad dressing.
- Dollop for Soups & Stews: A spoonful of Labneh can add a creamy, cooling contrast to hearty soups, stews, or spicy dishes, much like sour cream or crème fraîche.
- Sauce Thickener: Stir a dollop into curries or pasta sauces at the end of cooking for added creaminess and a subtle tang.
No matter how you choose to enjoy it, always remember that a generous drizzle of good quality extra virgin olive oil is the perfect finishing touch for your homemade Labneh.
Storing Your Homemade Labneh: Freshness and Preservation
Proper storage is key to extending the life and maintaining the quality of your delicious homemade Labneh. Given its dairy base, refrigeration is essential to keep it fresh and safe to eat.
Standard Refrigeration:
Once your Labneh is strained and ready, transfer it to an airtight container. This prevents it from absorbing odors from other foods in the refrigerator and helps maintain its moisture. Stored in this manner, homemade Labneh will typically last for up to 2 weeks in the refrigerator. Always use a clean spoon each time you scoop out Labneh to avoid introducing bacteria that could shorten its shelf life.
Preservation in Olive Oil (Labneh Balls):
For longer-term preservation and an even more enhanced flavor, Labneh is traditionally preserved in olive oil, often in the form of small balls. This method is not only practical but also creates a beautiful and flavorful pantry item. Here’s how it’s done:
- Achieve a Firmer Consistency: For Labneh balls, it’s best to strain your yogurt for the full 48 hours to achieve a very thick, firm consistency, similar to a soft goat cheese. This makes them easier to roll and hold their shape.
- Roll into Balls: Take small portions of the thick Labneh (about 1-2 tablespoons each) and gently roll them between your palms to form smooth, uniform balls.
- Season (Optional): At this stage, you can roll the Labneh balls in various desired seasonings. Popular choices include:
- Za’atar
- Dried mint
- Aleppo pepper or chili flakes
- Sumac
- Black sesame seeds or nigella seeds
- Finely chopped fresh herbs like dill or oregano
- Jar and Cover with Oil: Carefully place the seasoned (or unseasoned) Labneh balls into a clean, sterilized glass mason jar. Arrange them snugly but without crushing. Once all the balls are in, completely cover them with good quality extra virgin olive oil. Ensure the oil fully submerges the Labneh balls, as this acts as a protective seal against air and bacteria.
- Storage for Oil-Preserved Labneh: Labneh balls preserved in olive oil can be stored in the refrigerator for several weeks, often up to a month or even longer if properly sealed and continuously submerged in oil. The olive oil will solidify in the fridge; simply allow the jar to come to room temperature for 15-30 minutes before serving to soften the oil and Labneh.
Preserving Labneh in olive oil not only extends its shelf life but also infuses it with the rich flavor of the oil and any added seasonings, making it an exquisite gourmet item to enjoy or gift.

Frequently Asked Questions About Labneh
Here are some common questions about Labneh, answered to help you master this delicious Middle Eastern staple:
What do you typically eat Labneh with?
Labneh is incredibly versatile! Most commonly, it’s served as a dip or spread. It pairs perfectly with warm pita bread, fresh vegetables (like cucumbers, tomatoes, radishes, or bell peppers), or crackers. It’s almost always drizzled with a generous amount of high-quality olive oil and often seasoned with Za’atar, dried mint, or a pinch of Aleppo pepper. For breakfast, it can be spread on toast or used in savory wraps.
Is Labneh similar to Greek yogurt?
While Labneh starts as yogurt, the extensive straining process makes it much thicker and creamier than even Greek yogurt. Greek yogurt is strained once or twice, while Labneh is typically strained for 24-48 hours, removing significantly more whey. This results in a much denser, almost cheese-like consistency, yet it retains the tangy flavor profile of yogurt.
Is Labneh considered a cheese or a yogurt?
Labneh is best described as a “strained yogurt cheese.” It originates from yogurt, but because so much liquid (whey) is removed, its texture and consistency transform into that of a soft, spreadable cheese, similar to cream cheese or a fresh chèvre. It has the tangy characteristics of yogurt but the richness and density of a cheese.
Can I use low-fat or fat-free yogurt to make Labneh?
Yes, you can, but the texture and flavor will differ. Full-fat (whole milk) yogurt yields the creamiest, richest, and most luxurious Labneh. Low-fat or fat-free yogurts will produce a lighter, less indulgent version that might be slightly less smooth. For the best traditional results, whole milk yogurt is highly recommended.
What kind of cheesecloth should I use?
Look for a fine-weave, unbleached cheesecloth (often labeled as Grade 90). This ensures that the yogurt solids are retained while allowing the whey to drain efficiently. If using paper towels, opt for strong, good-quality ones to prevent tearing.
Can I use the whey that drains from the yogurt?
Absolutely! The whey is a nutrient-rich byproduct. You can use it in smoothies, as a liquid base for soups, to ferment vegetables, or even in baking recipes where a tangy liquid is needed (like sourdough bread or certain pancakes). It’s a great way to reduce food waste and add a nutritional boost to other dishes.
How long does it take to make Labneh?
The active preparation time for Labneh is very quick, usually about 5-10 minutes. The majority of the time is spent straining in the refrigerator. This passive straining process typically takes 24 hours for a dip-like consistency or up to 48 hours for a firmer, spreadable cheese.
What if my Labneh is too runny?
If your Labneh is still too runny after the recommended straining time, it likely needs more time in the refrigerator. Continue straining for a few more hours, or even overnight. Ensure that the yogurt is properly elevated and not sitting in the collected whey, as this will prevent further drainage. Also, check that you used whole milk yogurt, as lower-fat options yield a less firm result.
Can I add flavors to the yogurt before straining?
While the traditional method involves only salt before straining, you can certainly experiment. Some people add finely minced garlic or herbs directly to the yogurt mixture before straining for infused flavors. However, for a clean, classic Labneh, it’s best to add flavors and seasonings after straining, just before serving.
More Dips You Will Love:
Rating: 4.80 out of 5 stars from 5 ratings
Rating: 5 out of 5 stars from 6 ratings
Rating: 5 out of 5 stars from 3 ratings
If you tried these recipes, please consider leaving a star rating in the recipe card below and/or a review in the comments section further down the page – I’d love to hear from you! You can also hop on over to Instagram and say hello!

Rating: 5 out of 5 stars from 5 ratings
Tangy 2-Ingredient Labneh (Yogurt and Salt)
4
servings
10 mins
1 day
1 day 10 mins
Amina Al-Saigh
Labneh is a Middle Eastern soft cheese made from strained yogurt. In this easy recipe, you’ll learn how to make creamy, thick, and delicious Labneh with just two ingredients and simple steps! Perfect as a dip, for breakfast, and more.
Leave a Review
Pin Recipe
Ingredients
- 750 grams Natural Yogurt, 6% to 11% fat
- 1 teaspoon salt
Equipment
- cheesecloth
- strainer
Instructions
-

In a medium sized bowl, mix together the yogurt and the salt until well combined.
-
In a separate, deep bowl, place a mesh strainer so that it is elevated and not touching the bottom of the bowl. This space will collect the whey as it drains.
-
Lay your cheesecloth (or a clean, lint-free kitchen towel) inside the strainer, ensuring it lines the entire surface with some overhang.
-
Carefully spoon the yogurt/salt mixture into the cheesecloth-lined strainer. Gather the corners of the cheesecloth and tie them securely to form a pouch.
-
Ensure the yogurt pouch is elevated and not sitting in the liquid at the bottom of the bowl. You can achieve this by using a trivet, or by tying the cheesecloth to a wooden spoon and resting the spoon across the top of the bowl.
-
Place the entire setup in the refrigerator and allow it to strain for 24 hours for a dip-like consistency, or up to 48 hours for an even thicker, cream cheese-like spread.
-
Once strained to your liking, remove the Labneh from the cheesecloth. Immediately wash the cheesecloth.
-
Spread the Labneh onto a plate or into a bowl. Drizzle generously with olive oil and top with your preferred seasonings, such as Za’atar, or a mix of fried garlic and chili flakes. Serve with fresh pita bread or vegetables.
Notes
- If you don’t have a cheesecloth, a clean, lint-free kitchen towel or multiple layers of strong paper towels can be used as an alternative.
- For a dip-like consistency, strain the Labneh for 24 hours. For a thicker, more spreadable, cream cheese-like consistency (ideal for rolling into balls), strain it for 48 hours.
- Using yogurt with a higher fat percentage (e.g., full-fat) will yield an even creamier and richer Labneh.
- The collected whey can be used in smoothies, soups, or baking.
Nutrition
Serving: 1g, Calories: 114kcal, Carbohydrates: 9g, Protein: 7g, Fat: 6g, Saturated Fat: 4g, Polyunsaturated Fat: 0.2g, Monounsaturated Fat: 2g, Cholesterol: 24mg, Sodium: 668mg, Potassium: 291mg, Sugar: 9g, Vitamin A: 186IU, Vitamin C: 1mg, Calcium: 227mg, Iron: 0.1mg
⭐️ Did you make this recipe? Please leave a star rating and review below!