
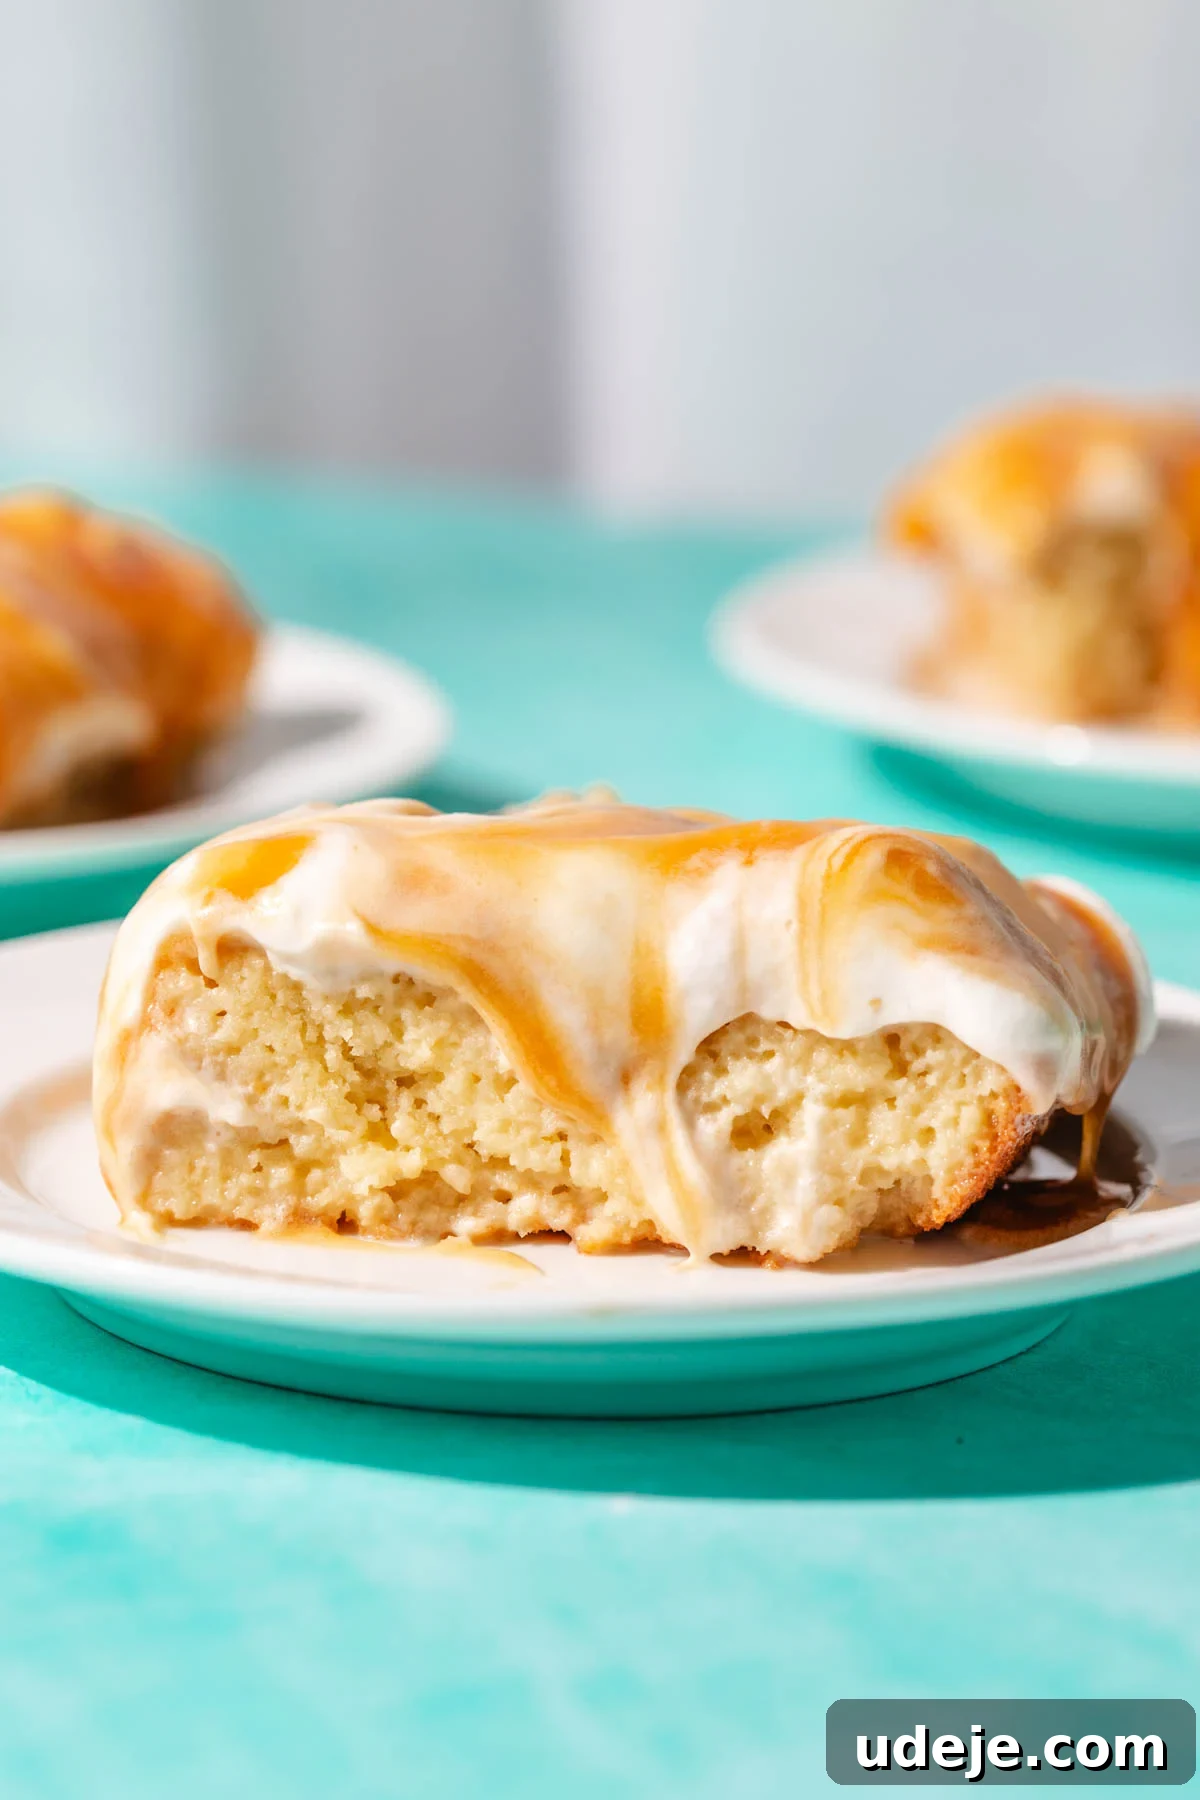
Embark on a delightful culinary journey with Turkish Tres Leches, affectionately known as Trileçe. This exquisite dessert is a celebrated Turkish adaptation of the beloved classic Mexican Tres Leches cake. Imagine a feather-light, airy sponge cake, generously drenched in a rich, sweet blend of three distinct milks. What truly sets the Turkish version apart is the glorious final layer: a glistening, buttery caramel sauce that adds an irresistible depth of flavor and a silky texture. This isn’t just a recipe; it’s a testament to how culinary traditions beautifully intertwine, creating something truly magical that captivates every palate.
The Intriguing Origins: What Makes Trileçe a Turkish Delicacy?
While many are familiar with the popular Latin American Tres Leches, a staple in Mexican cuisine, the Turkish Trileçe offers a captivating twist on this milky masterpiece. The Spanish term “tres leches” literally translates to ‘three milks,’ referring to the signature soaking mixture that imbues the cake with its uniquely moist and tender texture. Traditionally, this decadent blend consists of evaporated milk, sweetened condensed milk, and whole milk, creating a creamy symphony that transforms a simple sponge cake into a luxurious dessert. I’ve even explored variations like a saffron milk cake, which stands as a close contender for my favorite alongside this spectacular Trileçe.
Did you know? Tres Leches cake originated in Mexico, earning its name from the distinctive trio of milks (evaporated, condensed, and whole) used to soak its light and fluffy cake. It holds the esteemed title of Mexico’s national dessert, a true icon of Latin American confectionery!
The cake itself is designed to be exceptionally soft and airy, a perfect canvas for absorbing the luscious milk mixture. When done right, the texture is beyond compare – a moist, yet incredibly light and creamy sensation that simply melts in your mouth. It’s a truly indulgent experience, embodying richness without being overly heavy.
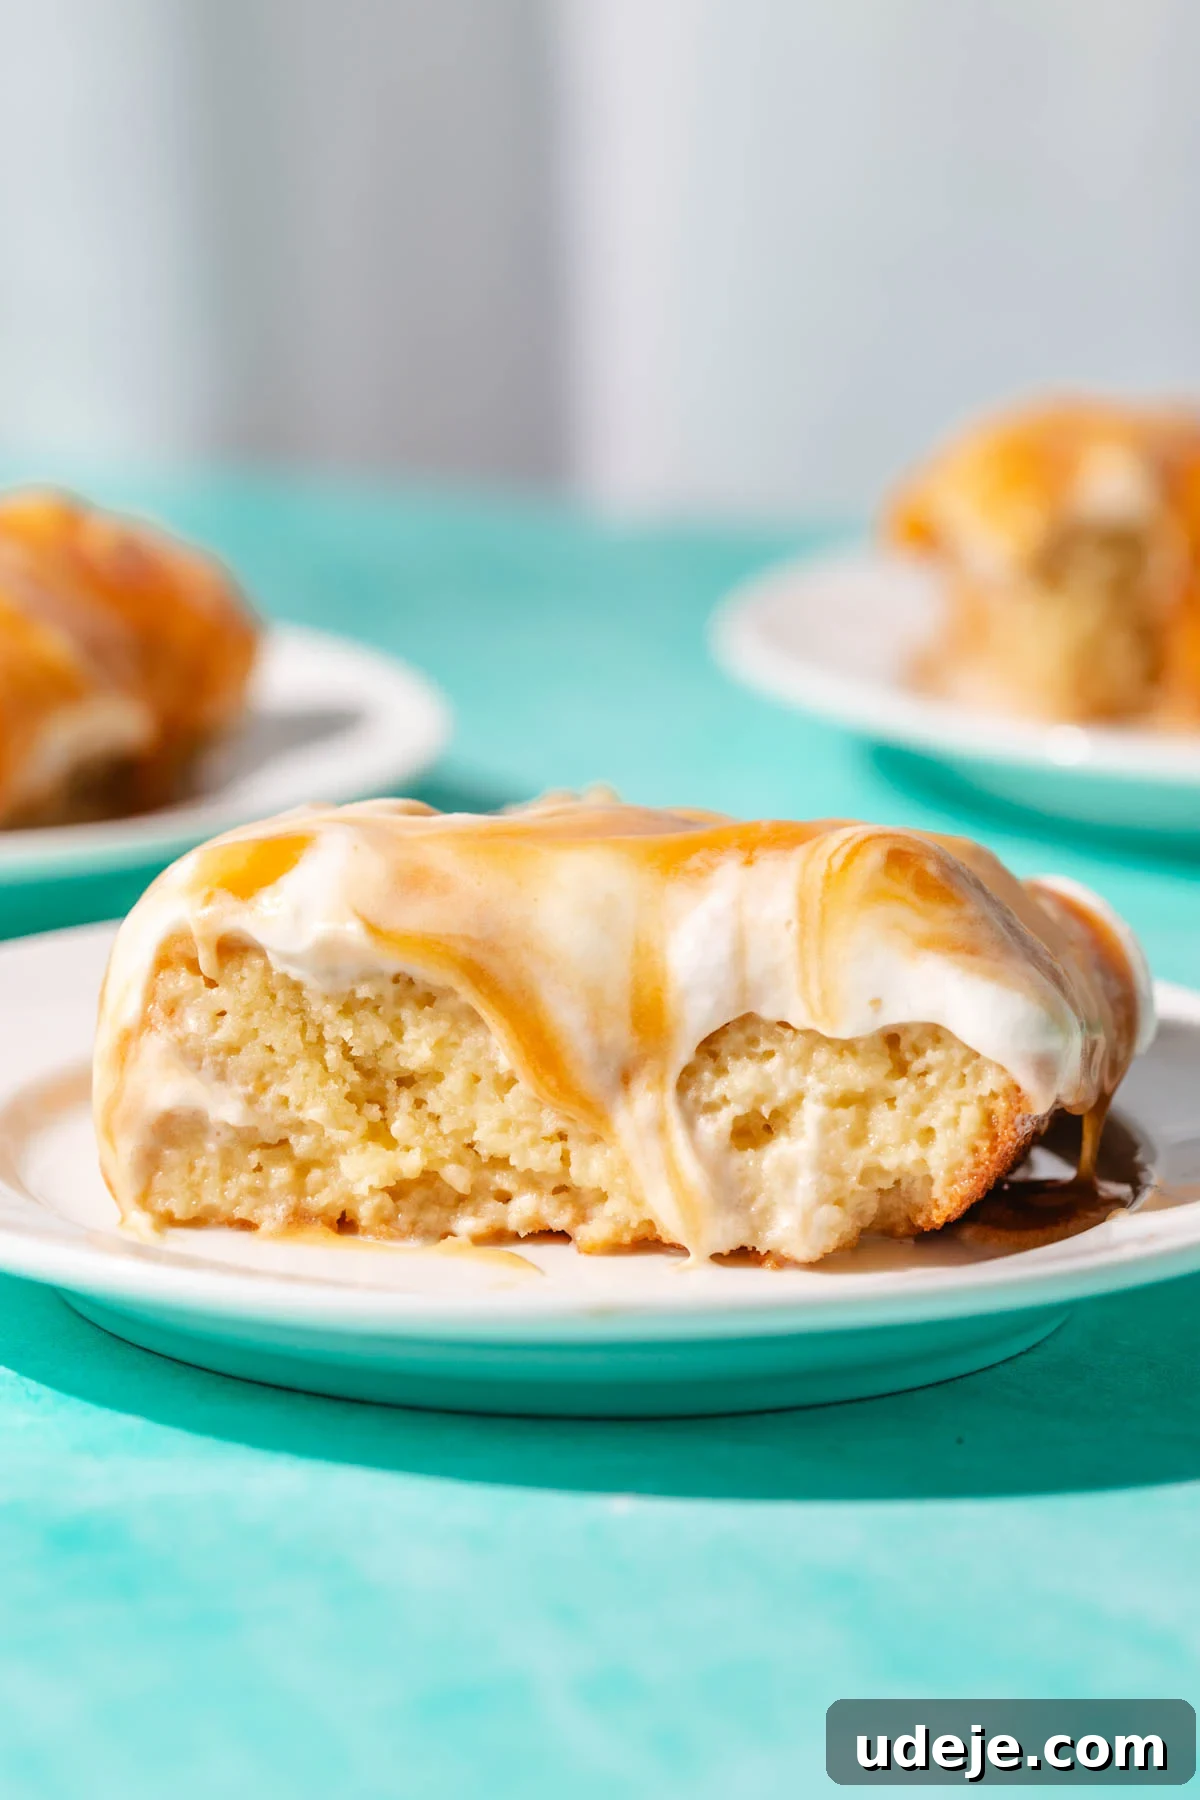
While Turkey is globally celebrated for its iconic baklava, Trileçe has firmly established itself as an equally beloved dessert across the nation. You’ll find it gracing the menus of countless Turkish cafes and restaurants, a testament to its widespread appeal. The unique Turkish, and indeed Albanian, interpretation introduces a smooth, buttery caramel sauce atop a generous layer of whipped cream. This caramel layer isn’t merely an addition; it’s a game-changer, infusing the dessert with a rich, caramelized sweetness and a buttery finish that beautifully distinguishes it from its Latin American counterpart. Some local variations even incorporate fragrant elements like mastic, offering an even more unique Turkish twist to this already exceptional dessert.
If you’re captivated by these types of creamy, comforting desserts, you absolutely must explore other delightful recipes such as my Creamy Pistachio Tiramisu, featuring delicate ladyfingers infused with coffee and layered with a rich pistachio cream, or the luscious Umm Ali, an Egyptian bread pudding that’s pure indulgence.
Essential Ingredients for Your Perfect Trileçe: A Breakdown
Crafting this delectable Turkish Tres Leches involves four primary components, each contributing to the dessert’s overall harmony. While the end result is impressively complex, you’ll find that each individual step is surprisingly straightforward. Let’s explore the star ingredients that bring this recipe to life!
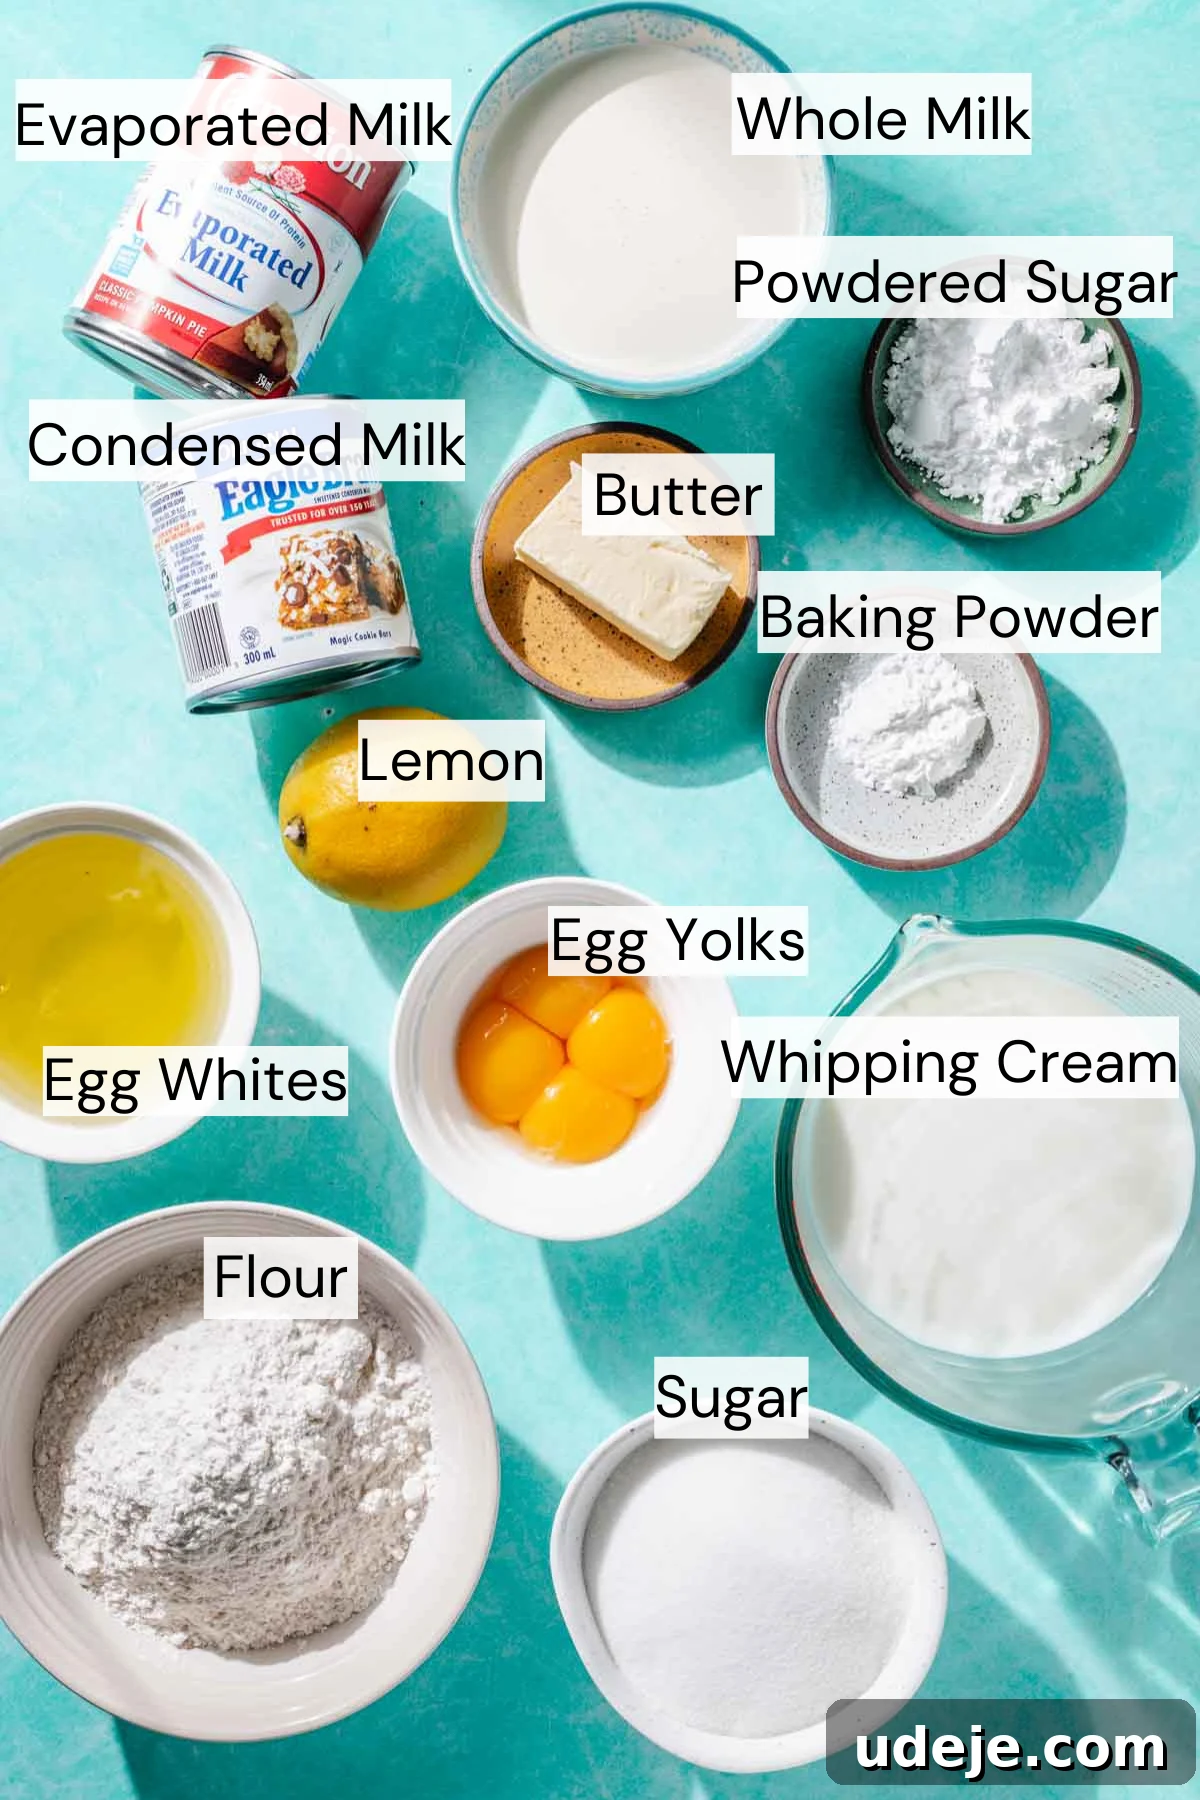
- For the Cake: The foundation of our Trileçe is a wonderfully light and airy sponge cake. The secret to its incredible texture lies in carefully whipping the egg whites and yolks separately. This technique ensures maximum aeration, resulting in a cake that is exceptionally light and features numerous tiny air pockets, perfect for soaking up the rich milk mixture. Combined with sugar, a touch of vanilla for aroma, milk for tenderness, and flour, it creates a delicate base.
Pro Tip: You might notice the cake recipe contains very little fat (aside from the egg yolks). This is a deliberate choice! The absence of additional fat promotes the formation of those crucial air pockets, allowing the sponge to become a super-absorbent vessel for the creamy three-milk bath.
- The Three Milks: This is truly the magic element of any Tres Leches. Our trio consists of evaporated milk, sweetened condensed milk, and whole milk. Each milk plays a vital role: the whole milk and evaporated milk contribute to the cake’s ultimate creaminess and luxurious mouthfeel, while the sweetened condensed milk delivers that unmistakable milky sweetness and density, transforming the humble sponge into a rich, moist delicacy.
- Whipped Cream: A generous, fluffy topping of whipped cream provides a beautiful contrast to the soaked cake and rich caramel. To achieve the ideal consistency – light, airy, and creamy – we use a heavy cream with at least 35% fat content. A small amount of powdered sugar is added not just for sweetness, but also to stabilize the cream and enhance its smooth texture.
- Caramel: The crowning glory of Turkish Trileçe. Creating the perfect caramel involves cooking sugar, butter, and heavy cream together until they reach a luscious, pourable, syrupy consistency. This homemade caramel offers a depth of flavor and a velvety smoothness that elevates the entire dessert, adding a decadent, buttery, and slightly salty counterpoint to the sweetness of the cake.
Crafting the Perfect Trileçe: A Step-by-Step Guide
Let’s walk through the process of creating this show-stopping dessert, ensuring every step is clear and achievable.
Step 1: Bake the Light and Airy Sponge Cake.
Begin by preheating your oven to 350°F (175°C) and prepare your 9×13 inch baking pan. For best results and to allow the cake to rise optimally by gripping the sides, use an ungreased glass pan.
The first critical step for a light sponge is separating the egg whites from the yolks. Crack an egg over a bowl, gently passing the yolk back and forth between the two halves of the shell until the white completely separates and falls into the bowl below. Transfer the yolk to a separate bowl.
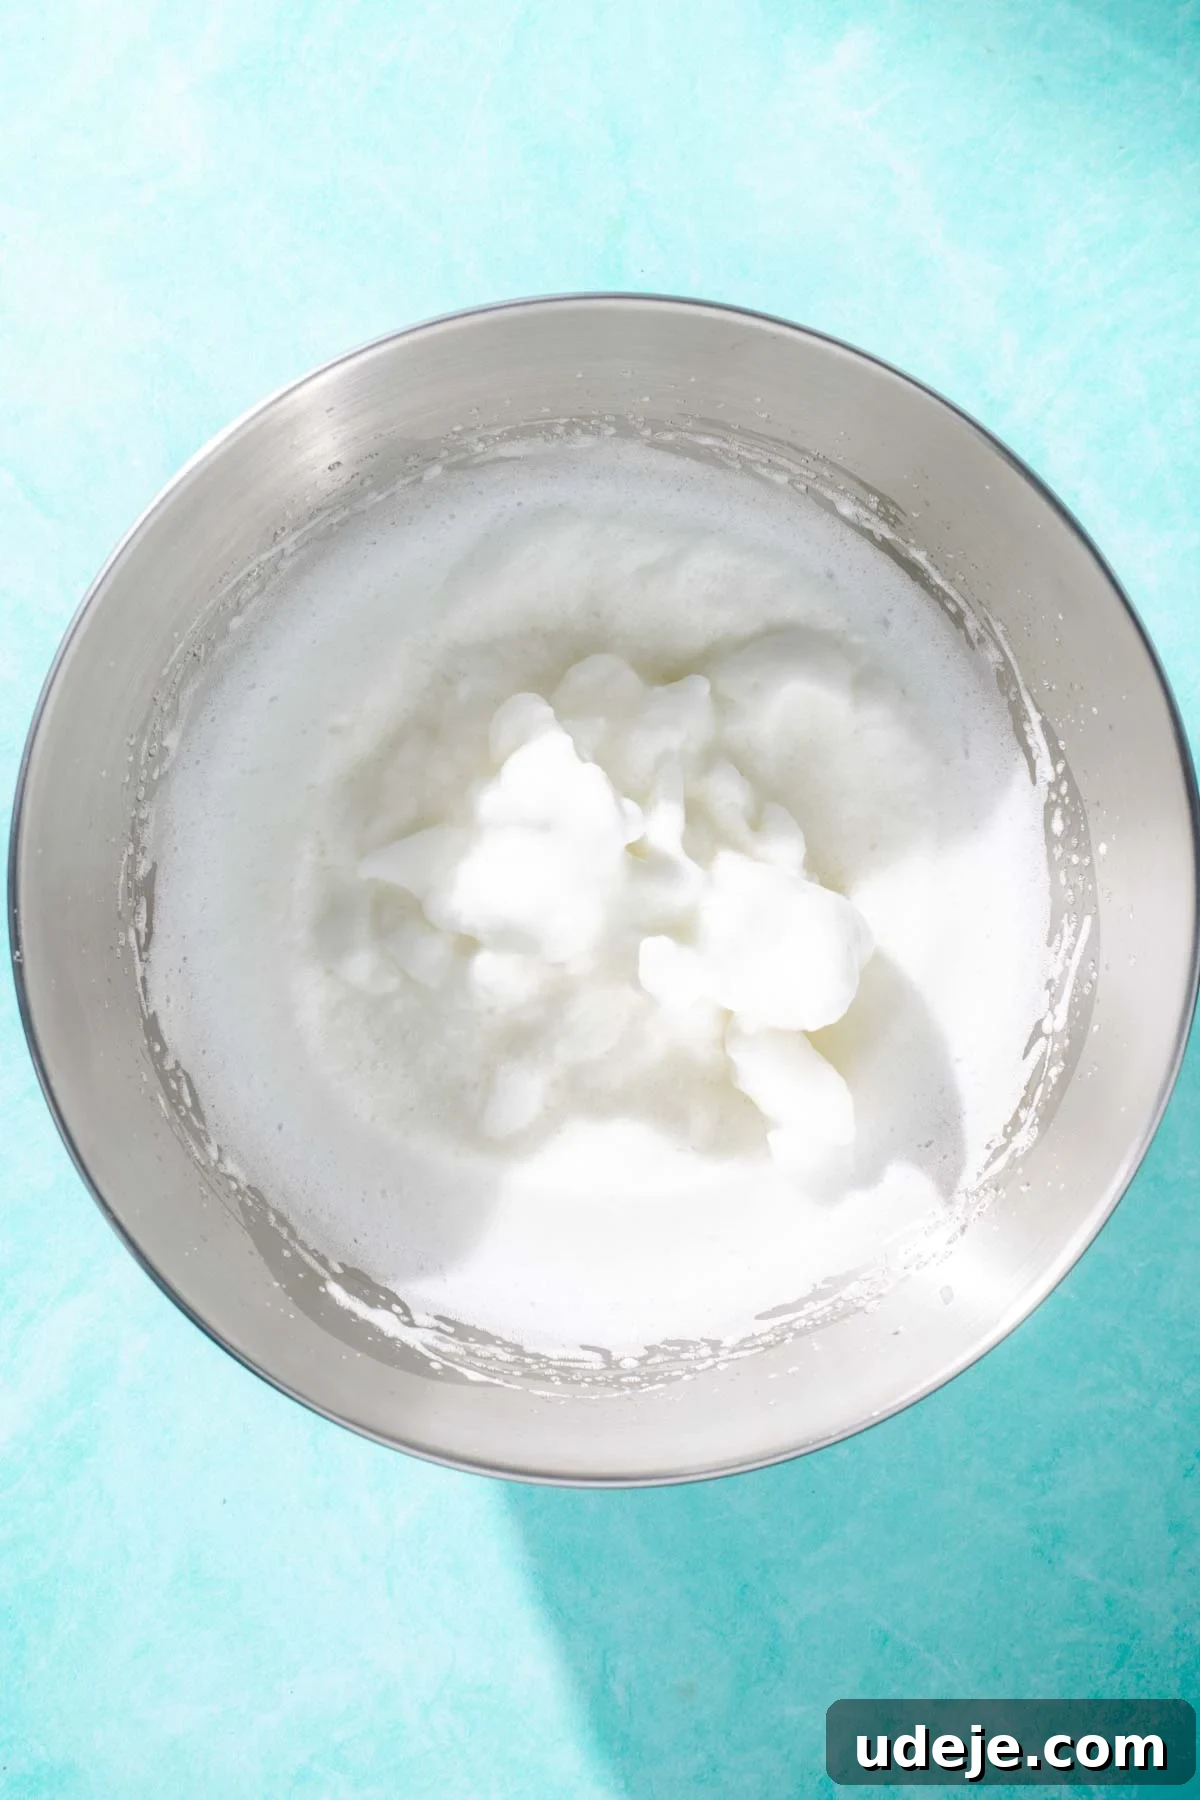
In a meticulously clean mixer bowl (absolutely no trace of fat or grease, which can prevent proper whipping), beat the egg whites on medium to high speed. As they start to become foamy, add a tiny splash of lemon juice. The acidity from the lemon juice helps to stabilize the egg whites, allowing them to achieve greater volume and a more stable structure. Continue beating while gradually incorporating about a quarter of your measured sugar until medium to stiff peaks form. These peaks should hold their shape when the whisk is lifted, but still have a slight curl at the tip for medium peaks, or stand upright for stiff peaks.
Important Tip: To avoid ruining an entire batch of egg whites, separate each egg individually into a small, separate bowl first. If a yolk accidentally breaks into the white, you’ll only sacrifice one egg (which can be saved for breakfast!) rather than contaminating your main bowl of whites, which then won’t whip properly.
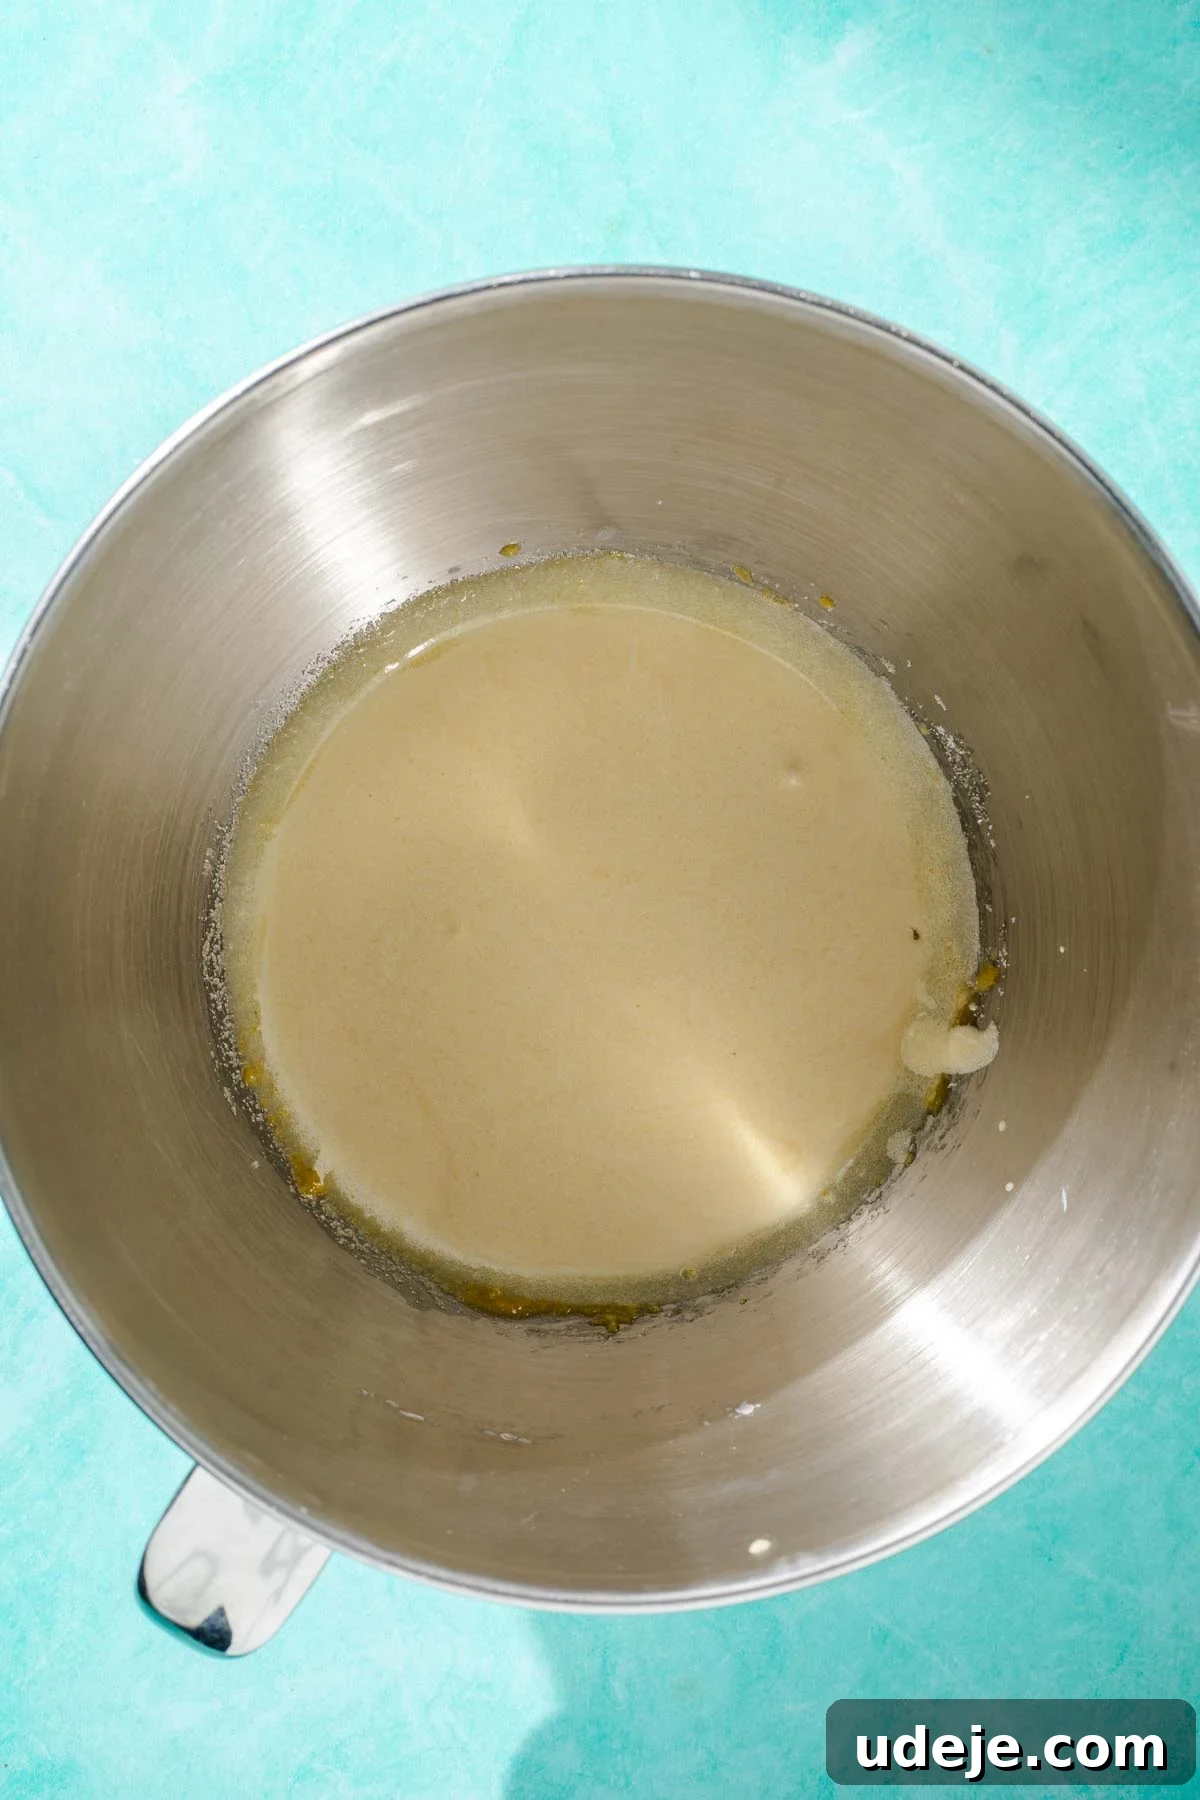
In a separate bowl, combine the egg yolks with vanilla extract and the remaining sugar. Whip them together until the mixture becomes visibly thicker, pale in color, and creamy in consistency. Once achieved, gently mix in the whole milk by hand until it’s thoroughly incorporated into the yolk mixture.
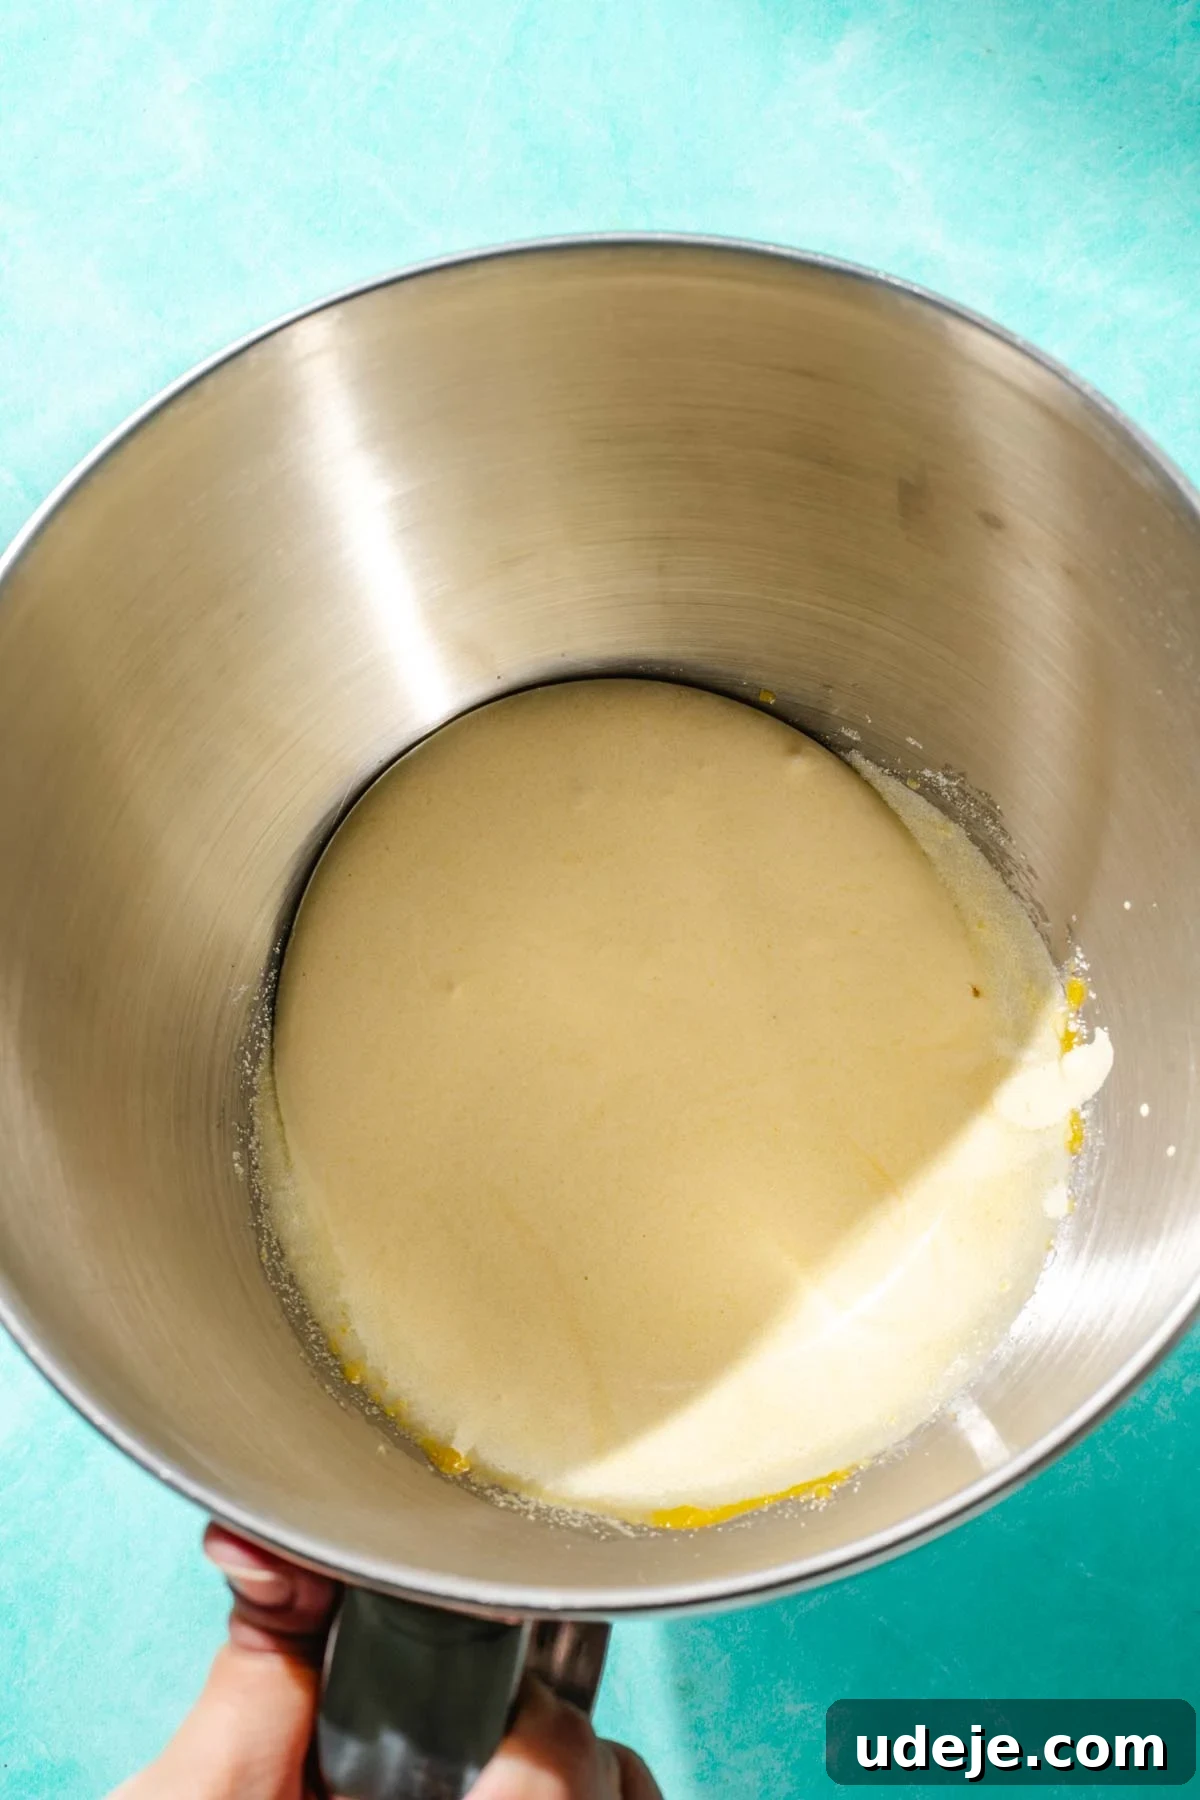
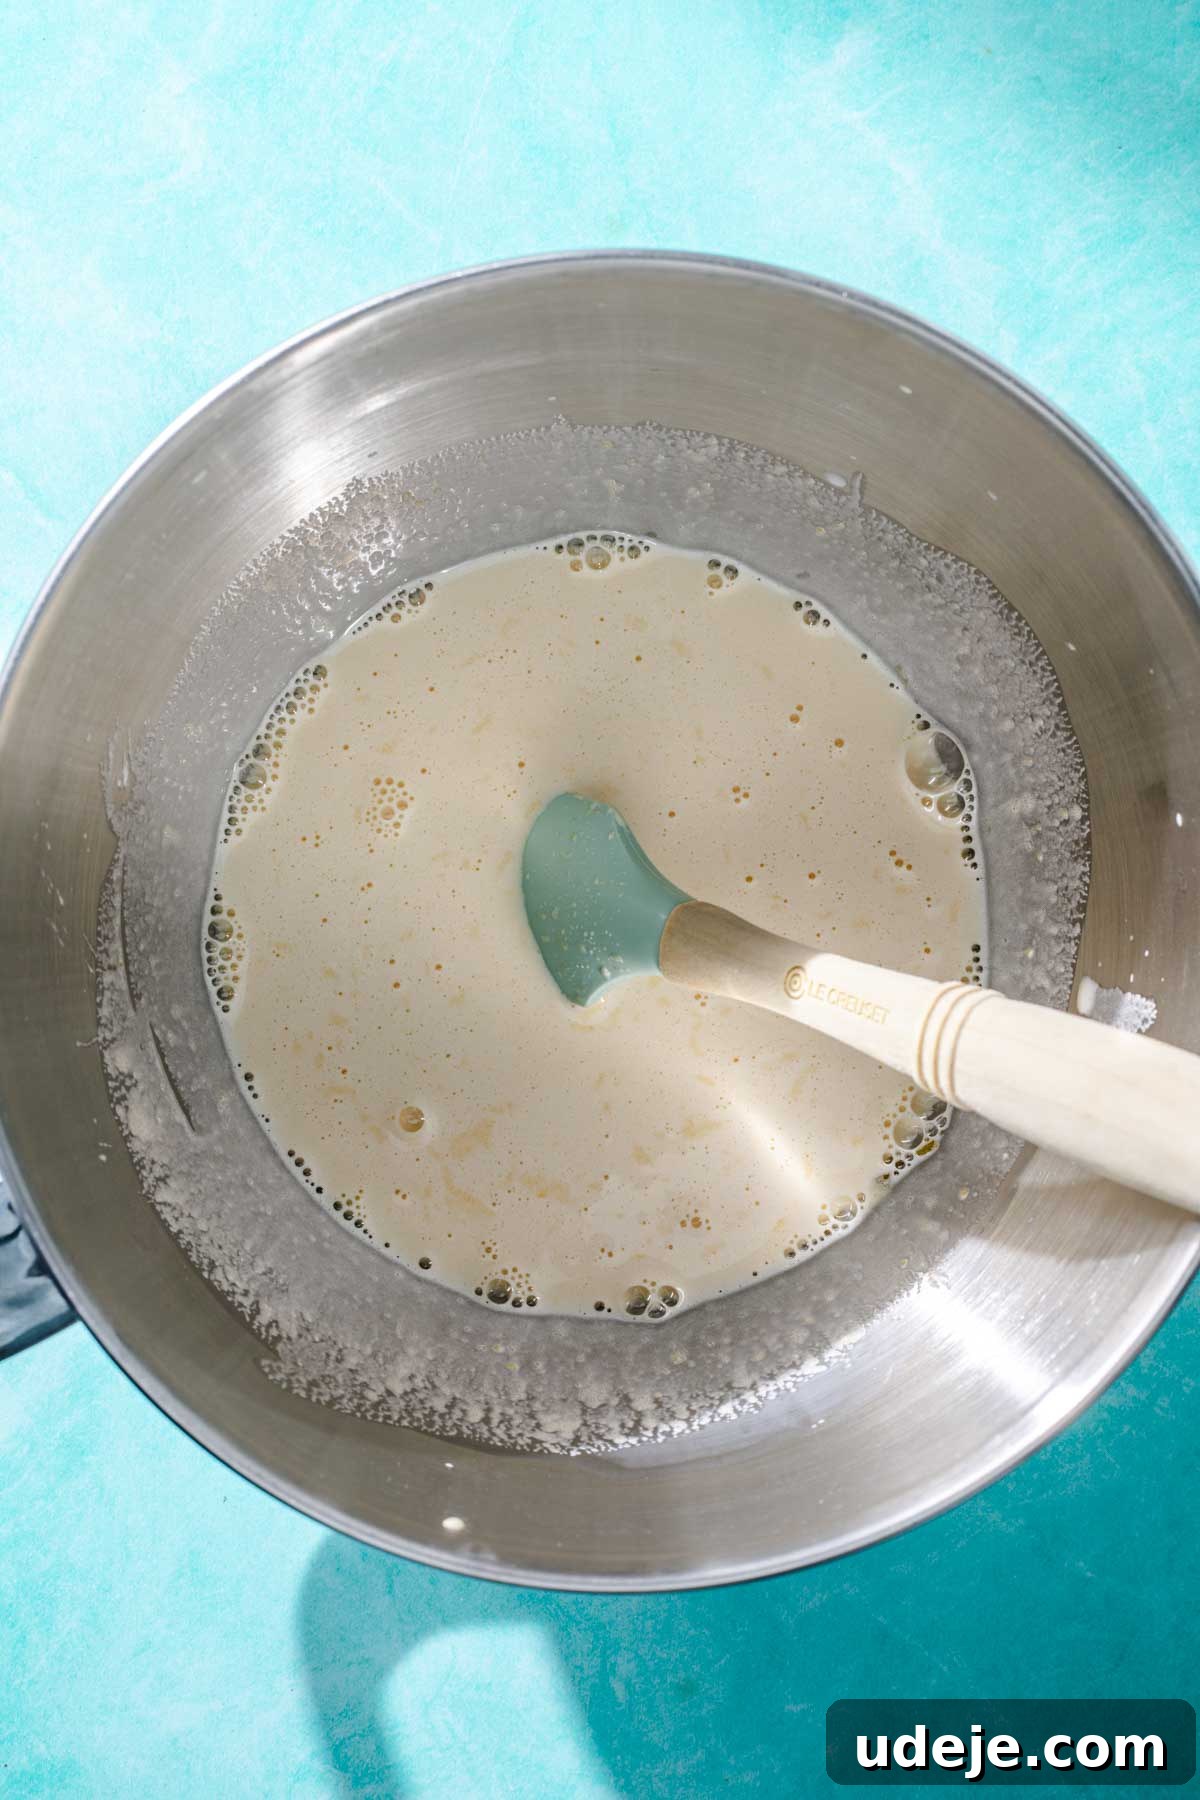
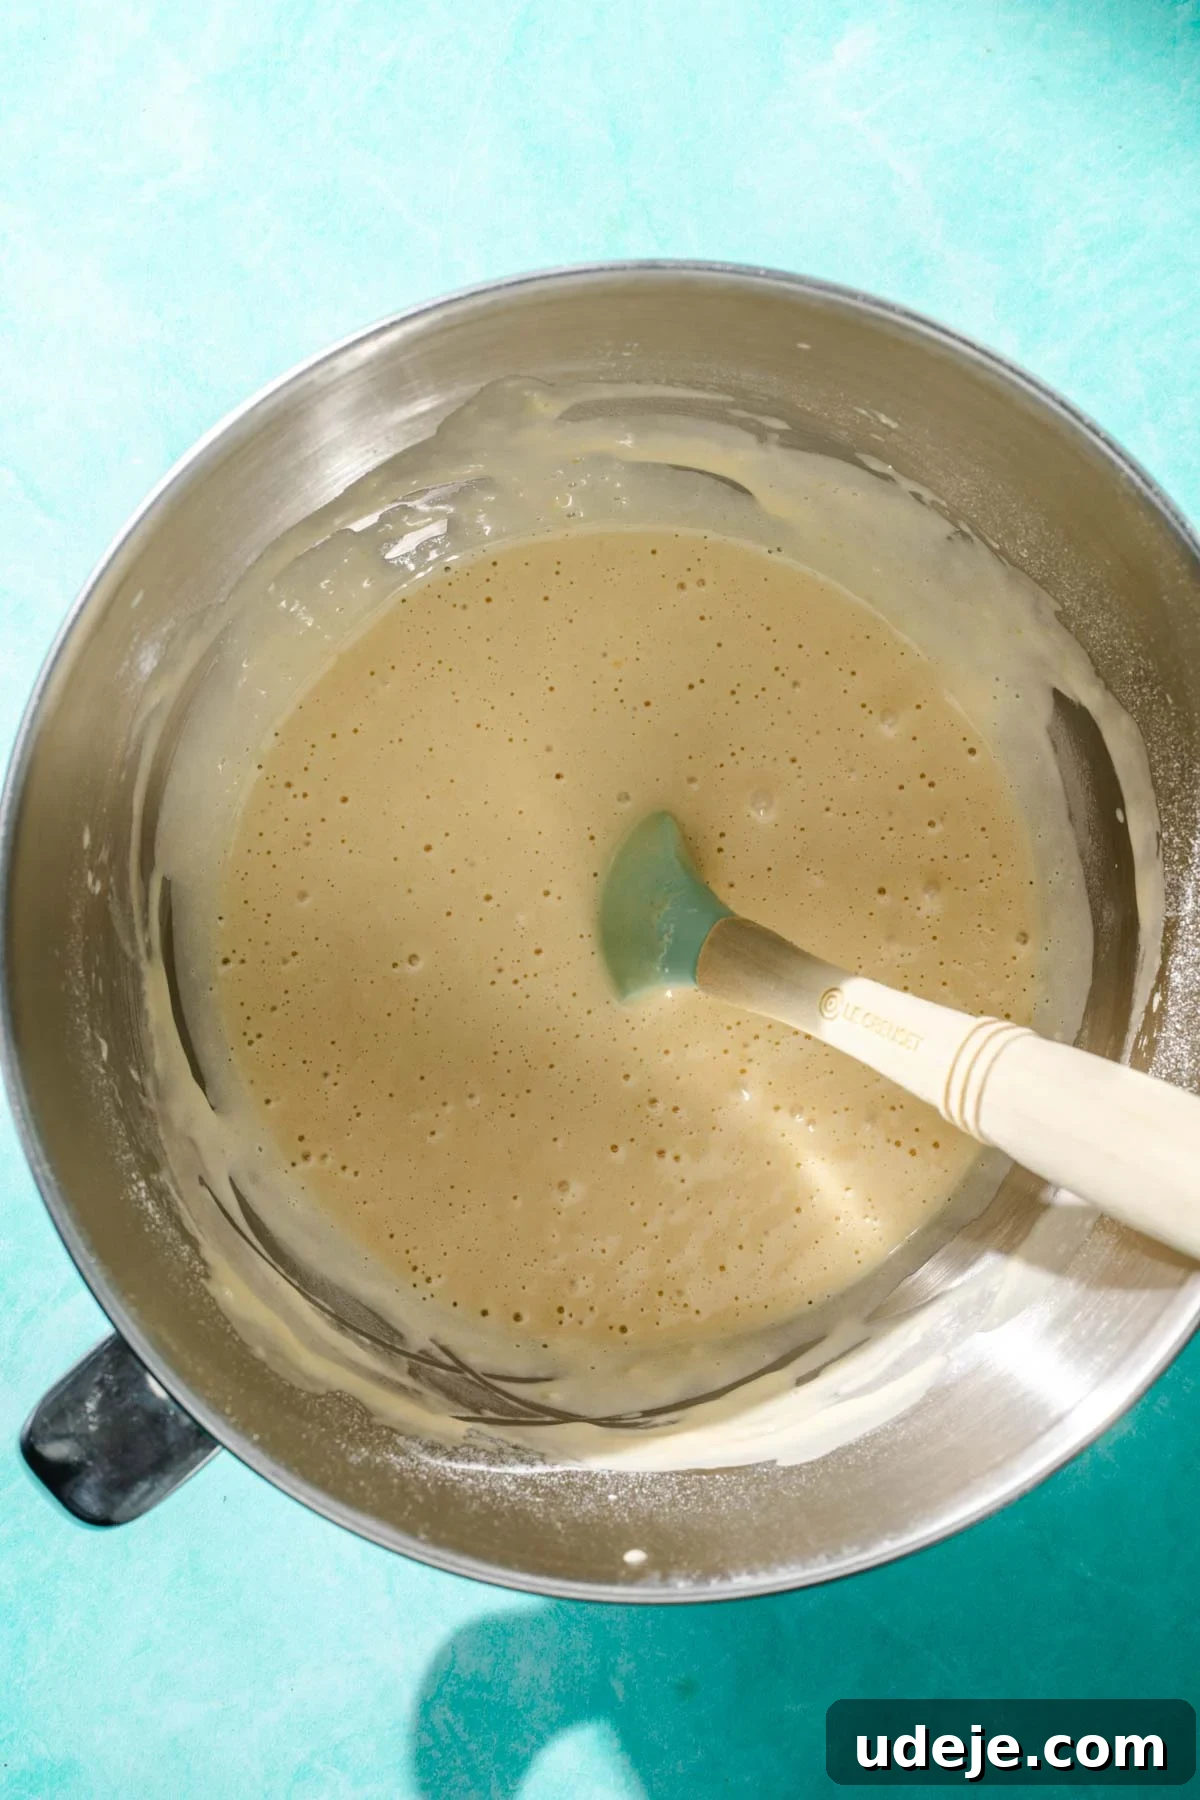
Now, sift the flour, baking powder, and salt directly into your yolk mixture. Sifting is crucial here as it removes any lumps and helps to aerate the dry ingredients, leading to a finer, softer cake crumb. Using a whisk, gently combine these ingredients until no dry streaks of flour are visible. Exercise extreme caution at this stage:
A Word of Caution: Overmixing the batter after adding flour can be detrimental! Excessive mixing develops the gluten in the flour, leading to a tough, dry, and chewy cake, which is the exact opposite of the delicate texture we desire for Tres Leches. Mix just until combined.
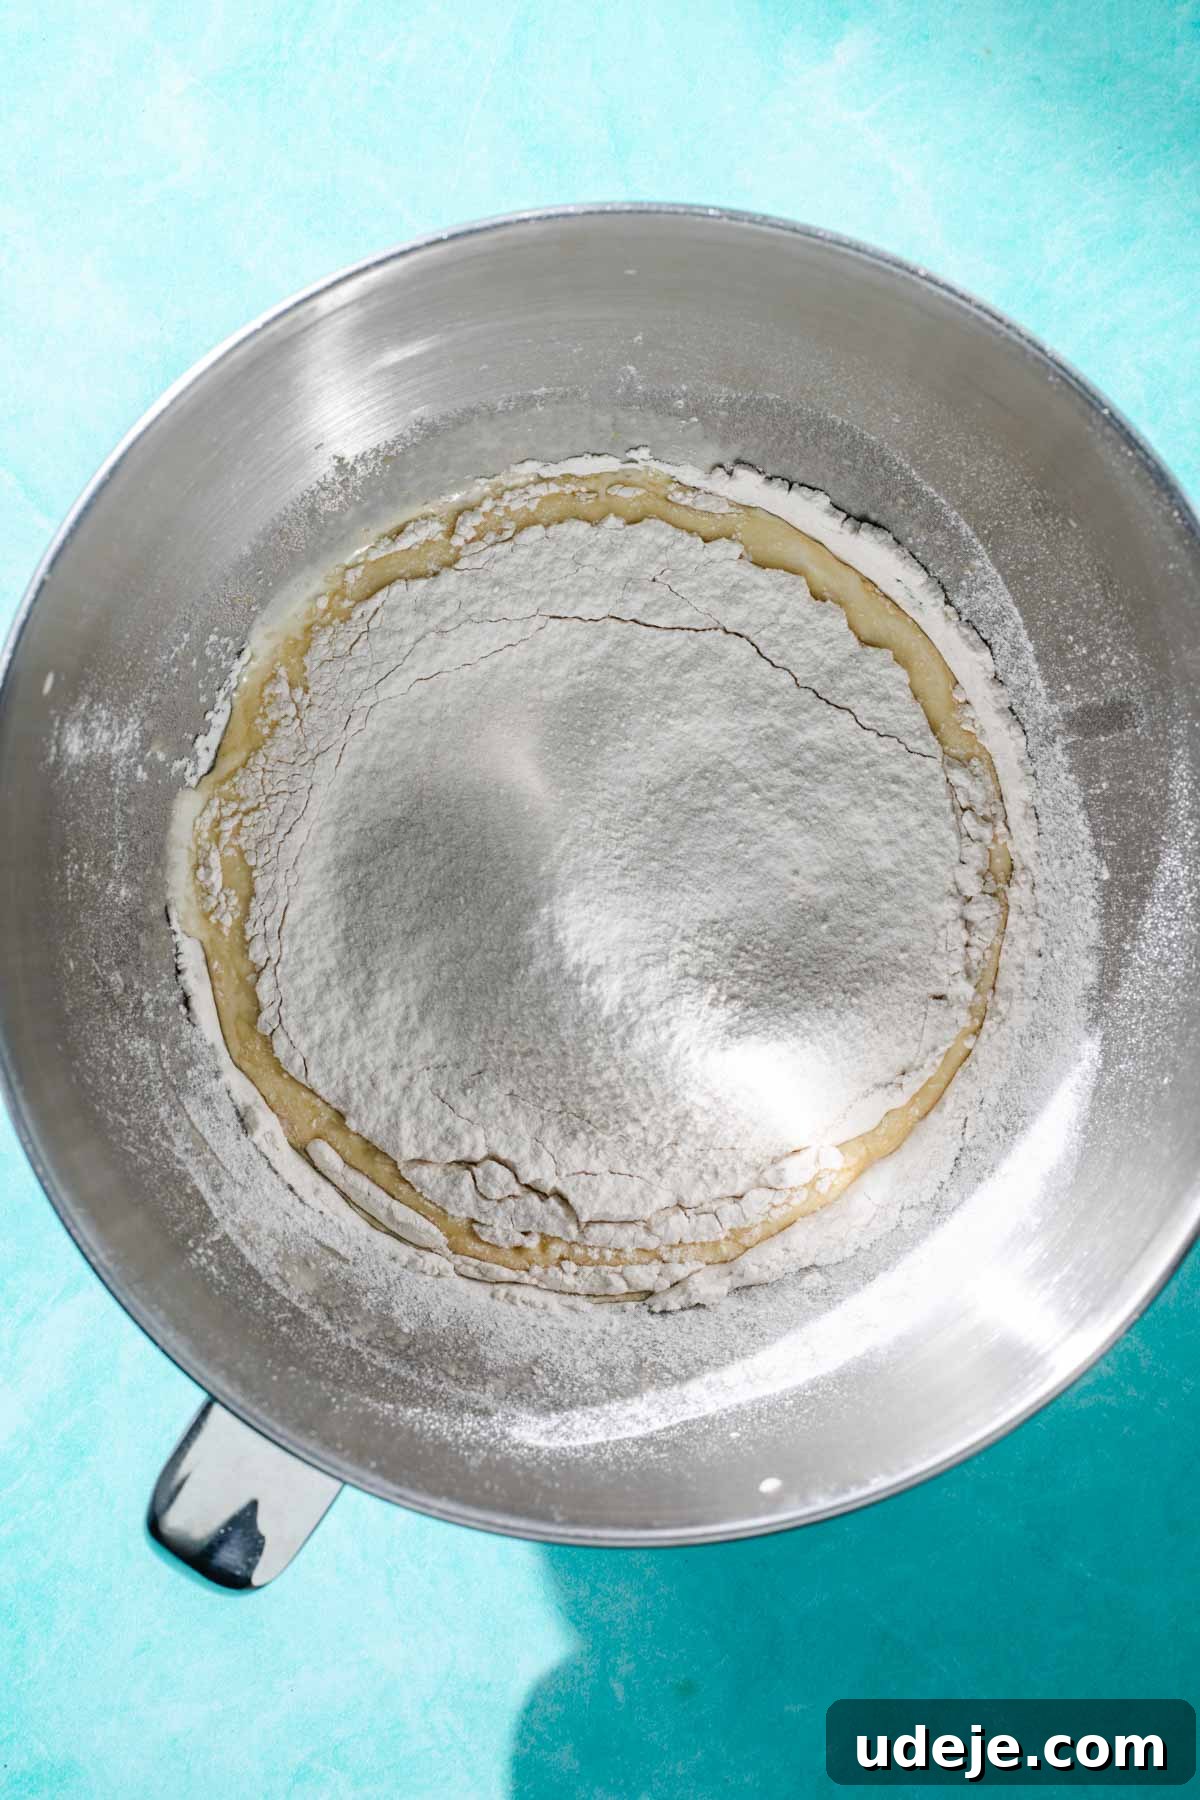
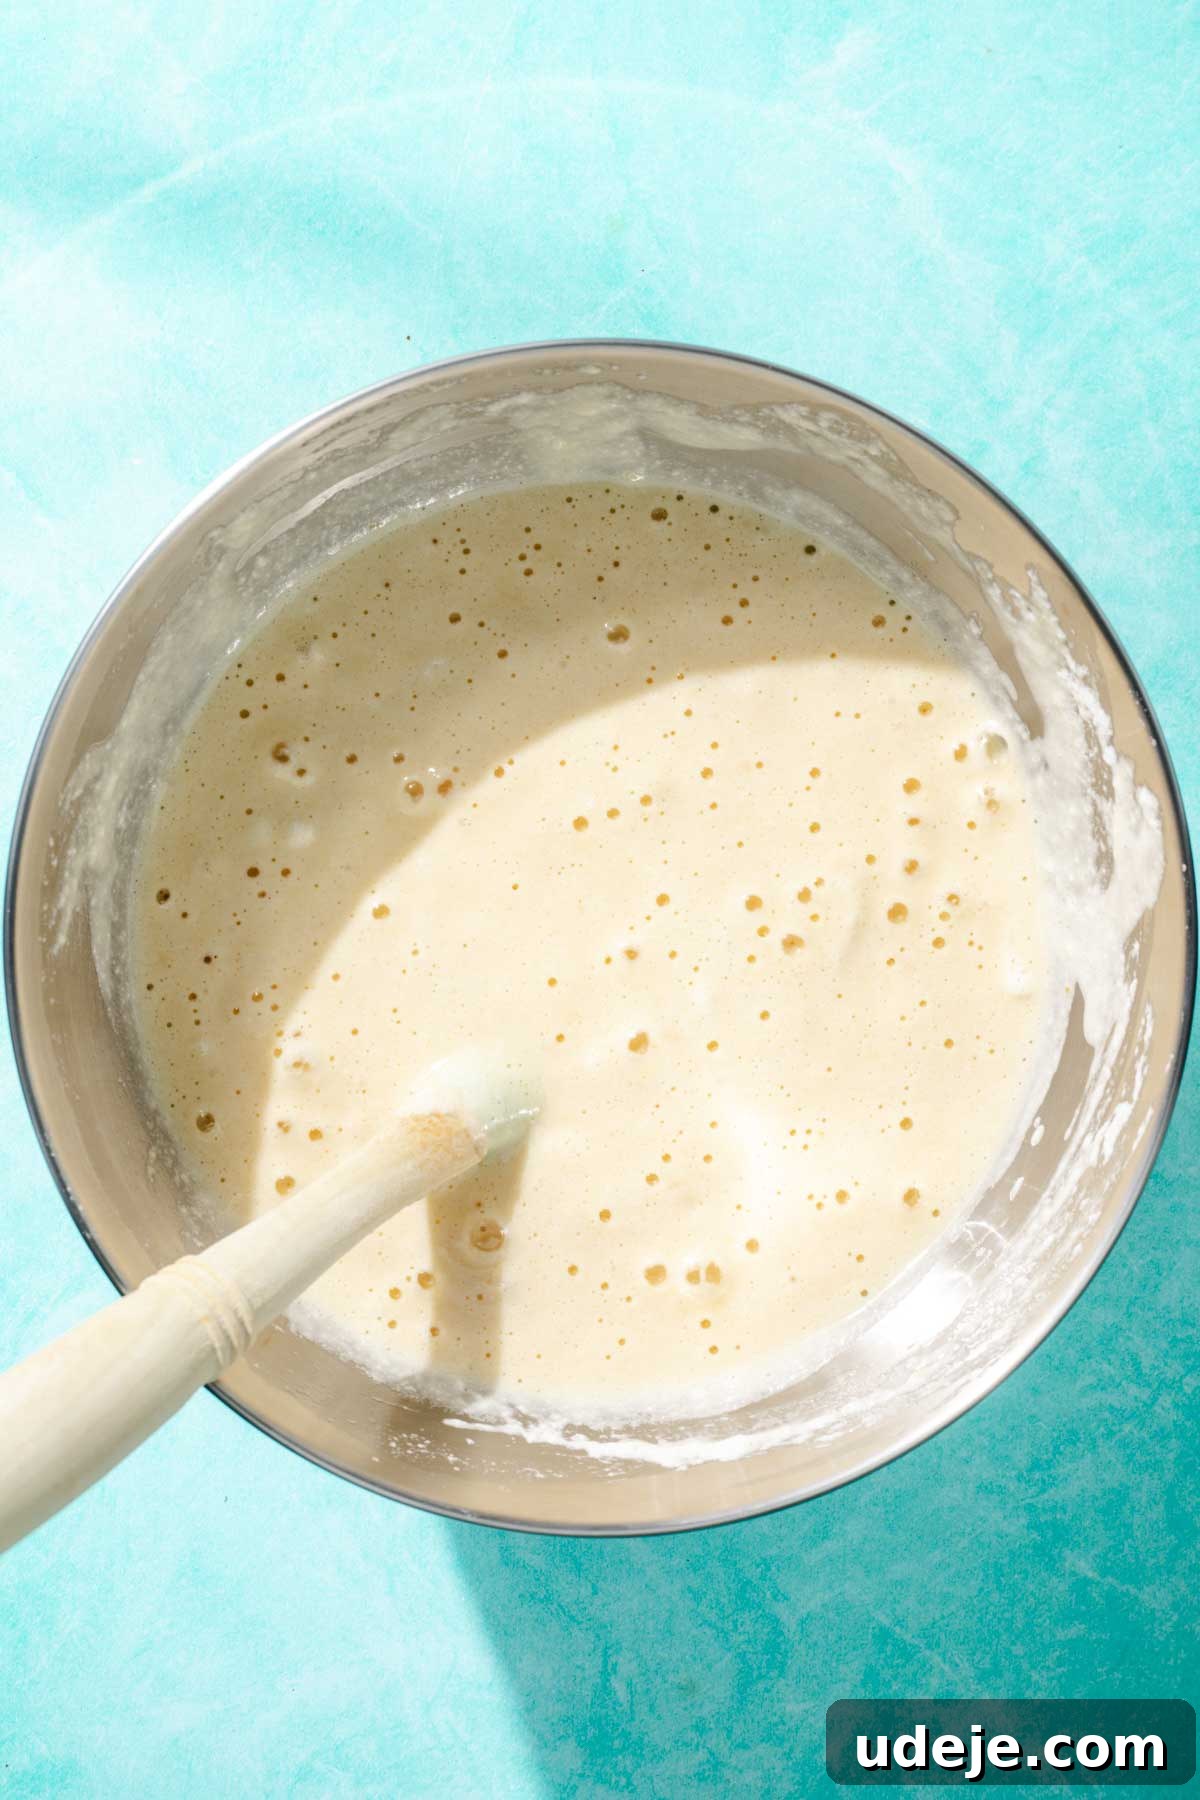
Now, it’s time to gently incorporate the whipped egg whites into the yolk and flour batter. This step requires a delicate touch to preserve the airiness. Start by folding about one-quarter of the whipped egg whites into the thicker batter. This lightens the batter, making it easier to integrate the remaining whites without deflating them. Mix this portion fairly well, but again, avoid overmixing. Then, transfer the lightened batter into the bowl with the remaining whipped egg whites and continue folding gently with a spatula. Use a circular motion, sweeping from the bottom of the bowl upwards, then folding over the top. The goal is to combine the mixtures until no white streaks of egg white are visible, and the batter maintains its light, airy volume.
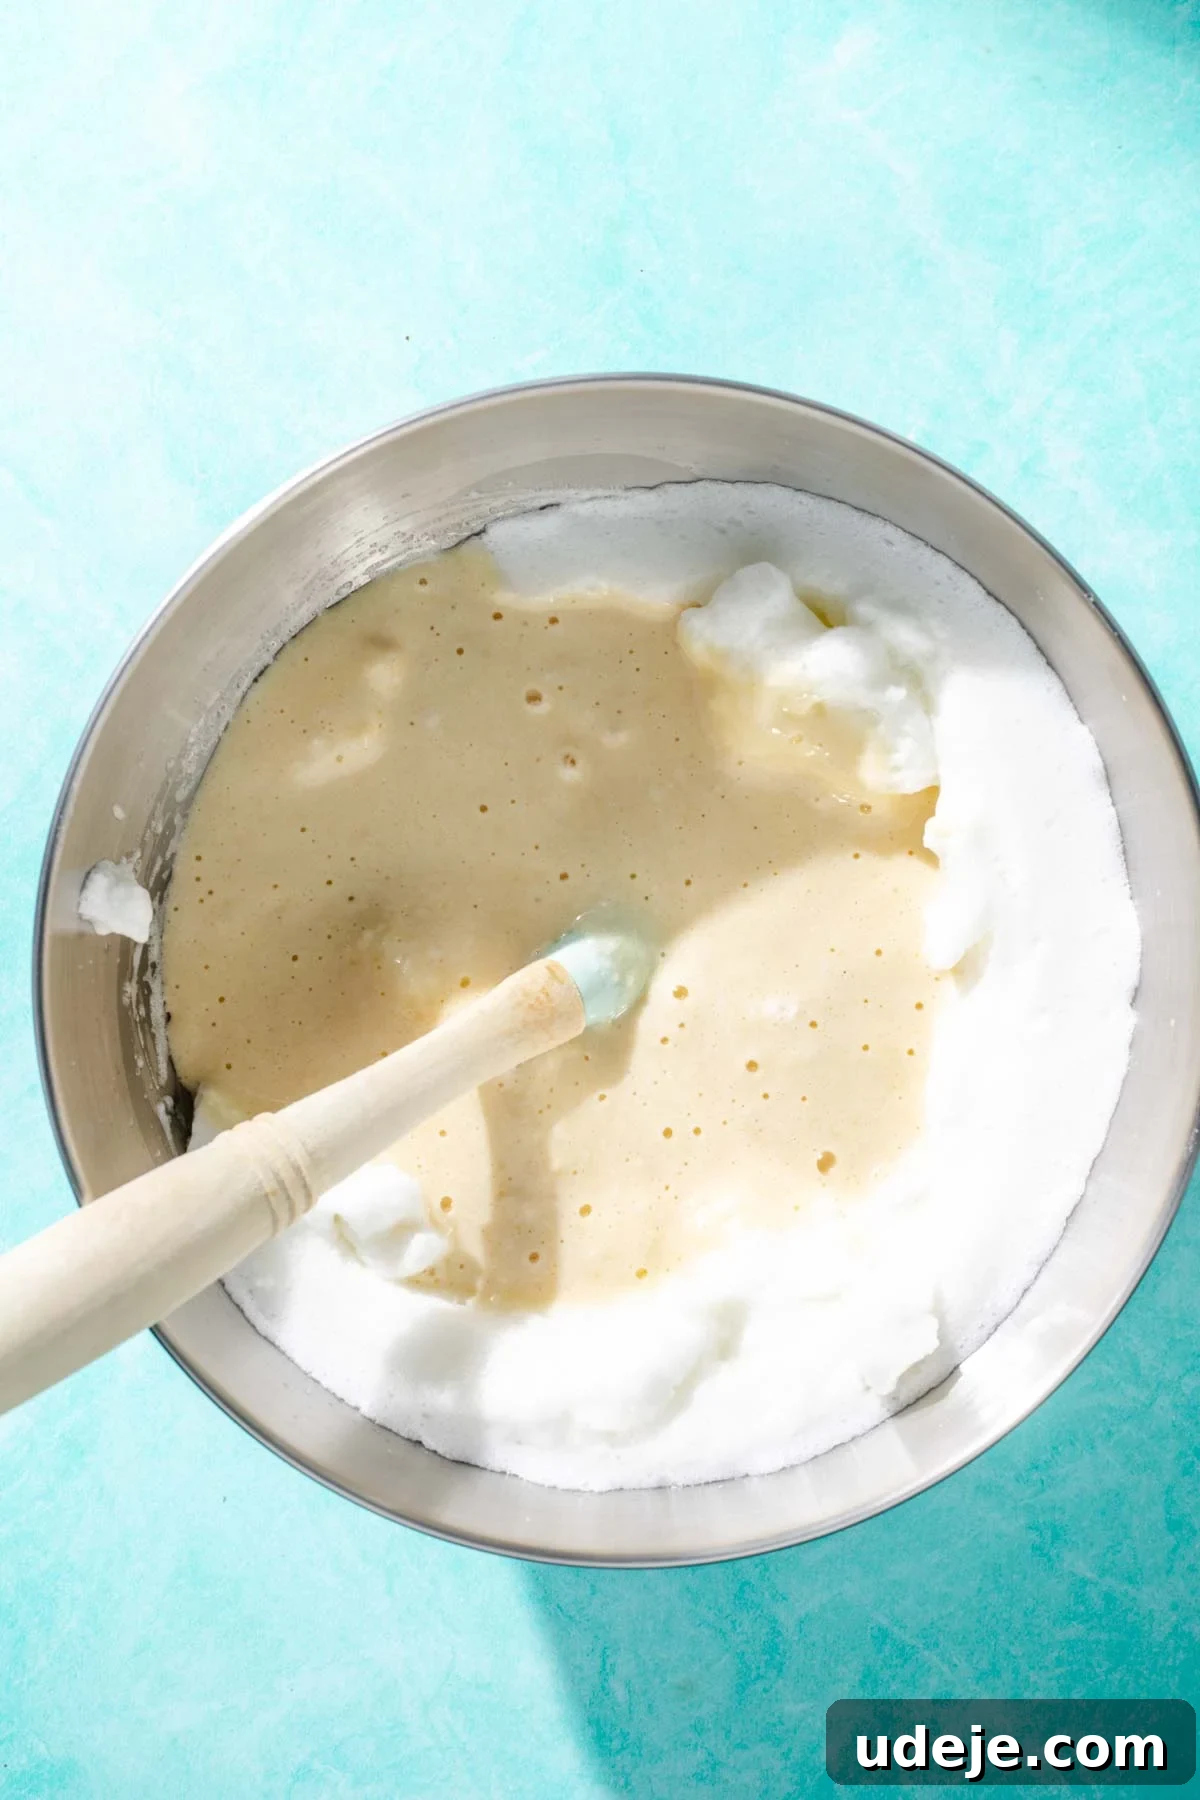
The folding technique is paramount here, as it allows us to retain as much of the precious air whipped into the egg whites as possible. This ensures your cake will be incredibly light, tender, and full of the small air pockets essential for absorbing the milk mixture. Your finished batter should appear cohesive, fluffy, and without any visible streaks of unmixed egg white or yolk batter. Pour this delicate batter into your ungreased 9×13 inch baking pan. You should observe numerous small bubbles and air pockets within the batter—this is a perfect indicator that you’ve succeeded in maintaining its airy structure. Bake for 30-35 minutes at 350°F (175°C), or until a toothpick inserted into the center emerges clean, signifying it’s perfectly cooked through.
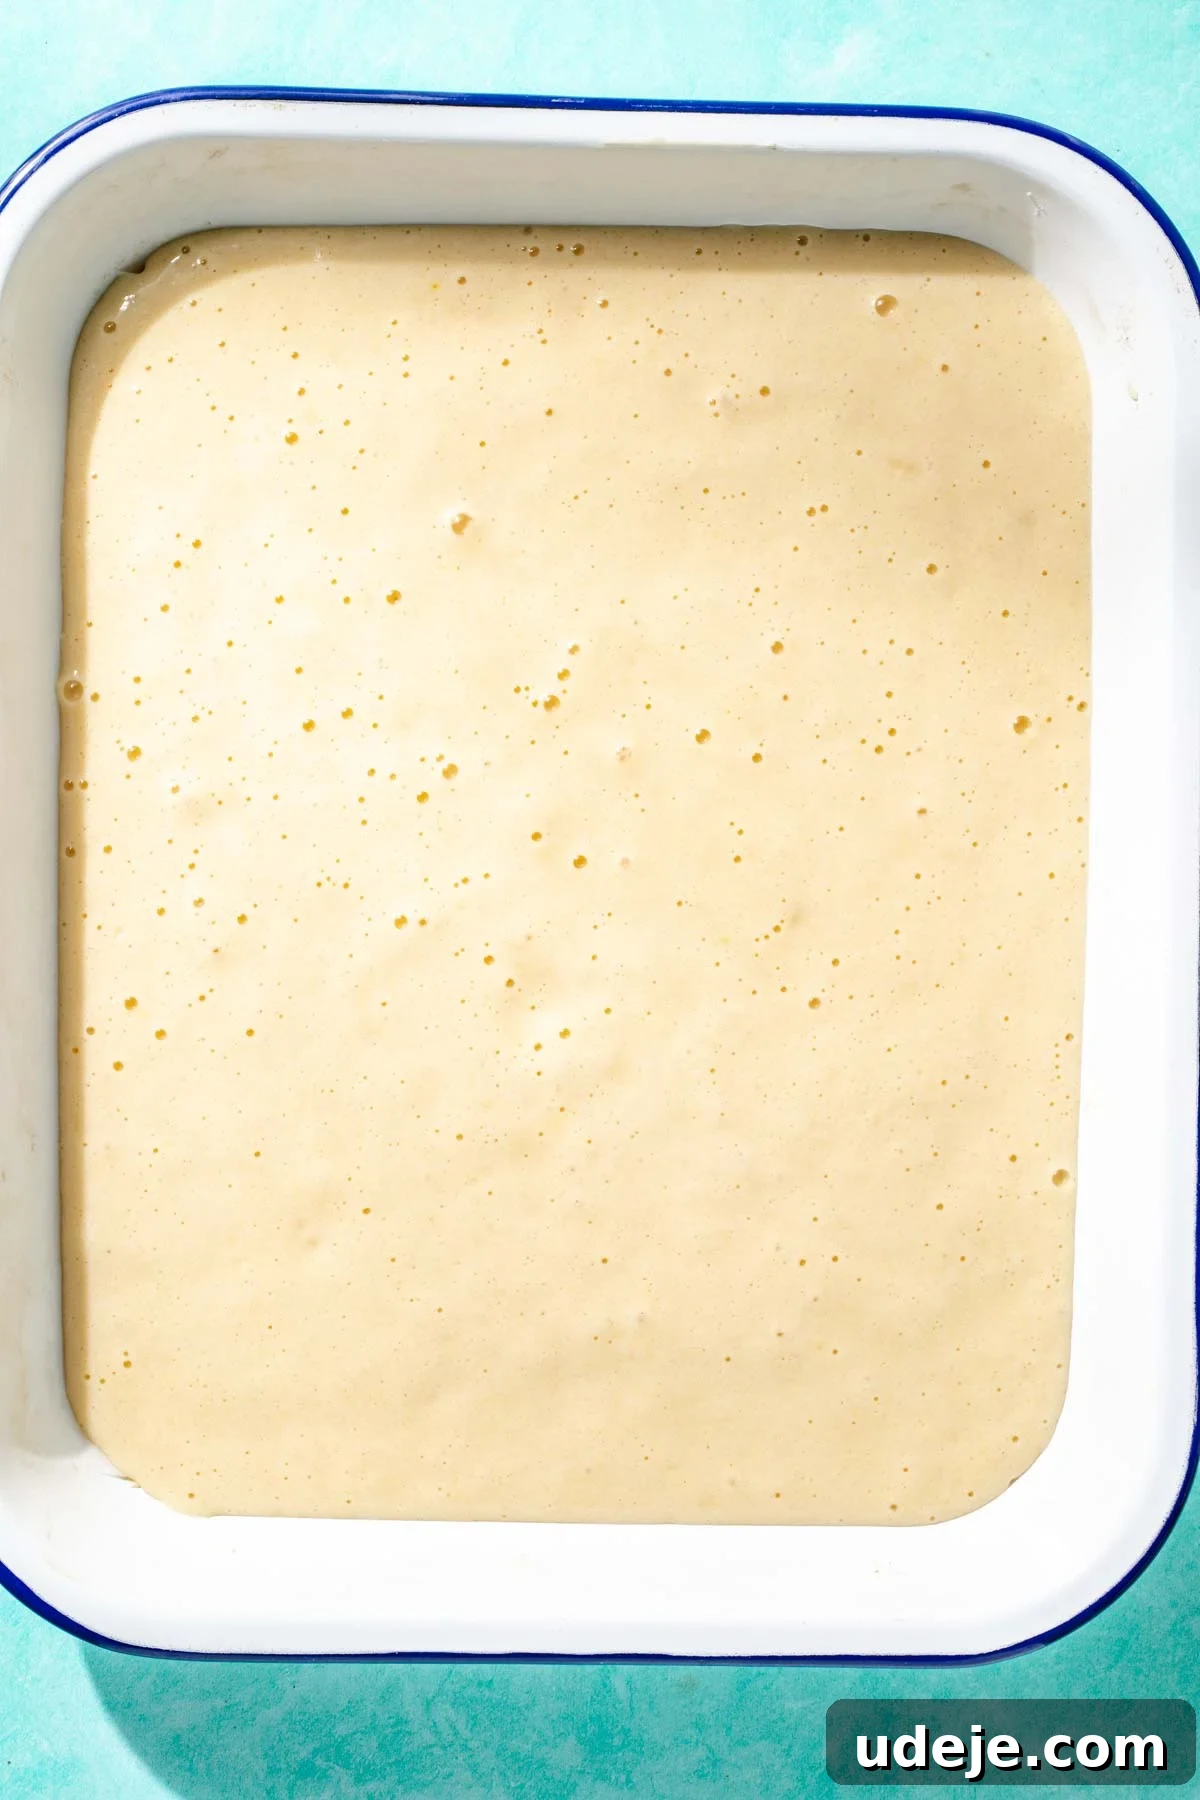
Step 2: Master the Art of Homemade Caramel Sauce.
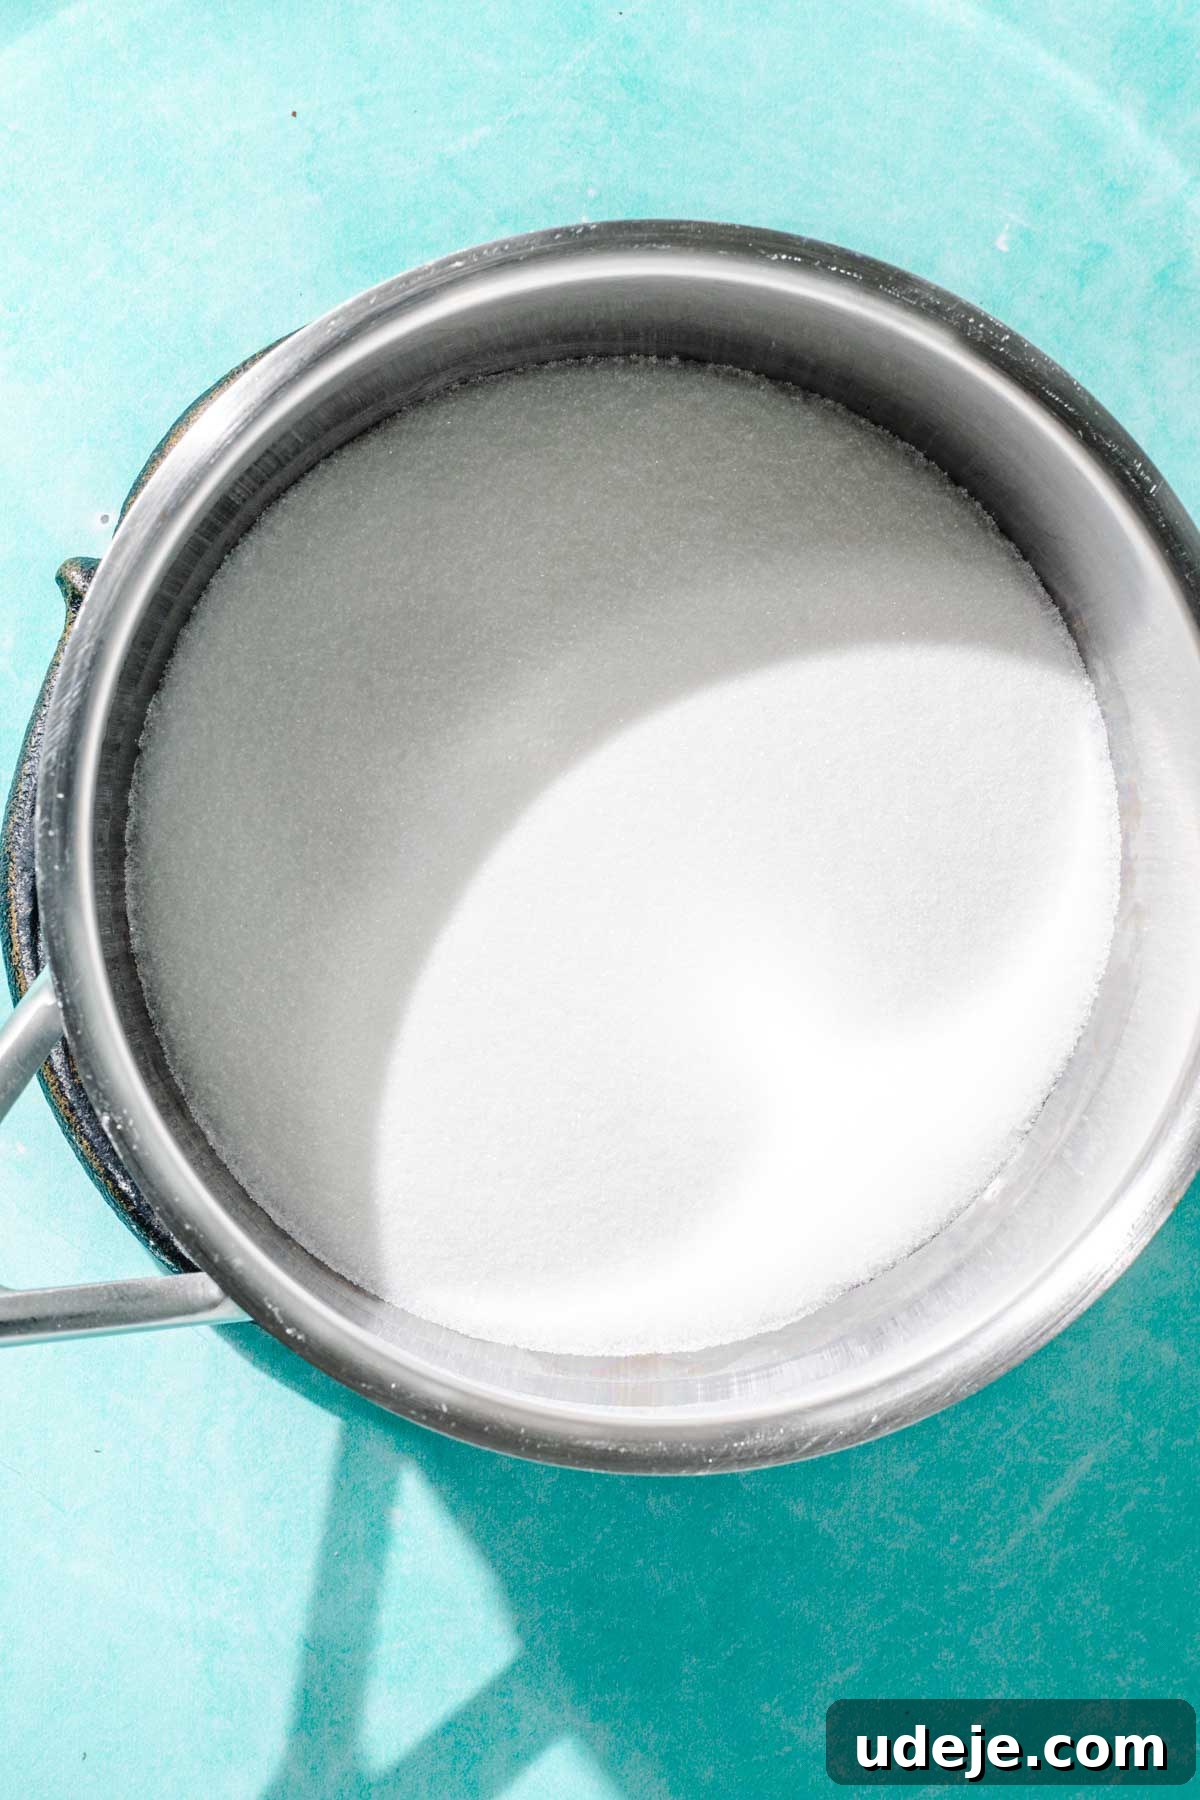
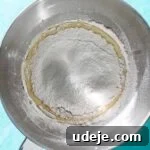
While your cake is baking, you can begin preparing the glorious caramel sauce. This will be the distinct Turkish touch. Start by pouring the sugar into a thick-bottomed saucepan. The importance of a heavy-bottomed pan cannot be overstated, as it ensures even heat distribution, preventing the sugar from burning in spots before it fully melts. Place the saucepan over medium-high heat.
As the sugar crystals begin to melt and liquefy, use a heat-proof spatula or a wooden spoon to gently push the melting sugar from the middle towards the outer edges of the pan, bringing the already melted, golden edges inwards. This constant, gentle stirring helps the sugar melt uniformly and prevents localized burning. Don’t worry if you notice some small clumps initially; they will eventually melt into a smooth liquid. Continue this process until all the sugar has completely melted and transformed into a beautiful, amber-golden liquid. This stage usually takes about 5 minutes.
Critical Warning: This is a moment that demands your full attention! Caramel can transform from a perfect golden hue to a bitter, burnt mess in mere seconds. Do not step away from the stove, do not check your phone, and keep stirring diligently. Vigilance is key to a flawless caramel.
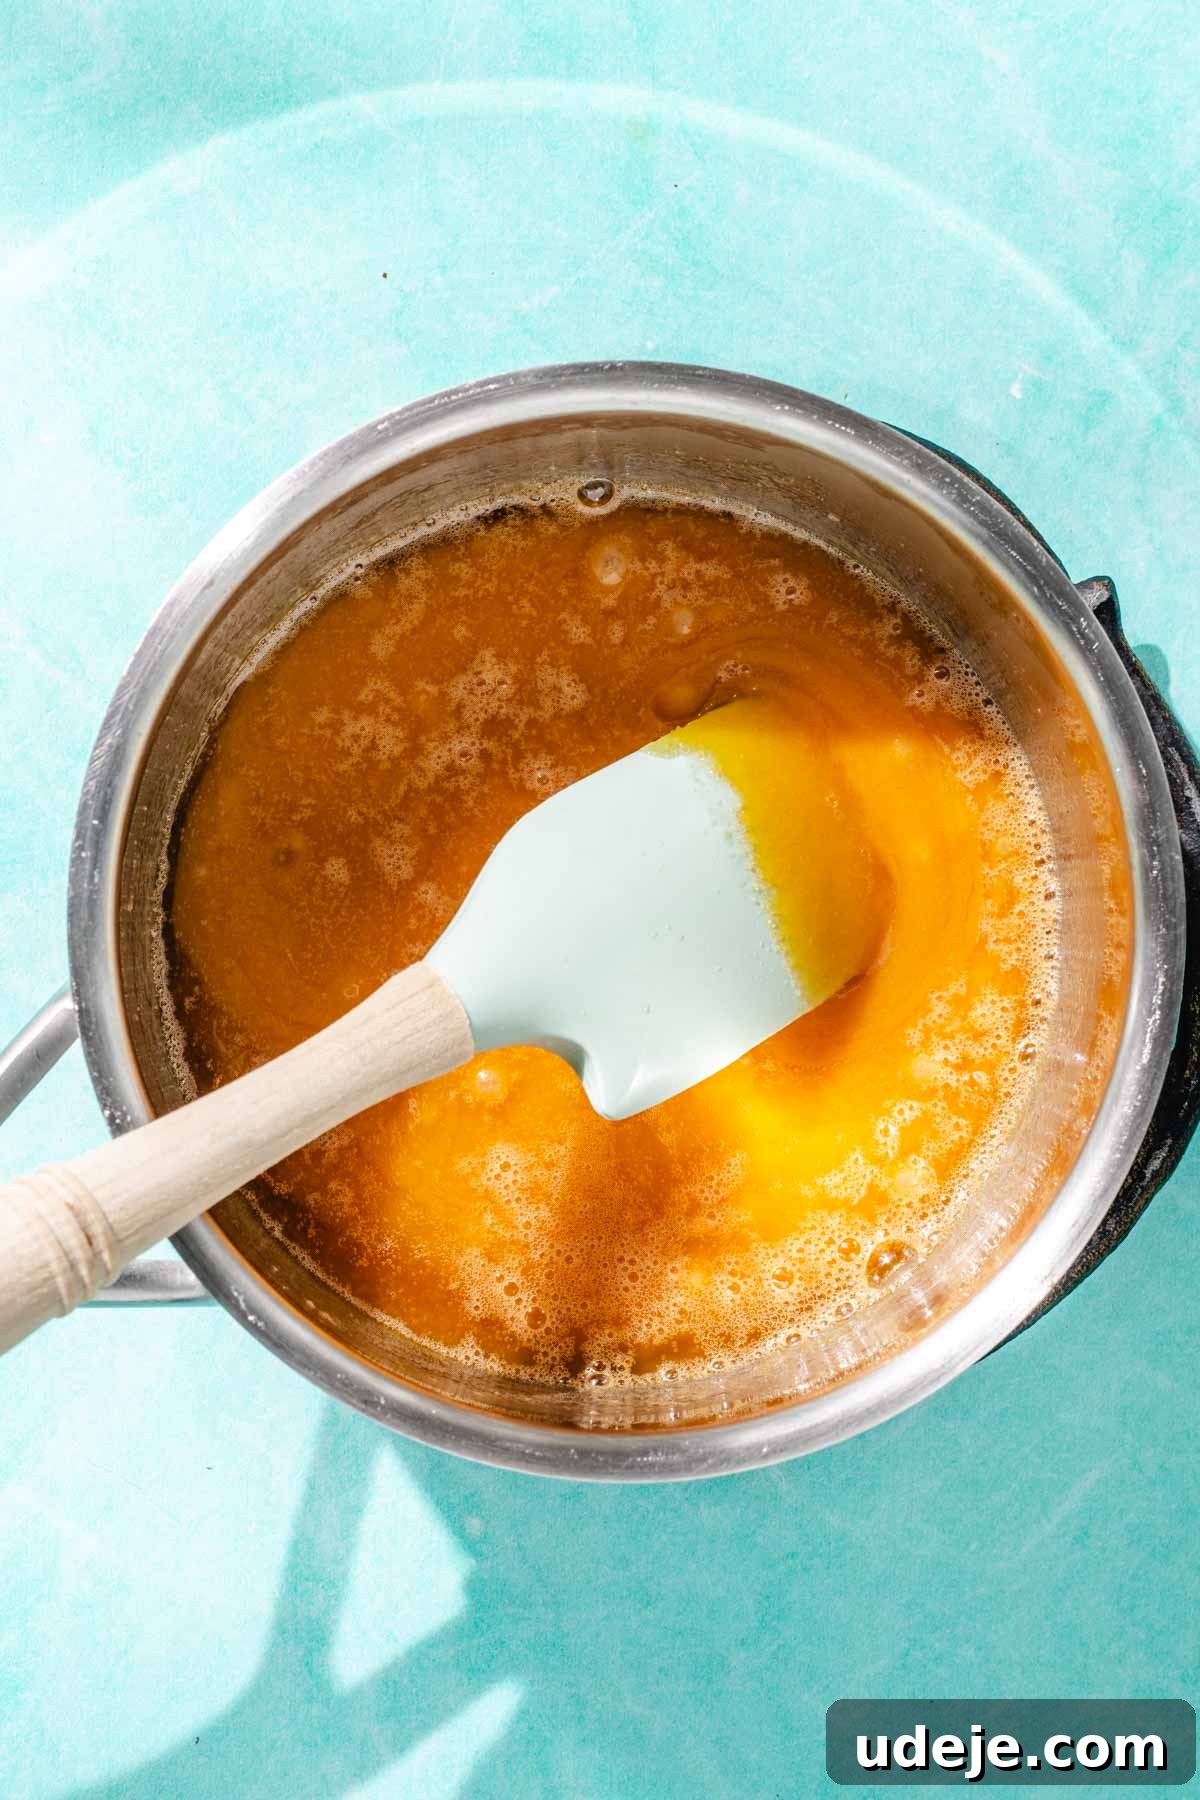
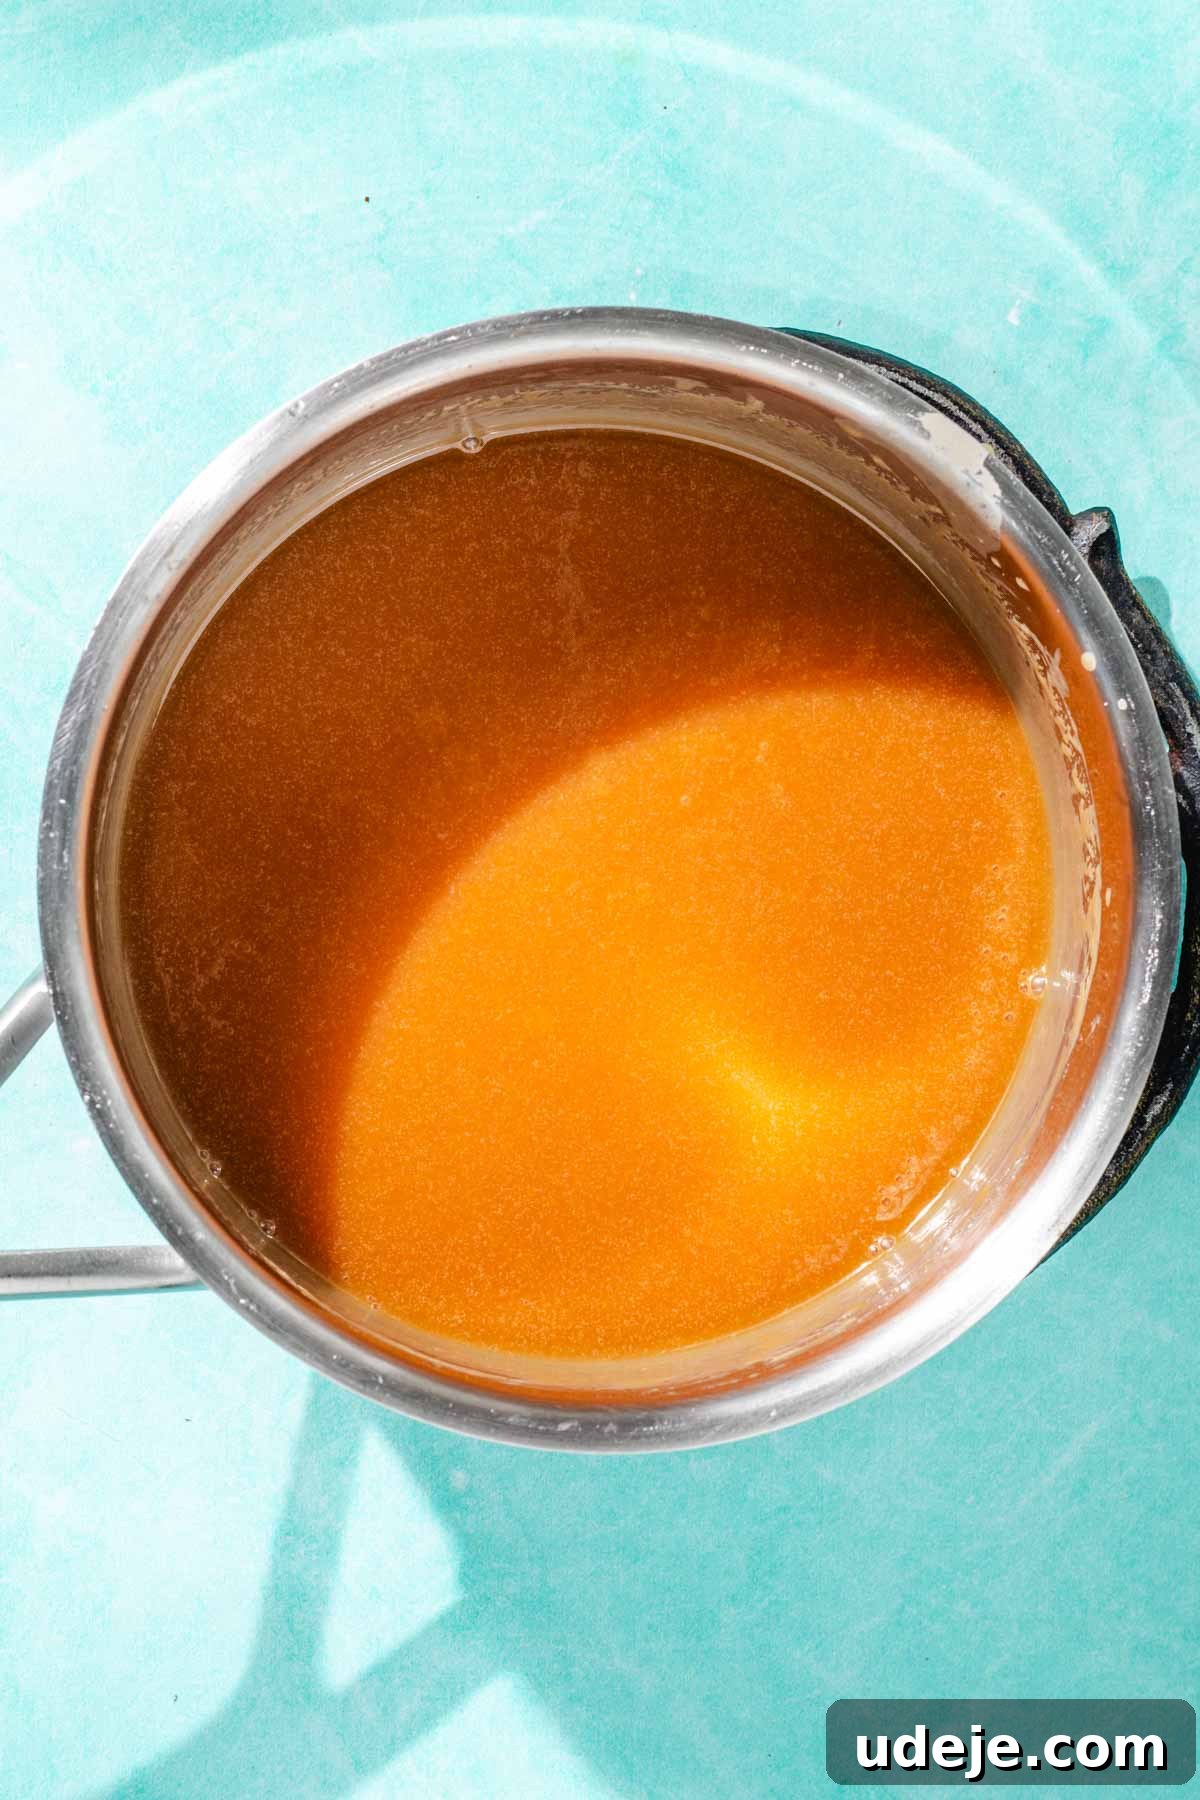
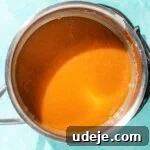
Once your sugar has reached that perfect golden, melted stage, immediately remove the pan from the heat. Carefully add in the butter, whisking vigorously and continuously. The mixture will bubble and steam intensely, and it might seem chaotic, but keep whisking! The butter will gradually emulsify and combine with the sugar. Once the butter is fully incorporated, return the pan to the heat and pour in the heavy cream, still whisking. Again, expect more bubbling, steaming, and potentially some clumping – it may momentarily appear as if your caramel has seized or is ruined. Do not panic! Persist with vigorous whisking; almost instantly, the mixture will smooth out into a rich, creamy caramel. Allow it to boil gently for just one more minute to ensure it thickens slightly. Then, remove it from the heat and carefully pour the hot caramel into a heat-proof glass jar or bowl to cool down to room temperature. It will thicken further as it cools.
Step 3: Prepare the Enchanting Three-Milk Soaking Mixture.
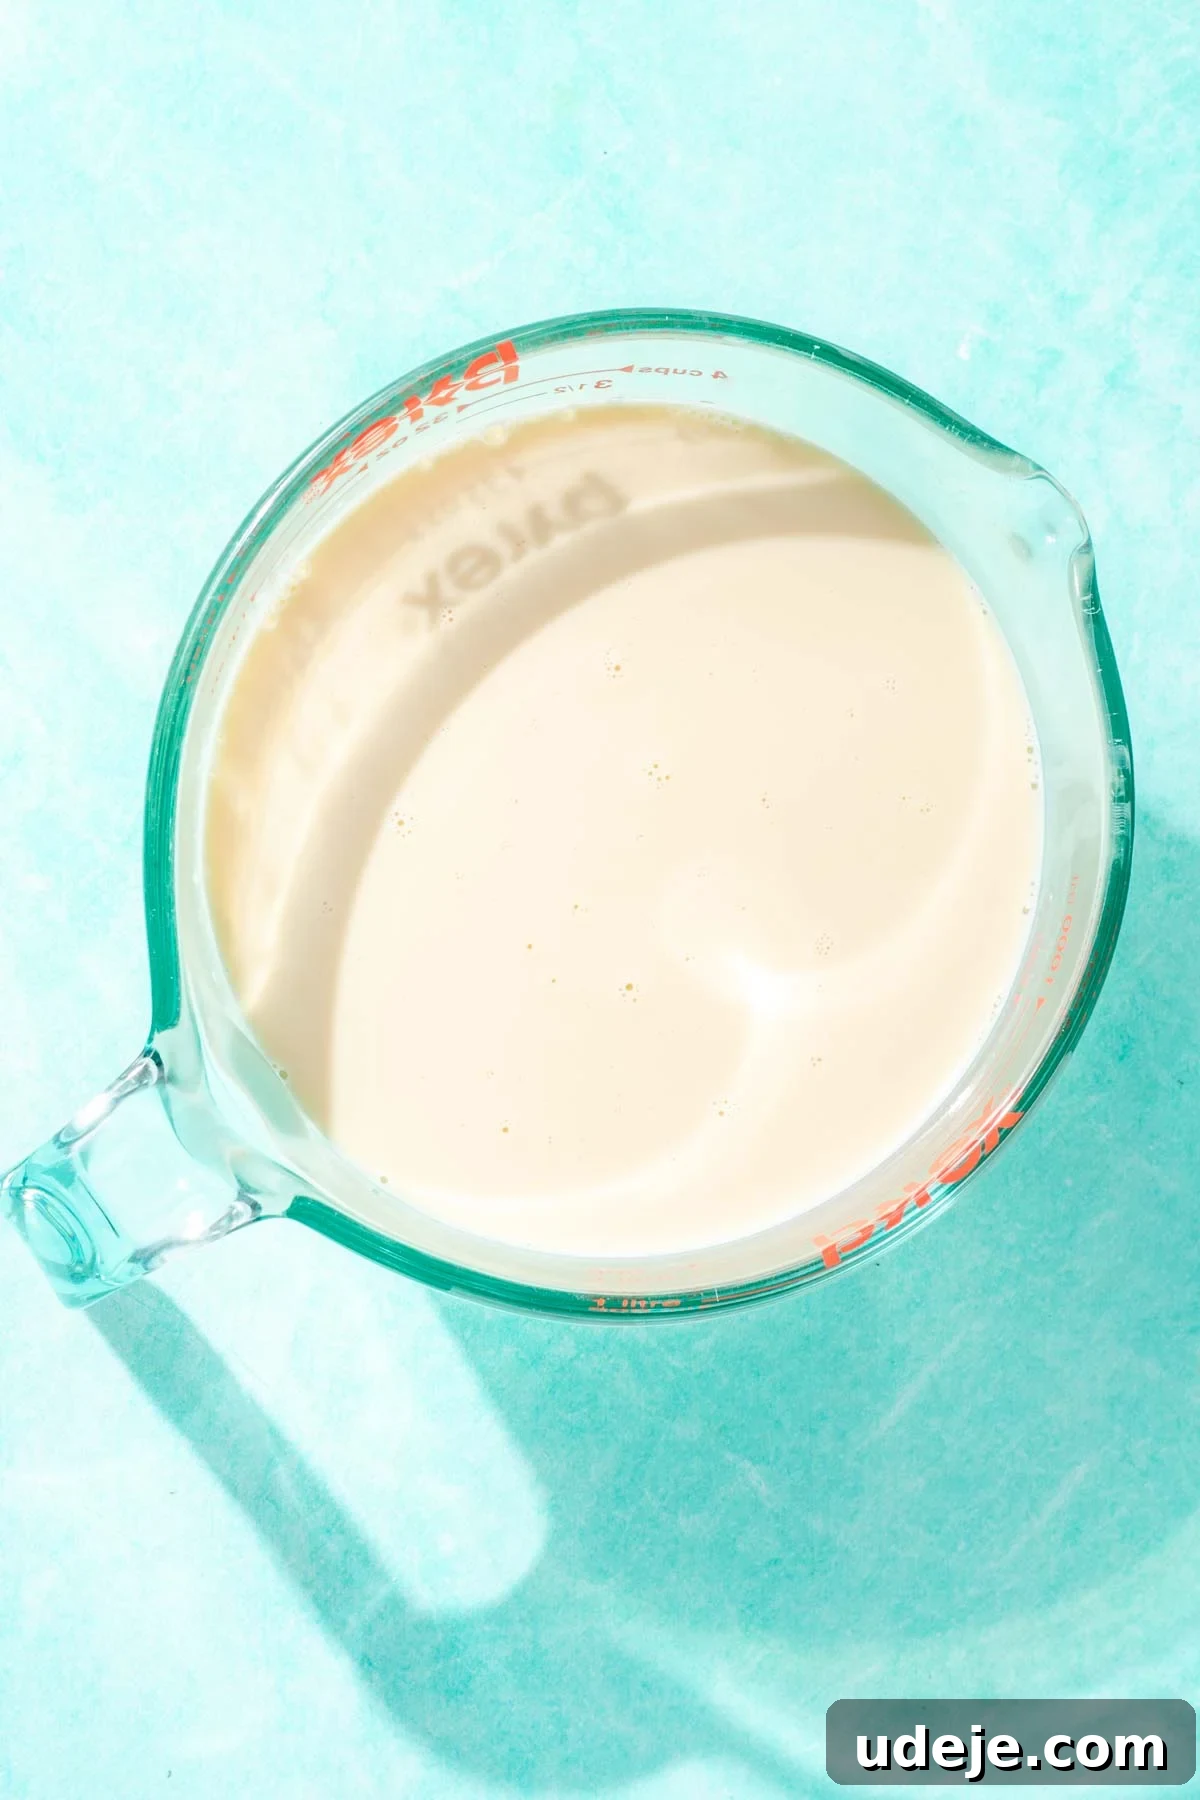
This is arguably the simplest, yet most transformative part of the recipe. In a large measuring cup or mixing bowl, simply combine the evaporated milk, sweetened condensed milk, and whole milk. Whisk them together thoroughly until all three milks are perfectly blended and homogeneous. This mixture should be ready to pour as soon as the cake is slightly cooled.
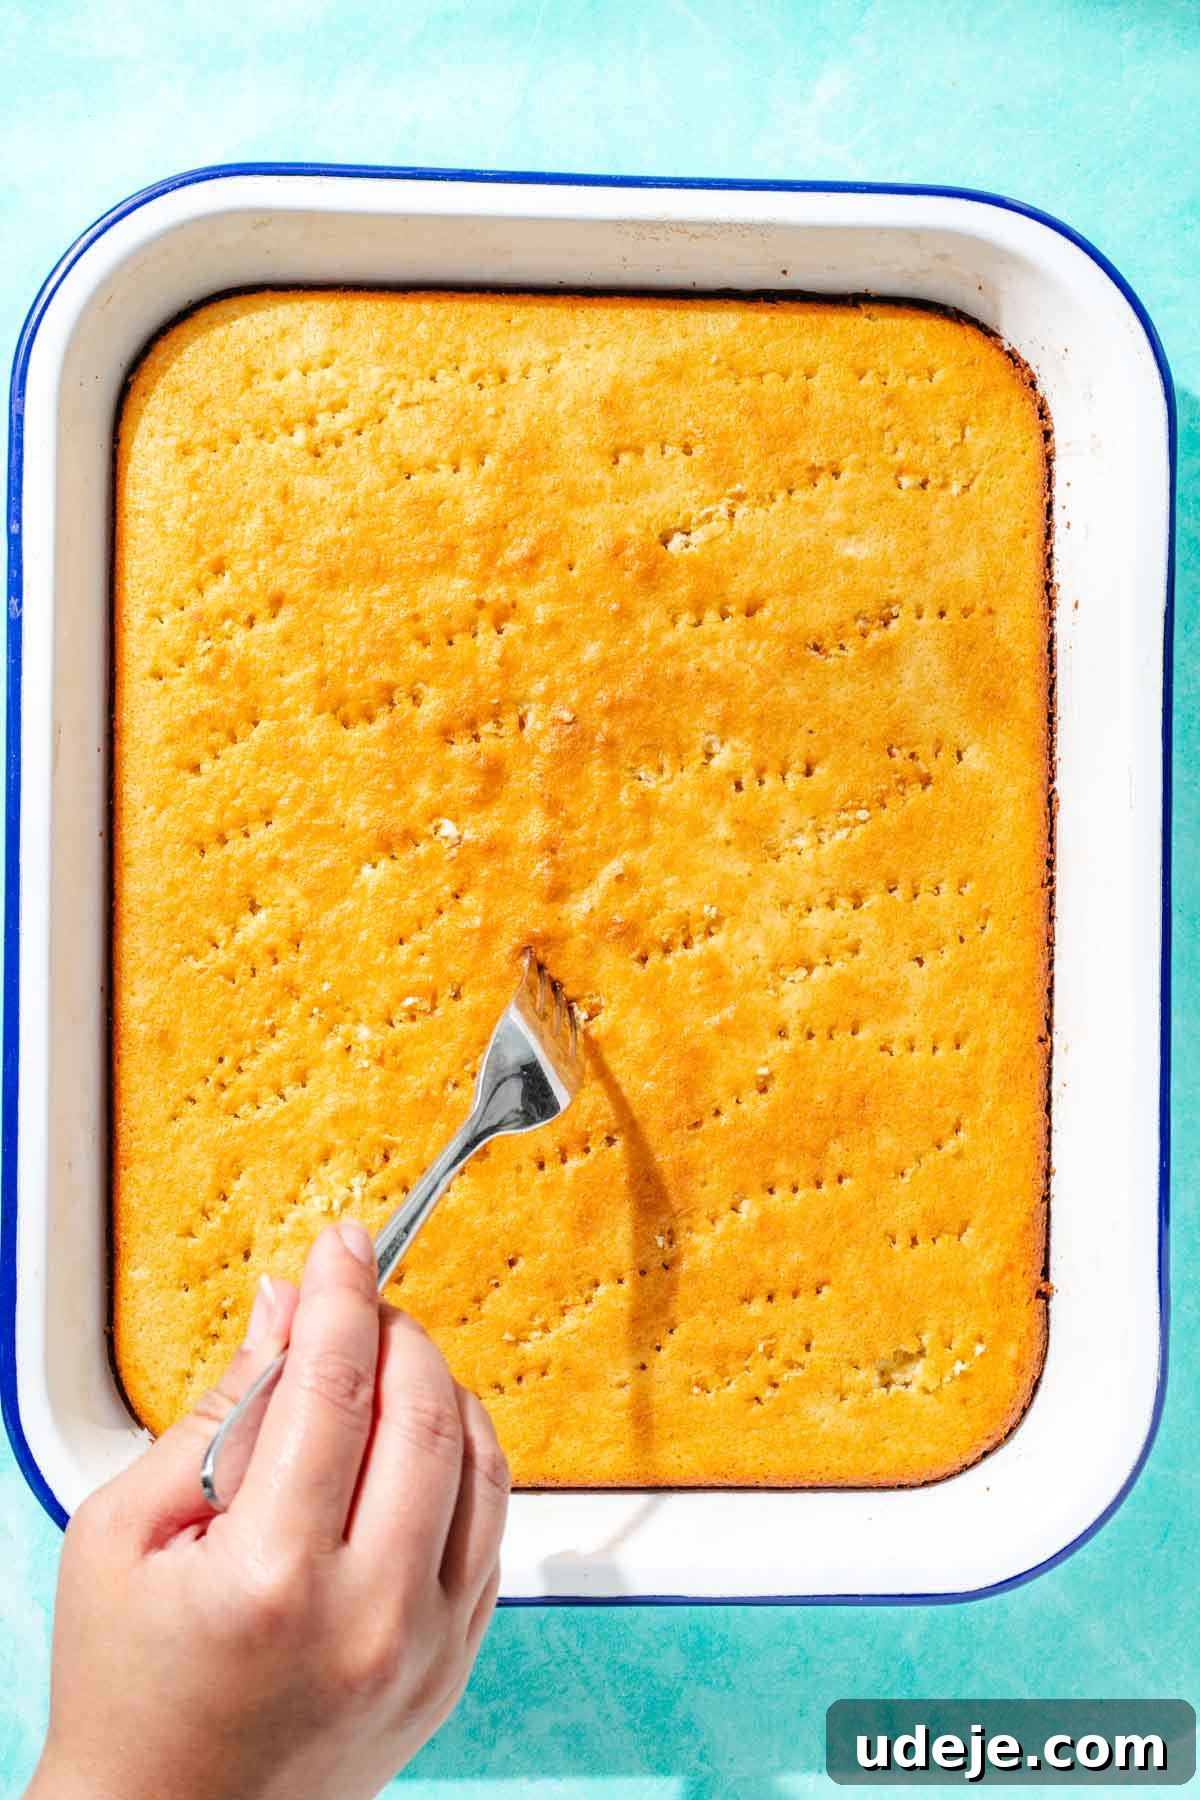
Once your cake emerges from the oven, beautifully golden brown and passing the toothpick test, remove it and let it cool in the pan for a mere 5-10 minutes. This slight cooling period allows the cake to firm up slightly before you begin the soaking process. Using a fork, generously poke holes all over the entire surface of the cake. These tiny perforations are essential, acting as channels to ensure maximum absorption of the luscious three-milk mixture, allowing it to penetrate deeply into every part of the sponge. You can also run a thin knife along the edges of the pan to ensure the cake isn’t stuck, which will facilitate easier cutting later.
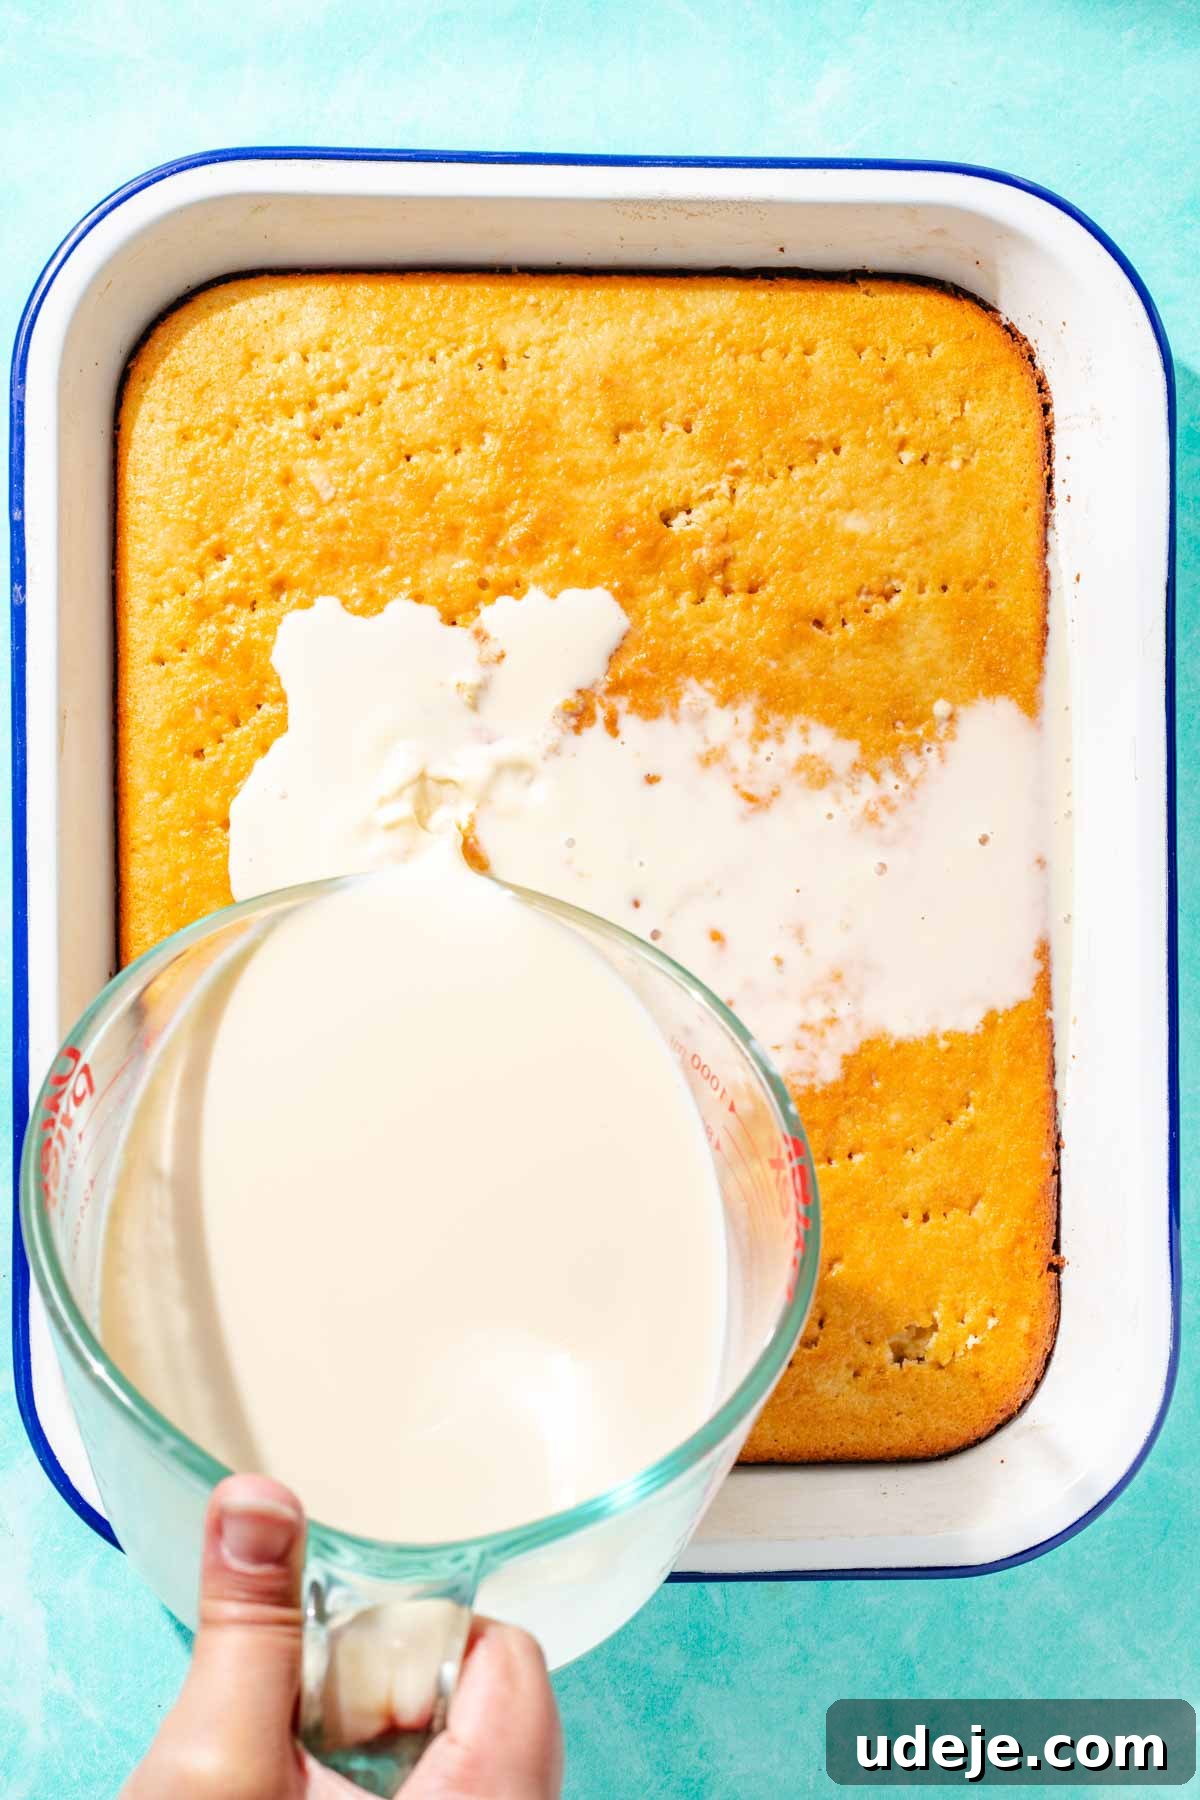
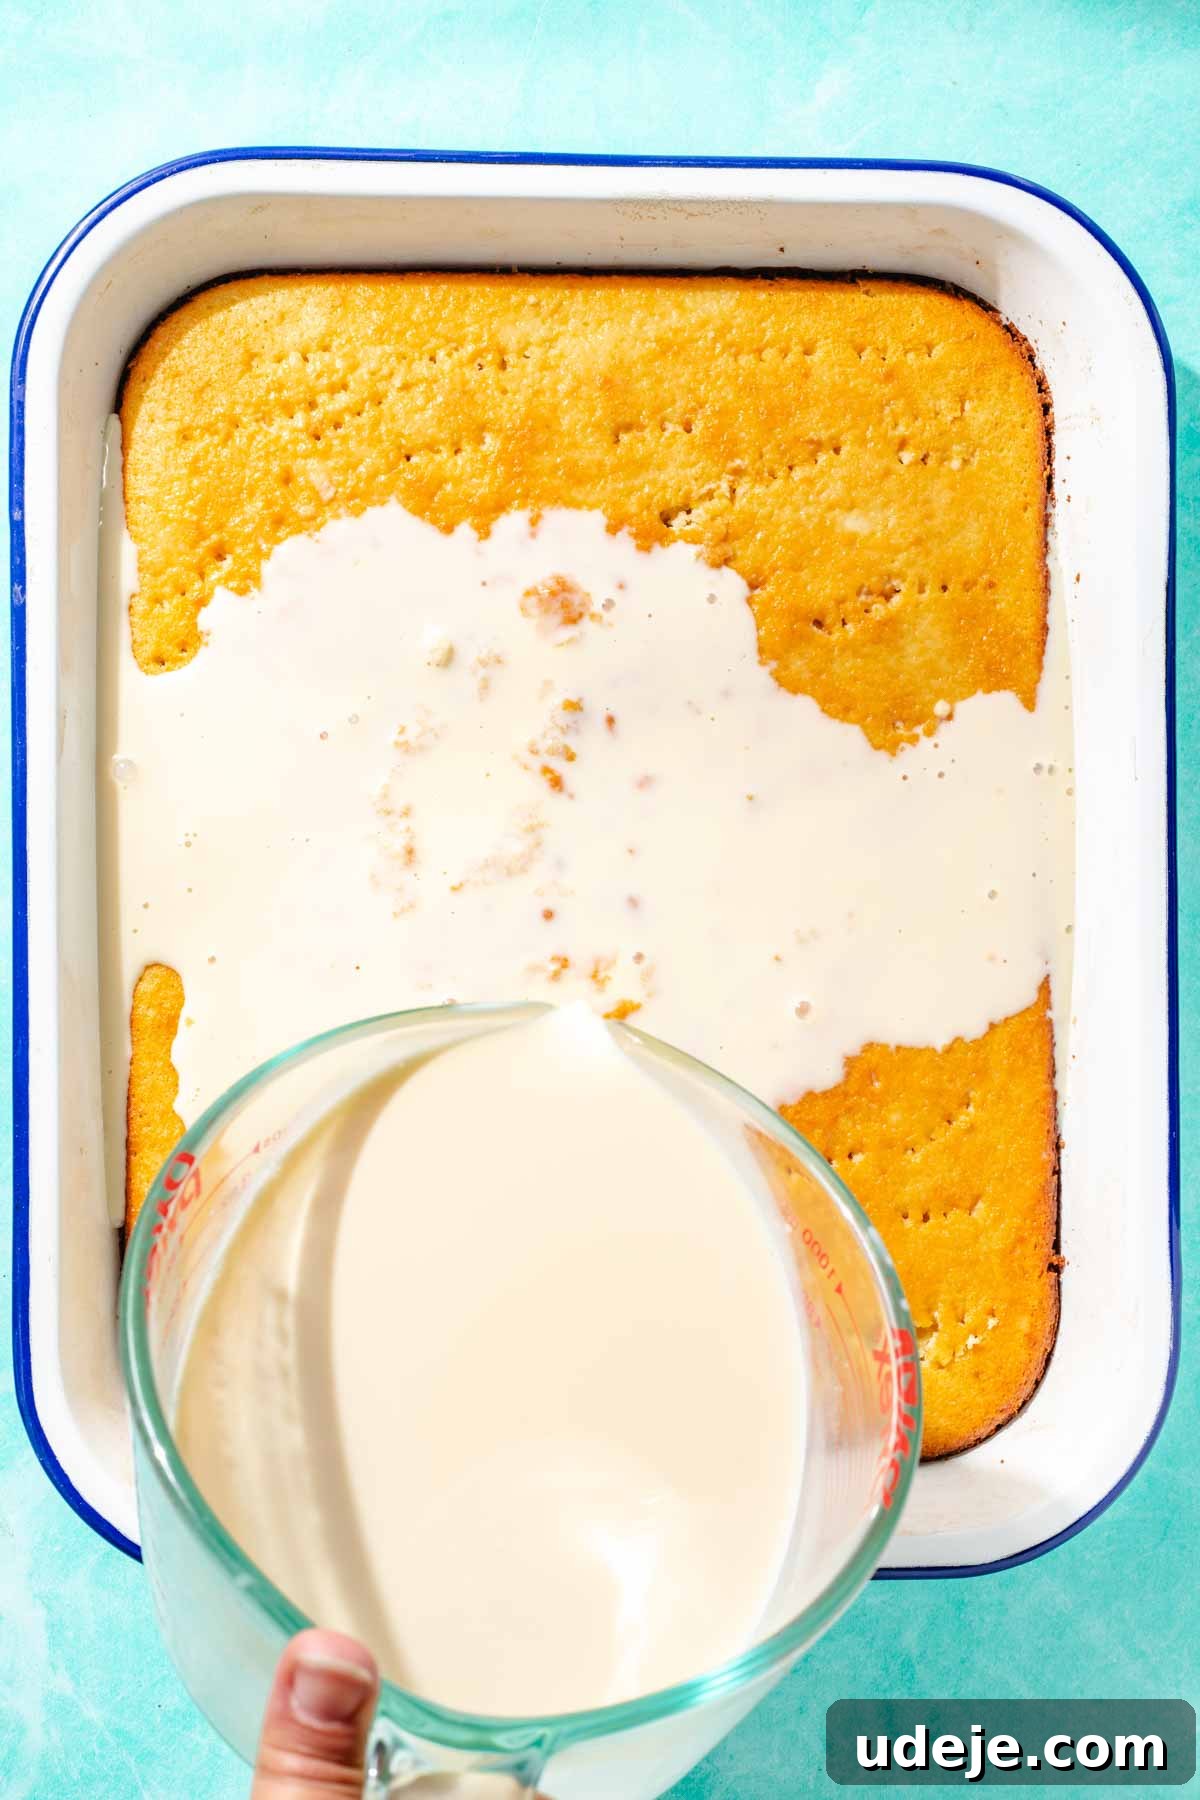
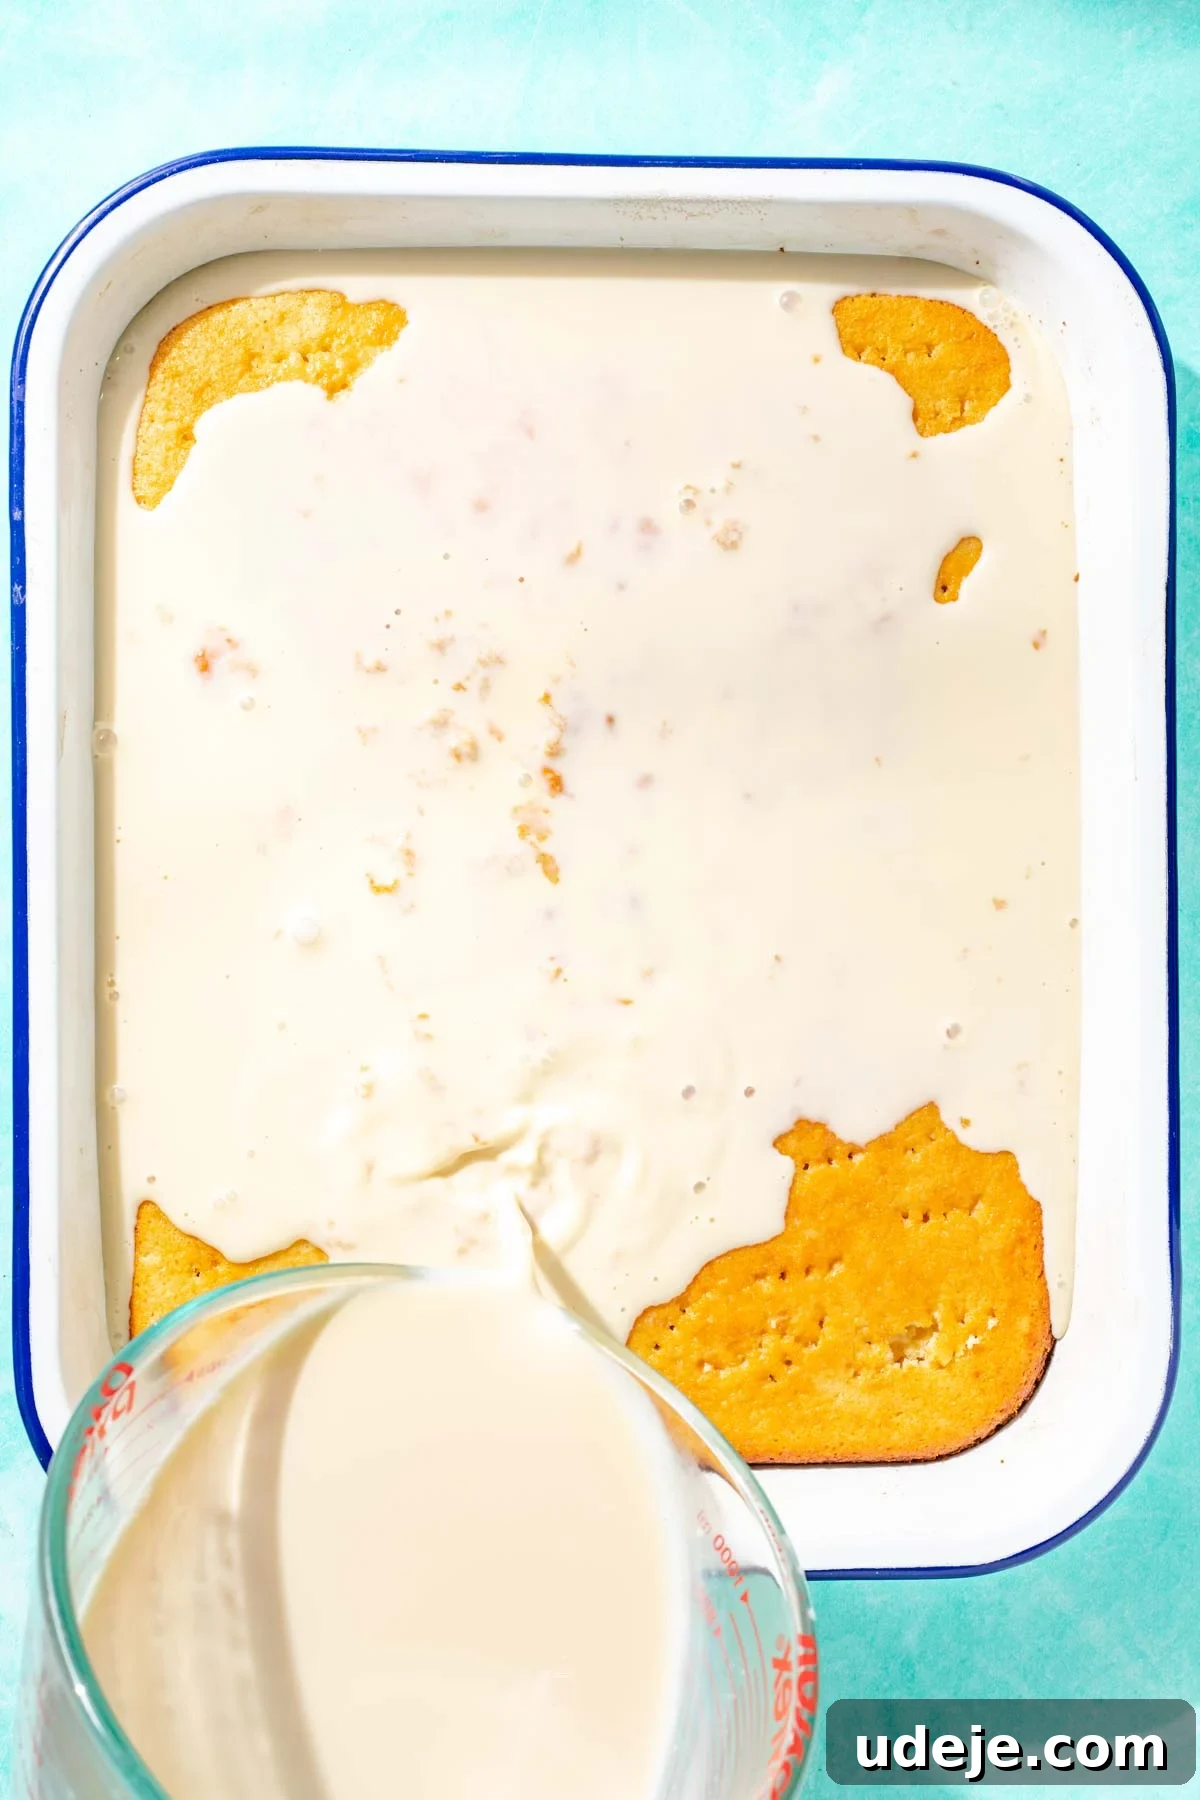
Now, slowly and deliberately pour the entire three-milk mixture over the poked cake. Ensure you distribute the liquid as evenly as possible across the entire surface. Don’t be alarmed if it seems like a copious amount of liquid; the sponge cake is remarkably efficient at soaking it all up. This generous soaking is precisely what gives Tres Leches its signature moist and creamy texture. Once poured, cover the pan tightly with plastic wrap and transfer it to the refrigerator. Allow it to chill for at least 1 hour, or ideally, overnight. This chilling time is crucial; it allows the cake to fully absorb the milk mixture, develop its flavors, and firm up to the perfect consistency.
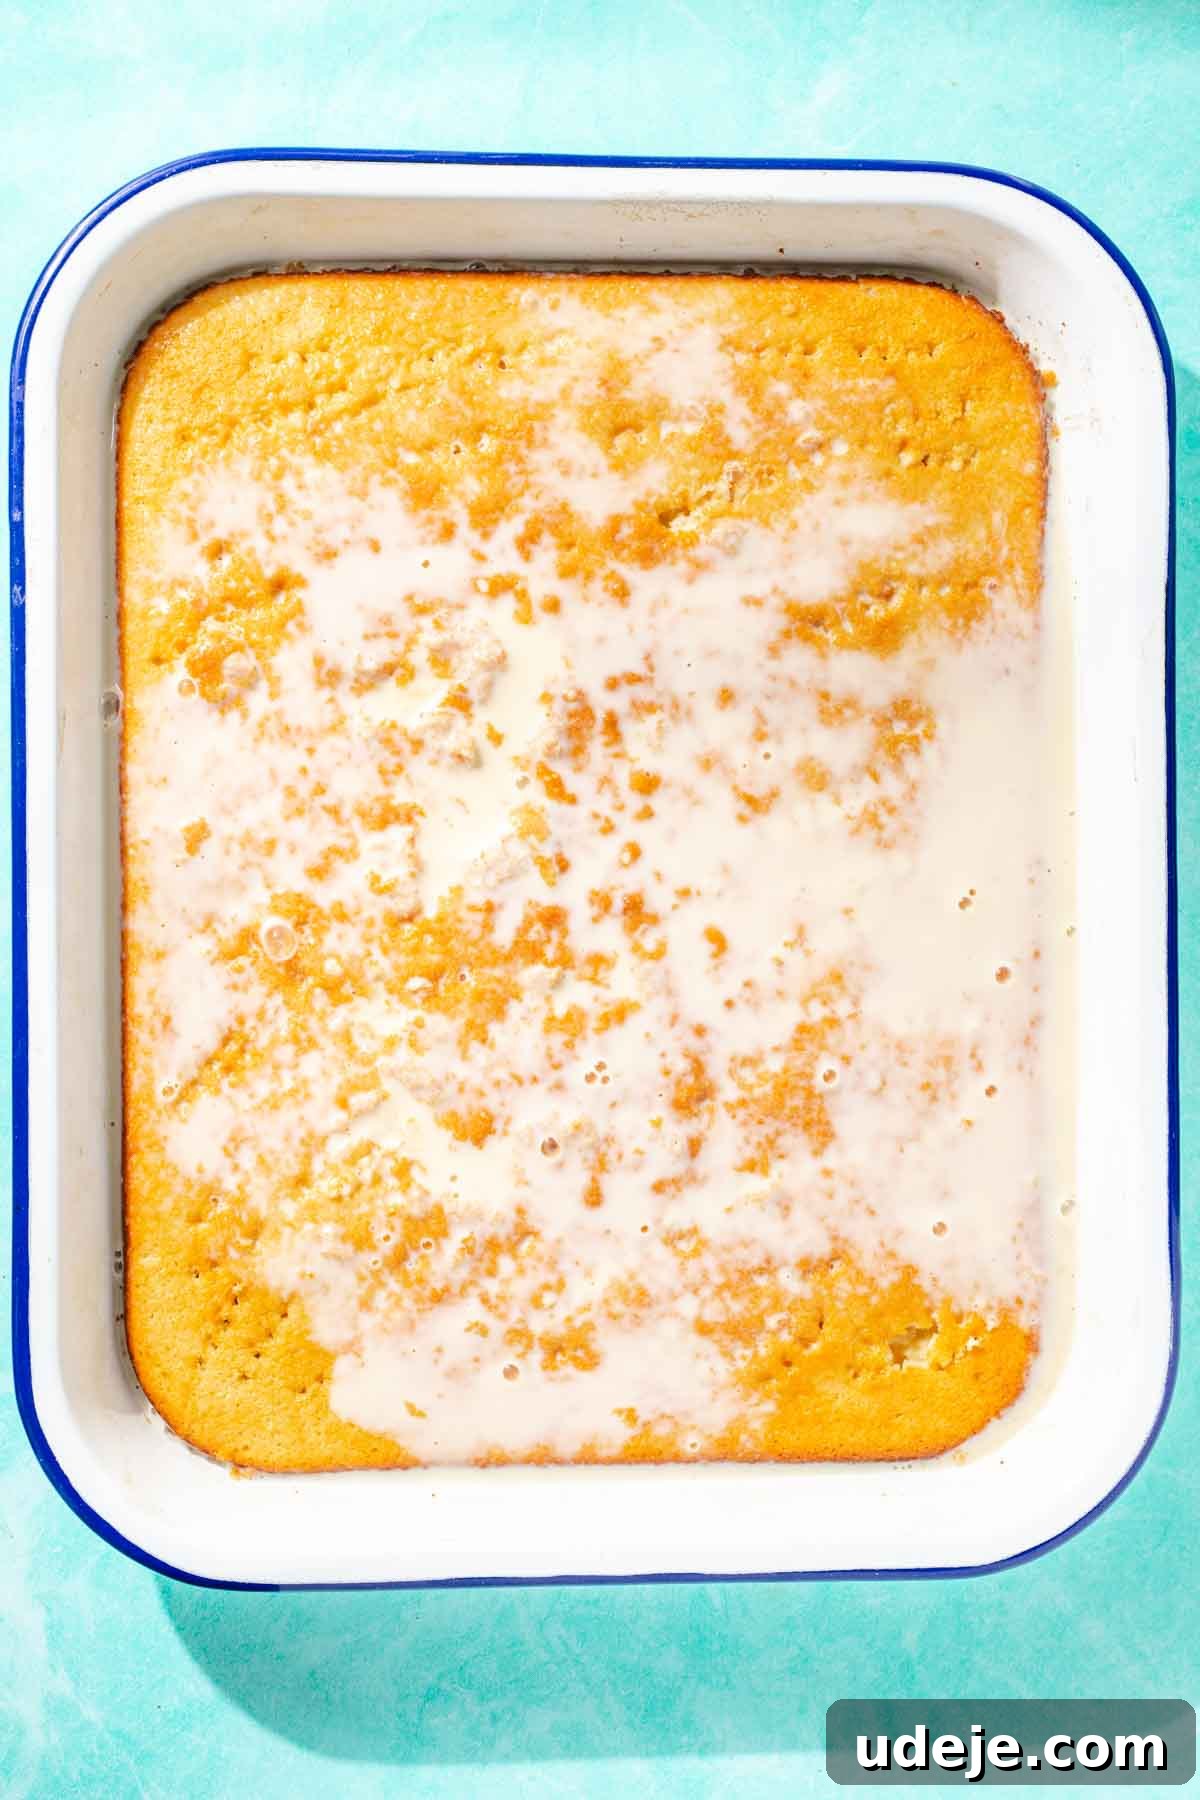
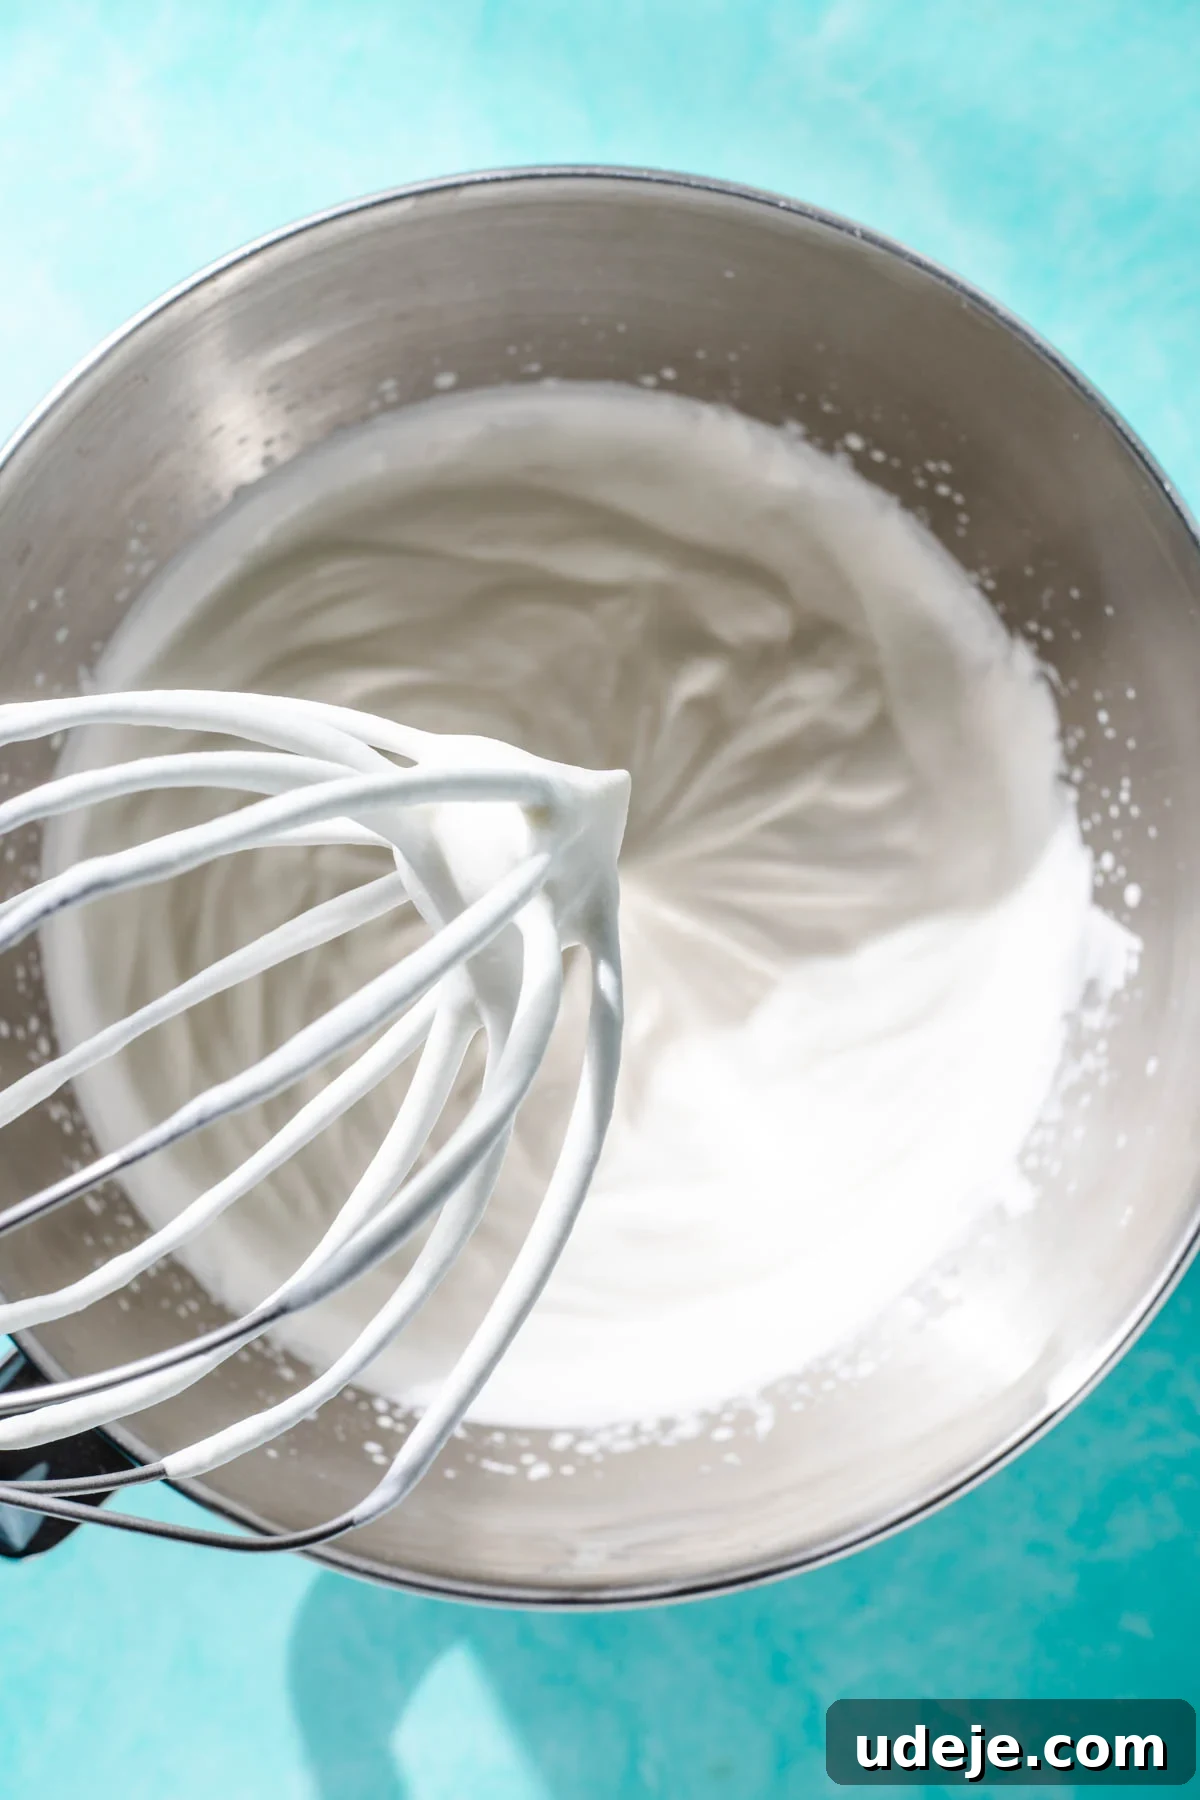
The beauty of this dessert is that the cake can be prepared and soaked well in advance, making it an ideal choice for entertaining. When you’re ready to serve, it’s time to prepare the whipped cream topping. For the best, most stable whipped cream, ensure your heavy cream is very cold. In a large mixing bowl, combine the cold heavy whipping cream with the powdered sugar. Beat with an electric mixer on medium-high speed until soft peaks form. The cream should be fluffy and hold its shape, but still be delicate and creamy.
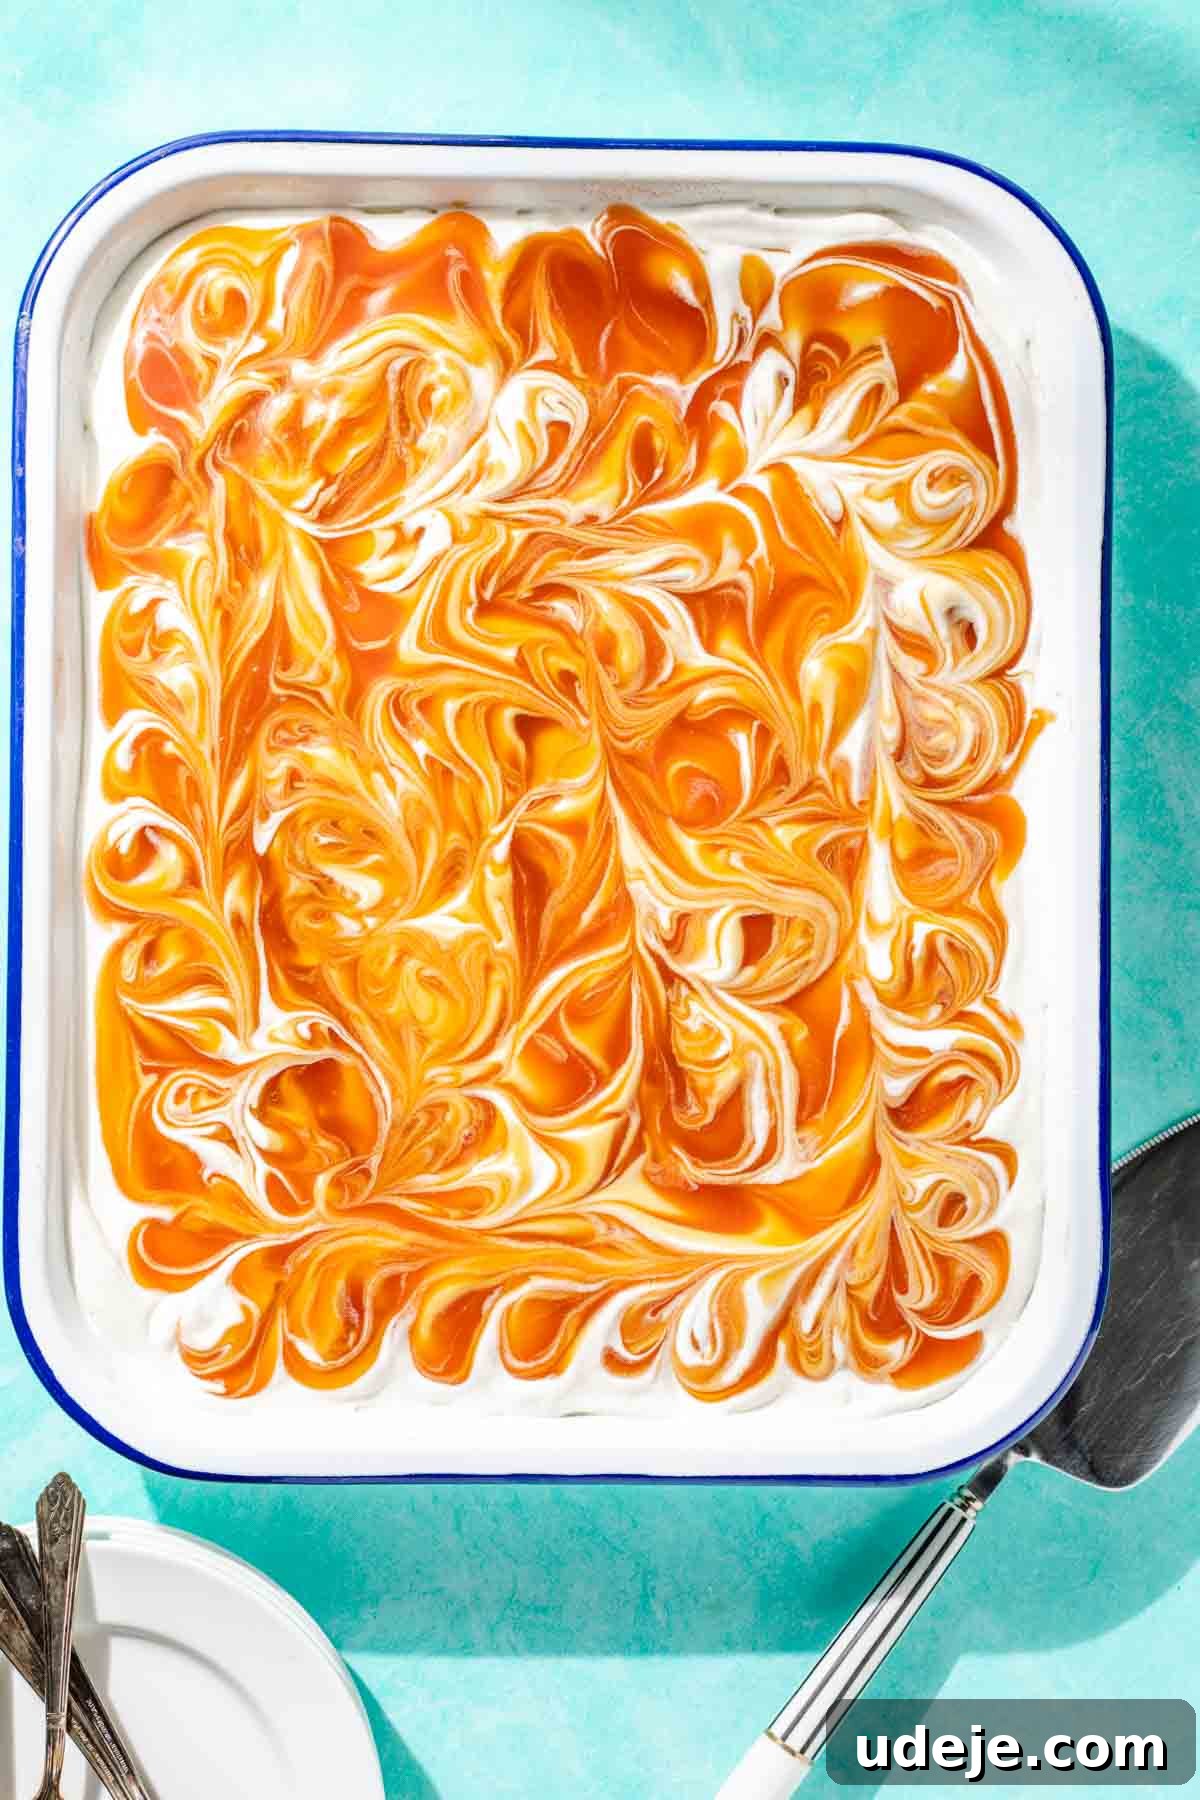
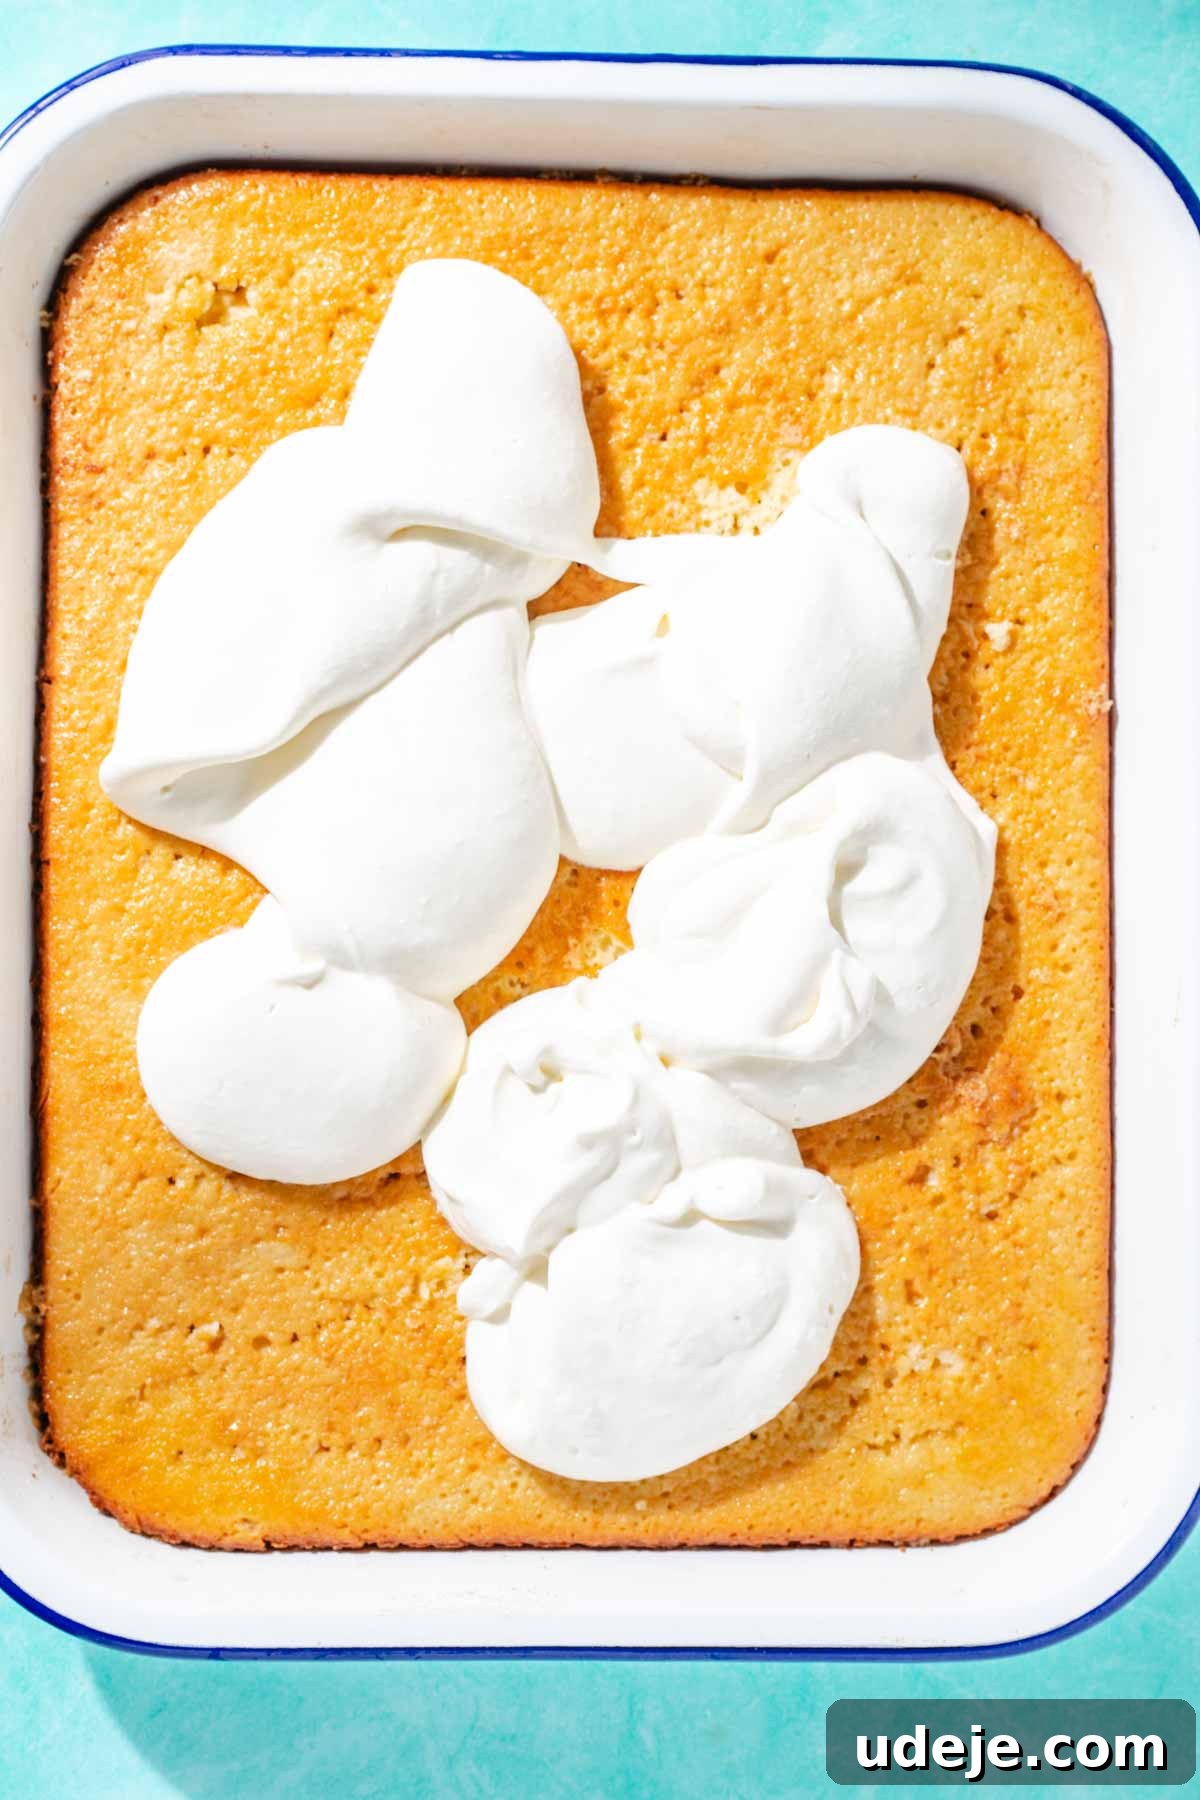
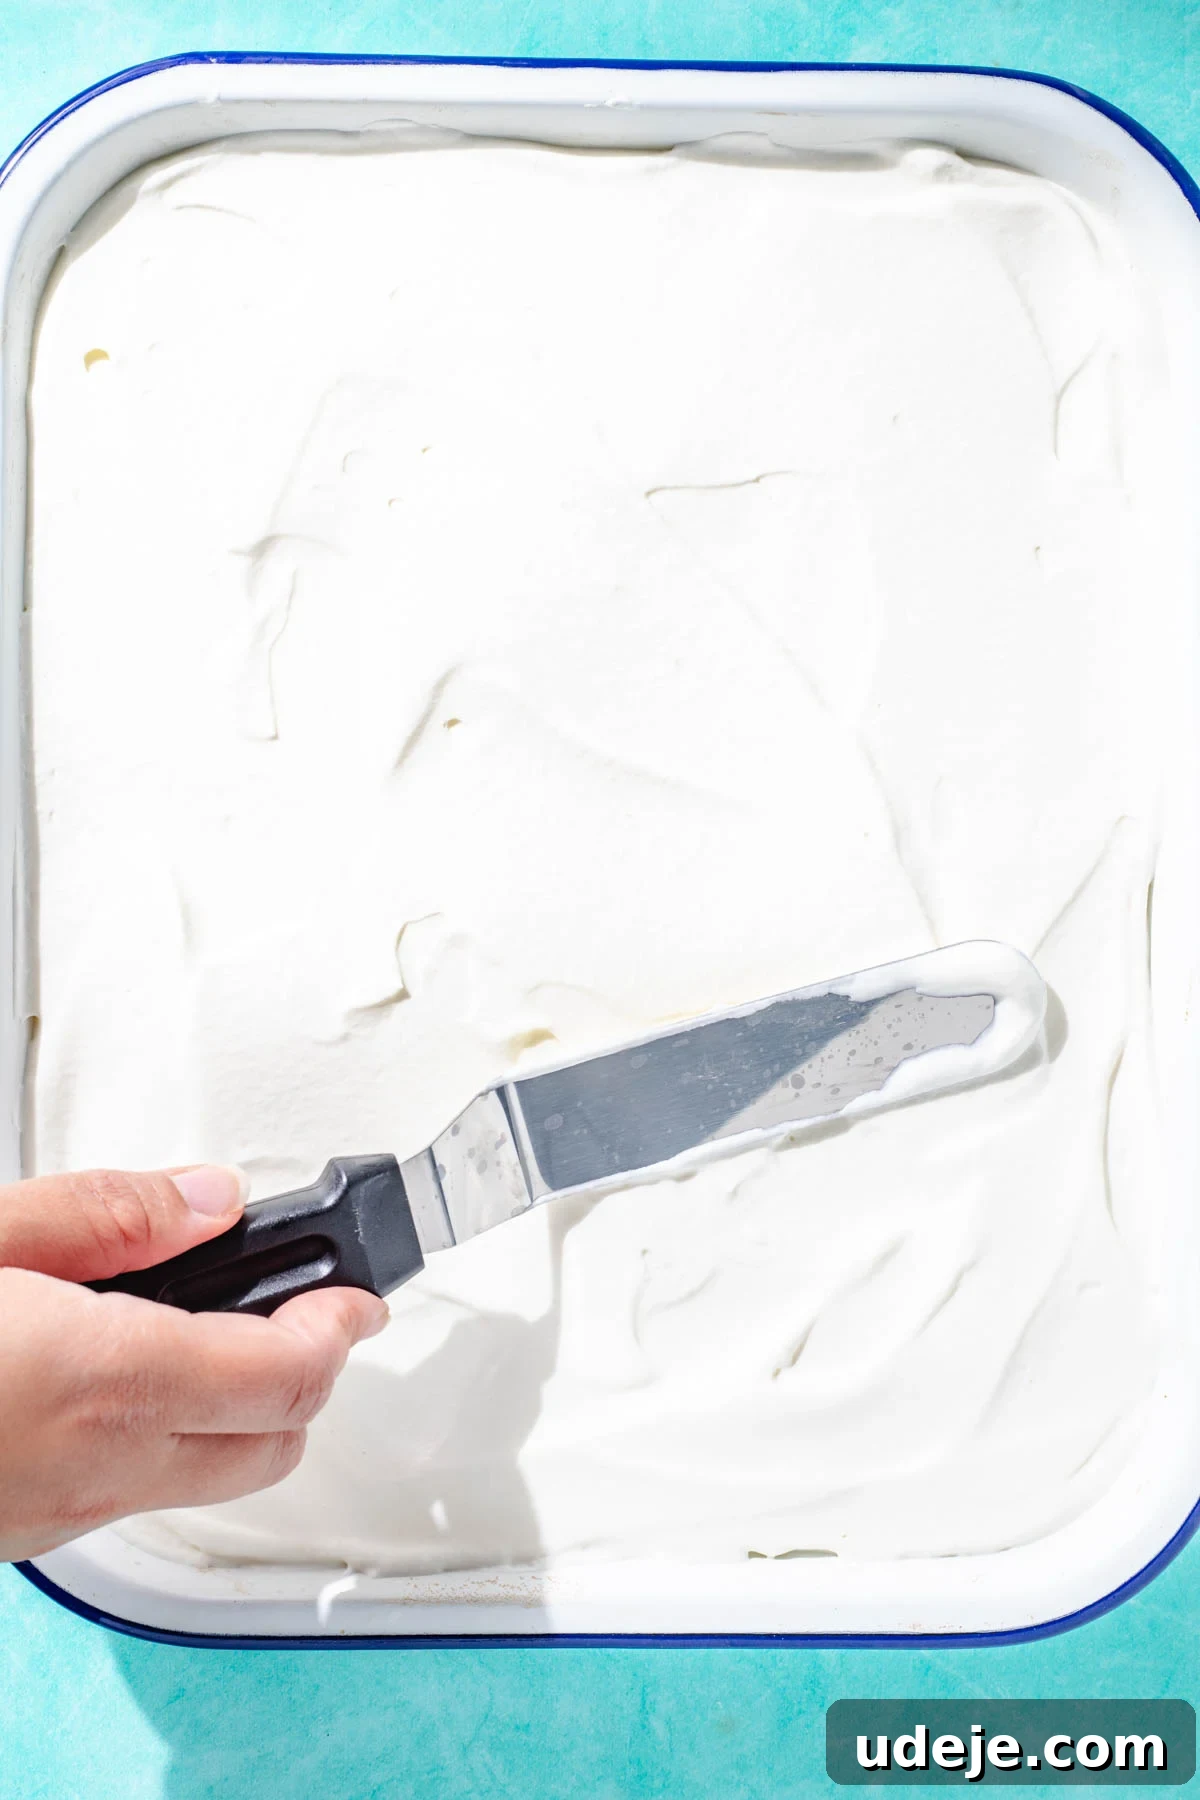
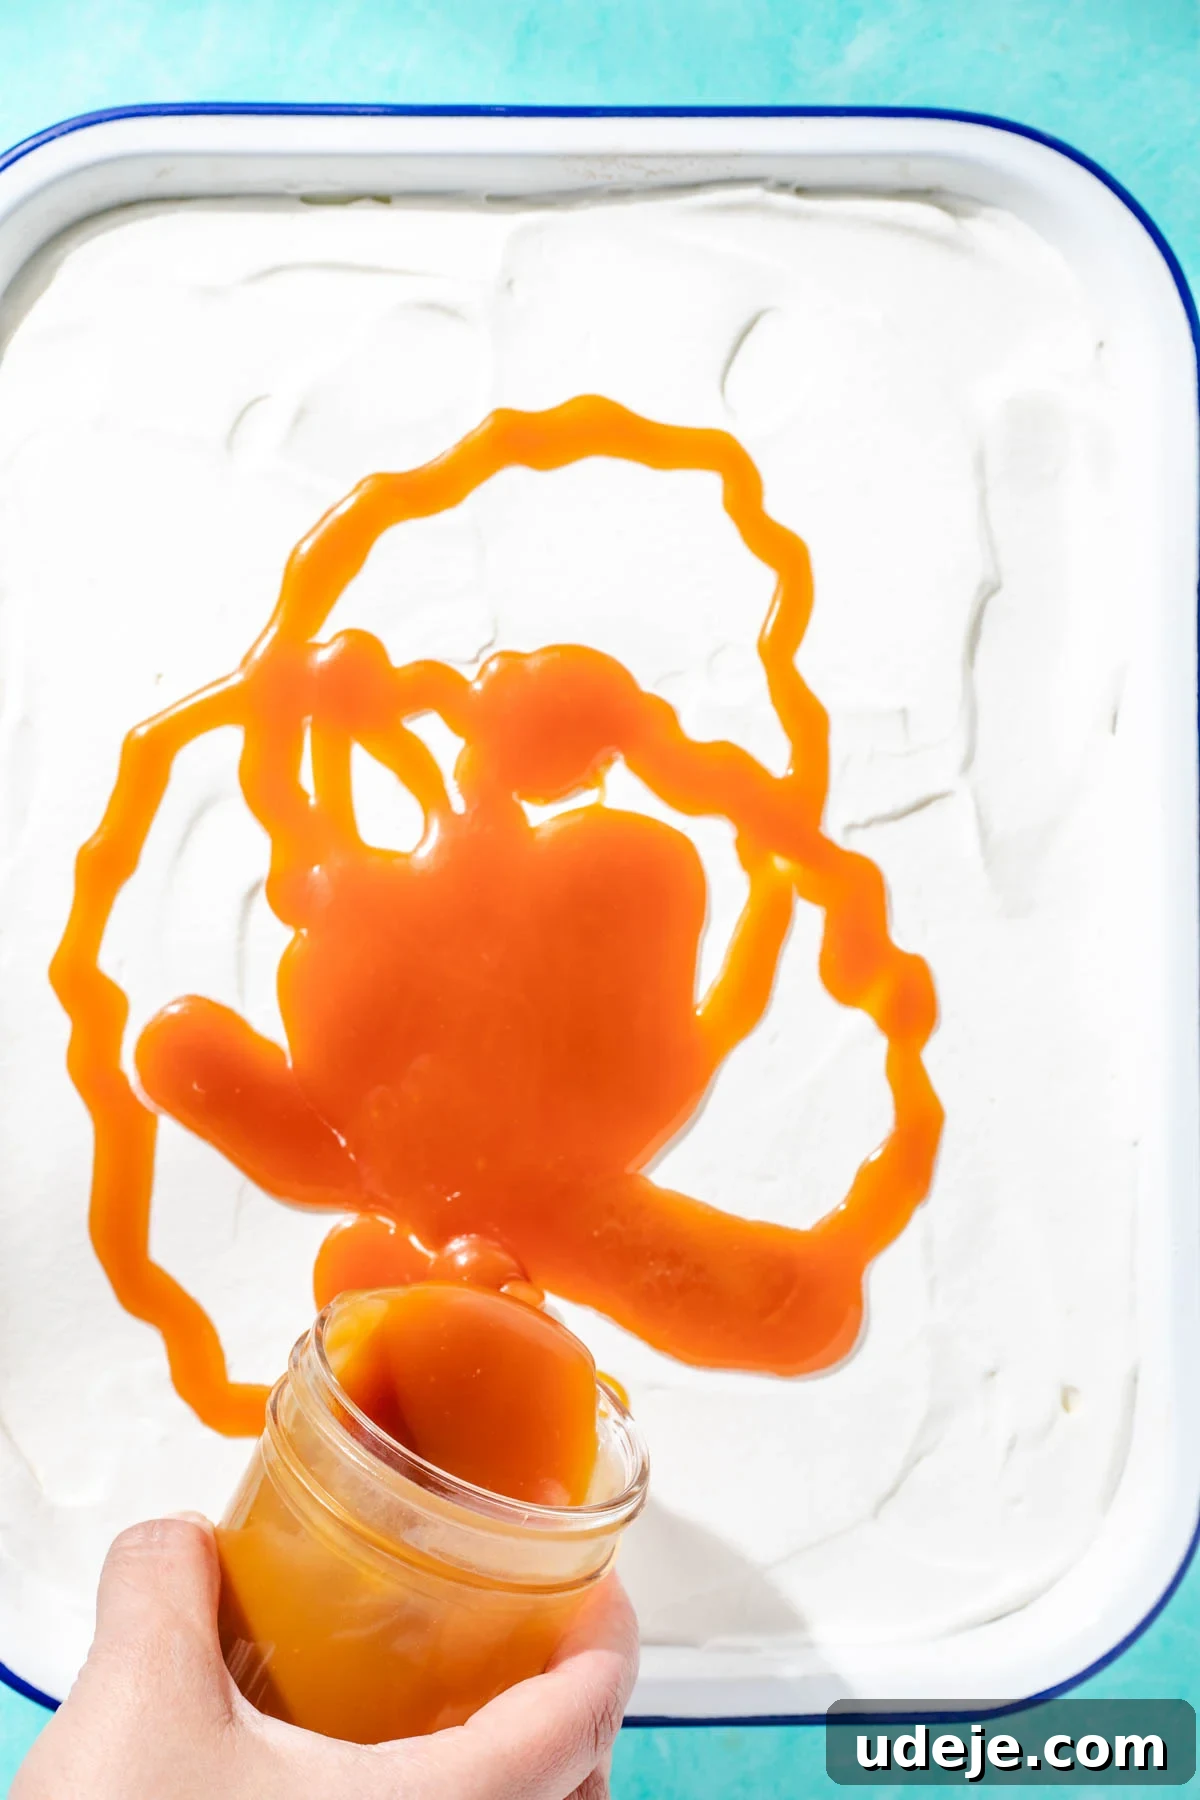
Evenly spread the freshly whipped cream over the chilled, milk-soaked cake using a spatula or the back of a spoon. Create a smooth, level surface across the entire pan. Now for the star of the show: the caramel. Ensure your homemade caramel has cooled to room temperature; it should have a perfect, pourable consistency. Gently drizzle the caramel sauce over the whipped cream layer.
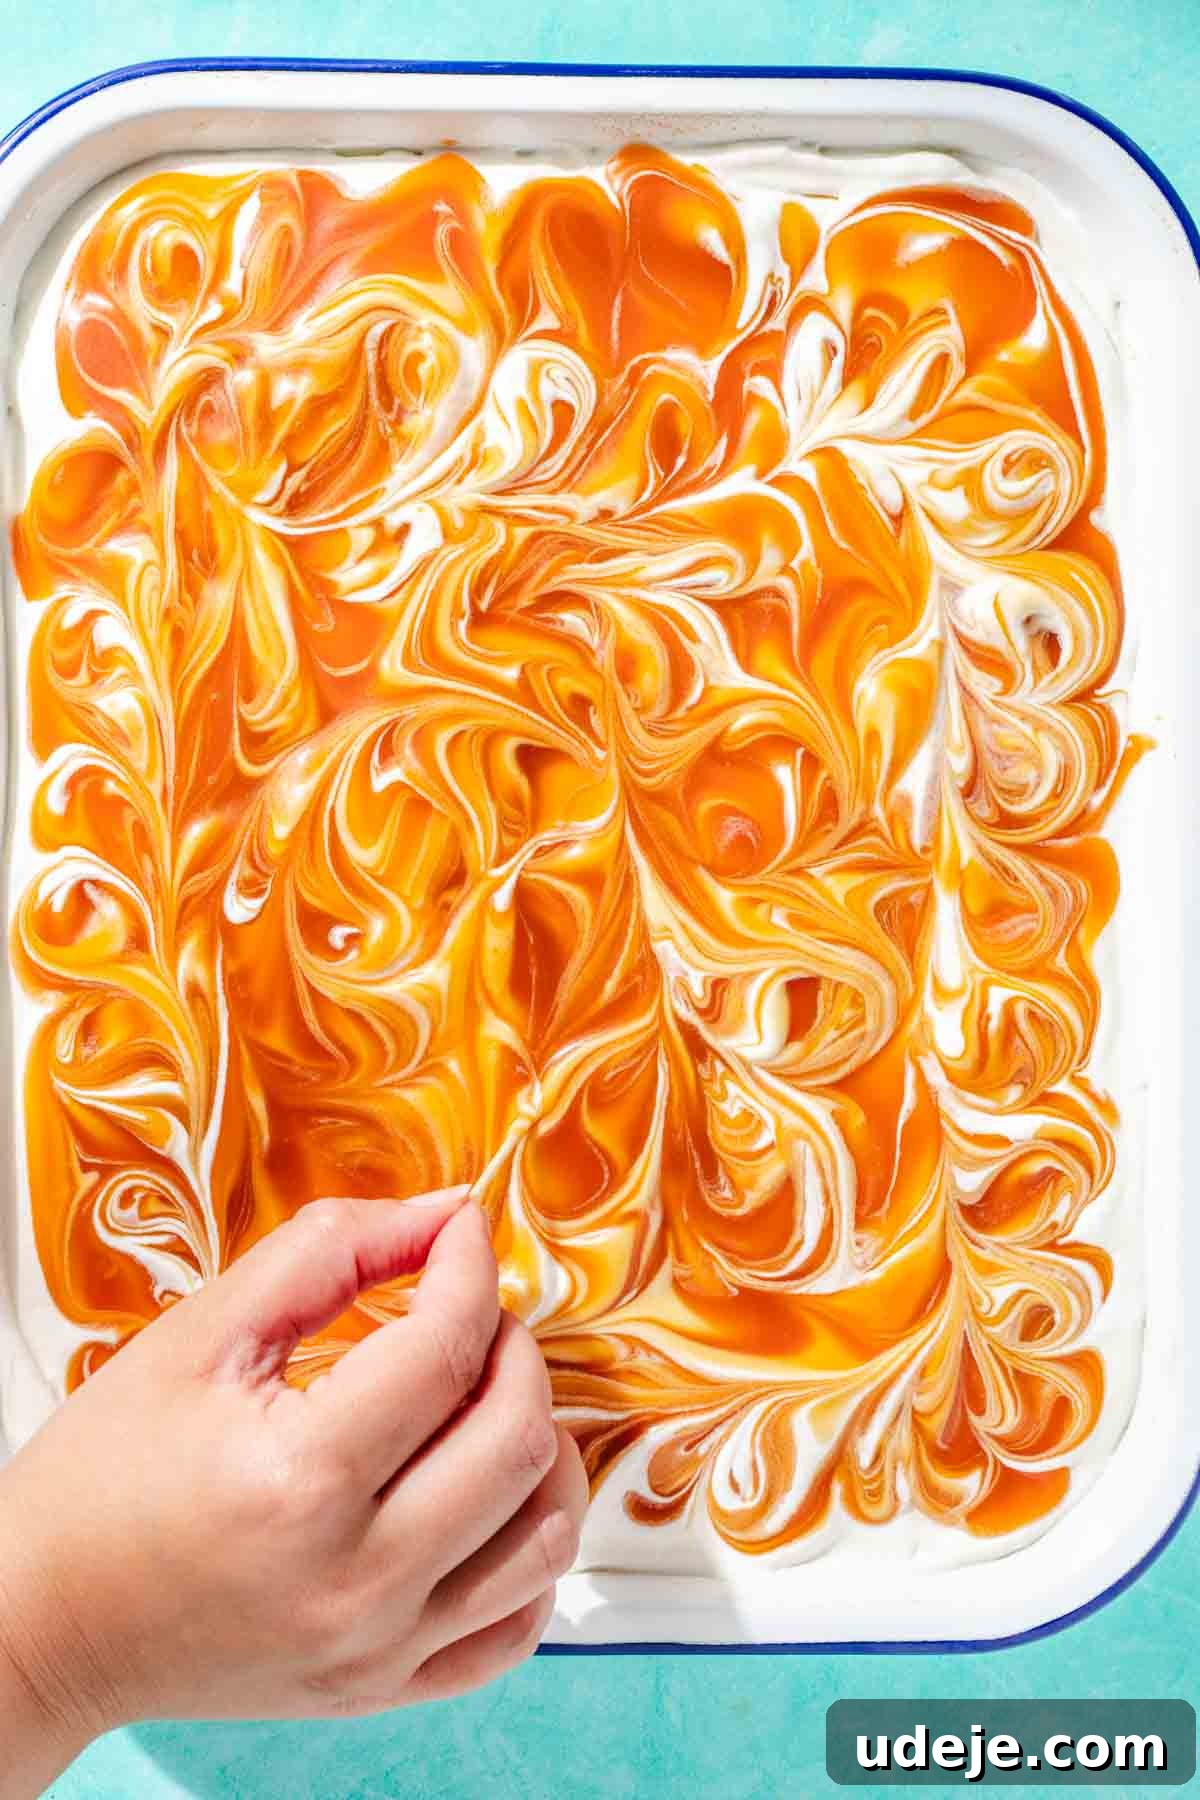
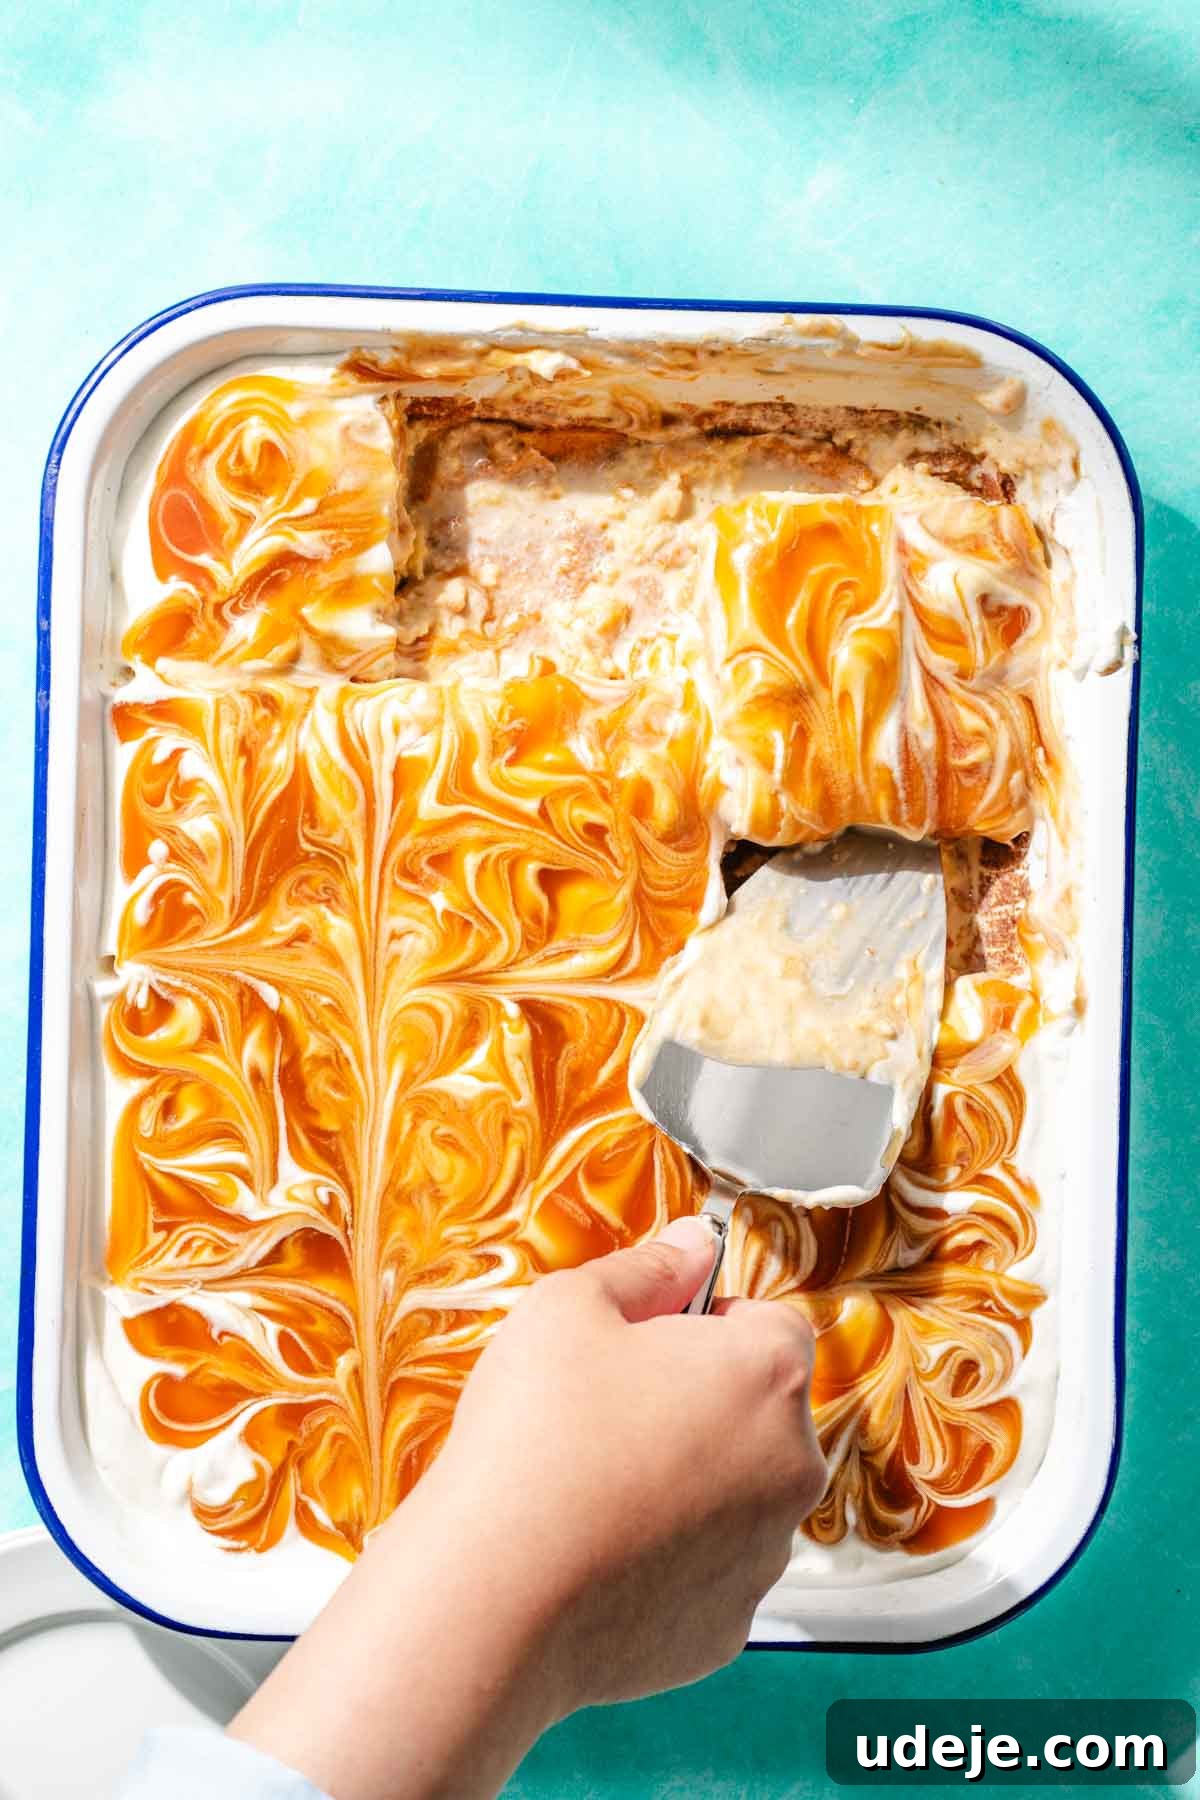
Traditional Trileçe often features an elegant, webbed caramel pattern. To achieve this classic look, you would typically reserve a small amount of whipped cream and place it into a piping bag. After smoothly spreading the caramel over the cream layer, you would pipe parallel lines of cream across the pan. Then, using a toothpick, gently drag it perpendicularly through these lines in alternating directions to create a beautiful feathering or web effect. This technique, while stunning, can be a bit challenging to master without mixing the layers too much. For an equally beautiful yet simpler alternative, I prefer to create a marbled swirl. Simply drizzle the caramel, then use a toothpick to gently swirl the caramel and cream together until you achieve a lovely, artistic marbled effect. This method is much easier and still creates a visually stunning presentation. Once decorated, your magnificent Turkish Tres Leches is ready to be sliced and served!
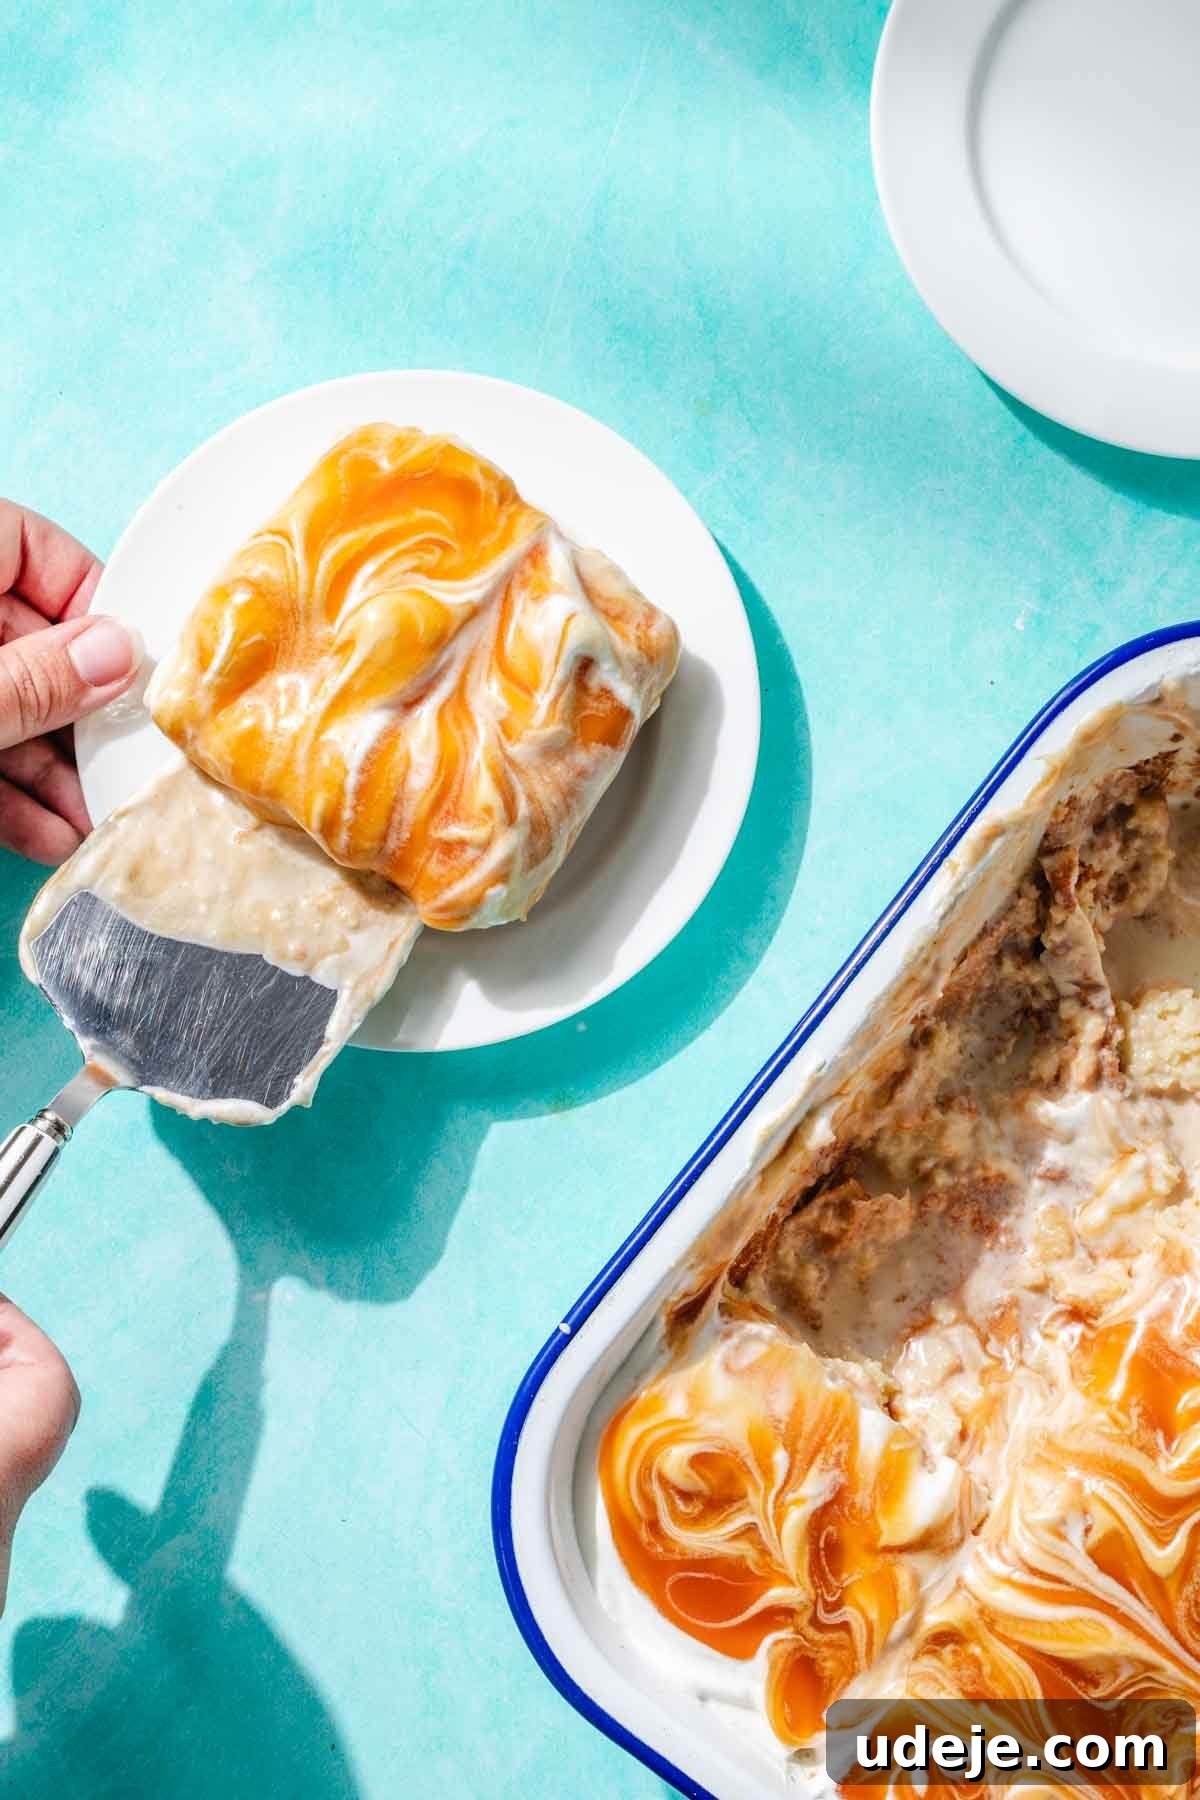
Make-Ahead Tips & Storage Solutions for Your Trileçe
The make-ahead versatility of Turkish Tres Leches is one of its most appealing features, making it a fantastic choice for gatherings, parties, or simply to have a delicious treat readily available. You can prepare the cake and soak it in the milk mixture the night before your event or even a few days in advance. The cake will continue to absorb the milky goodness, intensifying its flavor and moisture over time. Simply ensure it’s tightly covered with plastic wrap to prevent it from drying out, and it can be stored in the refrigerator for up to 5 days, maintaining its freshness and delicious texture.
The caramel sauce can also be prepared well ahead of time. Once cooled, store it in an airtight glass jar. It will keep perfectly at room temperature for a few days. For longer storage, you can refrigerate the caramel for several weeks. When you’re ready to use refrigerated caramel, it will likely have thickened considerably. Gently warm it in the microwave in short bursts of 15 seconds, stirring after each interval, until it returns to a smooth, pourable, syrupy consistency. However, be cautious not to overheat it! If the caramel is too hot when poured over the whipped cream, it will unfortunately melt the delicate topping. Allow it to cool back down to room temperature before drizzling, ensuring a pristine finish for your dessert.
Should you have any delightful leftovers (a rare occurrence with this crowd-pleaser!), they can be stored in an airtight container in the refrigerator for up to a week. In my home, however, it’s a dessert that rarely lasts beyond a day, a true testament to its irresistible charm!
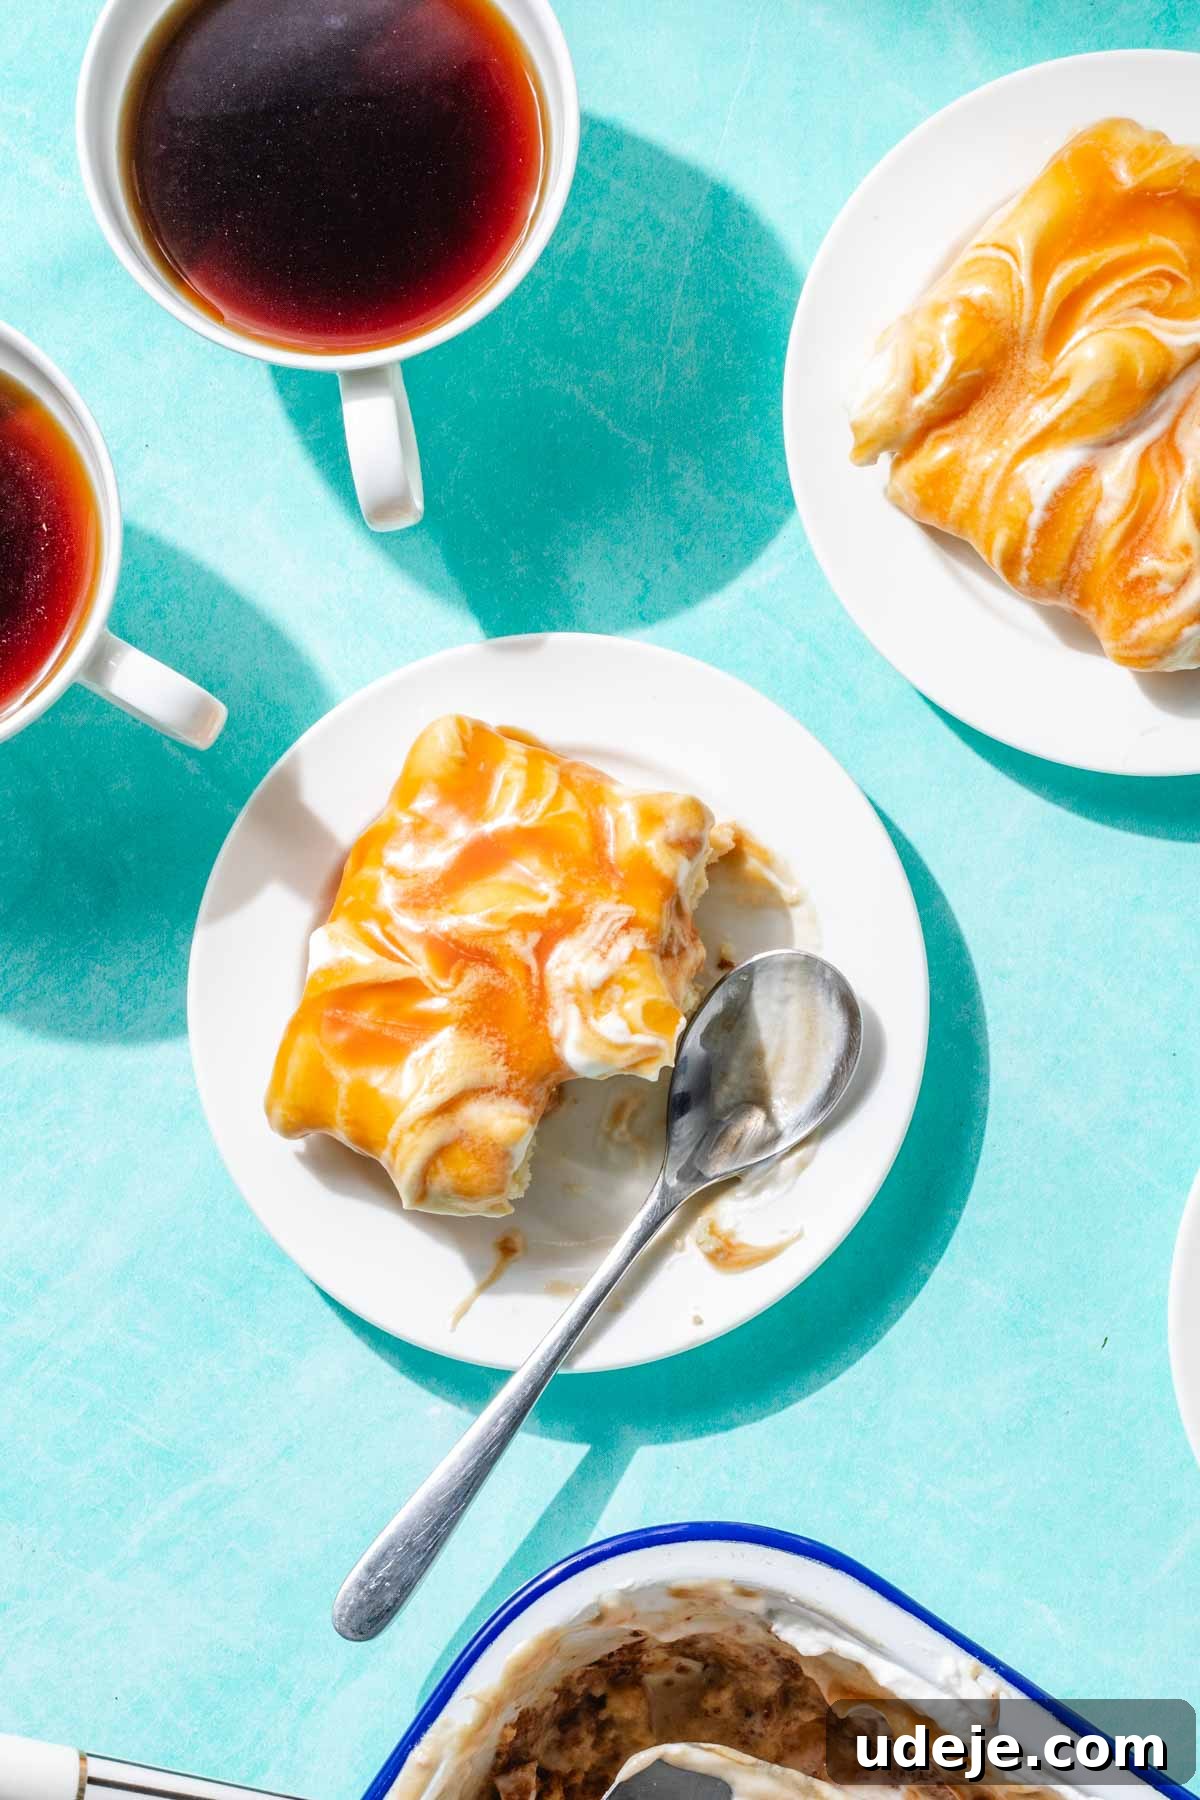
Trileçe: The Ultimate Crowd-Pleasing Dessert!
There’s something uniquely satisfying about desserts that can be prepared in a single large baking dish and generously feed a crowd. This Turkish Tres Leches is precisely that kind of dessert. Whenever I bring it to a gathering, it disappears in mere minutes, always met with rave reviews and requests for the recipe. Its elegant presentation, combined with its comforting and indulgent flavors, makes it perfect for any celebration, family dinner, or special occasion. If you appreciate these types of convenient and impressive make-and-take desserts, be sure to explore my Creamy Pistachio Tiramisu for a nutty, coffee-infused treat, or the gorgeous Umm Ali, an authentic Egyptian bread pudding that promises warmth and richness. These recipes are all designed to bring joy and deliciousness to your table, effortlessly.
Other Irresistible Recipes You’ll Adore
If you tried this incredible Turkish Tres Leches recipe, please consider leaving a star ⭐️⭐️⭐️⭐️⭐️ rating in the recipe card below and/or a review in the comments section further down the page – your feedback means the world to me! You can also hop on over to Instagram and say hello!

The Best Trileçe (Turkish Milk Cake)
12
Servings
15
mins
30
mins
1
hr
1
hr
45
mins
Amina Al-Saigh
Leave a Review
Pin Recipe
Ingredients
For the Cake:
- 5 large eggs, yolk and whites separated
- 1/4 teaspoon lemon juice
- 1 1/4 cups sugar, (268 g) divided
- 1 1/2 teaspoons vanilla extract
- 1/3 cup whole milk, 79 ml
- 1 2/3 cups flour, 240 g
- 1 1/2 teaspoon baking powder
- 1/4 teaspoon salt
For the Caramel:
- 1 cup sugar, 200 g
- 1/3 cup butter, 80 g
- 120 ml whipping/heavy cream
For the Soaking Mixture:
- 3/4 cup whole milk, 177 ml
- 300 ml sweetened condensed milk, 1 can
- 354 ml evaporated milk, 1 can
For the Cream Layer:
- 400 ml whipping/heavy cream
- 2 tablespoons powdered sugar or icing sugar
Instructions
For the Cake:
-
Start by preheating the oven to 350F (175°C).
-
 Using an electric hand whisk or stand mixer with the whisk attachment, beat the egg whites on medium to high speed in a clean large bowl, until it starts to foam up. Add in the lemon juice and continue beating. Slowly add in 1/4 cup of the sugar. Beat for an additional 2 minutes until medium peaks are formed.
 -
In a separate medium bowl, beat the egg yolks with the vanilla and the remaining 1 cup of sugar until pale yellow and creamy. Add the milk and mix to combine.
-
Sift the flour, baking powder, and salt into the egg yolk mixture. With a whisk, lightly mix until no more flour clumps can be seen, being careful not to overmix to avoid developing gluten, which creates a tough cake.
-
Add 1/4 of the whipped egg whites to the egg yolk mixture and gently mix to combine. Then, add this lightened batter to the rest of the whipped egg whites and fold carefully with a spatula until the batter is fully combined and no white streaks are visible.
-
Pour the cake batter into an ungreased 9×13 inch glass pan and bake for 30-35 minutes, or until a toothpick inserted into the center comes out clean.


For the Caramel Sauce:
-
In a small, thick-bottomed saucepan, add the sugar and melt it over medium to medium-high heat for a maximum of 5 minutes. As the sugar starts to melt, use a spatula or wooden spoon to gently push the sugar from the middle to the outer edges, bringing the melted outer edges inward to ensure even melting. The sugar will fully melt and turn a beautiful golden color.
-
Take the pan off the heat and add the butter, whisking continuously and vigorously to combine. Be careful as the mixture will bubble and steam. Return the pan to the heat and add the whipping cream, continuing to whisk. The mixture may seize and separate, appearing ruined, but keep whisking! It will almost immediately smooth out into a rich caramel. Boil for 1 minute, then set aside in a glass jar to cool to room temperature.

For the Soaking Mixture:
-
In a medium bowl or large measuring cup, thoroughly mix together the whole milk, sweetened condensed milk, and evaporated milk until well combined.
-
After the cake has cooled for approximately 5 minutes, use a fork to poke holes all over the surface. This creates pathways for the soaking mixture to be fully absorbed.
-
Slowly pour the entire milk mixture evenly over the cake. It may appear to be a lot of liquid, but the cake will fully absorb it as it rests. Cover the cake tightly with plastic wrap and chill in the fridge for a minimum of 1 hour, or until ready to serve.



For the Cream:
-
Just before serving the cake, whip the cold heavy cream with the powdered sugar in a large bowl until soft peaks form. Spread the whipped cream evenly over the chilled, soaked cake, using a spatula to create a smooth, flat surface.
-
Slowly and carefully drizzle the room-temperature caramel sauce over the cream layer. You can either spread it smoothly or use a toothpick to gently swirl the caramel and cream together to create an attractive marbled effect. Serve immediately and enjoy!


Notes
- Traditional Trileçe is often adorned with an intricate webbed caramel pattern. To achieve this, you would reserve a small portion of the whipped cream and transfer it to a piping bag. After pouring the caramel in a smooth layer over the cake, pipe straight lines of the reserved cream across the cake. Then, use a toothpick to gently drag through these lines in alternating directions to create a beautiful feathering or web-like design. I personally find this technique a bit challenging to execute without inadvertently mixing the layers, so I often opt for swirling the caramel and cream together to create a lovely marbled effect, which is equally charming and much simpler.
- This delicious milk cake can be stored, covered tightly with plastic wrap, in the refrigerator for up to five days, making it an excellent make-ahead dessert.
- You have the flexibility to bake the cake and allow it to soak in the milk mixture a few days before you plan to serve it. Just remember to add the whipped cream topping and the caramel sauce right before serving to maintain their fresh texture and appearance.
- The homemade caramel sauce will keep well at room temperature when sealed in a glass jar for a few days. For extended freshness, store it in the refrigerator for several weeks. When retrieving it from the fridge, allow it to come to room temperature before using, or gently warm it in 15-second intervals in the microwave until it regains its pourable consistency. Just ensure it’s not too hot before drizzling it over the whipped cream, as excessive heat will cause the cream to melt.
- Using an ungreased baking pan for the cake is intentional. This allows the cake batter to “grip” the sides of the pan as it rises, which helps the cake achieve maximum height and prevents it from deflating after baking, resulting in a lighter, airier sponge.
- The pan size is crucial for the cake’s thickness and baking time. This recipe is designed for a 9×13 inch pan. If you use a slightly smaller or larger pan, be aware that the thickness of your cake will be affected, and you may need to adjust the baking time accordingly. For optimal results, I strongly recommend sticking to the 9×13 inch pan and avoiding anything smaller.
Serving:
1
g
,
Calories:
556
kcal
,
Carbohydrates:
76
g
,
Protein:
11
g
,
Fat:
24
g
,
Saturated Fat:
14
g
,
Polyunsaturated Fat:
1
g
,
Monounsaturated Fat:
6
g
,
Trans Fat:
0.01
g
,
Cholesterol:
150
mg
,
Sodium:
233
mg
,
Potassium:
348
mg
,
Fiber:
0.5
g
,
Sugar:
62
g
,
Vitamin A:
961
IU
,
Vitamin C:
2
mg
,
Calcium:
282
mg
,
Iron:
1
mg
Did you make this recipe?
Please leave a star rating and review below!