
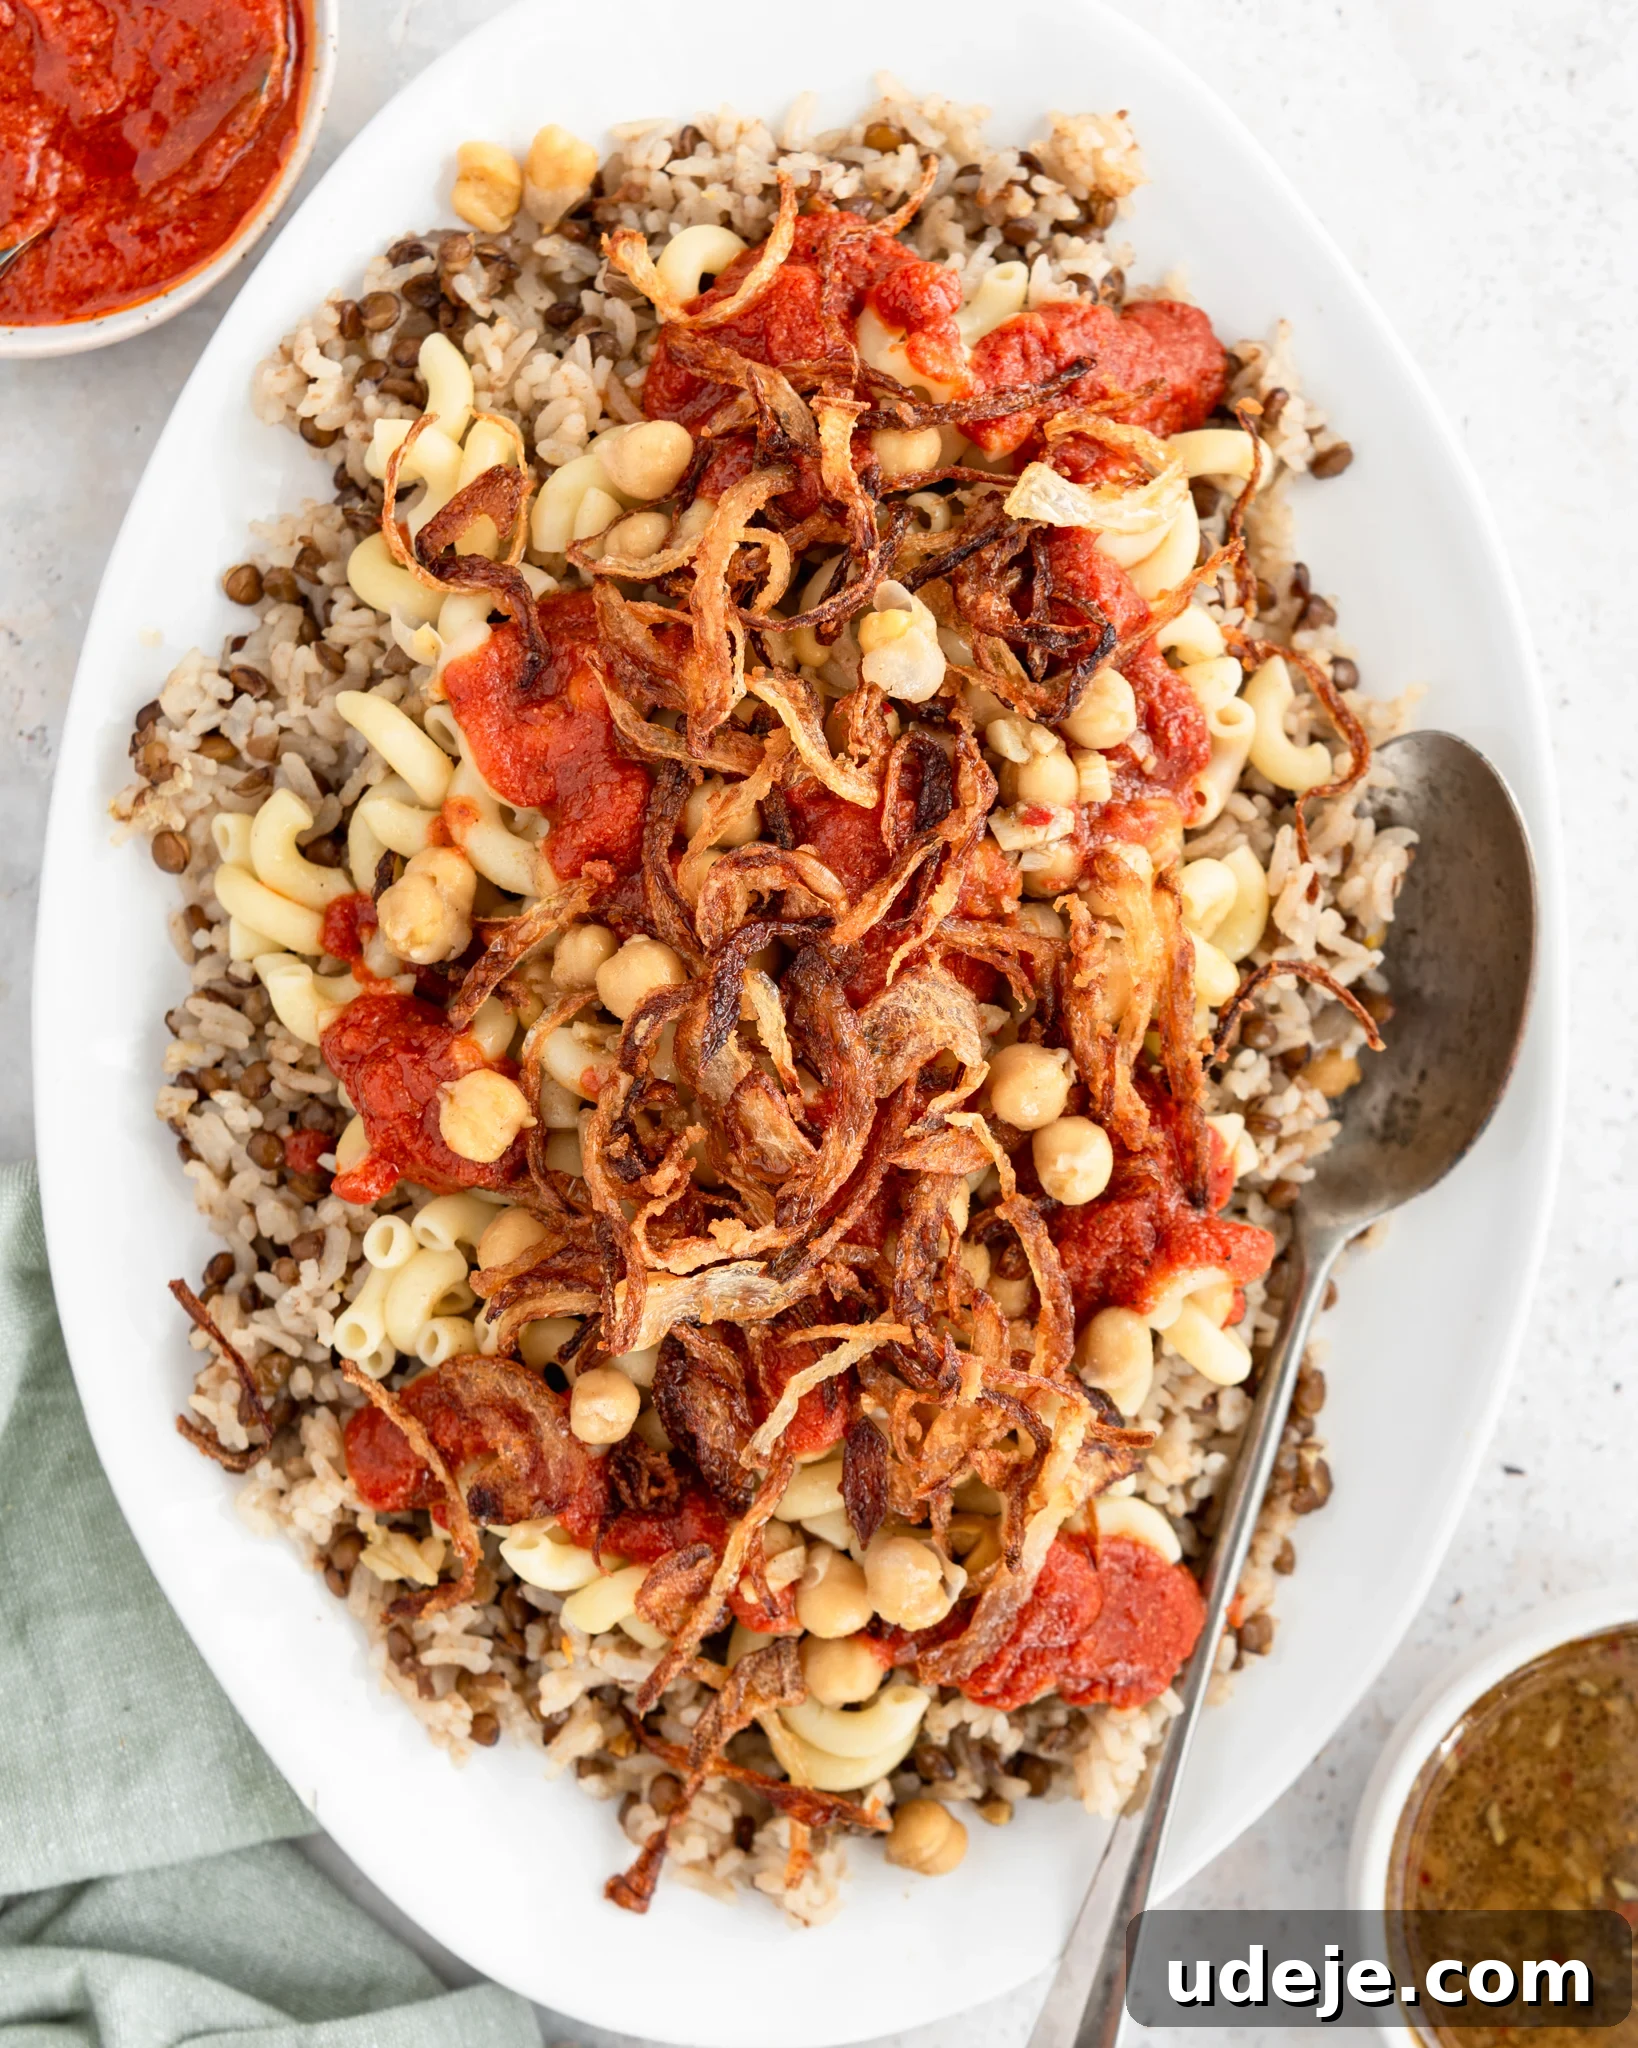
Authentic Egyptian Koshari: A Hearty Vegan Staple
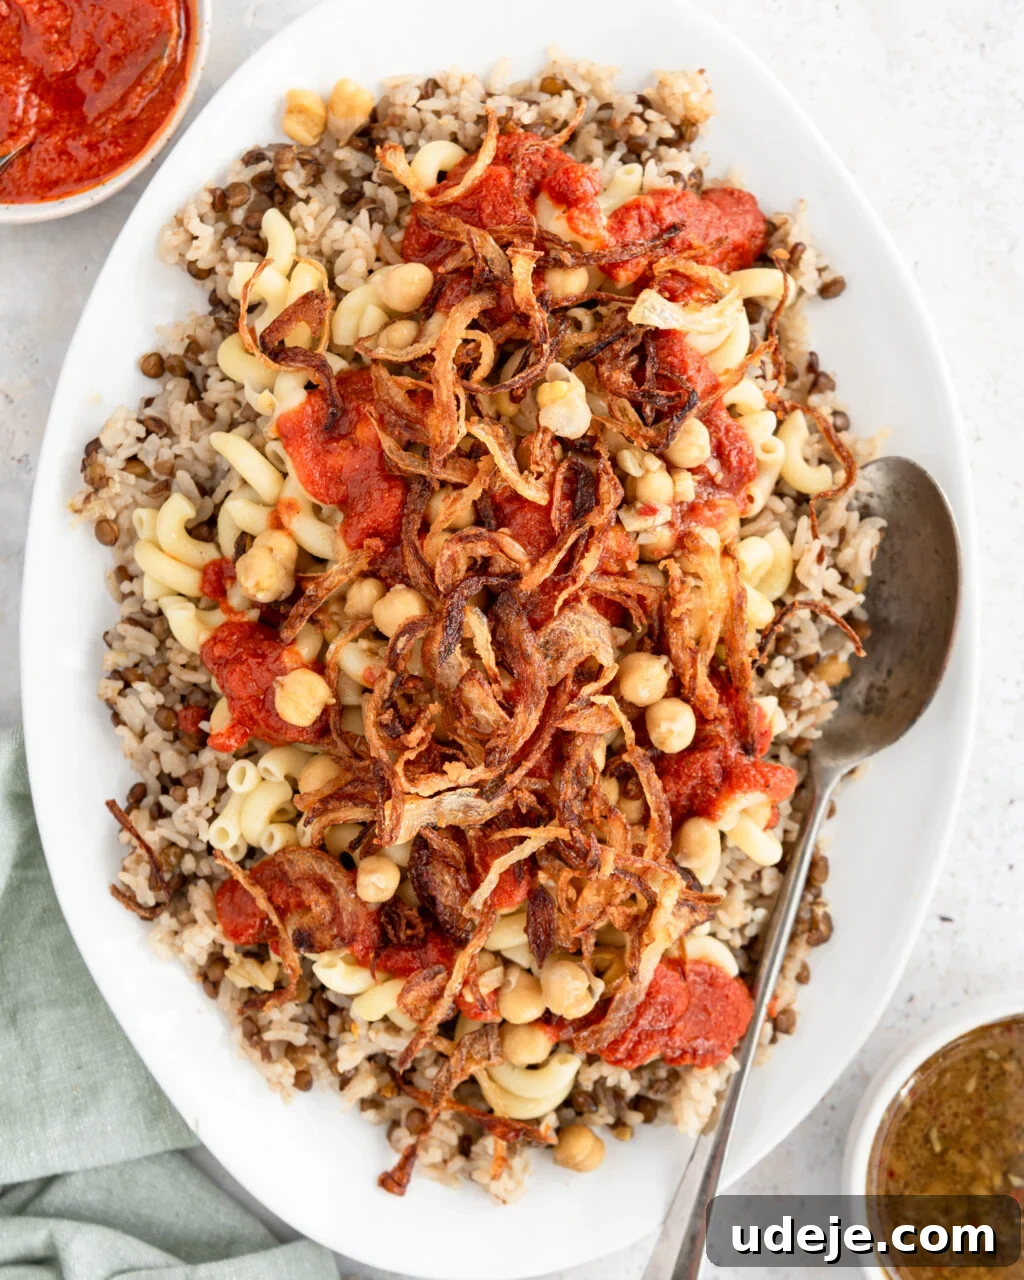
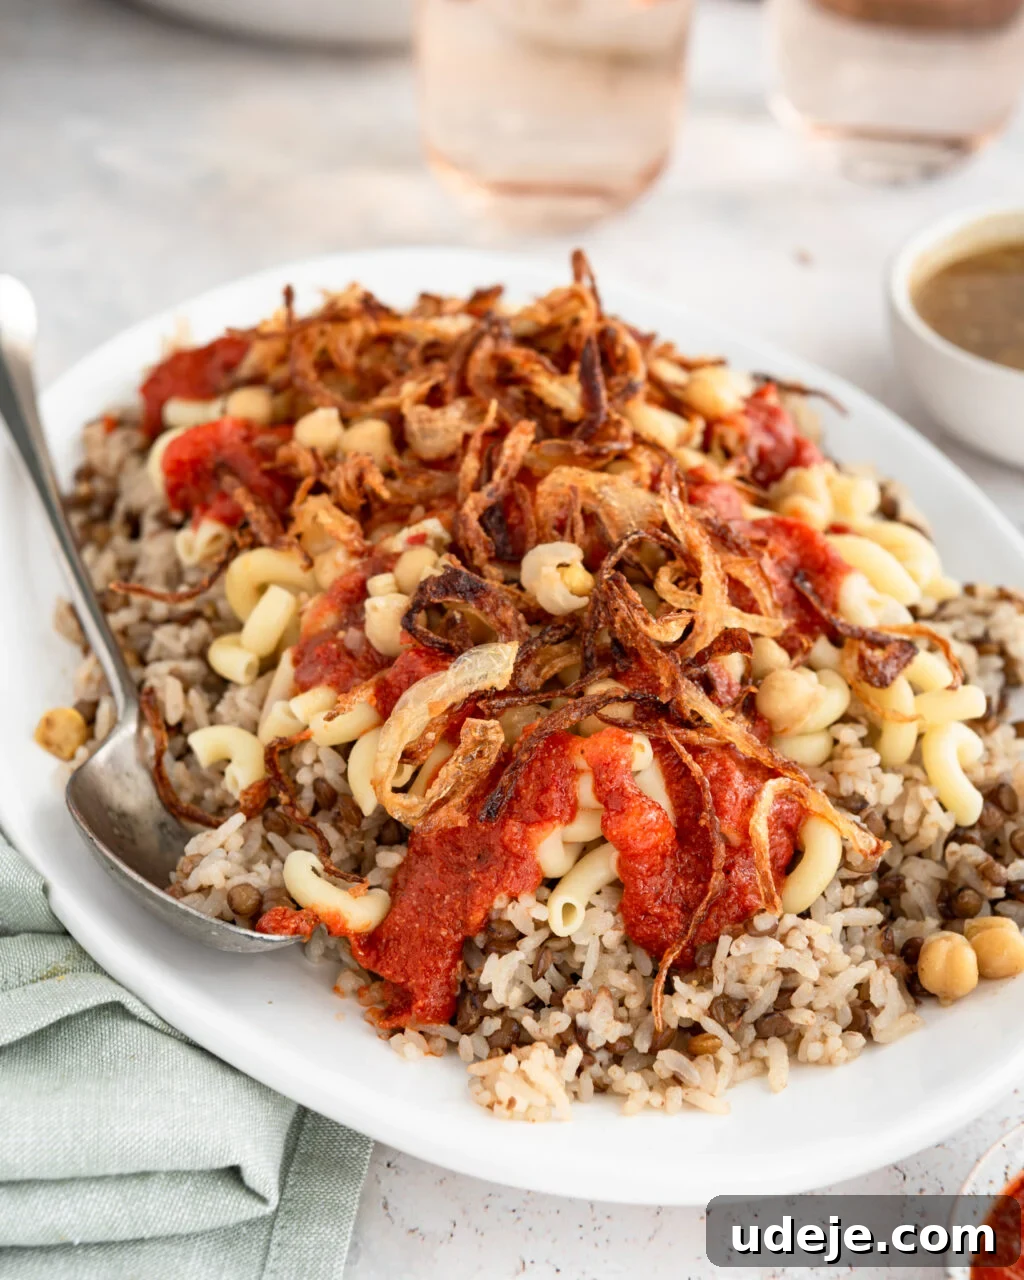
Koshari, often hailed as the national dish of Egypt, is a truly remarkable culinary experience. This naturally vegan, hearty, and comforting meal is a testament to simple ingredients coming together to create an explosion of flavor and texture. It layers perfectly cooked lentils, fluffy rice, and tender pasta with spiced chickpeas, all generously drenched in a rich, garlicky tomato sauce and brightened by a zesty vinegar “dakkah.” The crowning glory, however, is the generous topping of crispy fried onions, providing an irresistible crunch that elevates every bite. This humble yet epic dish, made from inexpensive pantry staples, is a cornerstone of Egyptian cuisine, cherished in homes and a beloved street food across the country. Despite its numerous components, mastering Koshari is surprisingly straightforward, and we’re here to guide you through every delicious step.
What is Egyptian Koshari? A Culinary Journey Through History
Koshari is more than just a meal; it’s a flavorful narrative of Egypt’s rich cultural tapestry and historical influences. Its origins are believed to trace back to India, specifically to “khichri,” a comforting dish of rice and lentils from which the name ‘Koshari’ likely derives. The historical journey suggests that British colonialists introduced the precursor to this dish to Egypt in the 1800s. Later, in the 1940s, Italian immigrants brought their pasta, which was quickly incorporated. It was the ingenious Egyptians, however, who truly transformed it into the iconic dish we know today, adding the vibrant, tangy tomato sauce, the unique vinegar dakkah, and, of course, the crispy fried onions that complete its distinctive profile. This fusion of global influences perfectly illustrates Koshari’s evolution into a dish that is distinctly Egyptian.
While Koshari is synonymous with bustling Egyptian street food vendors, serving up steaming bowls from vibrant carts on every street corner, its reach extends far beyond. It’s a beloved staple in virtually every Egyptian home, a symbol of warmth and hospitality. Its widespread appeal has now transcended borders, captivating comfort food enthusiasts globally. Many discover Koshari as a unique and satisfying vegan option that offers a deep dive into Middle Eastern flavors.
For those familiar with Levantine cuisine, you might consider Koshari as the more elaborate, adventurous cousin of Mujaddara. While Mujaddara shares a foundational base of lentils and rice, Koshari expands on this humble beginning with additional layers of pasta, chickpeas, and its signature duo of tomato and vinegar sauces, creating a more complex and fulfilling culinary experience.
Why This Authentic Koshari Recipe is a Must-Try
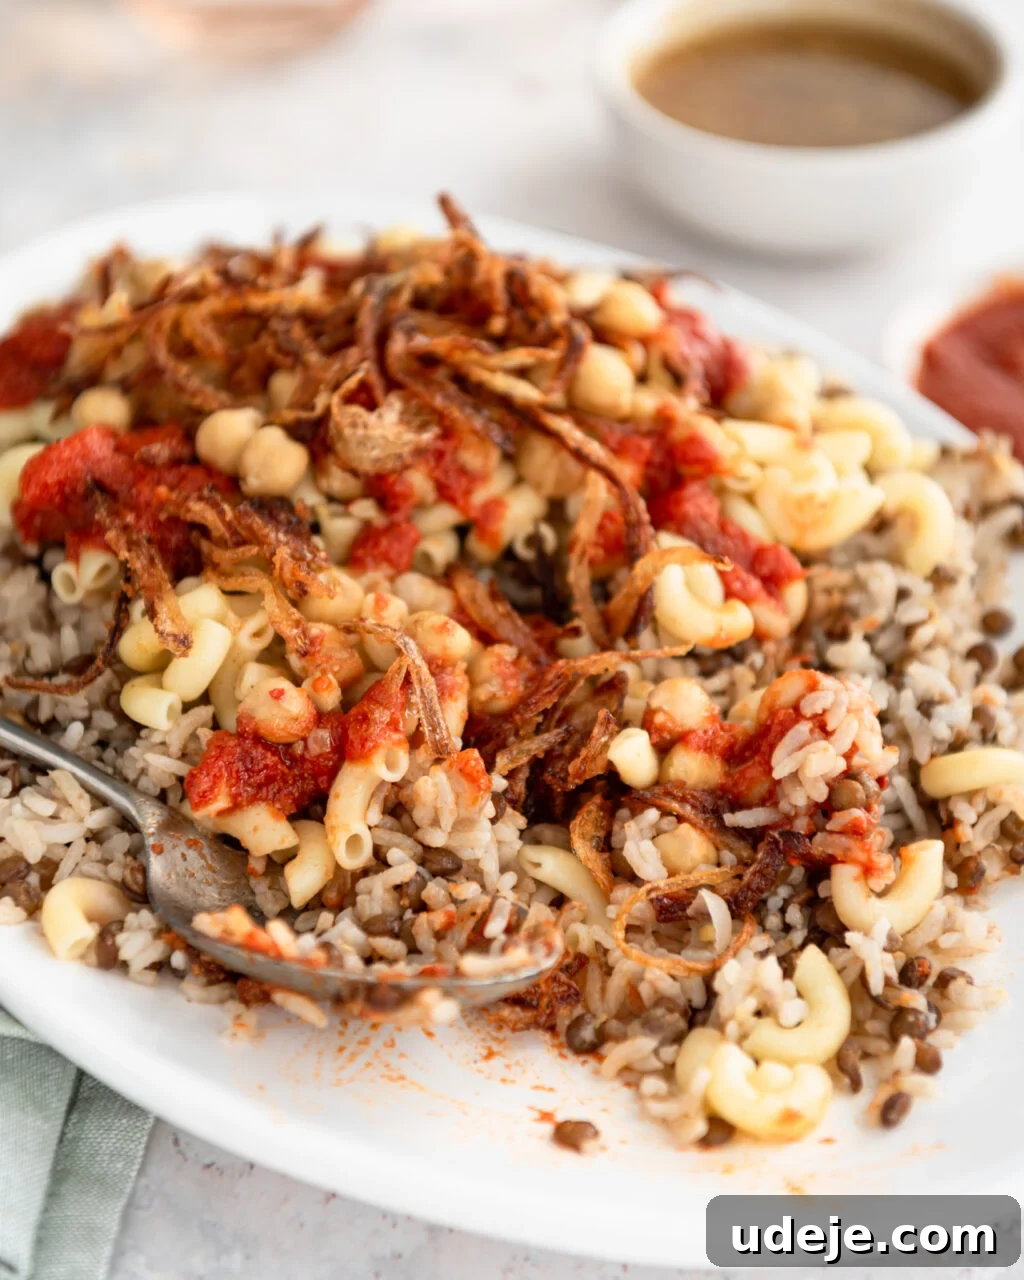
Our commitment is always to bring you the most authentic Middle Eastern recipes, meticulously developed and rigorously tested to ensure genuine flavors. This particular Koshari recipe comes to life through the expertise of Mariam, an authentic Egyptian recipe developer who has poured her heart into capturing the true essence of this national dish. When I personally tested this recipe, comparing it to the Koshari from my favorite local Egyptian restaurant—a place I frequent specifically for this dish—it immediately received my green light. The taste was identical: rich, comforting, and utterly authentic.
Embarking on the journey of making this Koshari recipe offers a true taste of Egyptian cuisine, renowned for its distinct and unique dishes. Beyond Koshari, I highly recommend exploring other Egyptian culinary treasures. My personal all-time favorite is Macarona Bechamel, a delectable pasta bake. You might also enjoy Egyptian Goulash, an easy and savory phyllo meat pie, or the rich and wholesome Molokhia stew. Each offers a unique glimpse into the diverse and flavorful world of Egyptian cooking.
Essential Ingredients for Your Koshari Masterpiece
While Koshari might appear complex due to its multiple layers, each component is surprisingly simple to prepare. The beauty of this recipe lies in its reliance on easily accessible and inexpensive pantry staples, making it both economical and incredibly rewarding. The final result is undoubtedly worth every bit of effort. Let’s delve into the key ingredients that form this culinary mosaic.
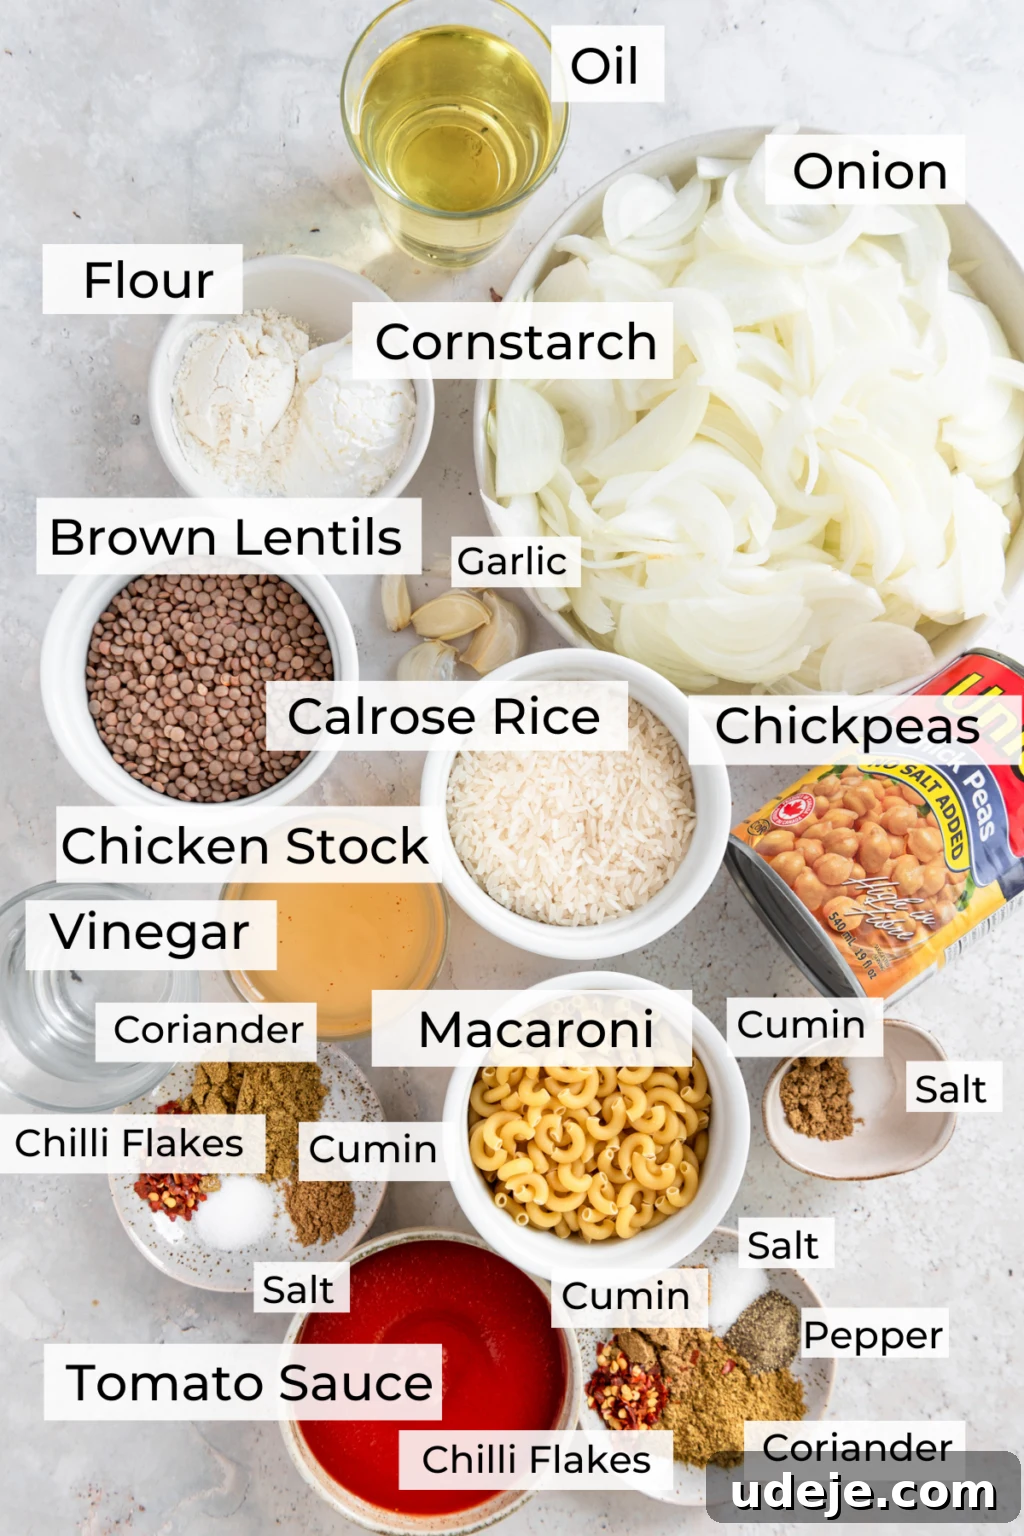
For the Crispy Fried Onions: The golden, crispy onions are a non-negotiable element, adding texture and deep flavor.
- Sliced Yellow Onions: Opt for yellow onions, as they caramelize beautifully and provide the traditional flavor and appearance. Red onions are not typically used and will yield a different result. Slice them thinly for optimal crispiness.
- Flour and Cornstarch: This dynamic duo is crucial for creating that irresistibly crispy coating. They absorb moisture and help the onions achieve a perfect golden-brown exterior.
- Oil for Frying: Vegetable oil is commonly used, but for an even richer flavor, consider avocado oil. Ensure you use enough oil to fully immerse the onions for even cooking.
For the Hearty Lentils and Rice Base: This foundational layer is the soul of Koshari, offering a comforting and wholesome core.
- Brown or Green Lentils: These varieties hold their shape well after cooking. Crucially, avoid red split lentils, as they tend to break down and become mushy, which isn’t desirable for Koshari. The lentils should be tender but still intact.
- Calrose Rice: A medium-grain rice, Calrose is the traditional choice for Egyptian-style rice due to its soft yet distinct texture when cooked. However, long-grain rice can be used as a suitable alternative.
- Chopped Onions, Garlic, and Chicken Broth (or Vegetable Broth for Vegan): These ingredients are essential for infusing the lentils and rice with savory depth. The broth adds a layer of umami that plain water can’t replicate.
For the Flavorful Spices: The spice blend is simple yet impactful, defining the authentic taste of Koshari.
- Salt and Pepper: Basic seasonings to enhance all the flavors.
- Cumin, Coriander, and Chili Flakes: This trio forms the aromatic heart of Koshari. Cumin and coriander provide earthy warmth, while chili flakes offer a gentle or robust kick, depending on your preference.
For the Chickpeas & Pasta: These additions bring delightful texture and substance to the dish.
- Canned Chickpeas: For convenience and consistent results, canned chickpeas are perfect. Simply drain and rinse them thoroughly. There’s no need to use dried chickpeas unless you prefer that method.
- Ditalini or Macaroni Pasta: Small-shaped pasta works best, as it blends seamlessly with the other granular ingredients, ensuring an even distribution in every spoonful.
- Some Spices and Oil: A light seasoning of the chickpeas ensures they are flavorful on their own, complementing the overall dish.
For the Tangy Tomato Sauce and Zesty Vinegar Dakkah: These two sauces are pivotal, providing the essential moisture, acidity, and vibrant flavors that complete Koshari.
- Crushed Tomatoes or Tomato Passata/Sauce: A good quality tomato base is key for a rich and robust sauce. Passata offers a smooth consistency, while crushed tomatoes provide a bit more texture.
- Generous Amount of Garlic: Garlic is paramount in the tomato sauce, lending an unmistakable pungency and depth that is characteristic of Koshari.
- White Vinegar: Essential for the dakkah and a crucial component in the tomato sauce, providing the necessary acidity to cut through the richness of the other ingredients.
- Selected Spices: The same core spices (cumin, coriander, chili flakes) are used in the sauces to create a cohesive flavor profile across the dish.
How To Craft Authentic Koshari: A Step-By-Step Guide
While Koshari involves several distinct elements, making it might seem time-consuming, but each component is relatively simple and quick to prepare. The secret to an efficient cooking process is to multitask and prepare certain parts simultaneously. Follow this organized approach to create your Koshari masterpiece:
- Begin with the Crispy Fried Onions: Frying the onions first allows you to infuse their rich flavor into the oil, which is then used in other components, creating a cohesive taste profile throughout the dish.
- Prepare the Lentil and Rice Base: This forms the hearty foundation of Koshari and cooks steadily while you manage other elements.
- Cook the Pasta and Season the Chickpeas: These steps are quick and can be done concurrently with the lentil and rice cooking.
- Whip Up the Two Essential Sauces: The garlicky tomato sauce and the zesty vinegar dakkah are the final flavor boosters, bringing everything together.
Let’s dive into each step with precision and ease!
Step 1: Achieving Perfectly Crispy Fried Onions
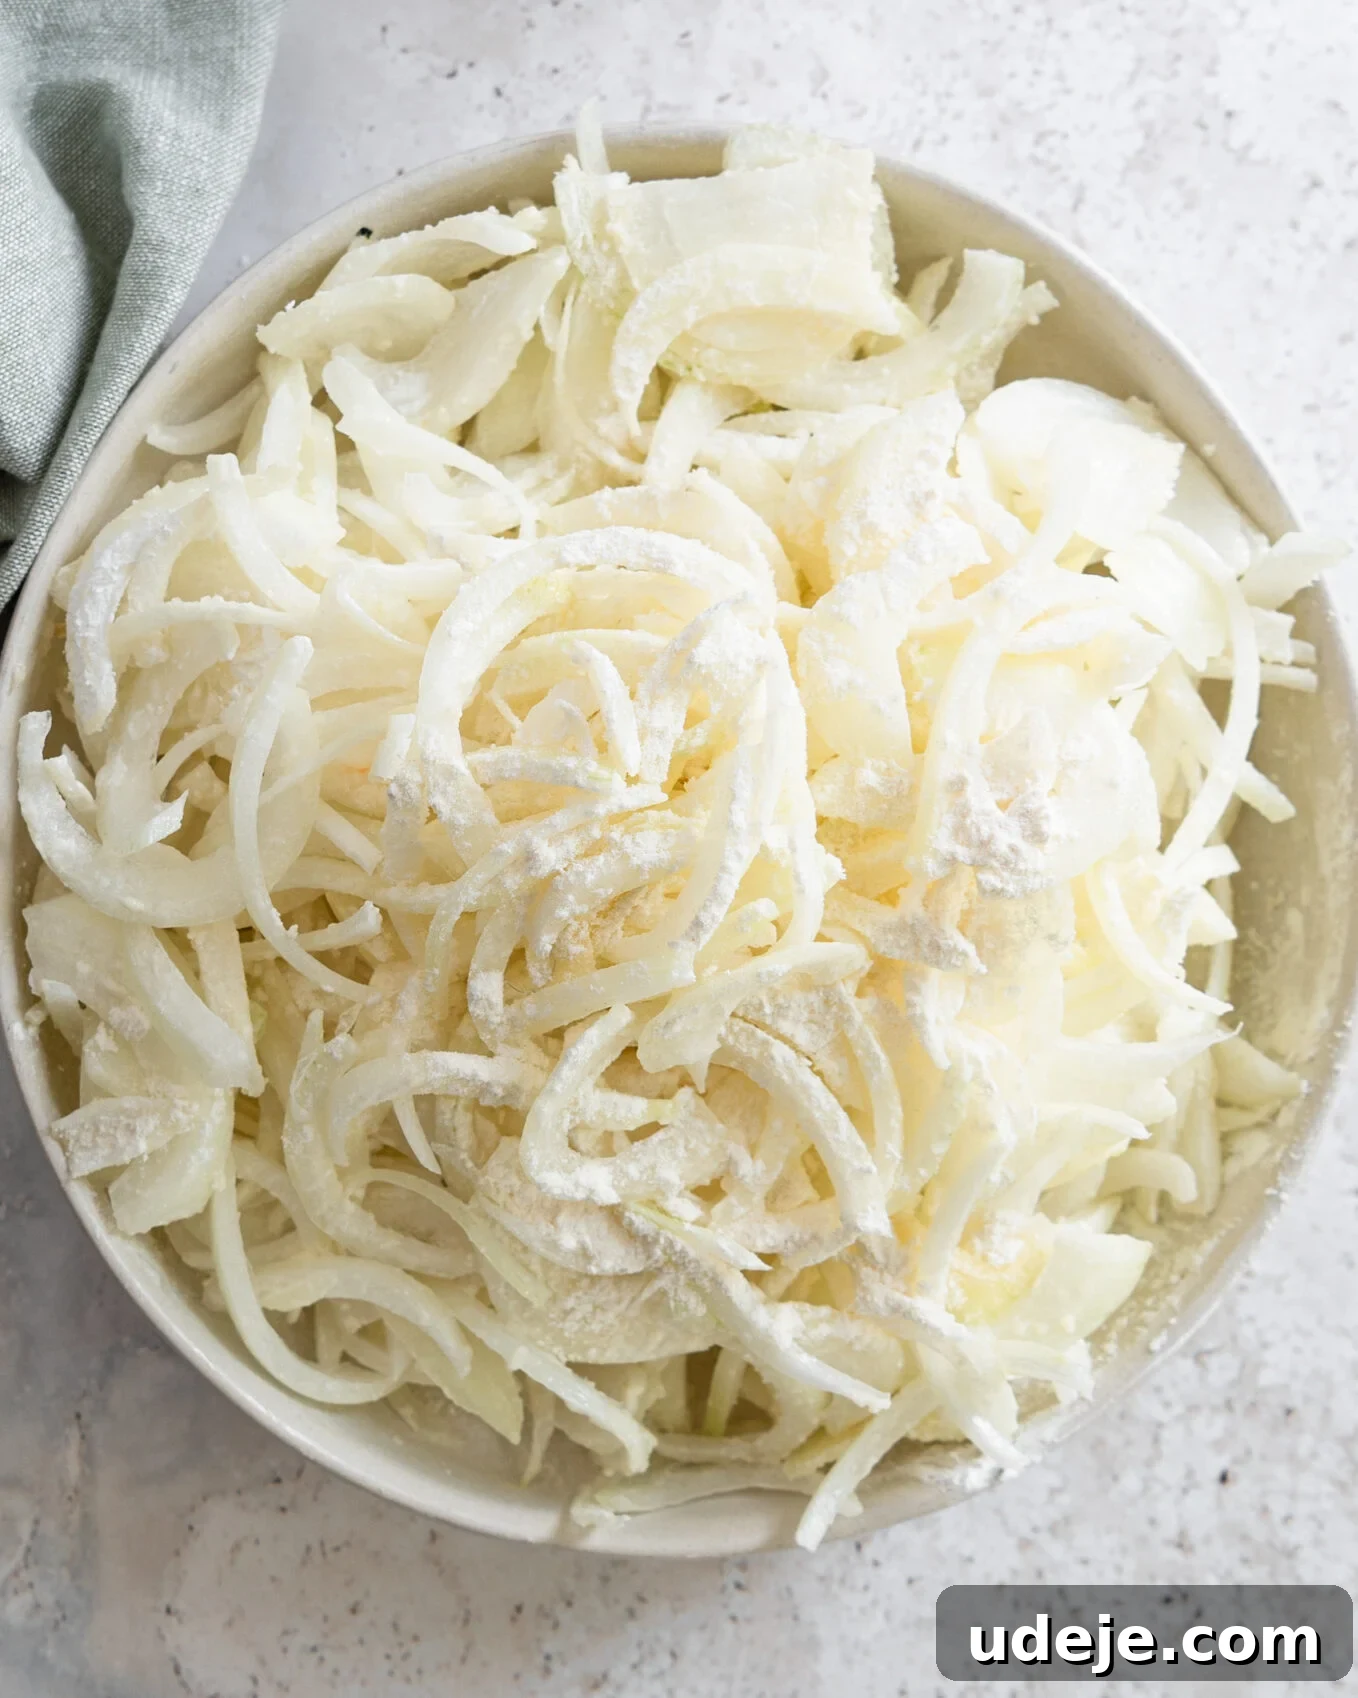
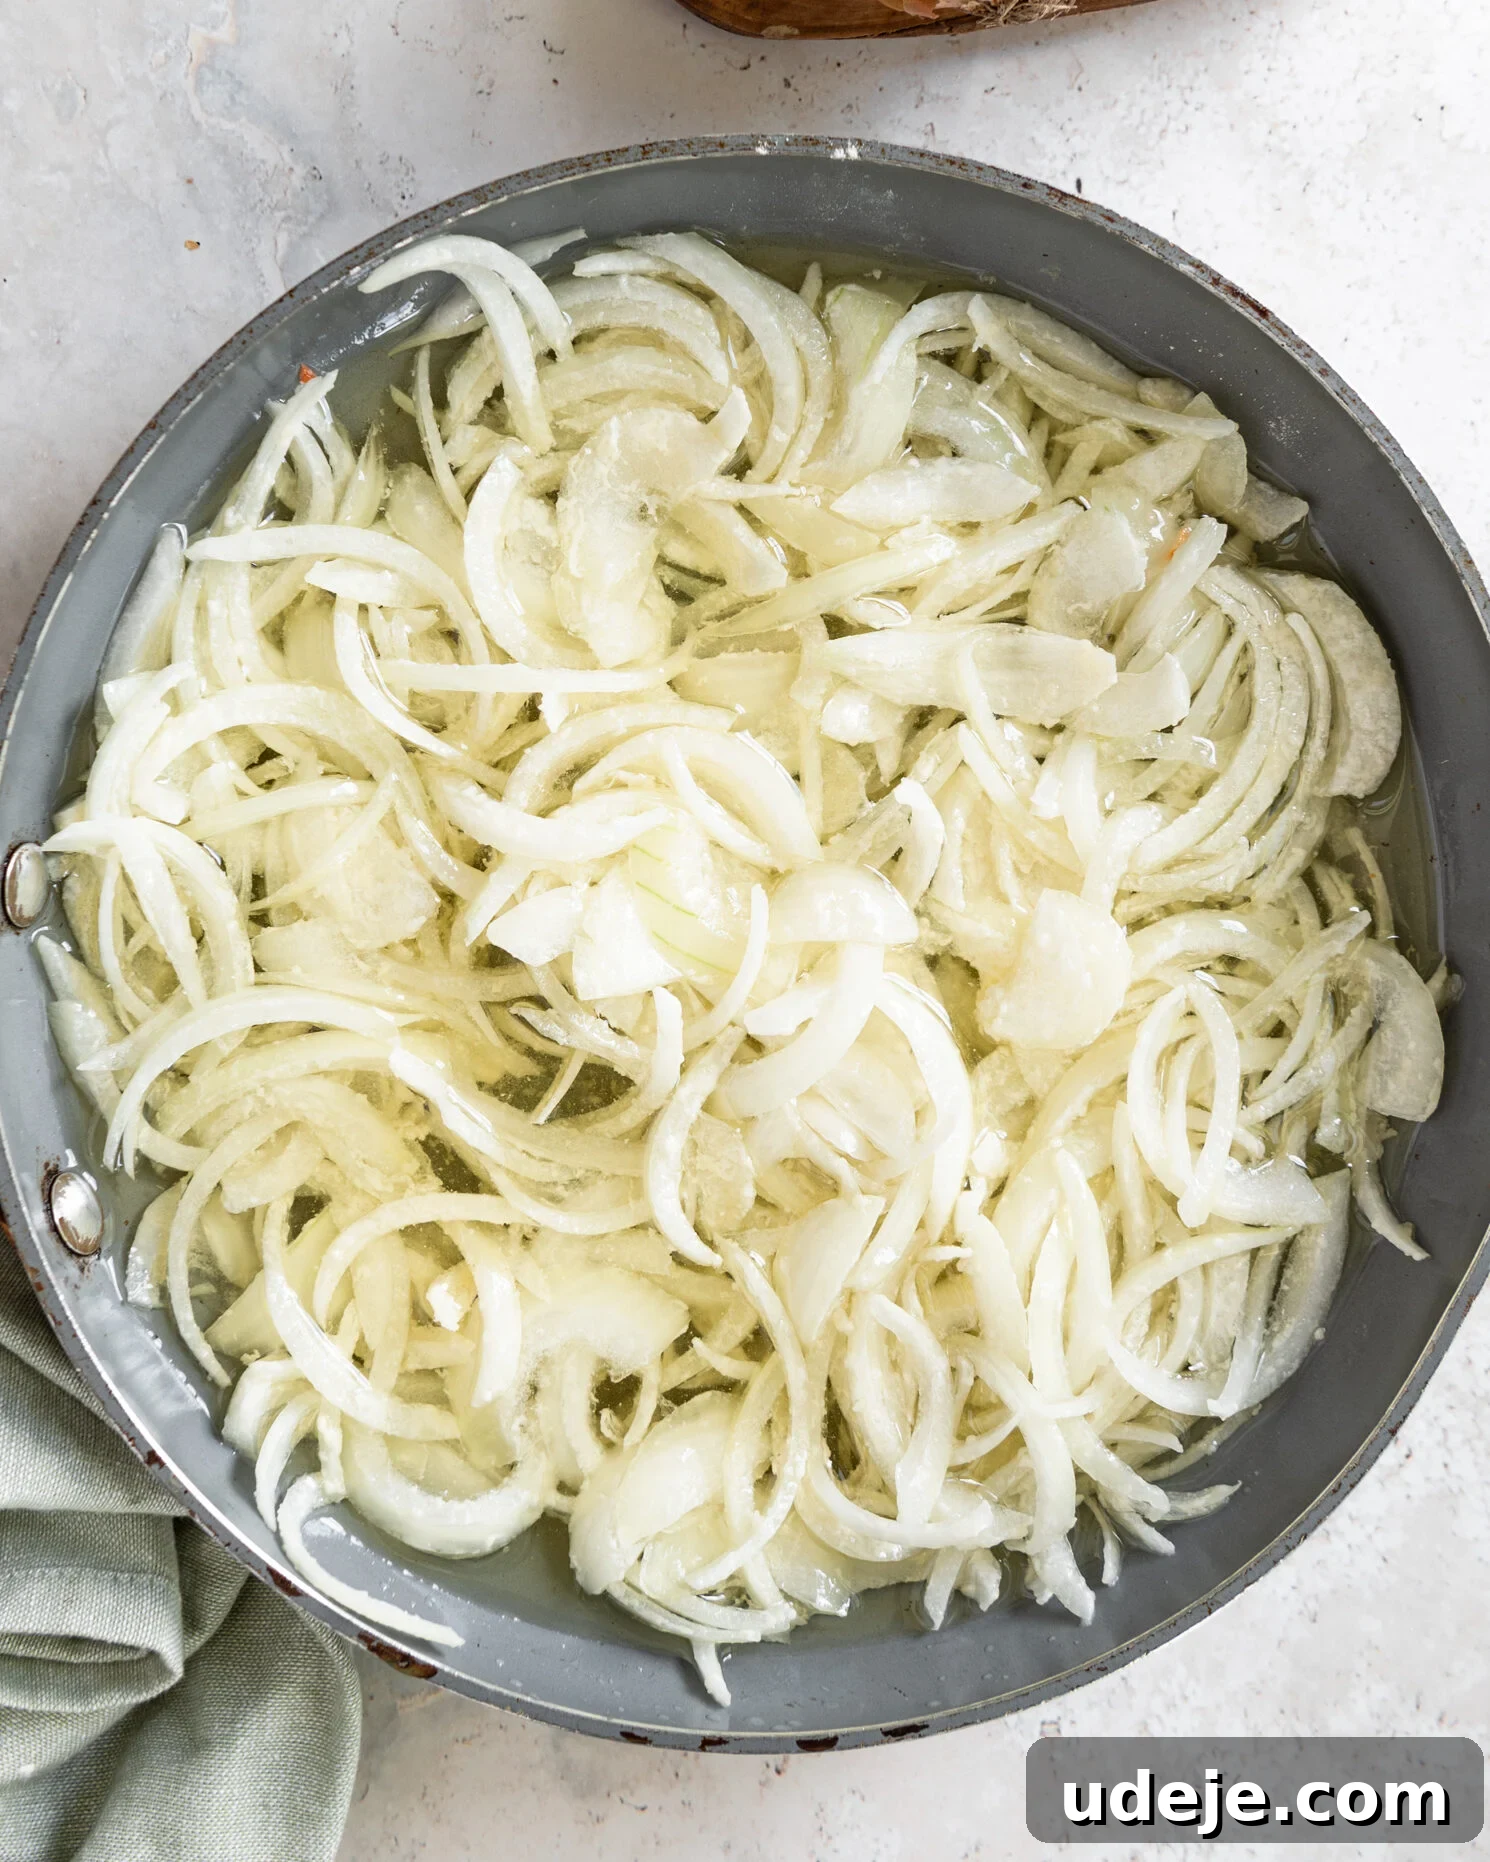
Start by peeling your yellow onions and slicing them into thin, uniform half-moon shapes. Transfer the sliced onions to a large bowl and toss them thoroughly with the flour, cornstarch, and a pinch of salt. This coating is the key to their eventual crispiness. In a deep skillet or pot, heat enough vegetable or avocado oil over medium-high heat. You’ll need enough oil to submerge the onions.
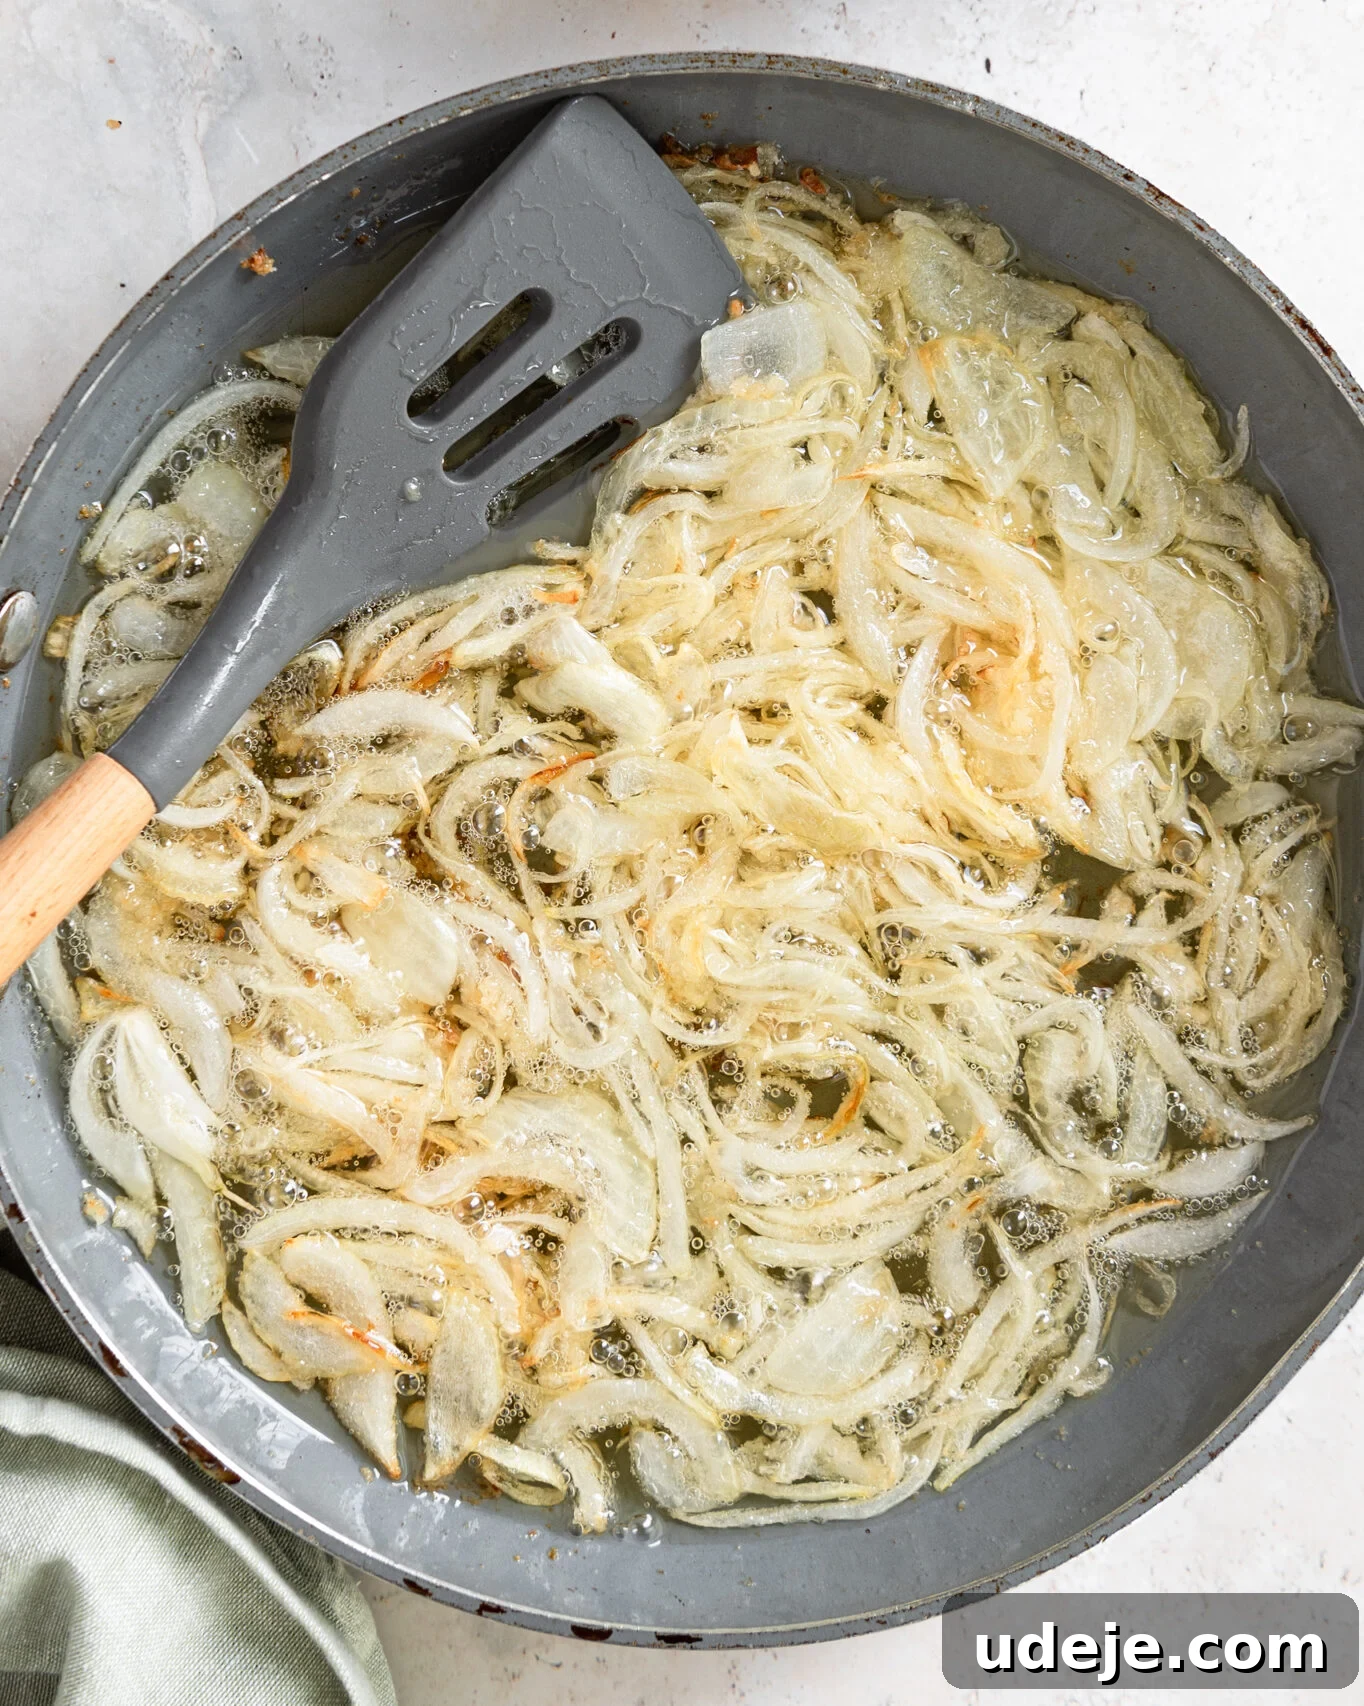
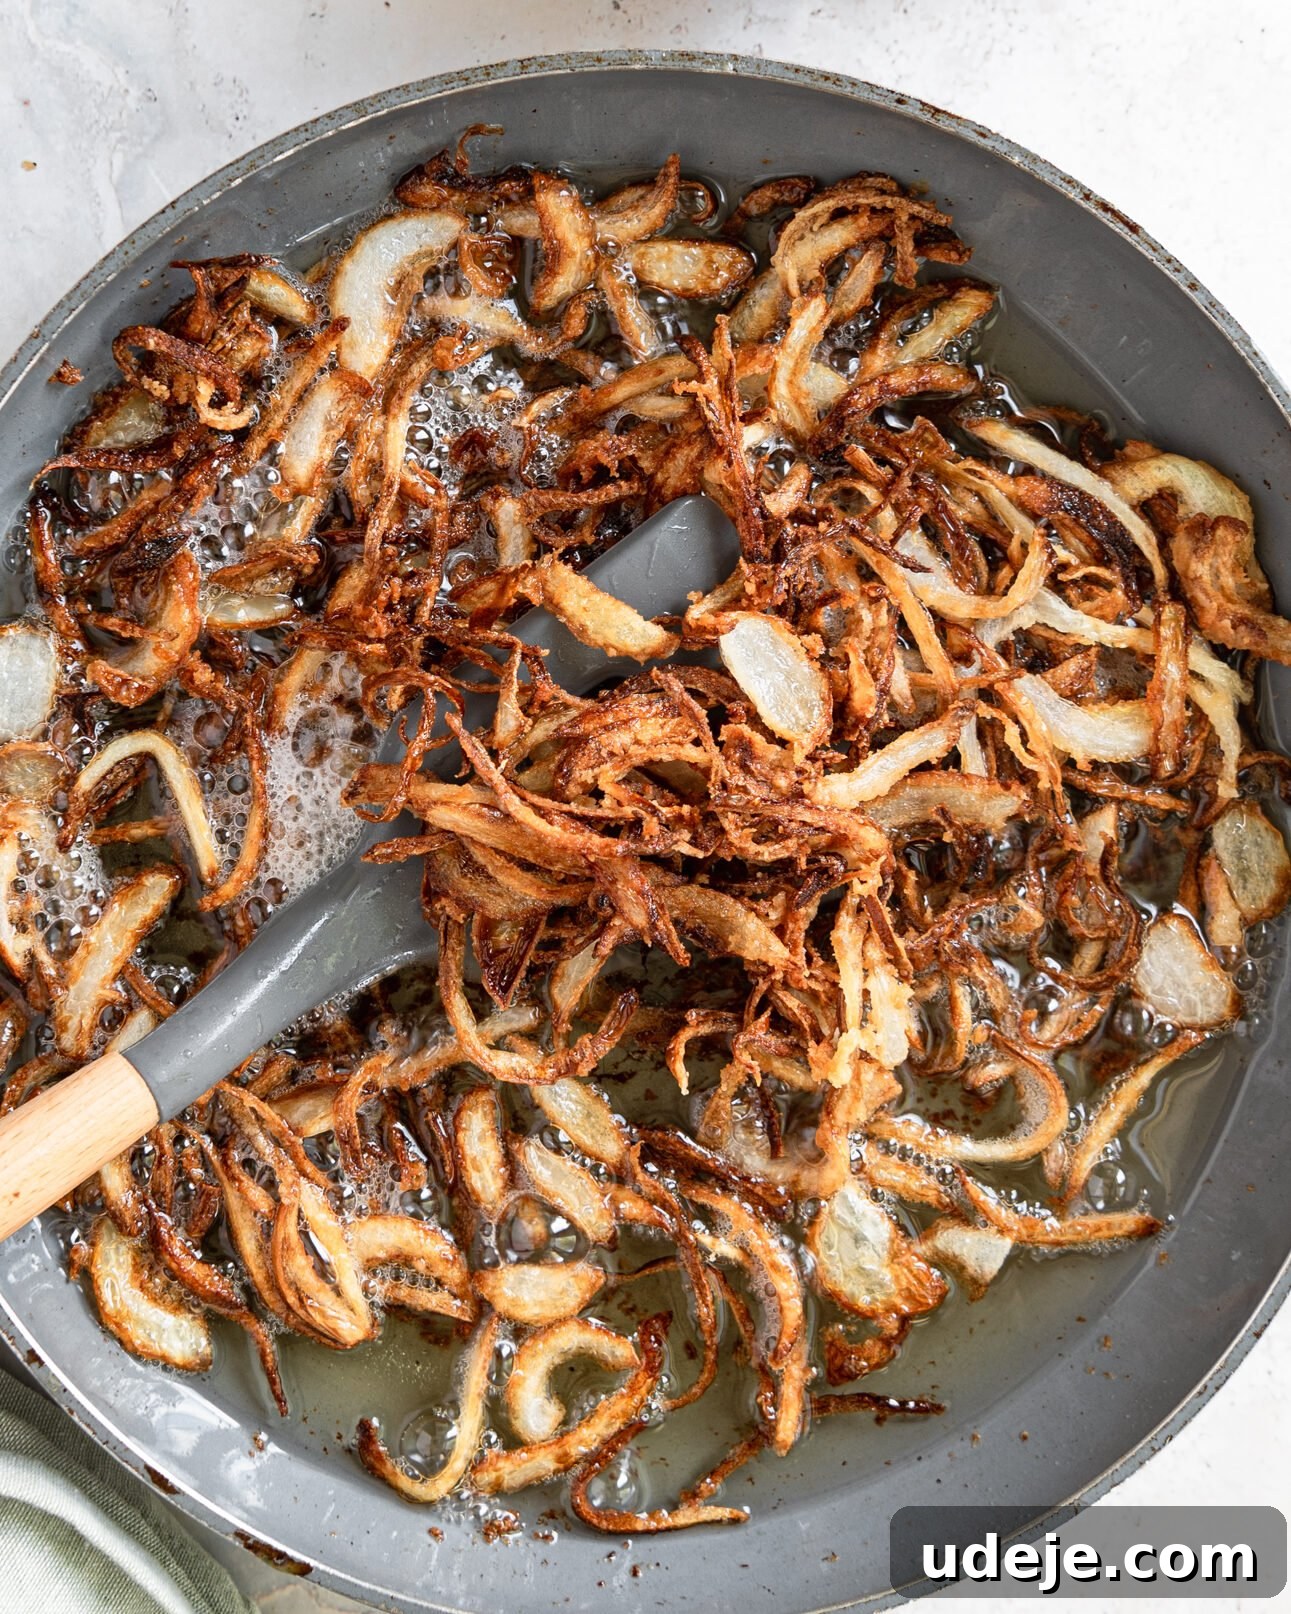
To check if the oil is ready, drop a single onion slice into the hot oil. If it immediately begins to sizzle and bubble, the oil has reached the correct temperature. Carefully add the coated onions to the skillet, ensuring they are immersed in the oil but not overcrowded. If you have a large quantity of onions, work in batches to allow them to fry evenly without steaming. Avoid stirring them initially; let them cook undisturbed until the outer edges begin to show signs of browning. Then, gently stir them to promote even caramelization across all the slices. Keep a vigilant eye on the onions, as they can transition from perfectly golden to burnt very quickly. Once they reach a beautiful deep golden-brown hue, remove them promptly with a slotted spoon and transfer them to a tray lined with paper towels. This will help absorb any excess oil, typically taking about 15-20 minutes for the entire frying process.
Chef’s Tip: Absolutely do NOT discard the oil used for frying the onions! This flavorful “onion oil” is a secret weapon. It will be used in subsequent steps to cook the other components of Koshari, infusing the entire dish with a rich, savory onion essence that is fundamental to its authentic taste.
After a few minutes on the paper towel-lined tray, transfer the onions to a colander or wire rack to finish drying and cool completely. This crucial step prevents them from softening due to residual steam, ensuring they remain delightfully crispy until serving time.
A Note on Convenience: The labor of love that goes into making these crispy fried onions is truly the best part of Koshari. They impart an unparalleled depth of flavor and crunch. However, I understand that frying a large quantity of onions can be time-consuming and can indeed leave your kitchen smelling distinctly of onions for a day or two! For those busy days or when you simply prefer a shortcut, store-bought fried onions can be used. While they won’t quite match the homemade version in terms of flavor and crispness, they still provide a satisfying crunch and make Koshari accessible even on lazier days. Just be prepared for a slightly different, though still enjoyable, experience.
Step 2: Crafting the Fluffy Lentils & Rice Base
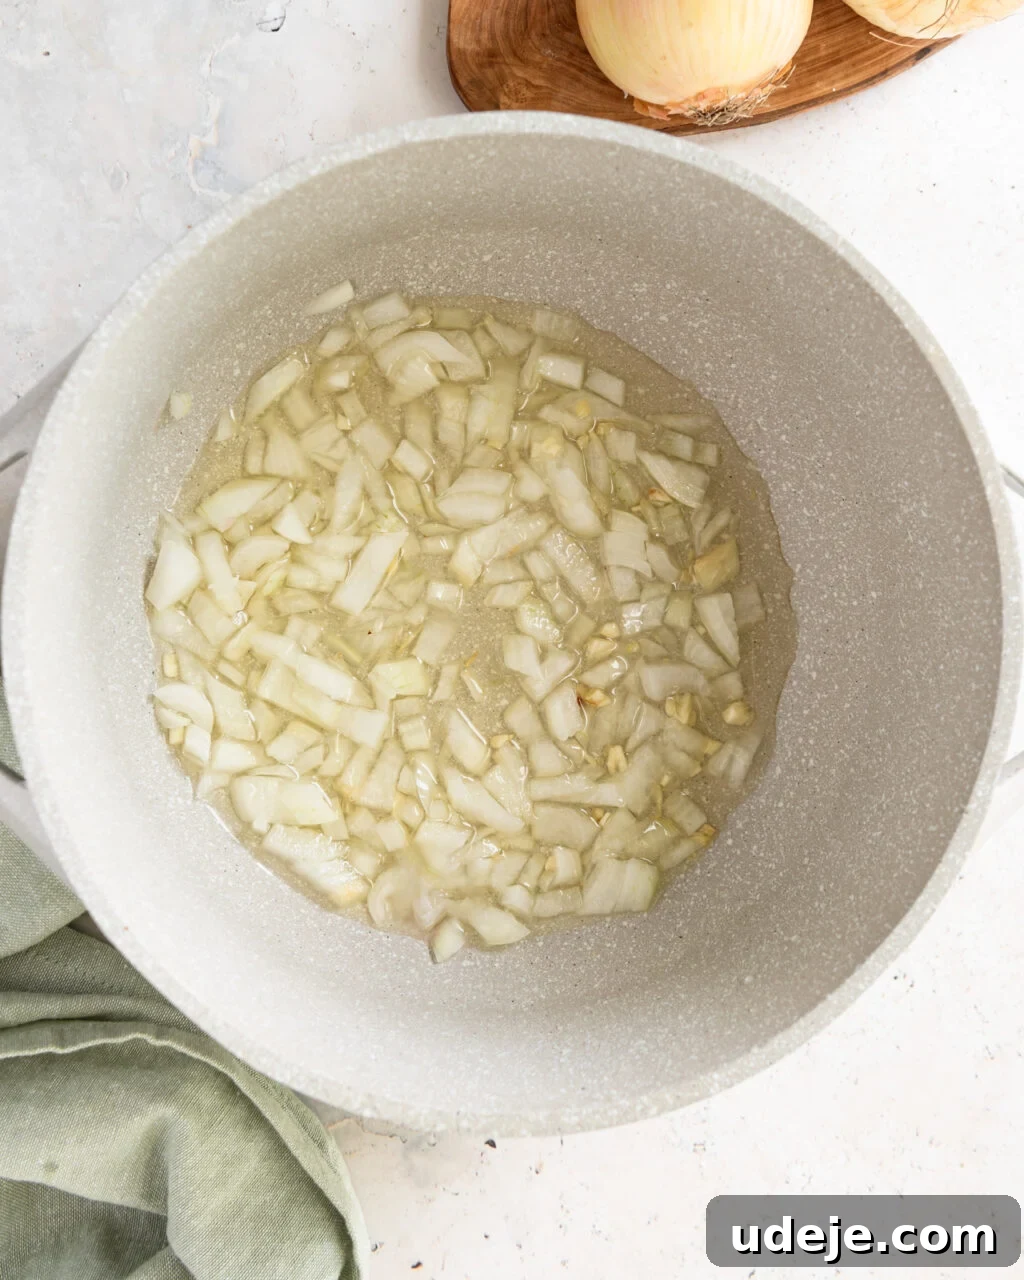
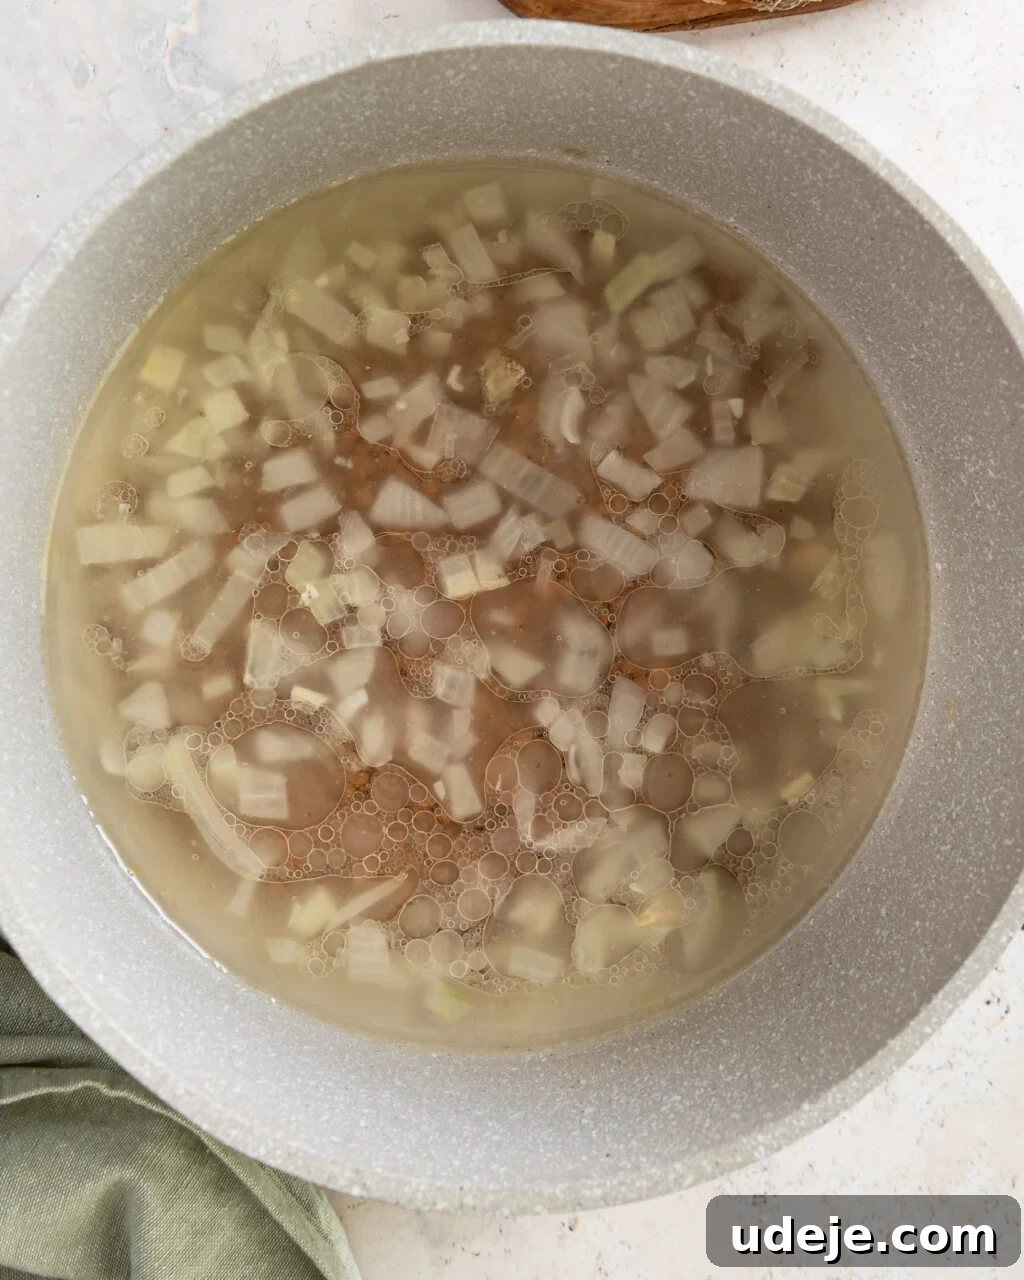
First, wash your brown or green lentils thoroughly under cold water until the water runs clear. Set them aside to drain. In a large pot (a non-stick pot is highly recommended to prevent sticking), add a generous amount of the reserved onion oil. Sauté a finely diced onion along with minced garlic over medium heat until softened and fragrant, typically about 3-5 minutes. This aromatic base is essential for the depth of flavor.
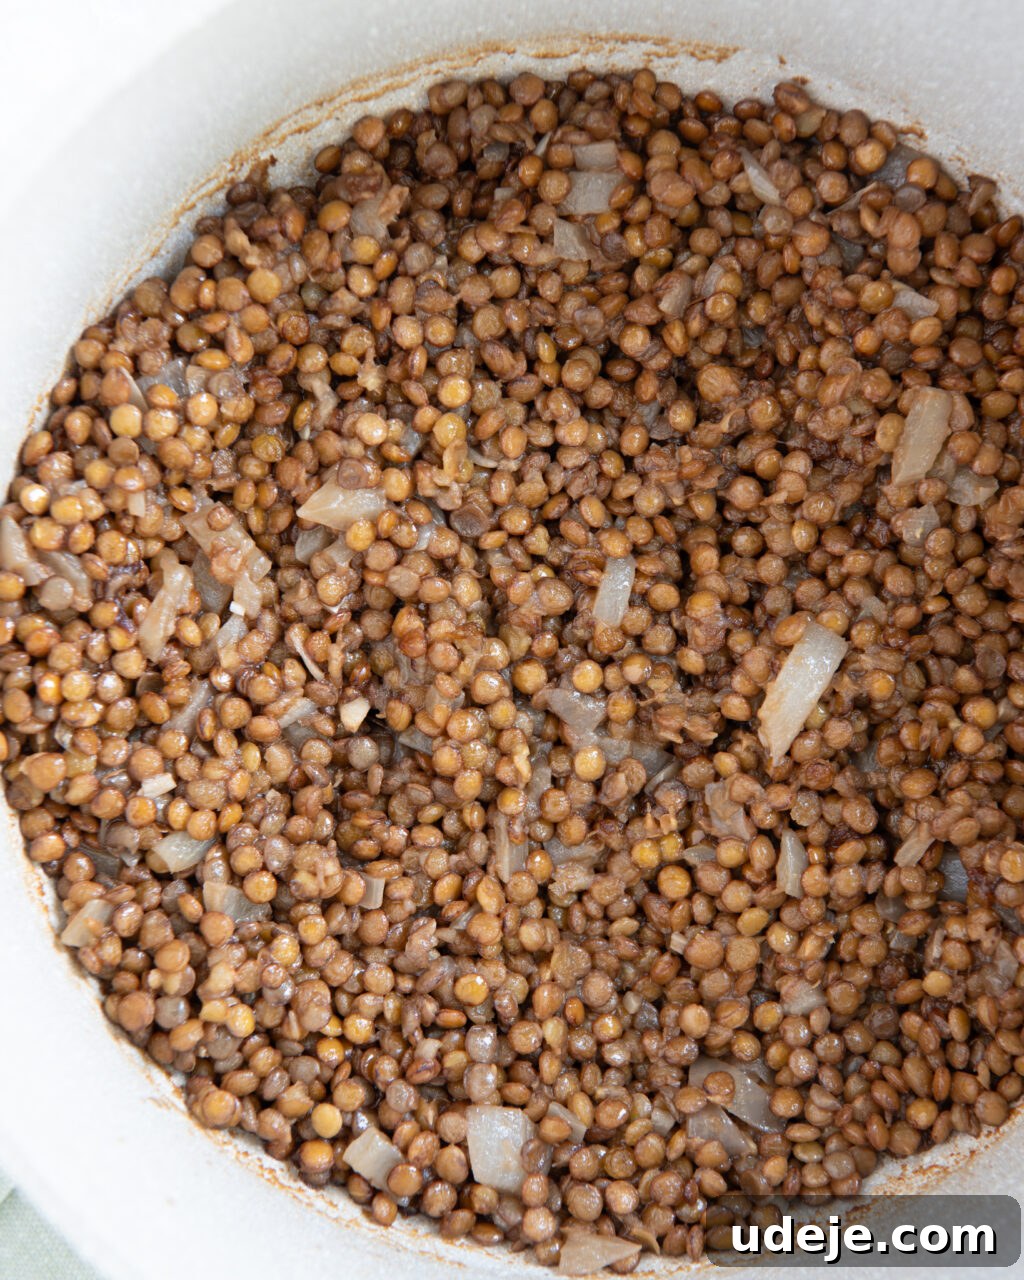
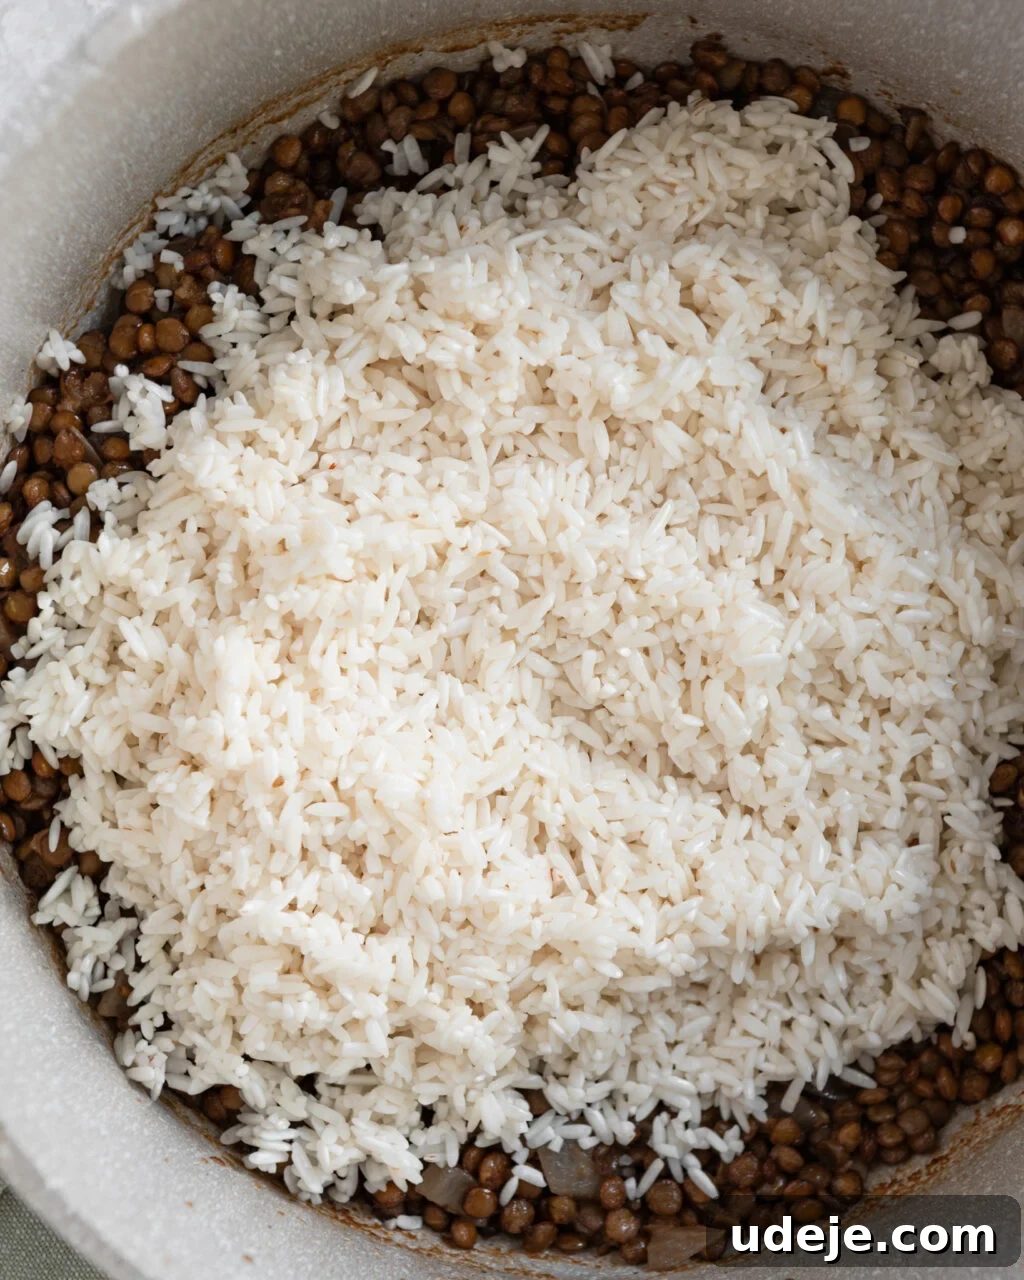
Add the drained brown lentils to the pot with the sautéed onions and garlic, along with 2 cups of water. Bring the mixture to a boil, then reduce the heat, cover the pot, and simmer for 10-15 minutes, or until the lentils are tender but still hold their shape, and most of the water has been absorbed. Meanwhile, wash your Calrose (or medium-grain) rice until the water runs clear, then drain it well. Once the lentils are cooked, add the washed and drained rice to the pot. Pour in 3 cups of chicken broth (or vegetable broth for a strictly vegan dish) and season with salt. Refer to the detailed recipe card below for precise measurements and seasoning guidance.
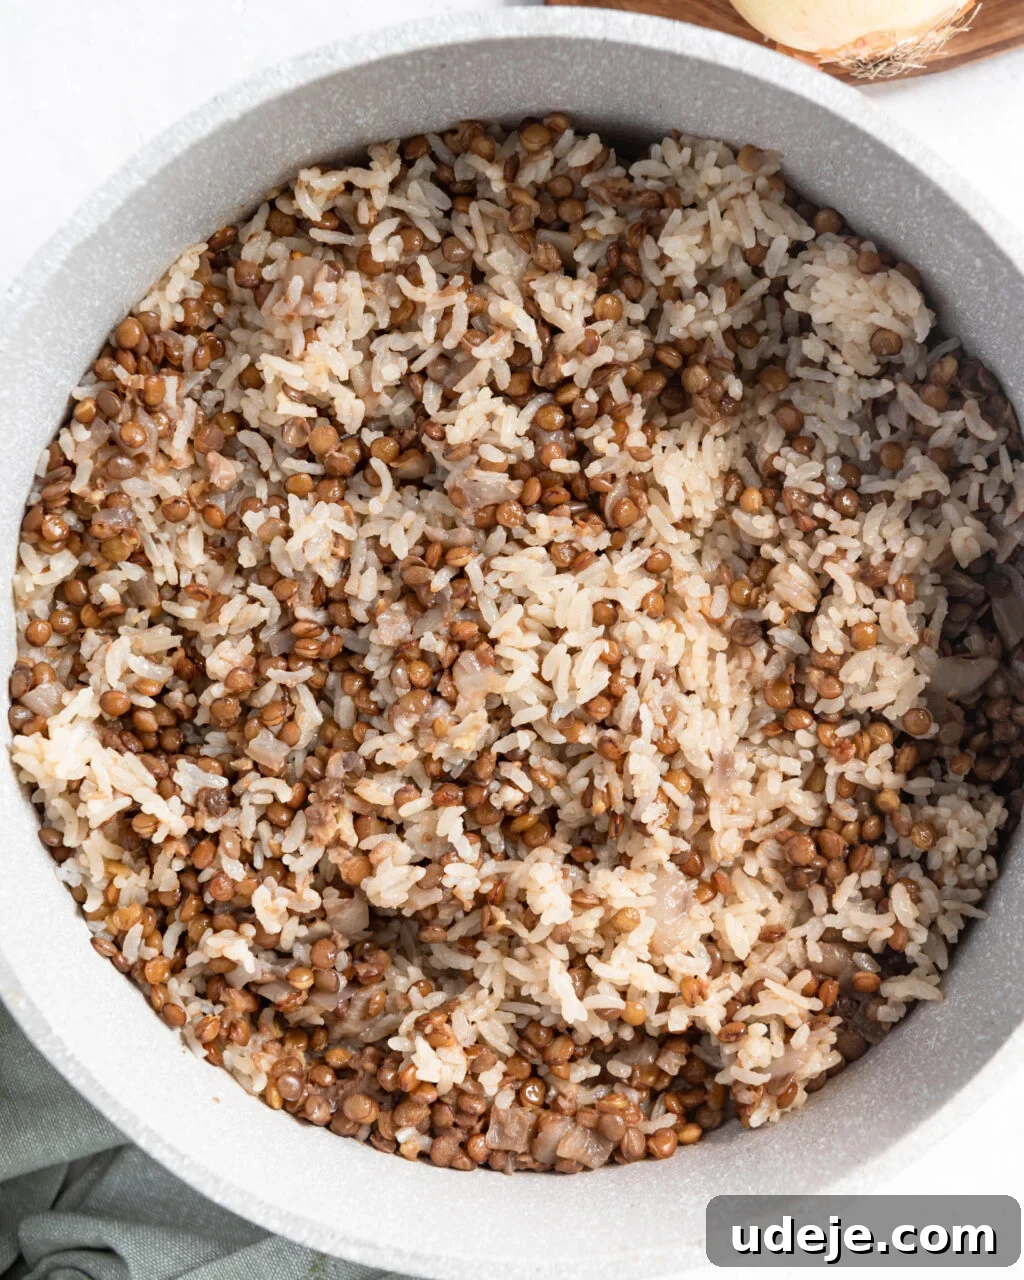
Increase the heat to high and bring the rice and lentil mixture to a rolling boil. Once boiling, immediately reduce the heat to the lowest setting, cover the pot tightly, and let it simmer undisturbed for 20 minutes. This allows the rice to steam perfectly. After 20 minutes, uncover the pot, gently fluff the rice and lentils with a fork, and taste to ensure both are cooked to perfection. If needed, you can add a tablespoon of onion oil and gently mix it through for an extra layer of flavor.
Step 3: Preparing the Pasta and Spiced Chickpeas
Efficiency Tip: To streamline your cooking process, tackle the pasta and chickpeas while the lentils and rice are simmering away. This simultaneous preparation helps you finish cooking Koshari more quickly.
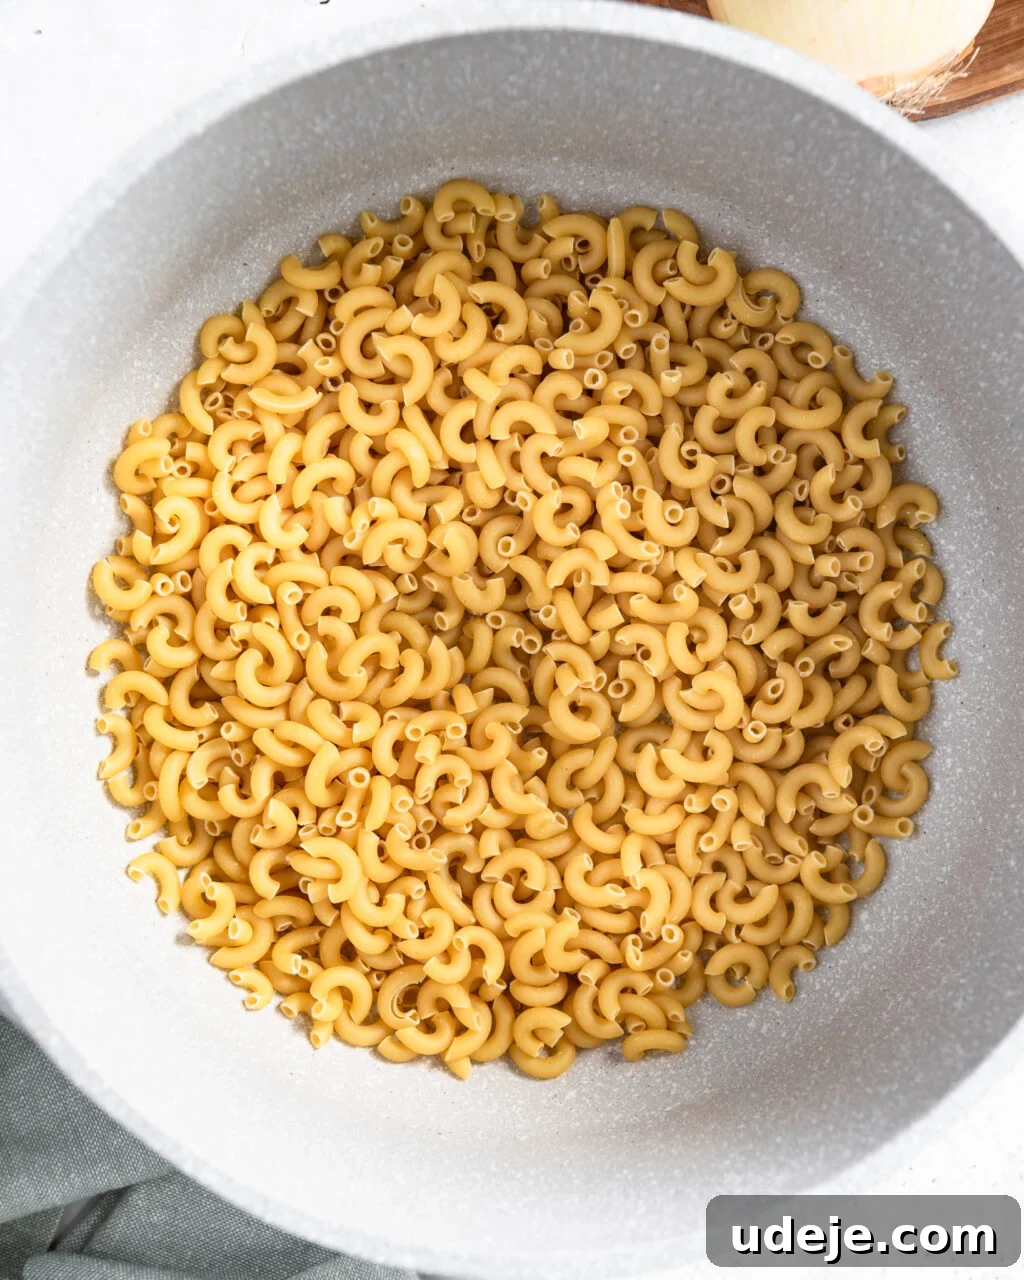
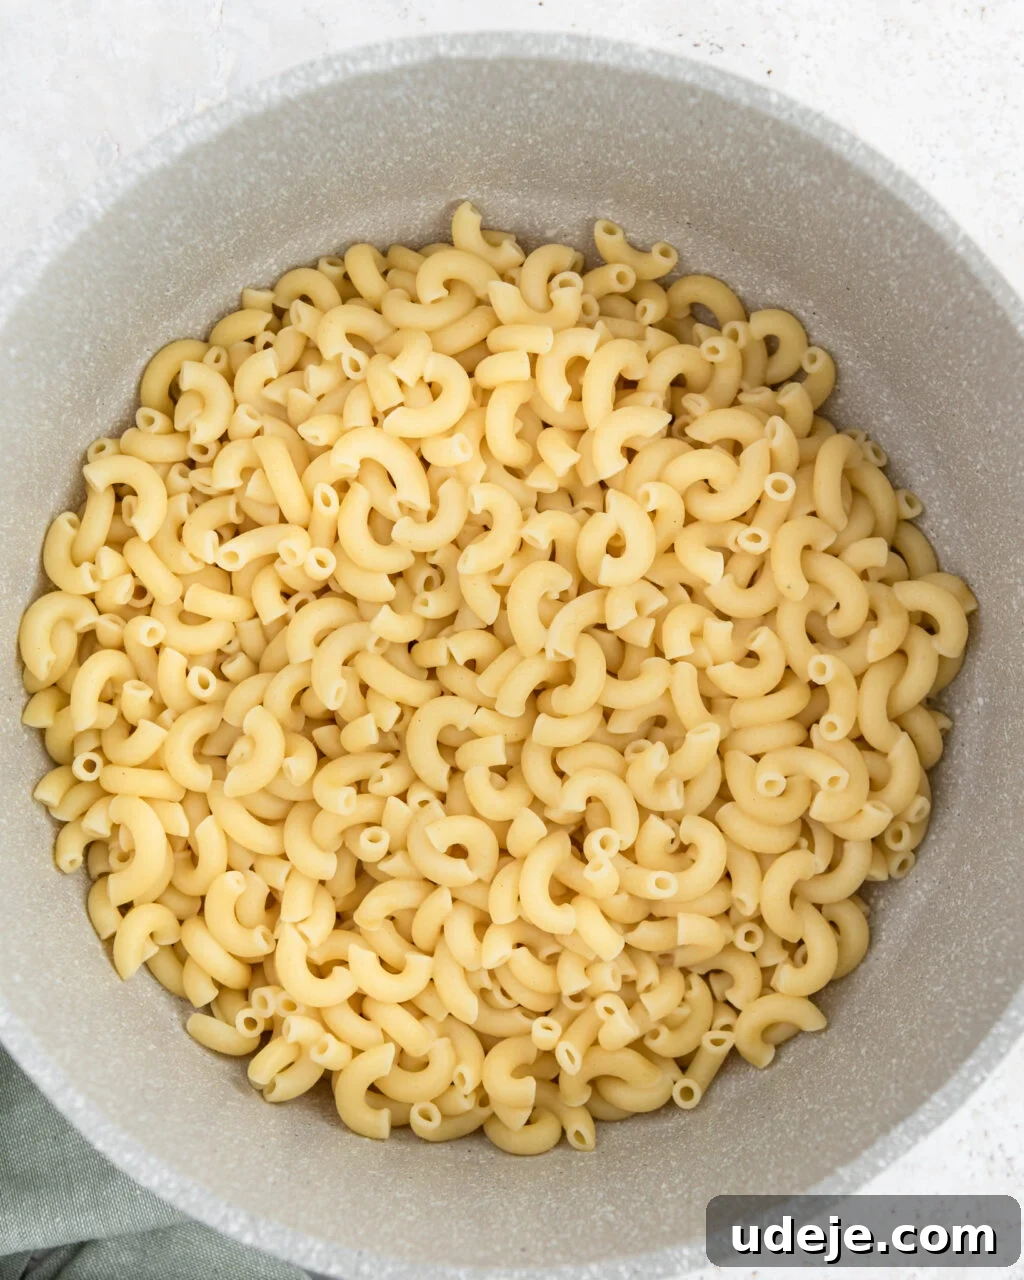
In a separate medium-sized pot, bring a generous amount of salted water to a rolling boil. Add your chosen small pasta, such as ditalini or macaroni, and cook according to the package instructions until it is perfectly al dente. Once cooked, drain the pasta thoroughly and set it aside. A quick rinse with cold water can prevent it from sticking together if you’re not serving immediately.
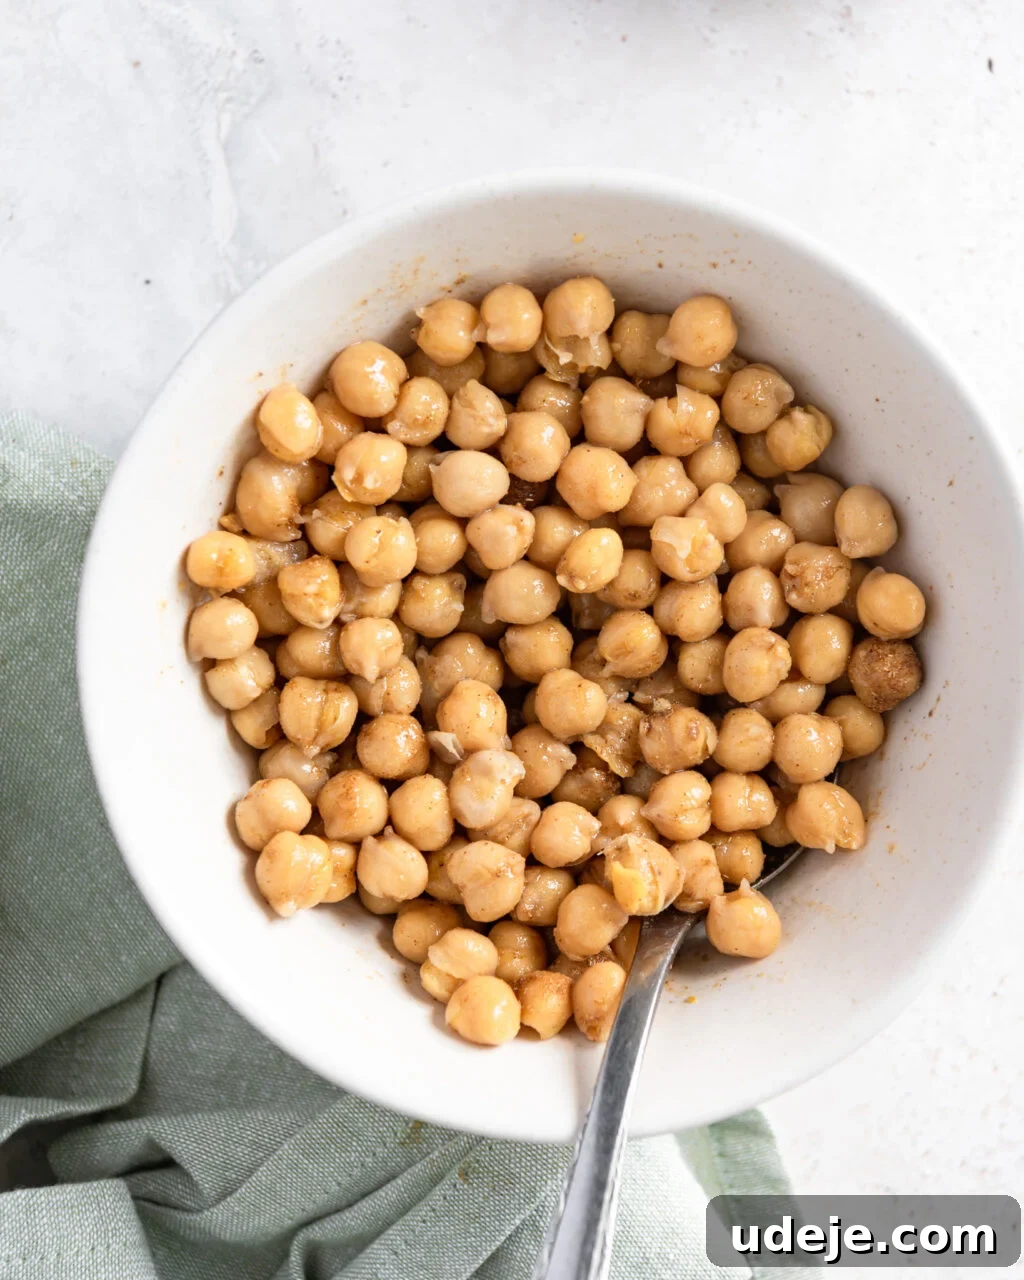
For the chickpeas, drain them from their can and rinse them thoroughly under cold running water. Transfer the clean chickpeas to a bowl. Drizzle them with a tablespoon of onion oil, sprinkle with cumin and salt, and finish with a refreshing squeeze of lemon juice. Mix everything well until the chickpeas are evenly coated and seasoned. Set them aside until assembly.
Step 4: Crafting the Flavorful Tomato Sauce and Vinegar Dakkah
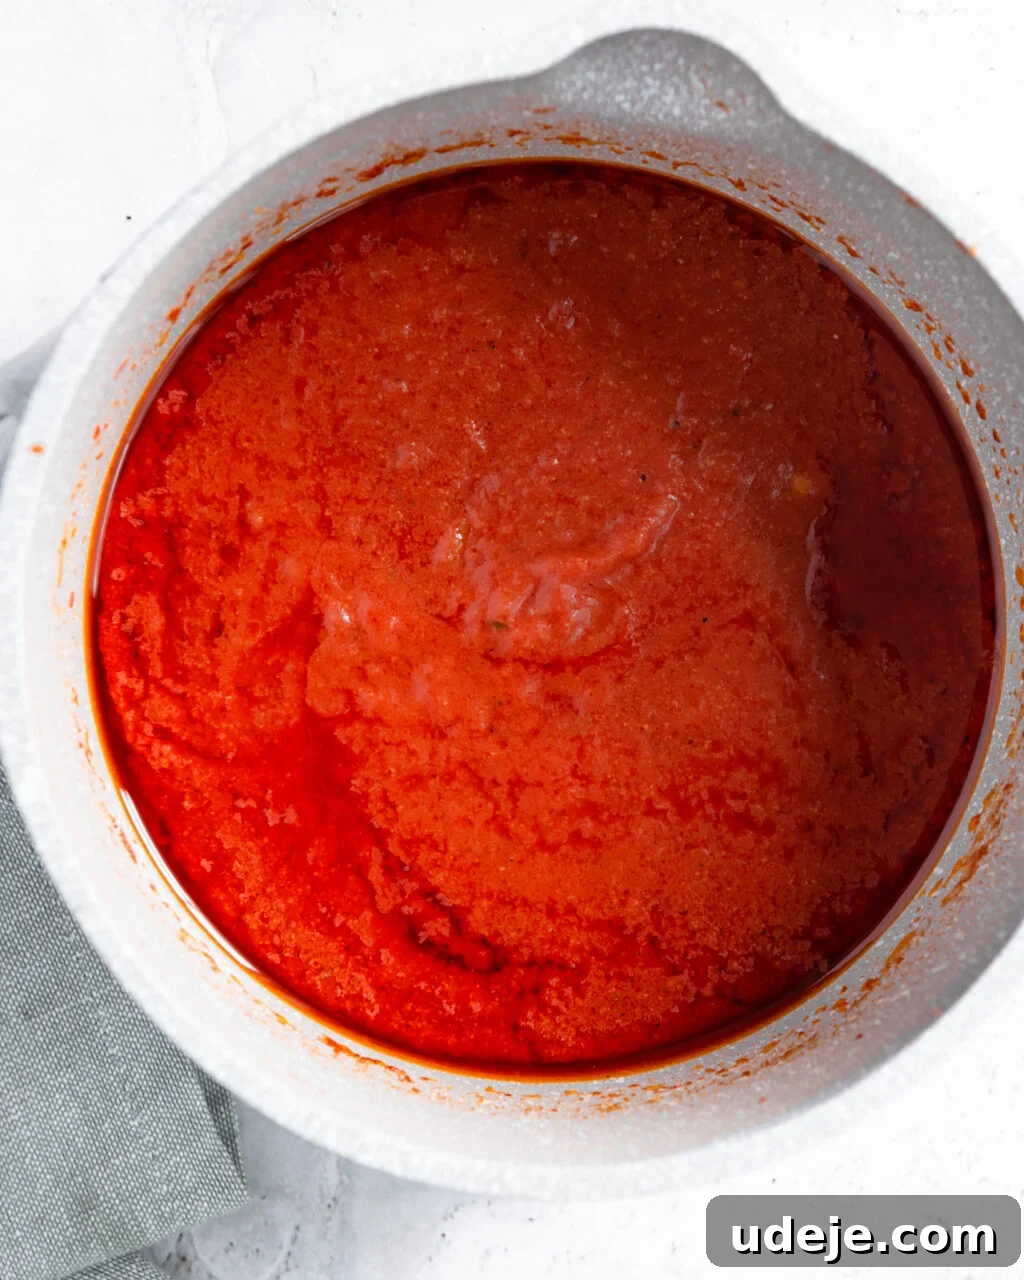
The tomato sauce is an absolutely indispensable element of Koshari, providing moisture, depth, and a vibrant flavor. It’s remarkably easy to make and can be adjusted to your preferred level of spiciness.
In a medium pot, heat a couple of tablespoons of the reserved onion oil over medium heat. Add the minced garlic and let it sizzle gently until it becomes fragrant and just begins to turn a light golden color. Be careful not to burn it. Pour in the white vinegar, then quickly add the coriander, cumin, salt, pepper, and chili flakes. Stir well to combine the spices with the garlic and vinegar. Next, add the tomato passata or crushed tomatoes. Stir again to ensure all ingredients are well incorporated. Bring the sauce to a boil, then reduce the heat to a low simmer. Allow it to bubble gently for 5-7 minutes, stirring occasionally, until it thickens slightly and the flavors meld beautifully.
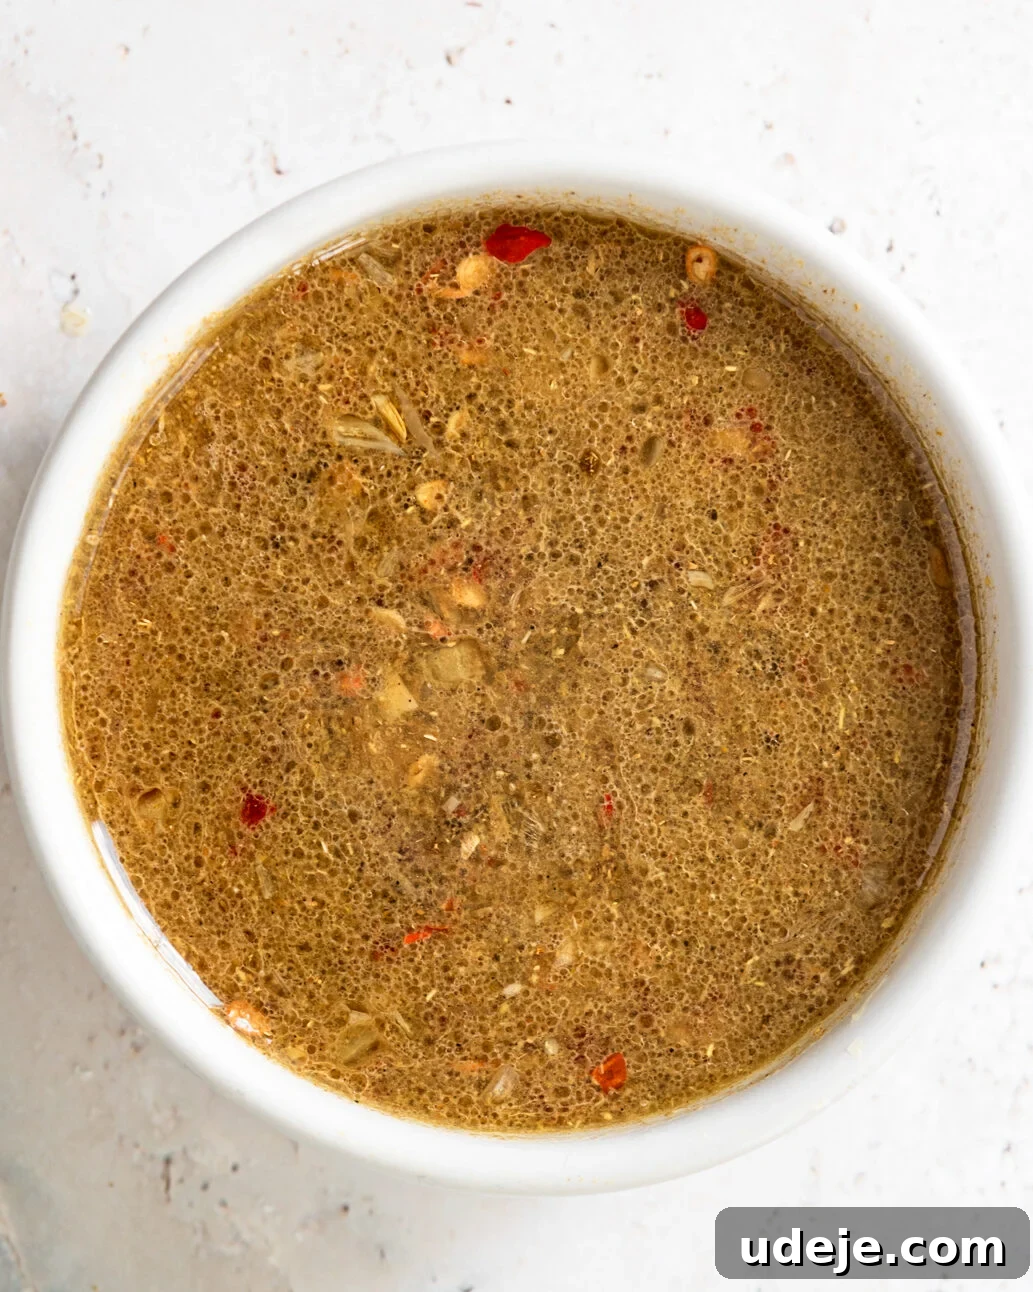
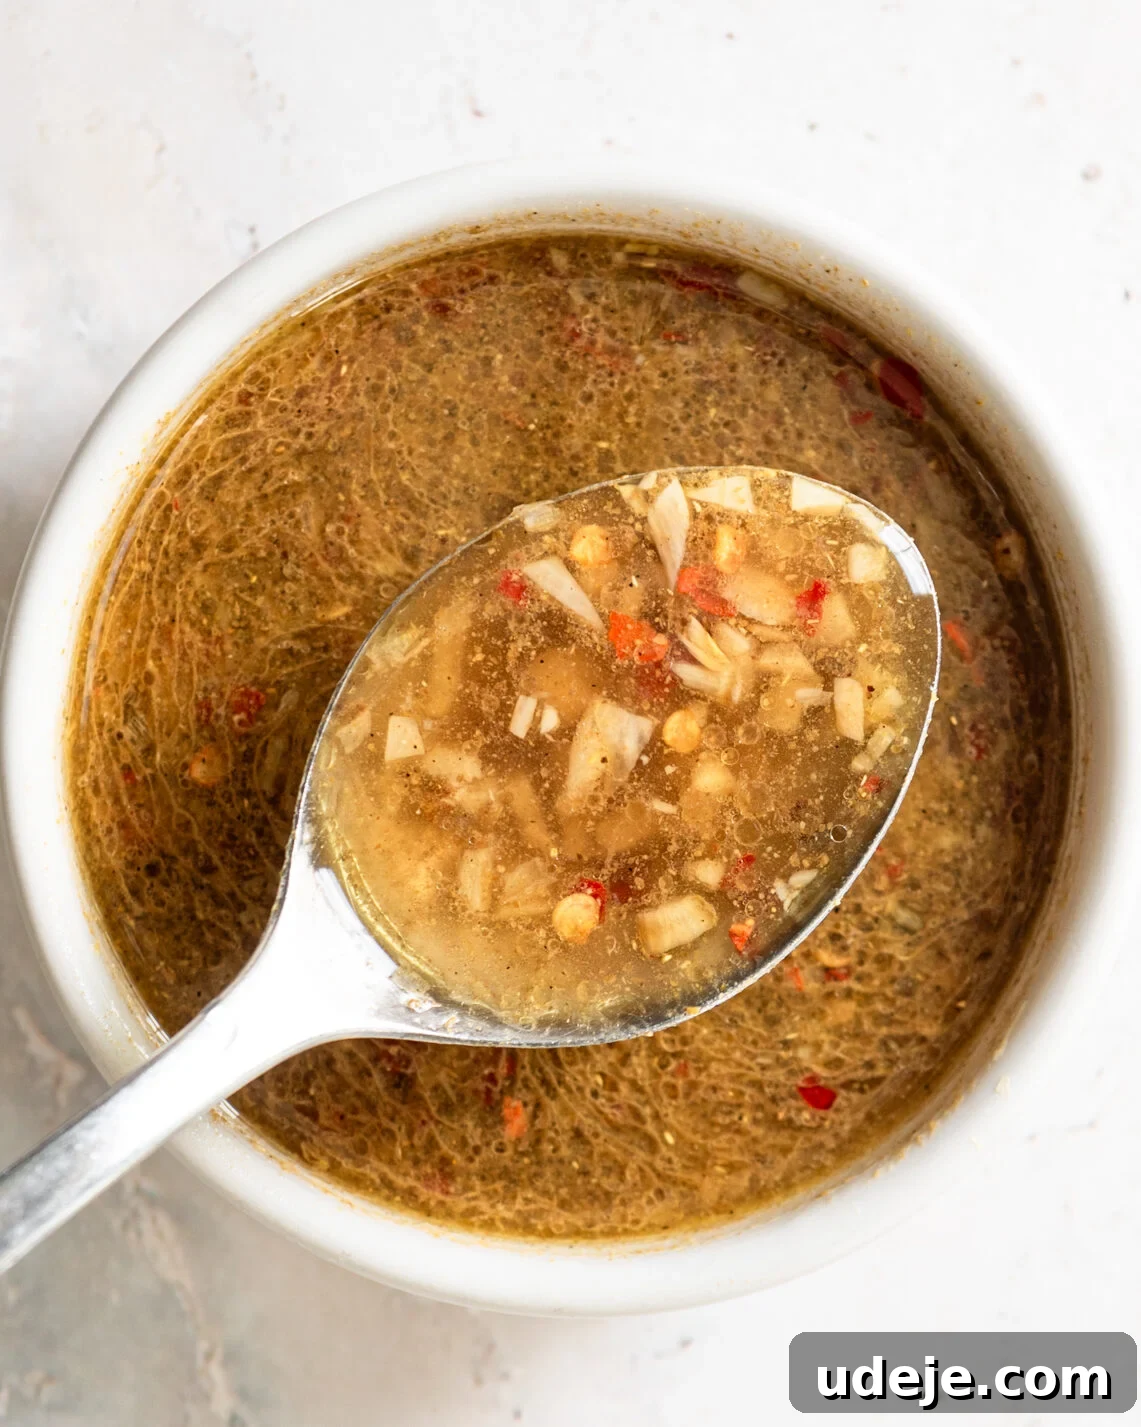
The vinegar sauce, or “dakkah,” is an optional but highly recommended addition that provides a crucial layer of zesty acidity, balancing the richness of the Koshari. In a small pot, heat a tablespoon of onion oil. Add the minced garlic and sizzle it until fragrant, but don’t let it brown too much. Stir in the spices: cumin, coriander, salt, and pepper. Immediately pour in the white vinegar. Give it a good stir to combine all the ingredients, then remove the pot from the heat. This quick, pungent sauce is ready to serve.
Time to Assemble Your Koshari Masterpiece!
Now that all the individual components are prepared, it’s time for the most satisfying part: assembling your Koshari! The traditional way to serve Koshari is in layers, building a beautiful and flavorful mound on a large platter or individual bowls.
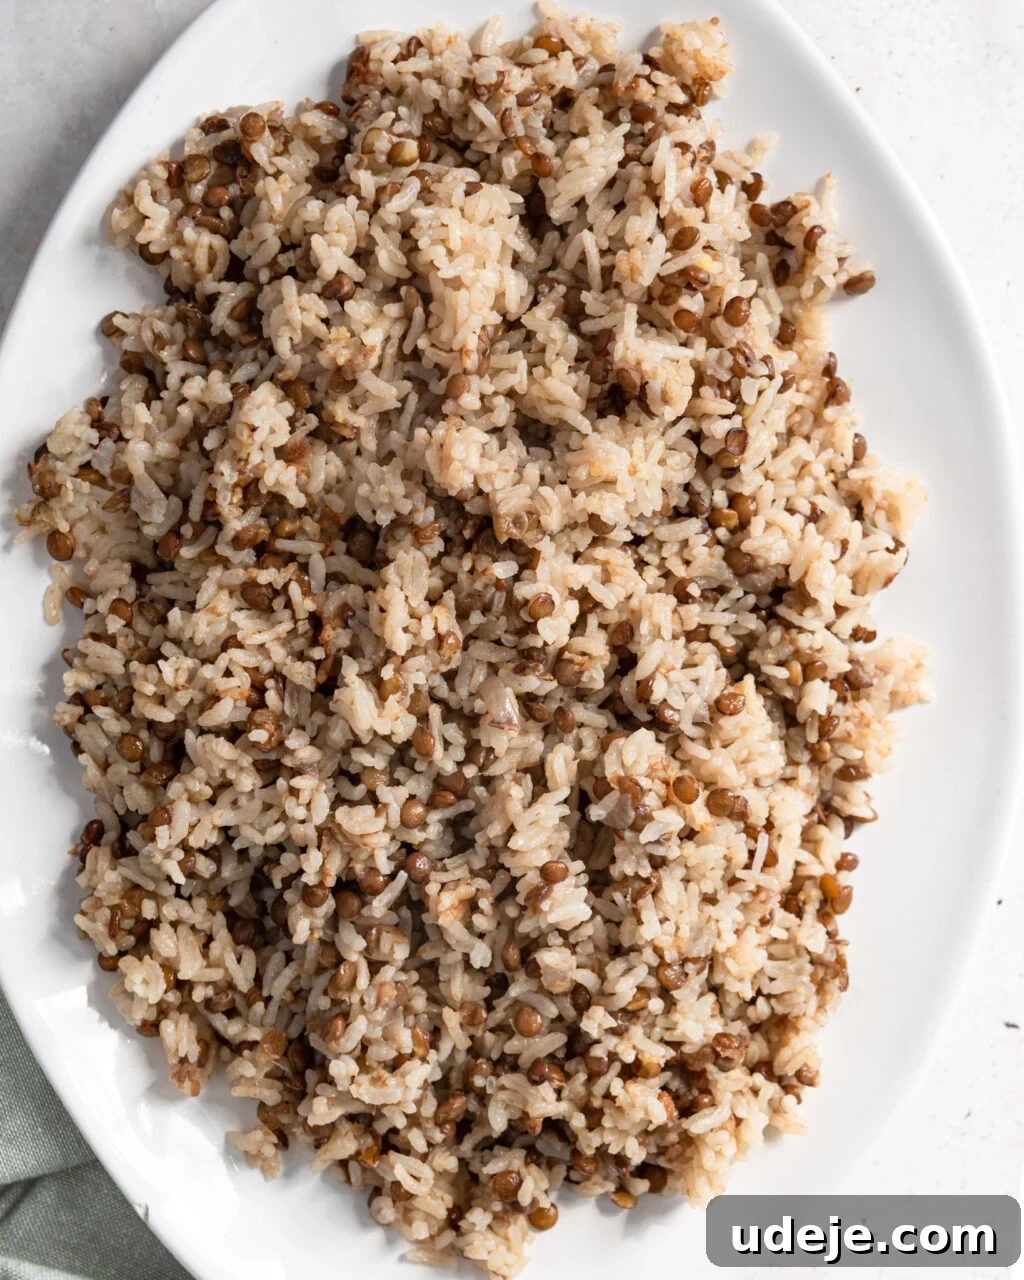
Start by spreading the warm, fluffy lentils and rice mixture evenly across the base of your serving platter. This forms the wholesome foundation.
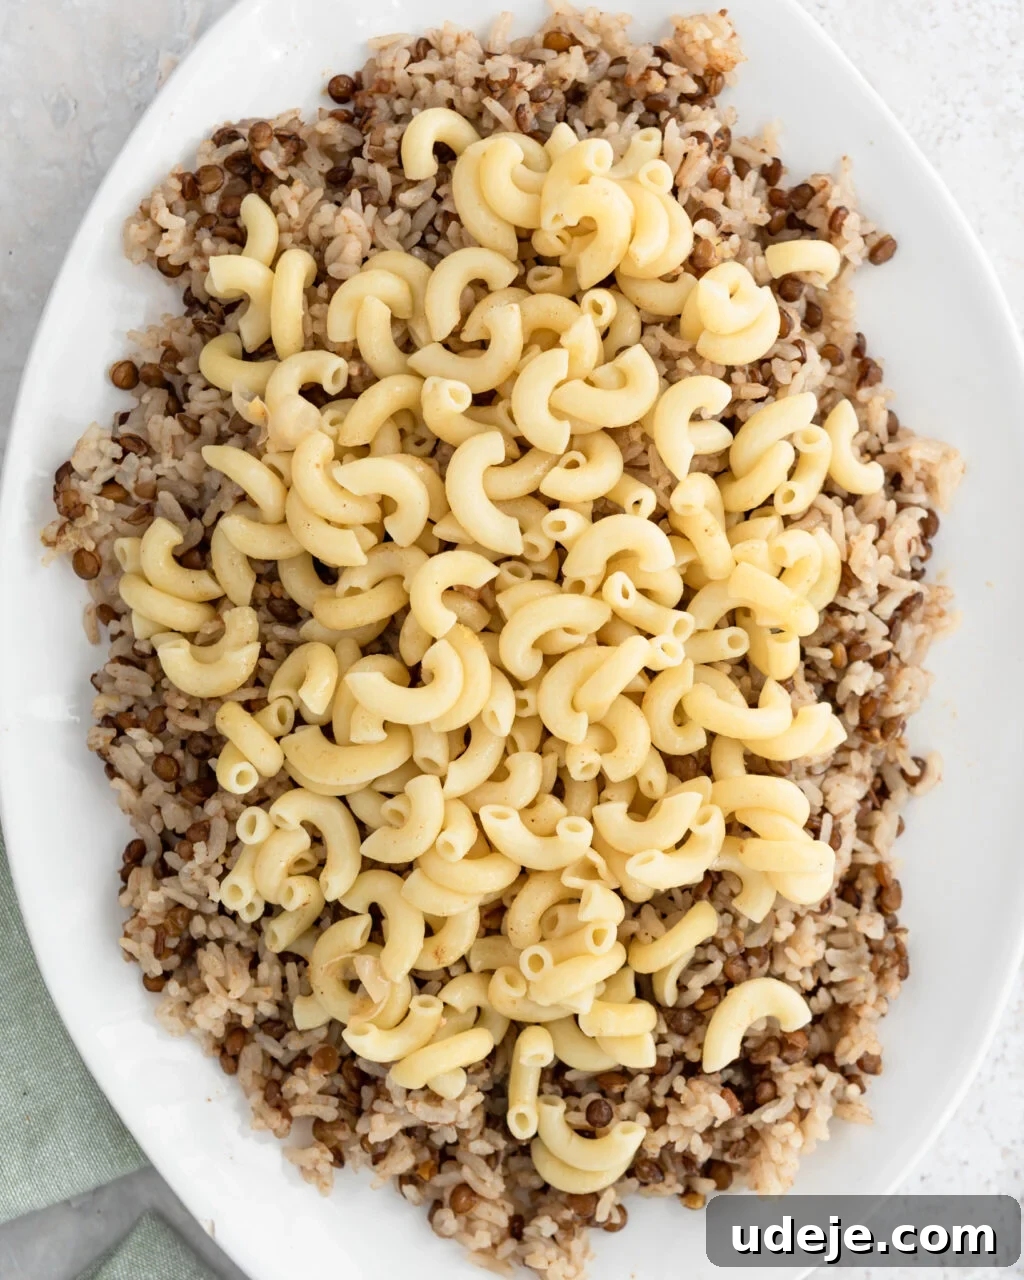
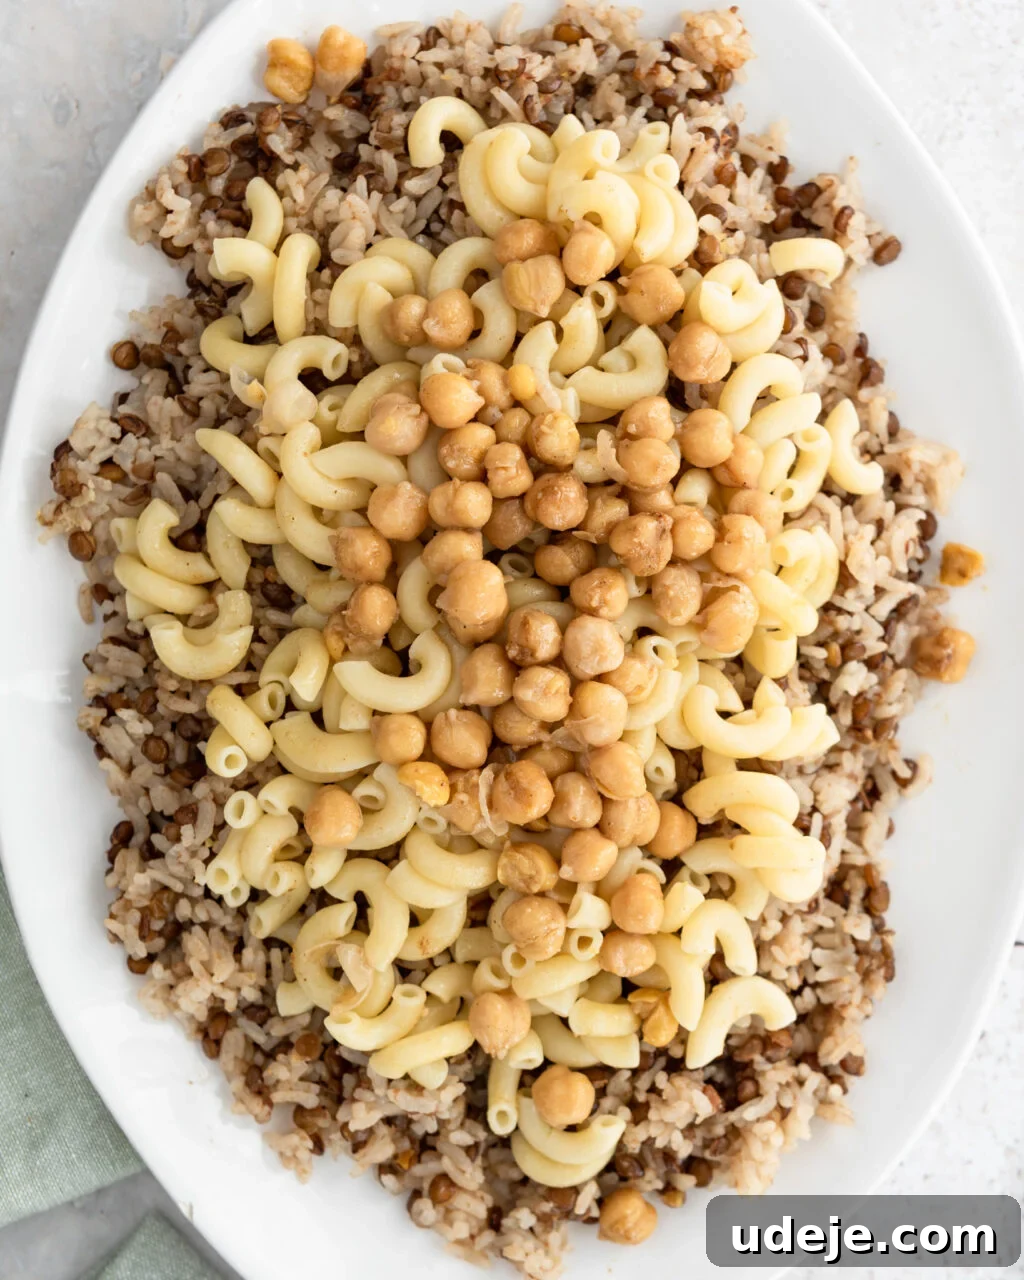
Next, spoon the cooked pasta evenly over the lentil and rice layer. Then, scatter the spiced chickpeas generously across the pasta. These layers add different textures and flavors that contribute to the dish’s complexity.
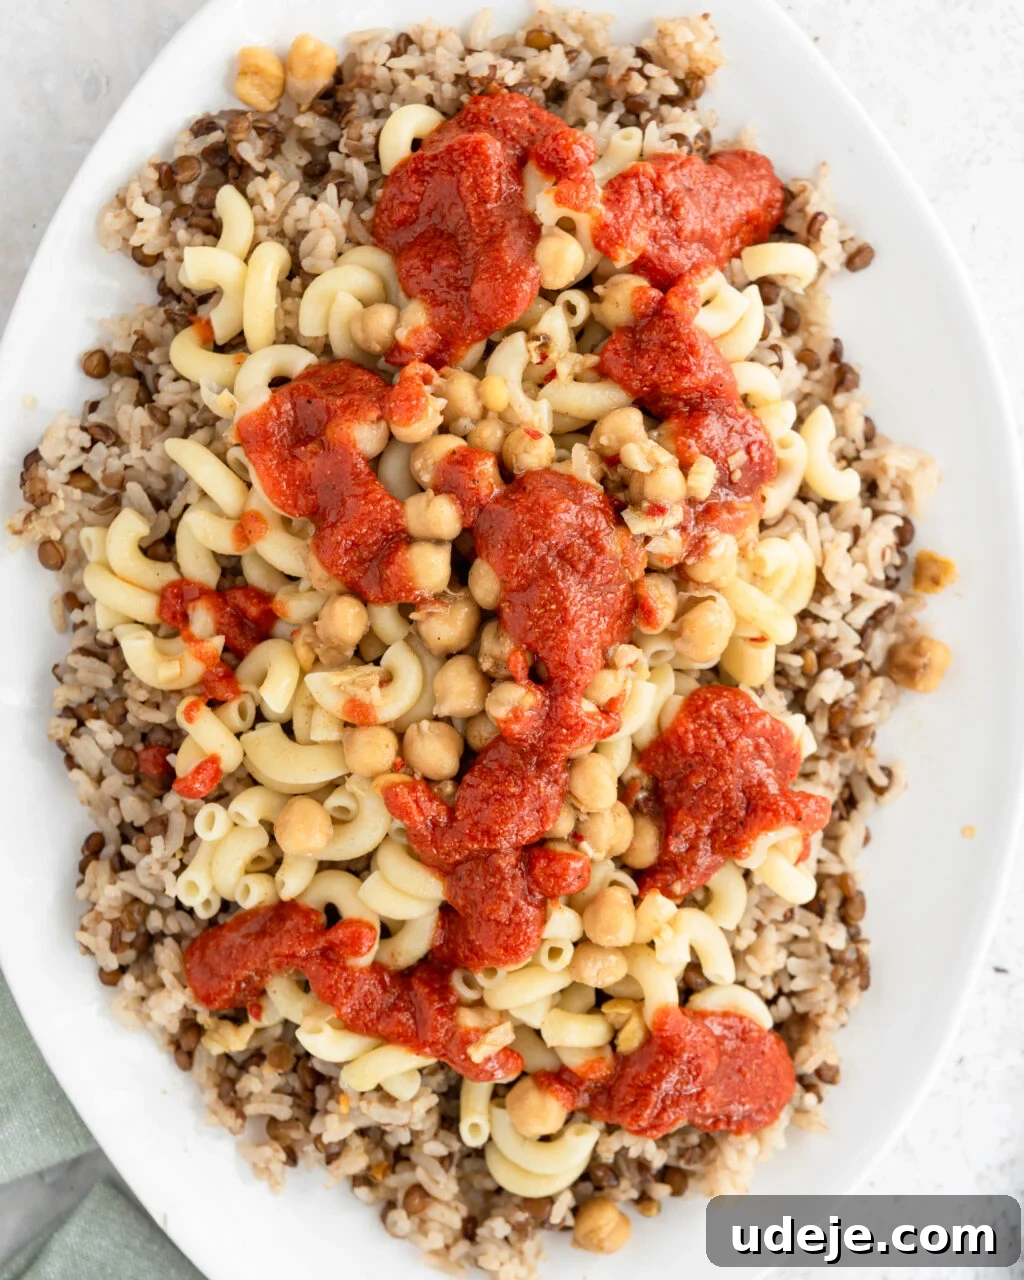
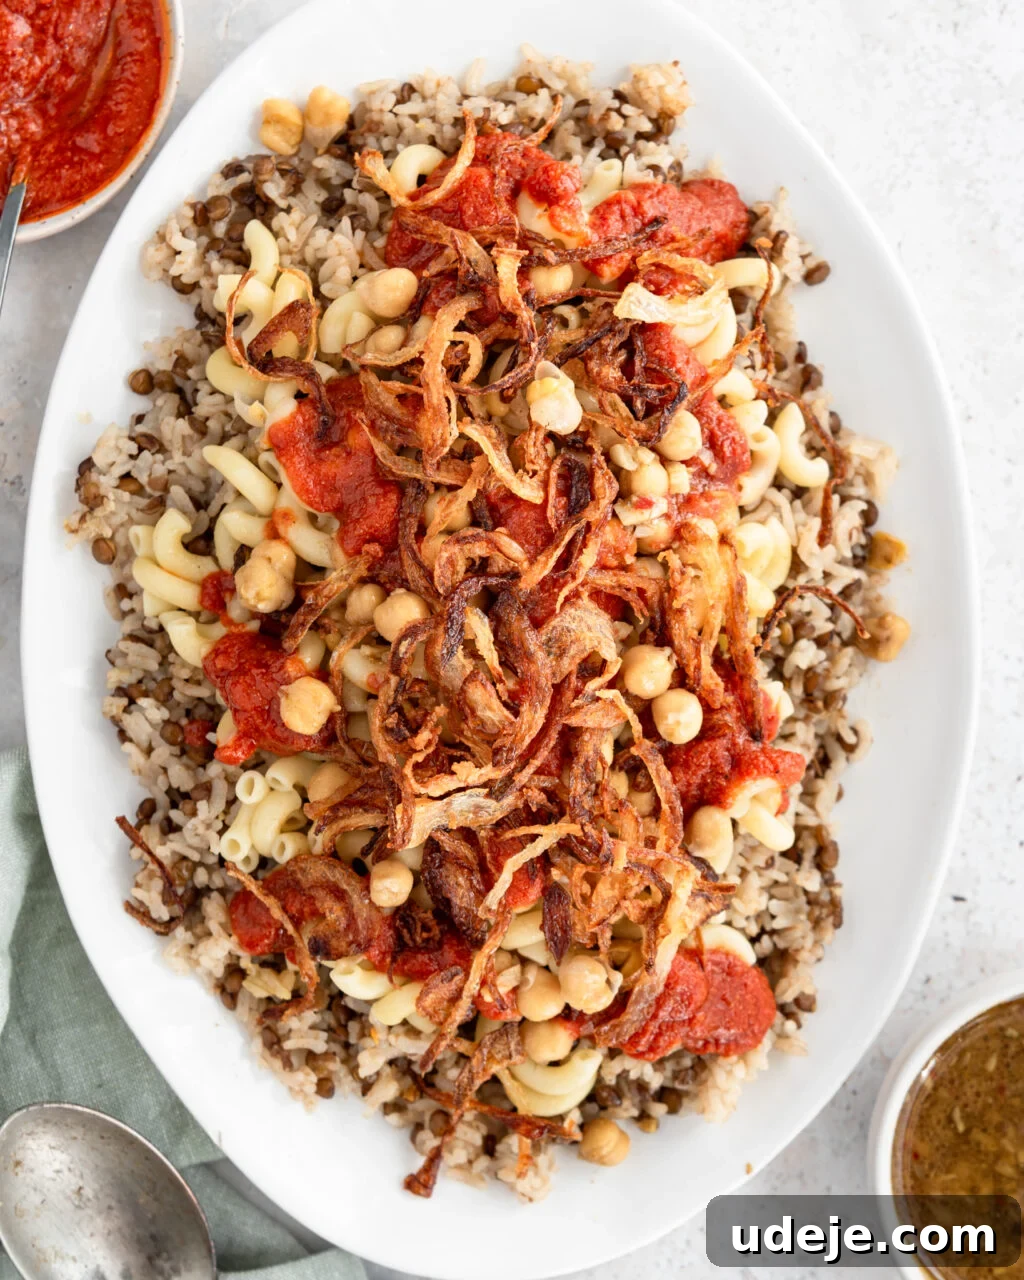
Now, add dollops of the rich, garlicky tomato sauce over the chickpeas. Don’t be shy; this sauce is integral to Koshari’s flavor profile. Finally, and perhaps most importantly, finish with a generous scattering of the crispy fried onions. The golden crunch is truly the crowning glory! Serve immediately with extra bowls of tomato sauce and vinegar dakkah on the side, allowing everyone to customize their Koshari to perfection. Dig in and savor the layers of authentic Egyptian flavor!
How to Serve Egyptian Koshari: Tips for a Perfect Meal
Egyptian Koshari is an incredibly satisfying and wholesome meal all on its own. Its combination of grains, legumes, and pasta makes it remarkably filling, meaning even a modest portion will go a long way in satisfying your appetite. It truly stands as an impressive centerpiece for a hearty, comforting meal, especially when served with additional bowls of the garlicky tomato sauce and the tangy vinegar dakkah on the side. This allows each diner to customize their serving, adding as much or as little sauce and crispy onions as they desire, enhancing the interactive dining experience.
While Koshari is a complete meal in itself, it can also be beautifully complemented by a simple side dish. A basic chopped Arabic salad, with its fresh vegetables and bright dressing, offers a refreshing contrast to the rich and savory flavors of Koshari, rounding out the meal perfectly. The crispness of the salad also provides another textural dimension.
When serving, you have a couple of options depending on your family’s or guests’ preferences. The most traditional and visually stunning way is to layer all the components on a large, communal platter, creating an inviting mound of flavor and texture. Alternatively, to cater to individual tastes, you can serve each component separately in individual bowls or platters. This allows everyone to build their own plate of Koshari, ensuring that those who prefer less sauce or more chickpeas, for instance, can tailor their meal exactly to their liking. This flexible serving style makes Koshari a delightful dish for any gathering.
How to Store and Re-Heat Koshari: Enjoying Leftovers
Koshari is one of those dishes that often tastes even better the next day, making leftovers a real treat! Storing Koshari properly ensures it remains delicious for future meals. I recommend storing the components separately to maintain their individual textures and flavors as much as possible.
For the dry ingredients – the cooked lentils and rice, pasta, and chickpeas – mix them all together and store them in an airtight container in the refrigerator. If you have any leftover crispy fried onions, place them on top of this mixture in the container, but be aware that they might lose some of their crispness over time once exposed to moisture. However, they will still add excellent flavor.
The tomato sauce and the vinegar dakkah should be stored in separate airtight containers in the refrigerator. This keeps their distinct flavors and prevents the Koshari base from becoming soggy. When you’re ready to enjoy your leftovers, simply microwave the mixed dry components until heated through. Then, top with the reheated tomato sauce, fresh crispy onions (if you have them), and a drizzle of the dakkah. It’s a quick and convenient meal that brings back all the comfort of the original dish.
FAQs and Expert Tips for Perfect Koshari
To help you master this Egyptian staple and answer common questions, here are some frequently asked questions and expert tips:
Is Koshari Indian or Egyptian? While Koshari is widely celebrated as Egypt’s national dish, its culinary roots are believed to be in India. It’s thought to have originated from an Indian lentils and rice dish called “Khichri.” However, Koshari has undergone significant evolution over centuries, incorporating diverse influences and unique Egyptian ingredients, making it a distinct and beloved dish of Egypt.
Is Koshari healthy? Koshari is a nutritionally dense and wholesome meal. While it is indeed loaded with carbohydrates from the rice, lentils, and pasta, these are complex carbohydrates that provide sustained energy. Furthermore, it’s rich in plant-based protein from the lentils and chickpeas, and fiber, making it a very filling and satisfying dish. A modest portion of Koshari is packed with nutrients and will keep you feeling full and energized, making it a healthy and balanced meal choice.
Can you use basmati or other lentils? For the most traditional Koshari, medium-grain rice like Calrose is preferred for its specific texture. However, you can certainly use Basmati rice as an alternative, though the texture of the finished dish might be slightly different. Regarding lentils, brown or green lentils are ideal because they retain their shape beautifully when cooked. It is crucial to avoid red split lentils, as they cook down very quickly and tend to become too mushy, which is not desired for Koshari.
Do you need all the elements of Koshari? While Koshari is known for its layers, certain components are absolutely essential for an authentic experience. The lentils, rice, and pasta form the indispensable base. For the sauces, the rich tomato sauce is a must-have; it provides the core moisture and flavor. The chickpeas, while a delicious addition, can be considered optional if you’re looking to simplify. The vinegar dakkah, however, I highly recommend; it offers a bright, tangy contrast that truly elevates the dish, though you can adjust its acidity to your taste. And finally, the crispy fried onions are, without a doubt, a mandatory topping – they are often considered the best part, adding an irresistible texture and deep, savory notes.
If you tried these recipes, please consider leaving a star ⭐⭐⭐⭐⭐ rating in the recipe card below and/or a review in the comments section further down the page – I’d love to hear from you! You can also hop on over to Instagram and say hello!
Authentic Koshari (Egyptian Rice, Lentils & Pasta)
8
people
30
mins
1
hr
30
mins
2
hrs
4
hrs
Amina Al-Saigh
Leave a Review
Pin Recipe
Ingredients
For the Crispy Onions
- 4 large onions, yellow
- 2 tablespoons flour
- 2 tablespoons cornstarch
- vegetable oil, for frying
For the Lentils and Rice
- 1 onion, finely diced
- 1/2 cup onion oil
- 2 cloves garlic, minced
- 1.5 teaspoons kosher salt
- 1 cup brown lentils
- 2 cups water
- 2 cups Calrose rice, or any medium grain rice
- 3 cups chicken broth
For the Pasta
- 200 grams elbow or ditalini pasta
- 2 teaspoons kosher salt
- water
For the Chickpeas
- 540 ml canned chickpeas, drained and rinsed
- 1 tablespoon onion oil
- 1/2 teaspoon cumin
- 1/8 teaspoon kosher salt
For the Dukkah (vinegar sauce)
- 3 cloves garlic, minced
- 1 tablespoon onion oil
- 1/2 cup white vinegar
- 2 teaspoons coriander
- 1/2 teaspoon cumin
- 1/2 teaspoon salt
- 1/2 teaspoon chilli flakes
For the Tomato Sauce
- 7 cloves garlic, minced
- 2 tablespoons onion oil
- 1/4 cup white vinegar
- 2 teaspoons coriander
- 1 teaspoon cumin
- 1/2 teaspoon chilli flakes
- 1/2 teaspoon salt
- 1/2 teaspoon black pepper
- 2.5 cups tomato passata/puree, 600 ml
For the Spicy Tomato Sauce (optional)
- 1/2 cup tomato sauce, as made above
- 1/2 teaspoon chilli powder, to taste
Instructions
For the Crispy Onions
-
Peel and slice onions into half moon slices.
-
In a large bowl combine the sliced onions with the flour and cornstarch and lightly coat them.
-
Heat enough oil in a large sauté pan, enough to cover the onions, over medium-high heat.
-
Add in the onions so that they are immersed in the oil and not overcrowded. If needed, fry the onions in two batches or two sauté pans.
-
Once the onions at the edges start to turn golden, gently bring the outer ones to the centre and continue frying until they all turn golden brown. Be careful not to burn them!
-
With a slotted spoon remove the onions from the oil to a paper towel lined tray to absorb the excess oil and set aside.
-
Strain the remaining oil through a sieve and set aside to use in the rest of the recipe.
For the Lentils and Rice
-
Wash the lentils and the rice in separate bowls and set aside.
-
In a large pot over medium heat, add the onion oil along with the chopped onions and garlic.
-
Cook for a few minutes until softened and fragrant.
-
Drain and add in the soaked lentils along with the 2 cups of water.
-
Cover and bring to a boil.
-
Reduce heat and continue to cook until the lentils have softened and the water has disappeared, about 10-15 minutes.
-
Once cooked, add in the rice along with the chicken broth and salt.
-
Raise heat to high, once it comes to a boil, cover, reduce heat and cook for 10-15 minutes until rice is fluffy and cooked through.
-
Add a tablespoon of onion oil and gently mix through.
For the Pasta
-
In a medium sized pot filled with water bring it to a boil over high heat.
-
Add the pasta and the salt, give it a stir.
-
Once cooked according to package directions, drain and set aside.
For the Chickpeas
-
Drain and rinse the chickpeas.
-
Combine the chickpeas with the salt, cumin and onion oil. Set aside.
For the Dukkah (vinegar sauce)
-
In a small saucepan on medium heat, add the onion oil and garlic.
-
While stirring, cook the garlic until it just starts to turn lightly golden.
-
Add vinegar, reduce heat and then add in the coriander, cumin, salt and chilli flakes.
-
Stir together and then transfer to a bowl and set aside.
For the Tomato Sauce
-
In a medium saucepan on medium heat, add the onion oil and garlic.
-
While stirring, cook the garlic until it just starts to turn lightly golden.
-
Add vinegar, coriander, cumin, salt, chilli flakes and black pepper.
-
Add in the tomato passata/puree and mix until well combined.
-
Bring the sauce to a boil, stir, then reduce to a simmer.
-
Simmer and reduce until thickened. Set aside.
For the Spicy Tomato Sauce
-
Skim off 1/2 cup of the tomato sauce and transfer to a bowl.
-
Add the chilli powder to your taste and stir.
Serving:
1
g
,
Calories:
639
kcal
,
Carbohydrates:
93
g
,
Protein:
17
g
,
Fat:
23
g
,
Saturated Fat:
2
g
,
Polyunsaturated Fat:
6
g
,
Monounsaturated Fat:
14
g
,
Trans Fat:
0.1
g
,
Cholesterol:
2
mg
,
Sodium:
1787
mg
,
Potassium:
940
mg
,
Fiber:
13
g
,
Sugar:
10
g
,
Vitamin A:
615
IU
,
Vitamin C:
19
mg
,
Calcium:
99
mg
,
Iron:
5
mg
Did you make this recipe?
Please leave a star rating and review below!