
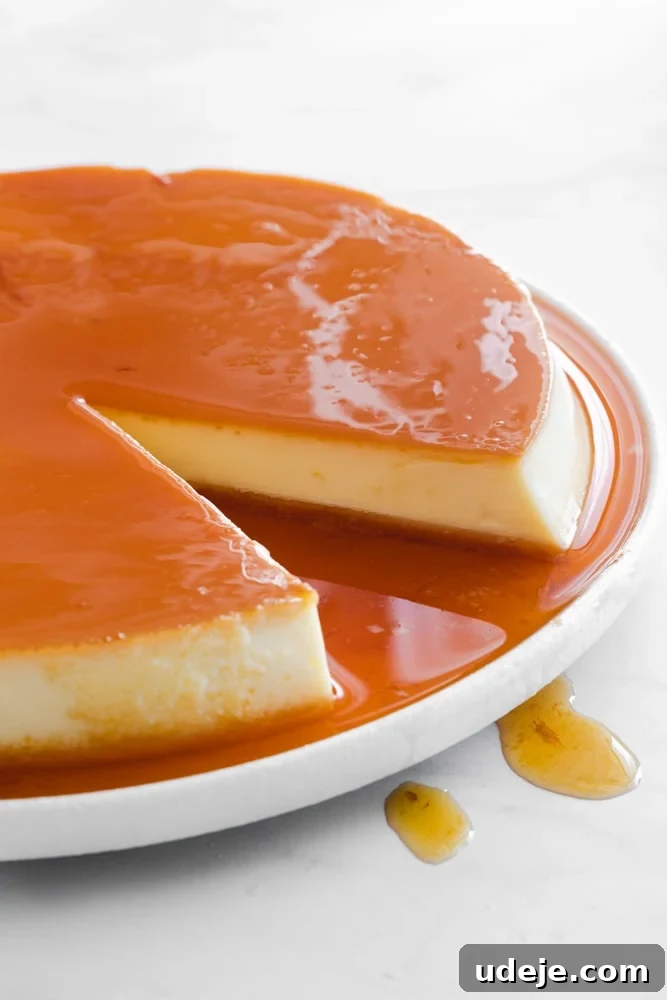
Indulge in the sublime pleasure of a truly classic dessert: Crème Caramel. This exquisite treat, also known as Caramel Custard or Flan, boasts a silky-smooth texture, a rich, creamy consistency, and a deeply satisfying caramel flavor. It’s the kind of dessert that evokes childhood memories, much like the cherished Middle Eastern-style version my mother perfected. While its elegant appearance might suggest a complex undertaking, this easy flan recipe comes together with surprising simplicity, utilizing just a blender and a handful of common ingredients.
The secret to achieving that coveted, custardy texture – one that’s free from any “eggy” taste or unwelcome clumps – lies not in complicated techniques, but in a precise baking method. Forget hours of meticulous stirring over the stovetop; our innovative approach ensures a foolproof result every time. By following our detailed step-by-step guidance and expert tips, you’ll not only master this classic dessert but also feel like a seasoned pastry chef in your own kitchen.
5-STAR READER REVIEW
“I made my second crème caramel ever using your recipe and I got a ton of compliments! Not only did everyone love it, I loved it! Best recipe ever!”
—Mai
Why This Easy Blender Crème Caramel Recipe is a Game Changer
For many, Crème Caramel holds a special place in their hearts and on their dessert tables. It was a staple in our home, largely thanks to my mother’s enduring affection for this smooth, wobbly delight. Yet, for all its charm, traditional custard recipes can be daunting, often requiring delicate tempering and constant vigilance over a hot stove to prevent curdling.
This recipe bypasses all that fuss. The reason I champion this particular Crème Caramel is its unparalleled ease: there’s absolutely no need to cook the custard mixture on the stovetop. Every component of the creamy, rich custard comes together effortlessly in a blender. Yes, you heard that right – a blender! This method not only saves time but also guarantees a consistently smooth mixture, eliminating the fear of lumpy custard. It’s a kitchen hack that simplifies a classic, making it accessible for even novice bakers.
Beyond the simple preparation, the ingredients for this homemade Crème Caramel are also refreshingly straightforward. Instead of juggling milk, sugar, and various thickeners for the custard base, we rely primarily on the magic of sweetened condensed milk. This single ingredient provides the perfect balance of sweetness and creaminess, laying the foundation for an unbelievably rich custard. I’ve meticulously tested and re-tested these ratios countless times, and they consistently yield perfection. While this is inherently a sweet dessert, the distinct, slightly burnt flavor of the caramel topping beautifully cuts through and balances the richness, creating a harmonious taste experience that is utterly addictive.
The true artistry, however, lies in the baking process. Achieving that flawless, velvety texture without any “eggy” flavor or undesirable aeration is paramount. Overbaking is the arch-nemesis of a perfect Crème Caramel, leading to a rubbery texture and an overpowering egg taste. Our comprehensive guide will walk you through the precise steps to ensure your caramel custard bakes to absolute perfection, making it a show-stopping dessert for any occasion.
The Masterful Step-by-Step Method to Perfect Crème Caramel
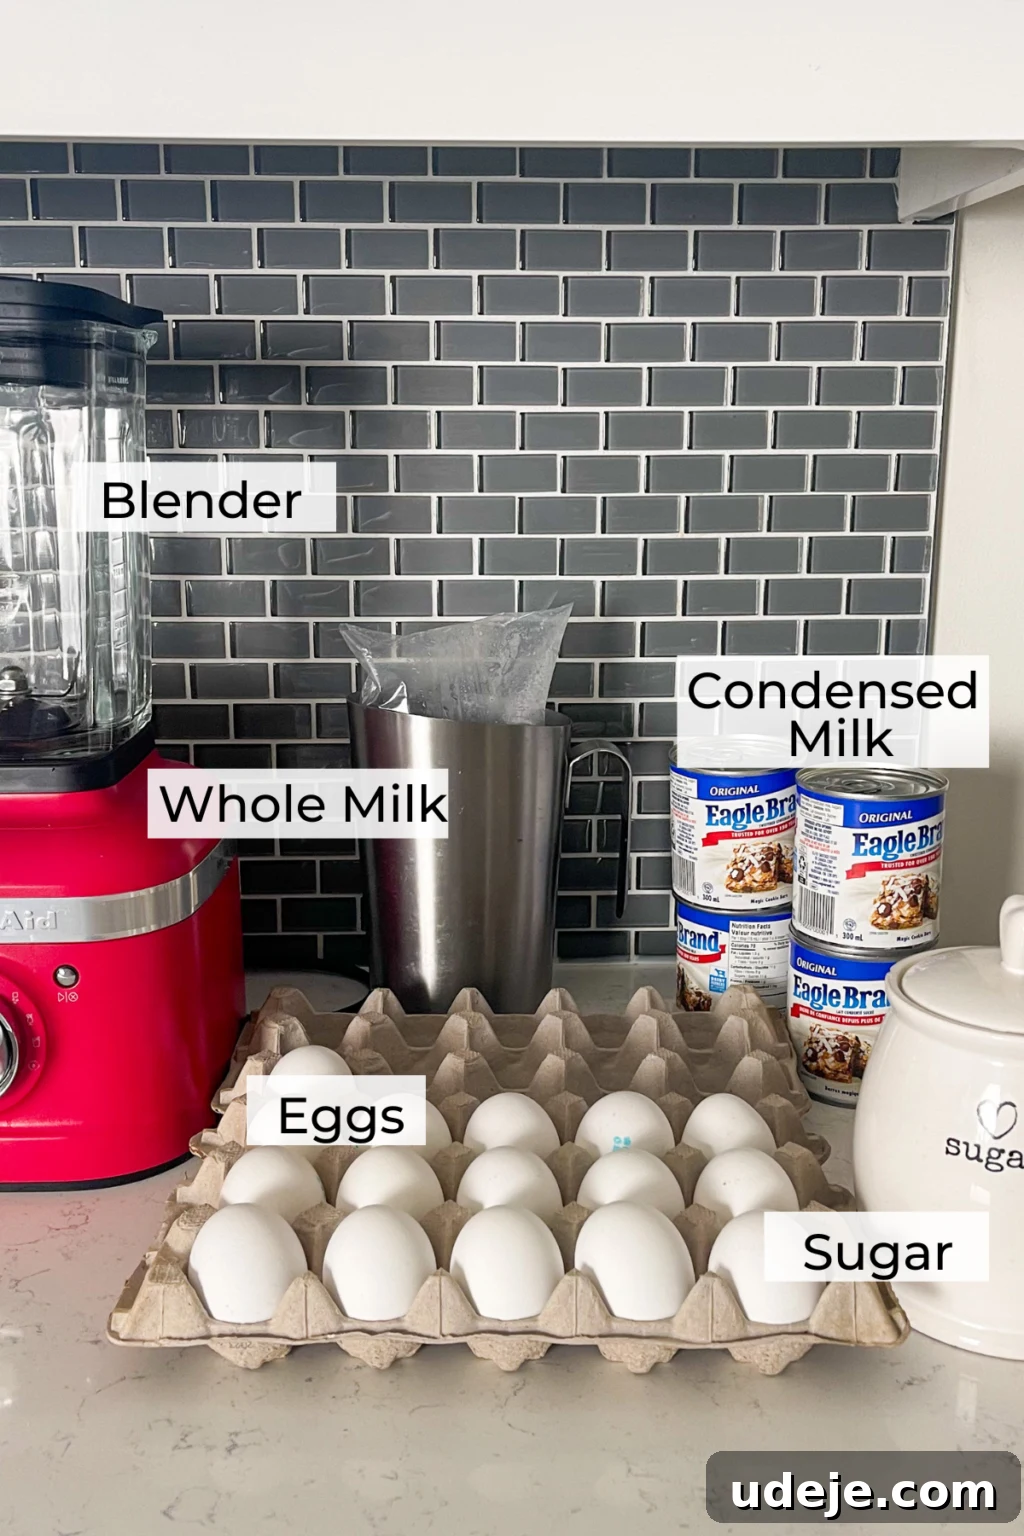
Ready to embark on your Crème Caramel journey? Let’s gather our simple yet powerful ingredients and transform them into a decadent dessert that will impress everyone.
Crafting the Luxurious Caramel Base
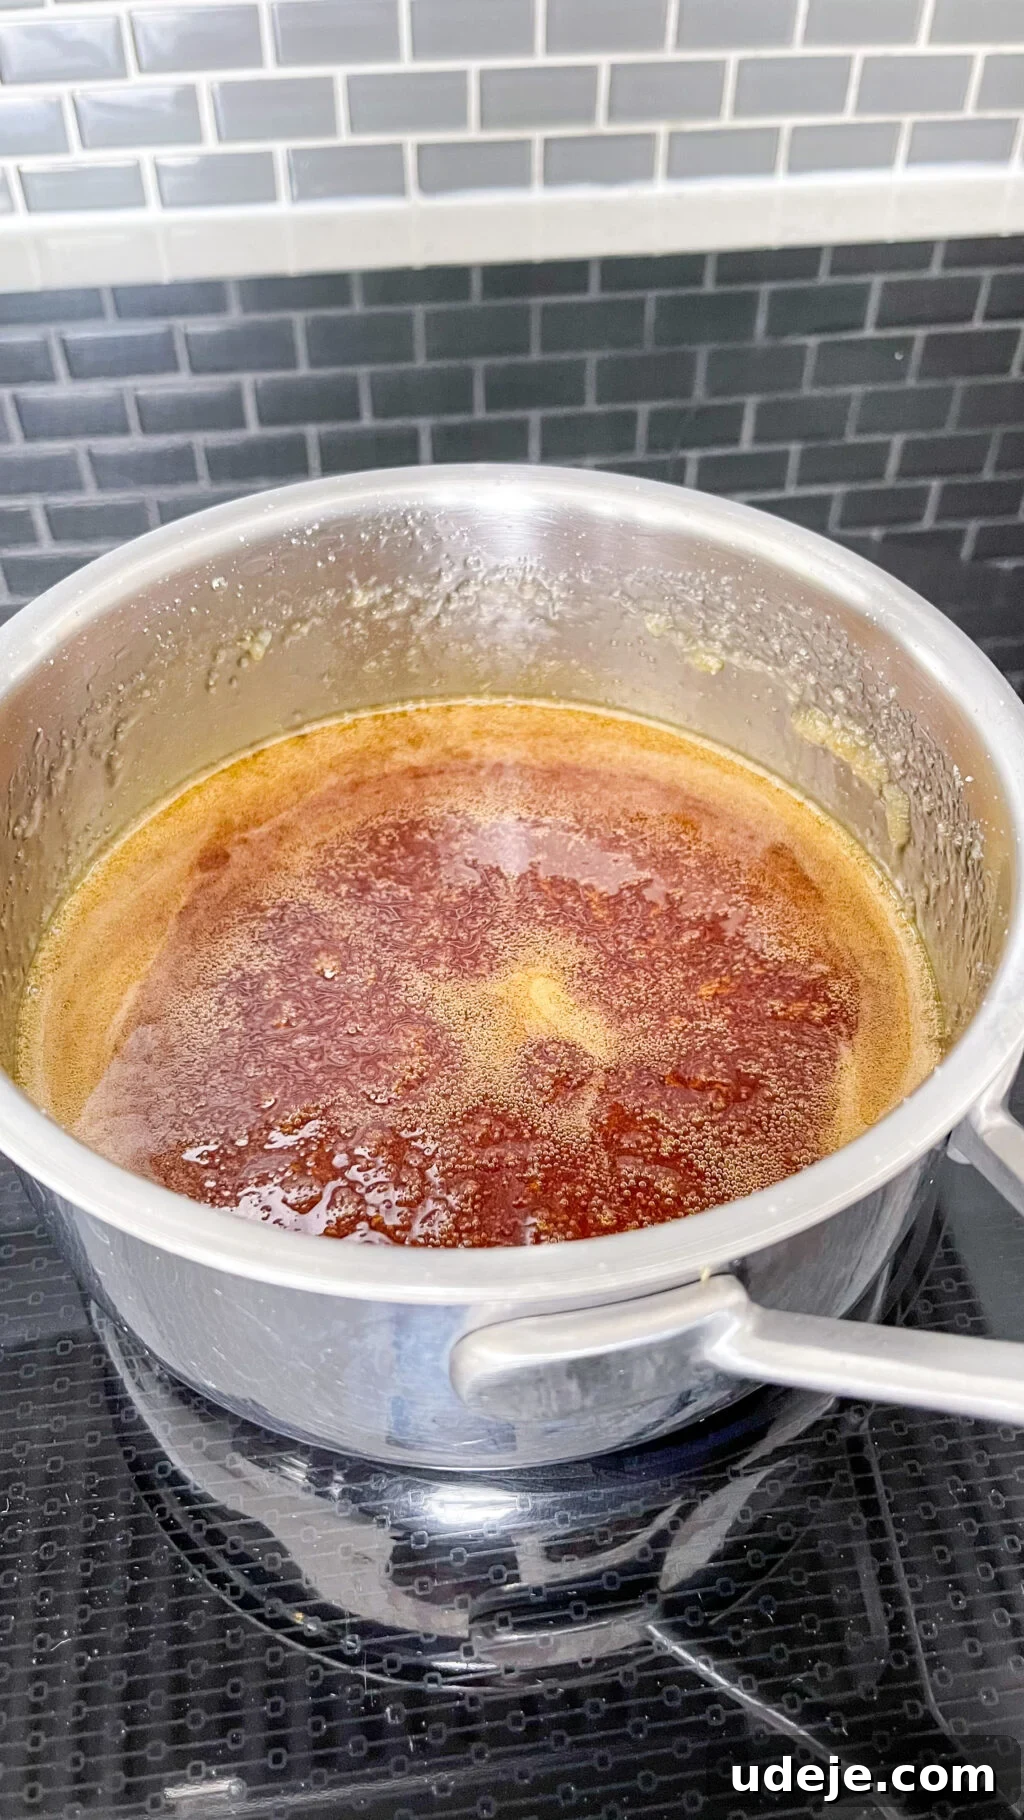
The first crucial step is to prepare the rich, amber caramel, which will form the glistening topping for your inverted custard. This part takes a little patience but is well worth the wait. In a medium-sized, heavy-bottomed saucepan, combine the granulated sugar and water. Place the pan over medium-high heat. Resist the urge to stir the mixture once it begins to heat; stirring can encourage crystallization, which we want to avoid for a smooth caramel. Instead, gently swirl the pan occasionally to ensure even cooking.
My recipe calls for a slightly more generous amount of caramel than typical, and for good reason. I adore having an abundance of that luscious, golden syrup pooling around the silky custard when it’s finally flipped. This larger quantity means the caramel may take a bit longer to achieve its perfect color – typically between 20 to 30 minutes, depending on your stovetop’s heat and the size of your pan. Keep a keen eye on it, as caramel can go from perfect to burnt in a matter of seconds.
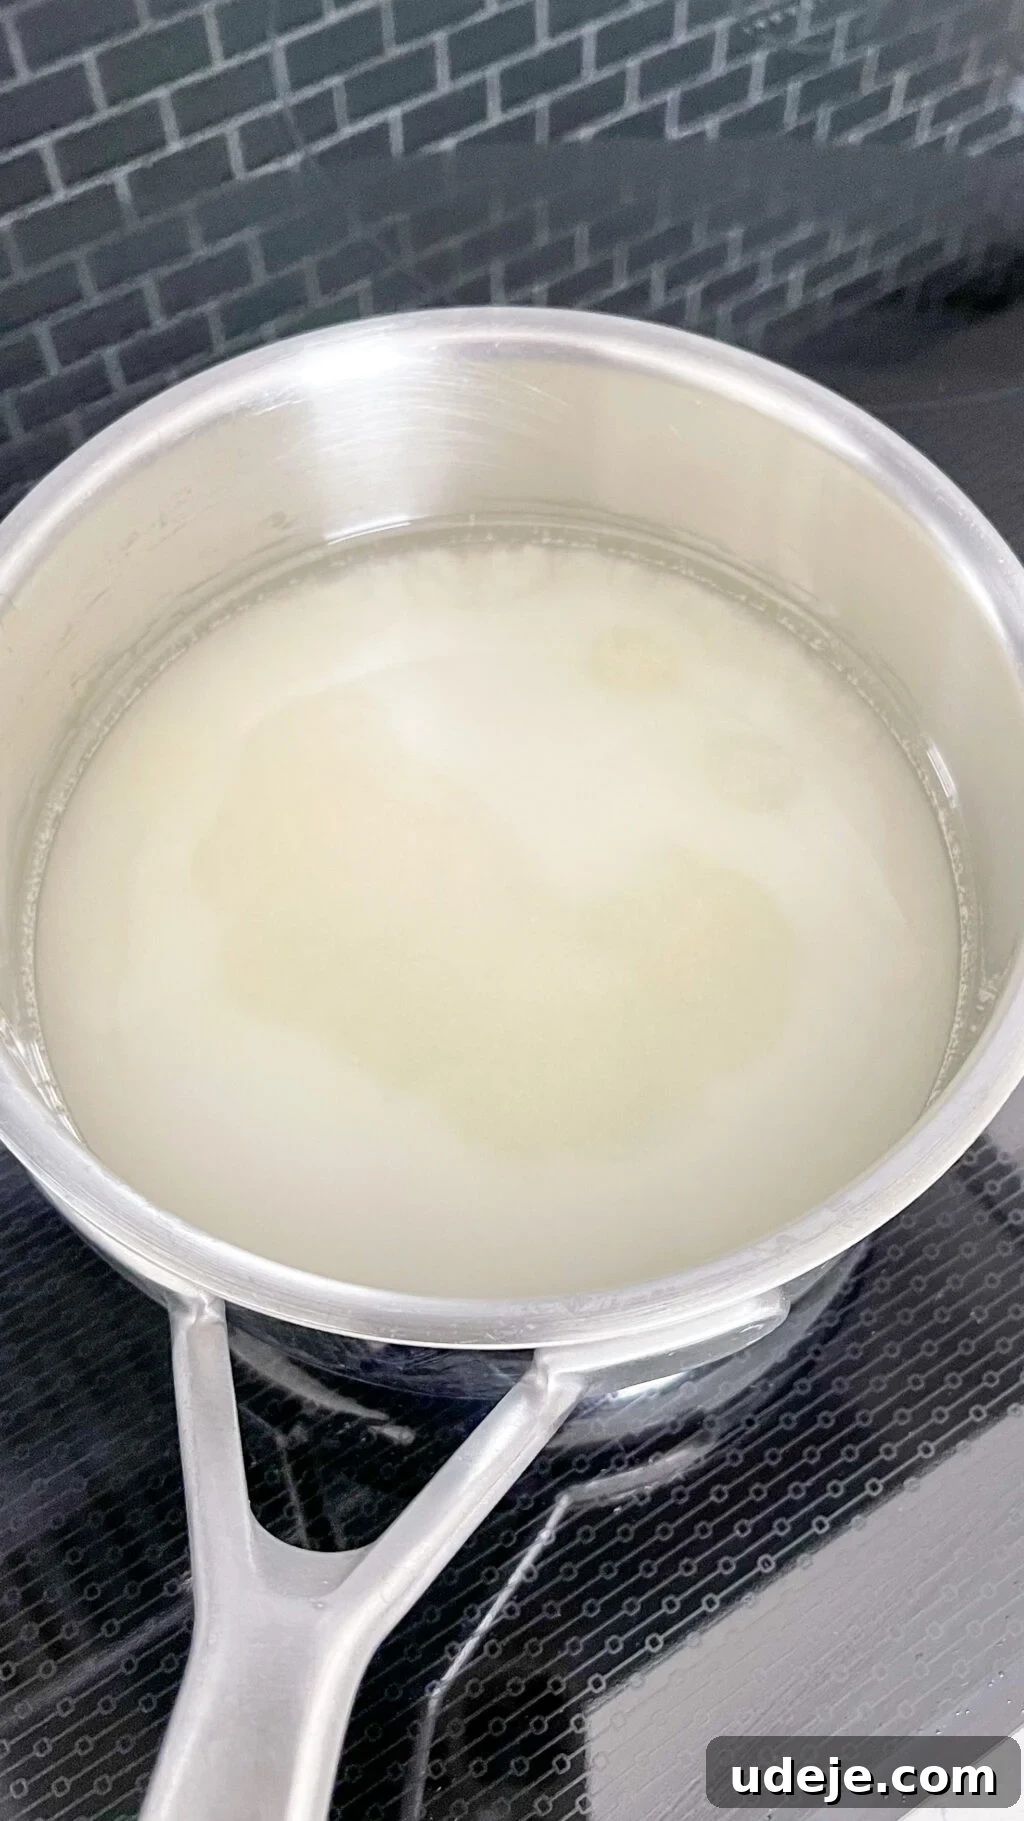
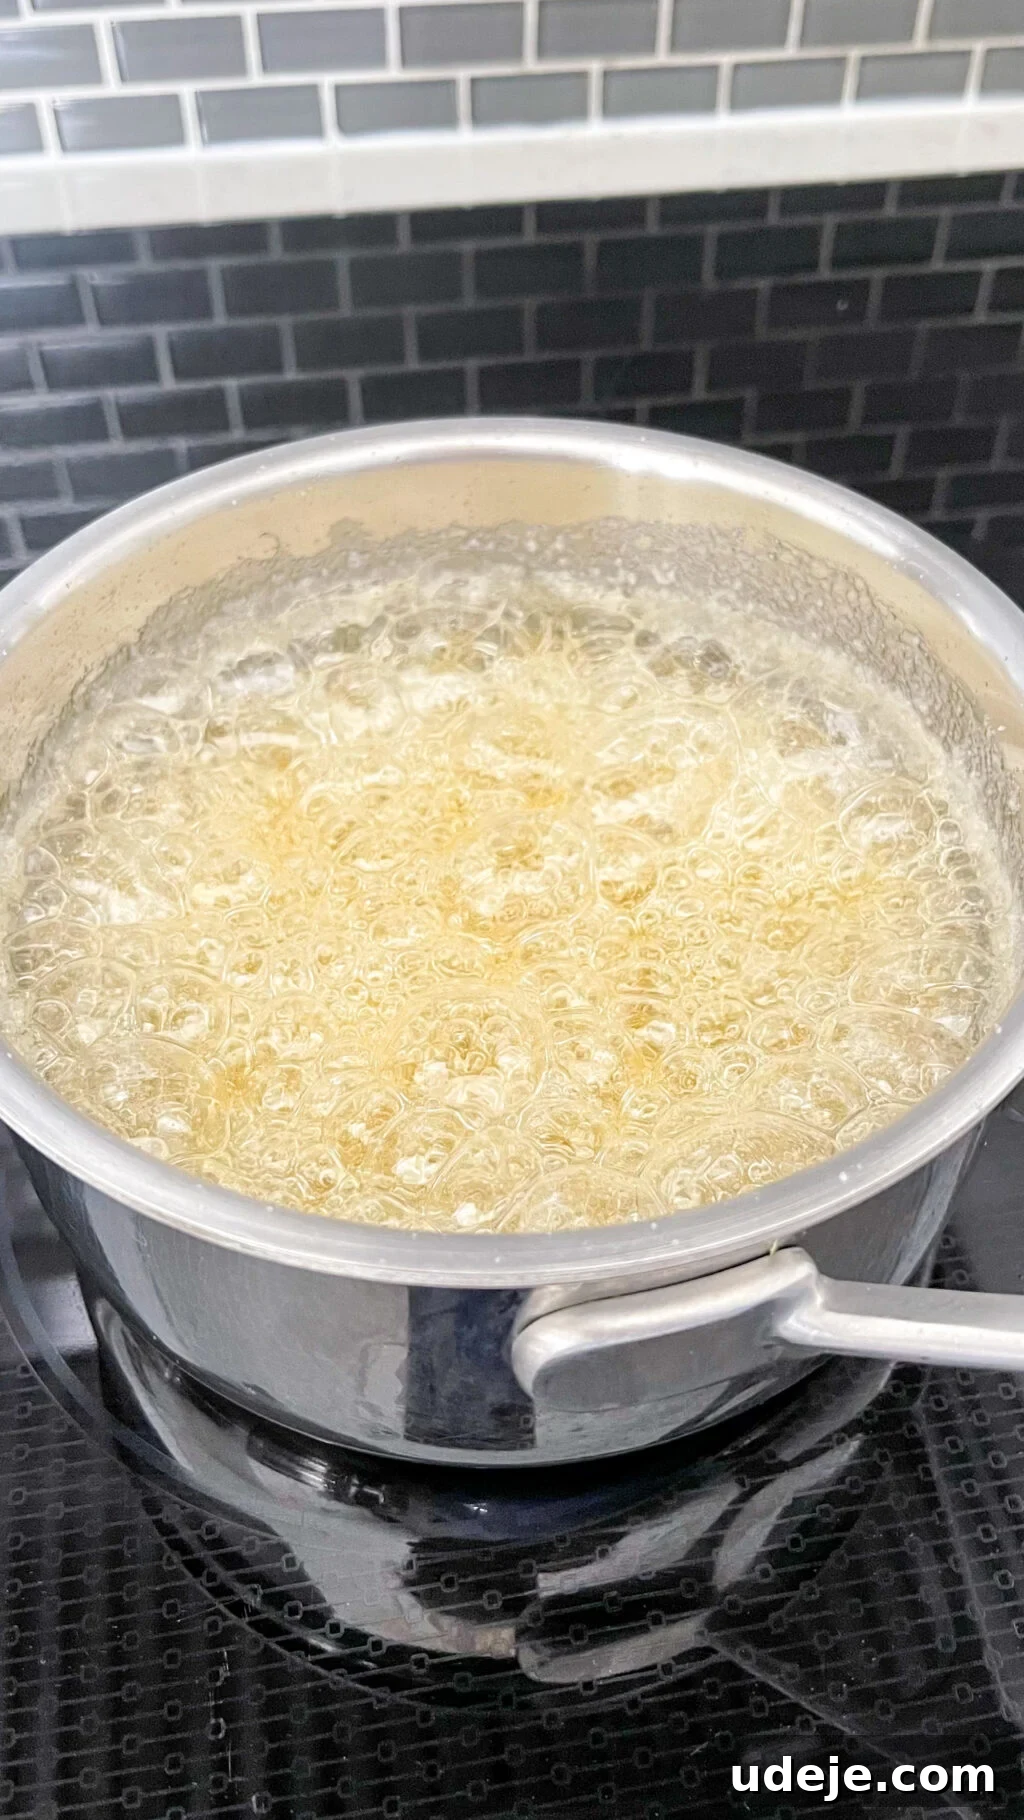
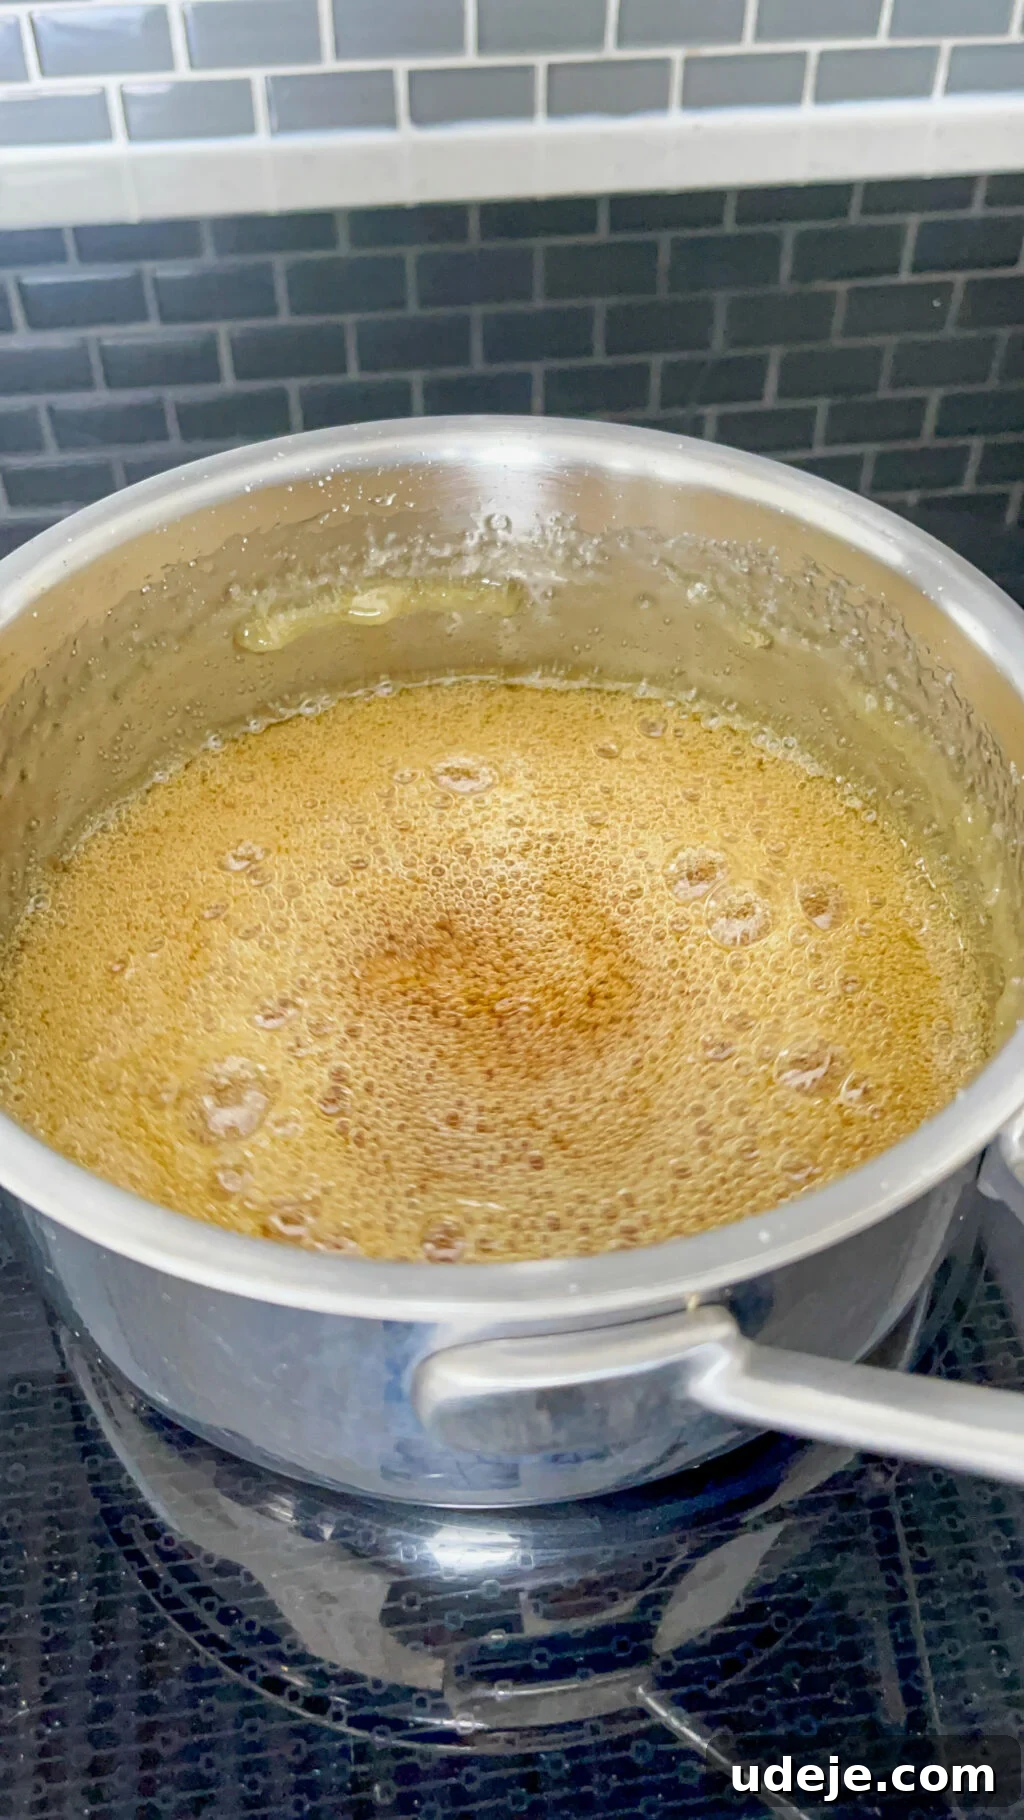
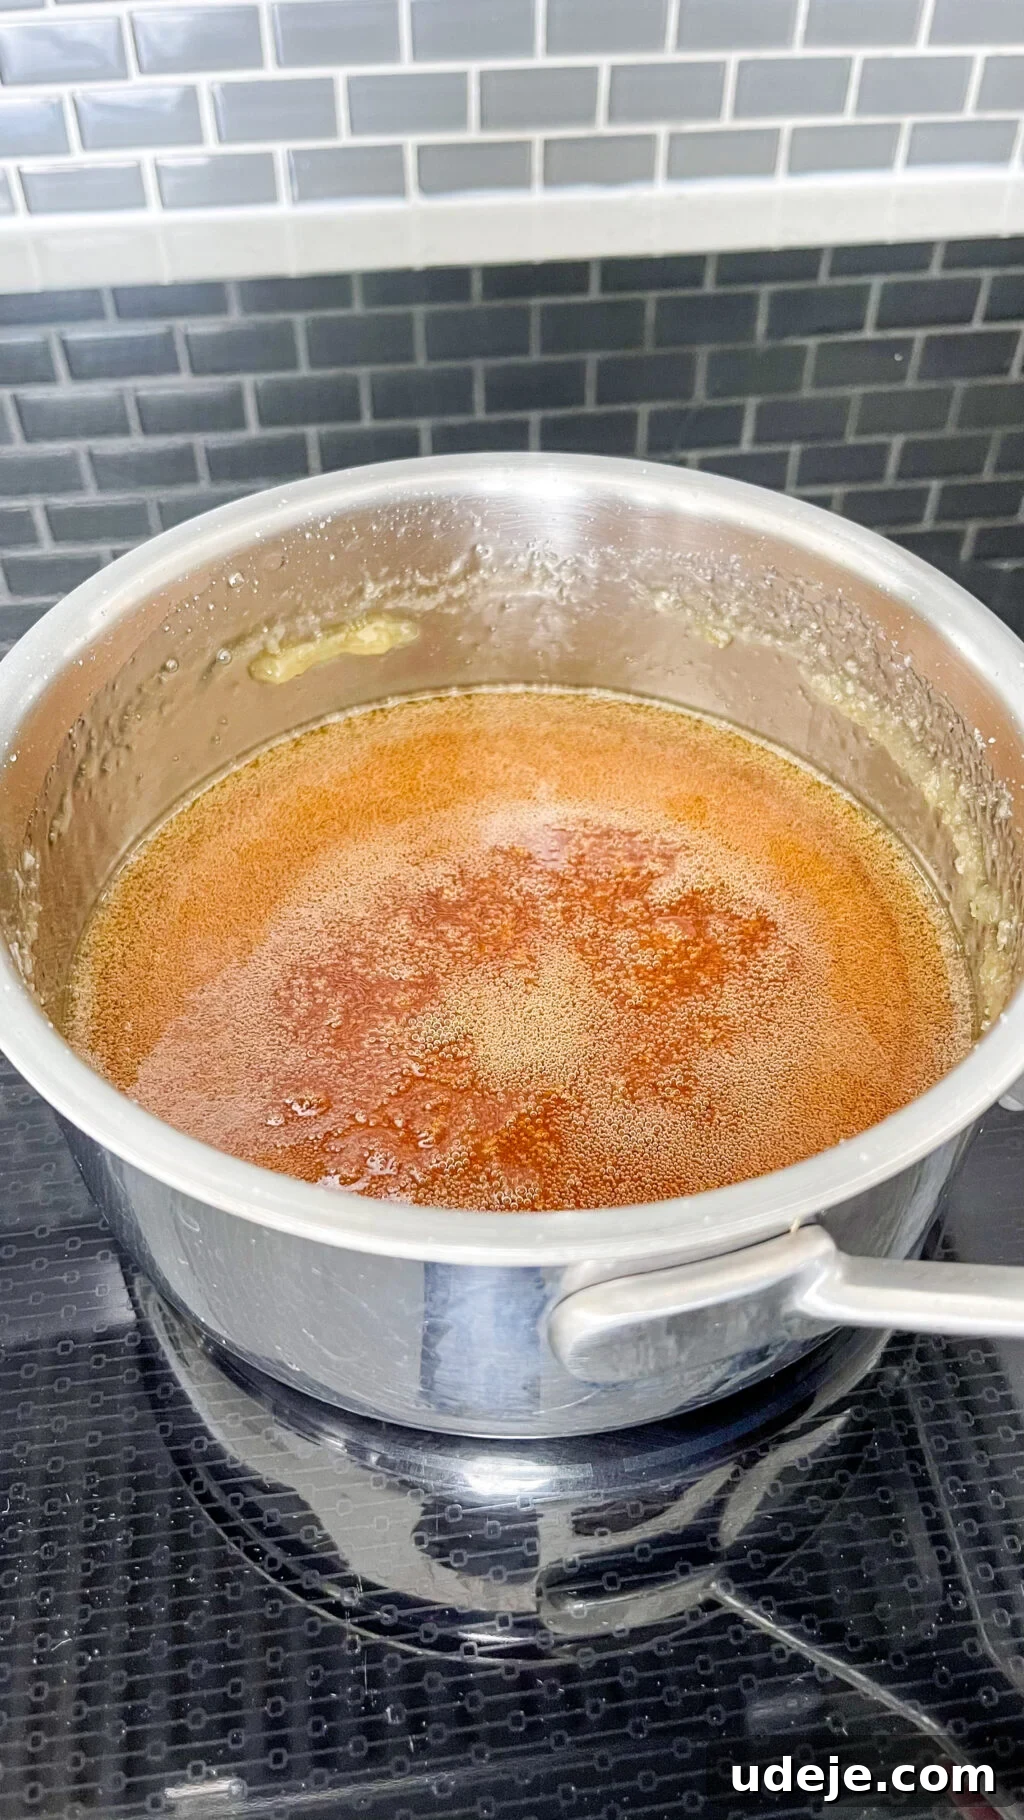
EXPERT TIP: The precise color of your caramel is vital for flavor. If it’s too light, the caramel will taste overly sweet and lack its signature depth. Conversely, if allowed to become too dark, it will acquire an unpleasant, bitter, burnt taste. It’s imperative to remain by the stove and carefully observe the transformation. Remove the pan from the heat the moment it reaches a rich, deep amber or orange-brown hue, signaling its perfect flavor profile.
Whipping Up the Velvety Custard in Your Blender
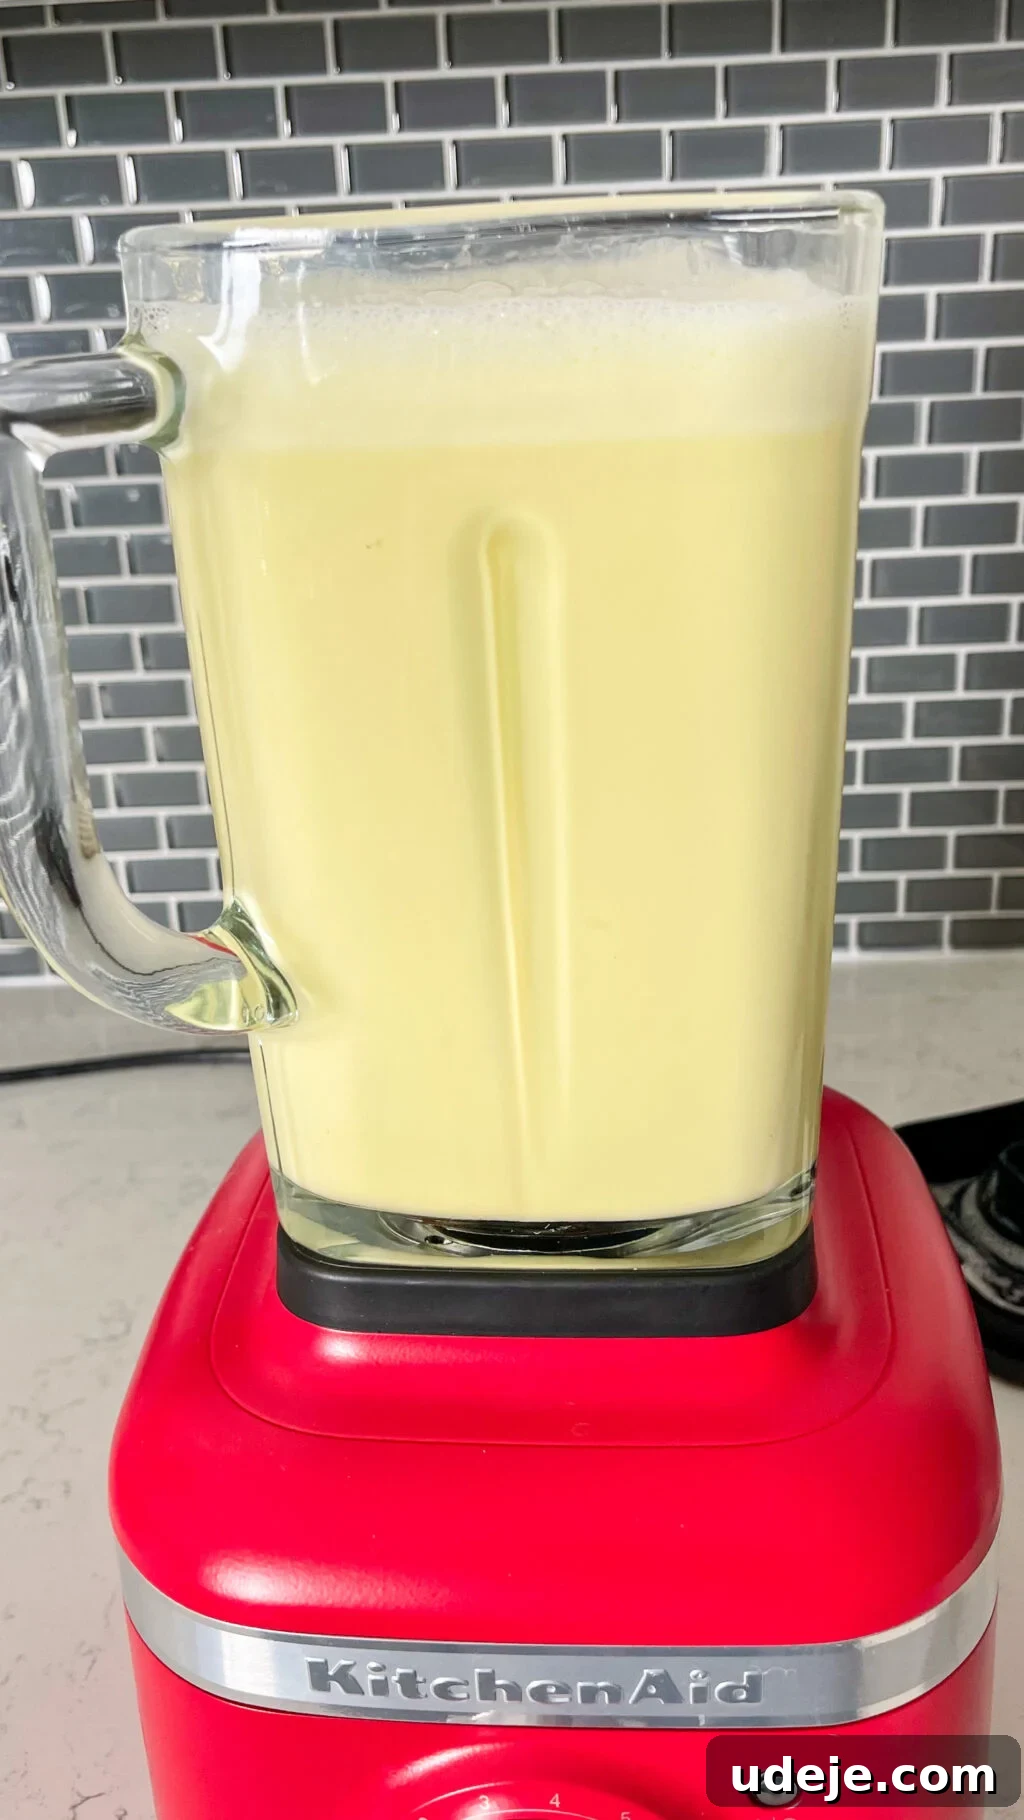
While your caramel is bubbling and transforming into its beautiful hue, you can begin preparing the custard, ensuring it’s ready to pour as soon as the caramel is done. This simultaneous preparation streamlines the process and ensures the hot caramel is poured into the pan quickly.
Assembling and Baking Your Crème Caramel
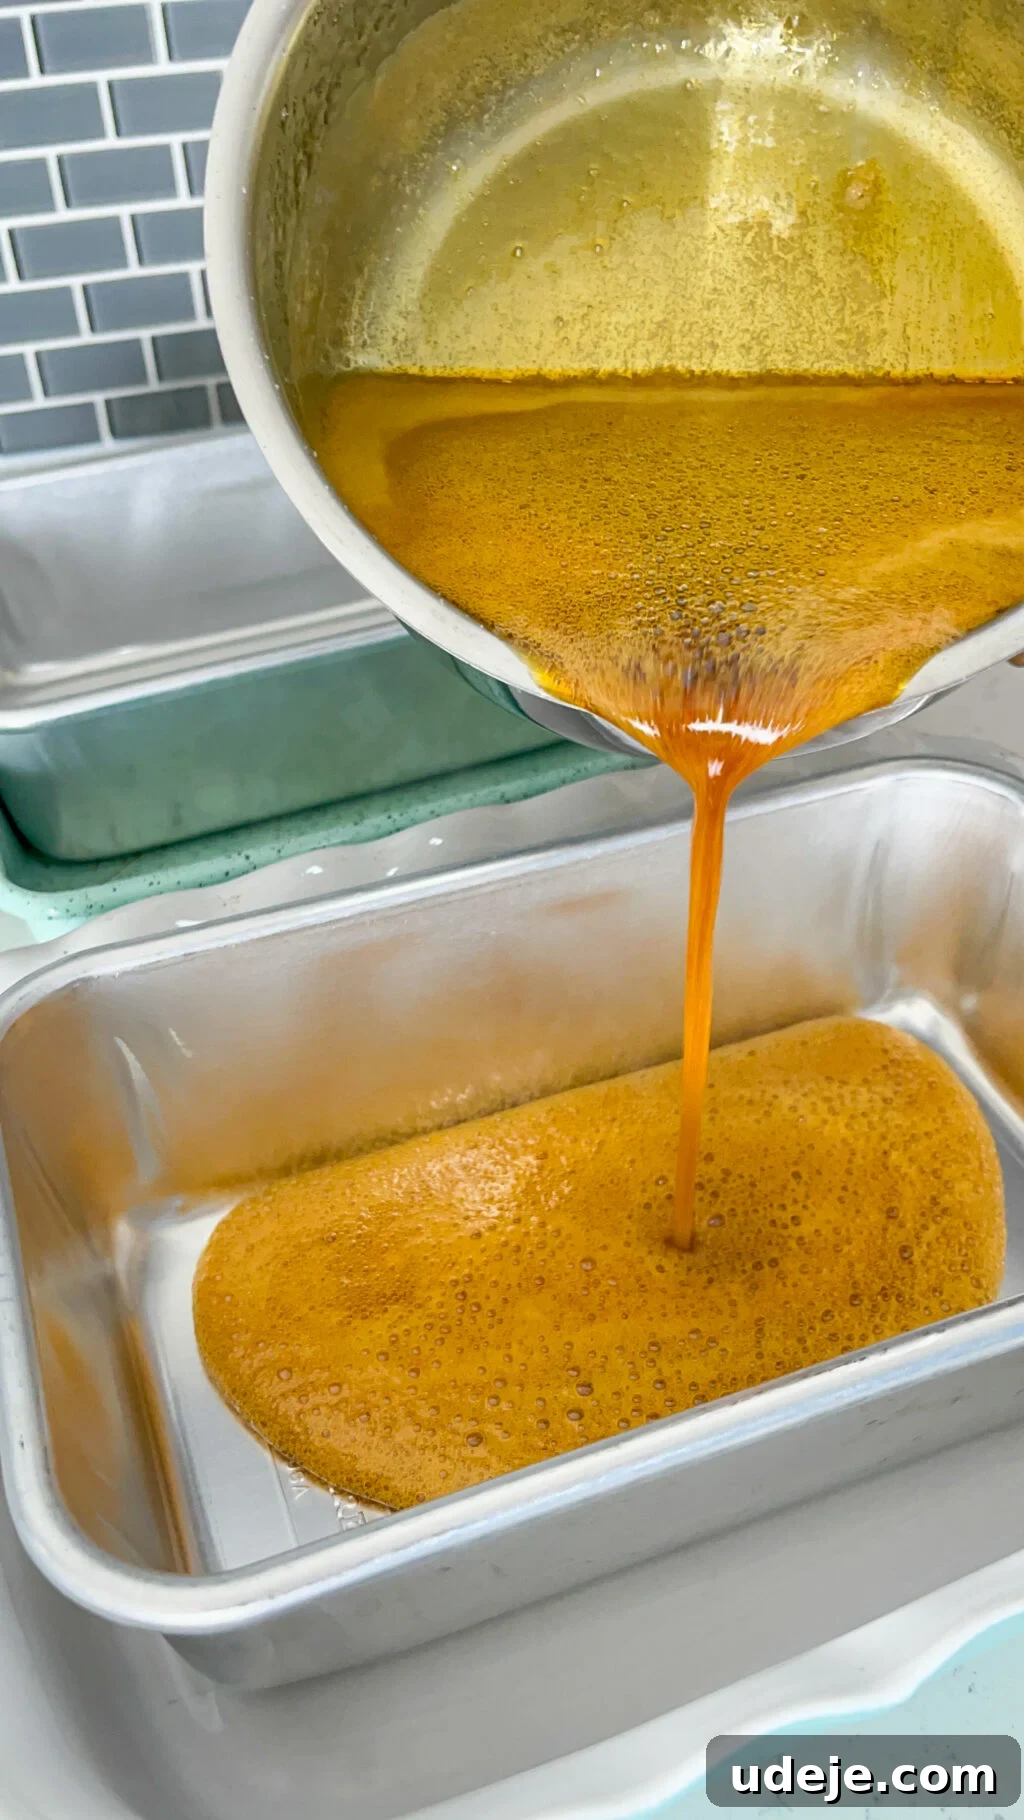
Once the caramel reaches its ideal deep orange shade, immediately and carefully pour the hot caramel into your chosen baking dish or individual ramekins. If using a single larger dish, gently tilt and rotate it to ensure the entire bottom surface is coated. Be extremely cautious as the pan will become intensely hot – use oven mitts or a thick kitchen towel to handle it. The caramel will swiftly harden upon contact with the cooler pan, which is completely normal and expected. This forms the solid, flavorful base that will later become the top.
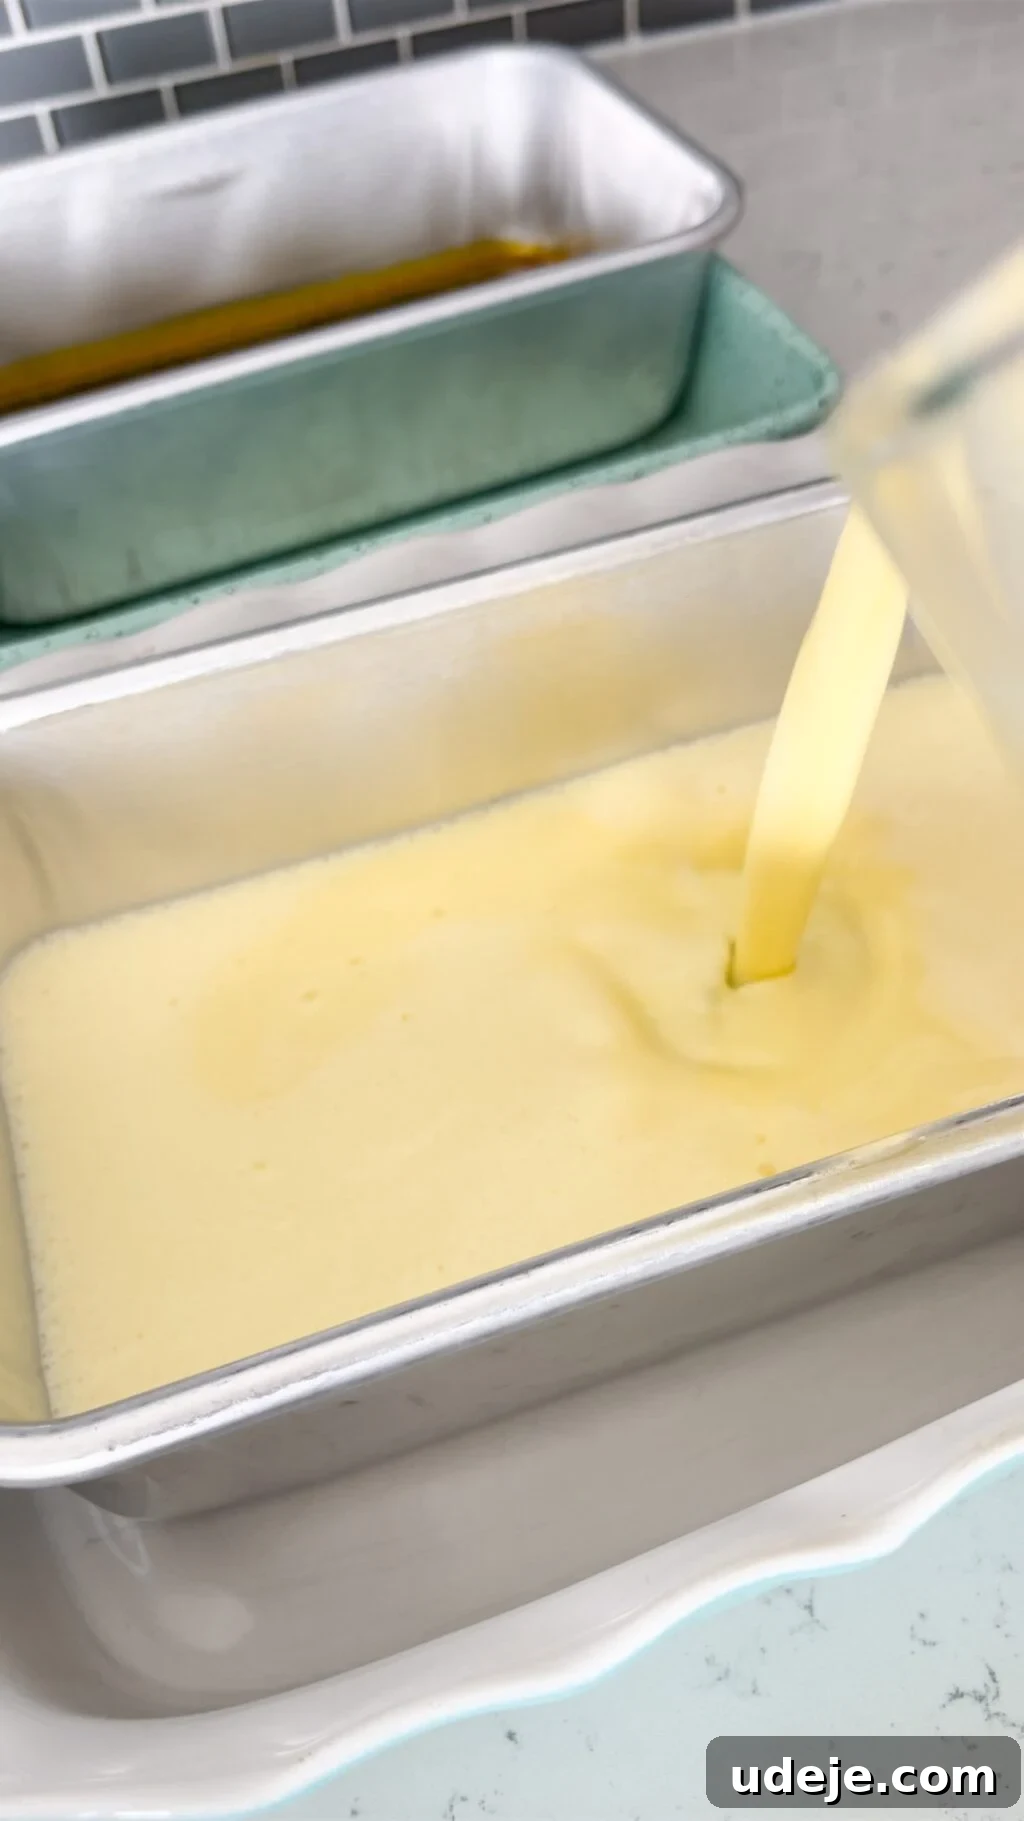
Next, gently pour your perfectly blended custard mixture over the now-solidified caramel. For the signature smooth texture, we employ a water bath, or “bain-marie.” Place your Crème Caramel pan inside a larger baking dish. Then, carefully pour boiling water into the larger dish, ensuring the water level comes up to about halfway on the sides of the Crème Caramel pan. This water bath creates a moist, gentle baking environment, preventing the custard from cooking too quickly or unevenly, which is key to avoiding an “eggy” texture and cracks.
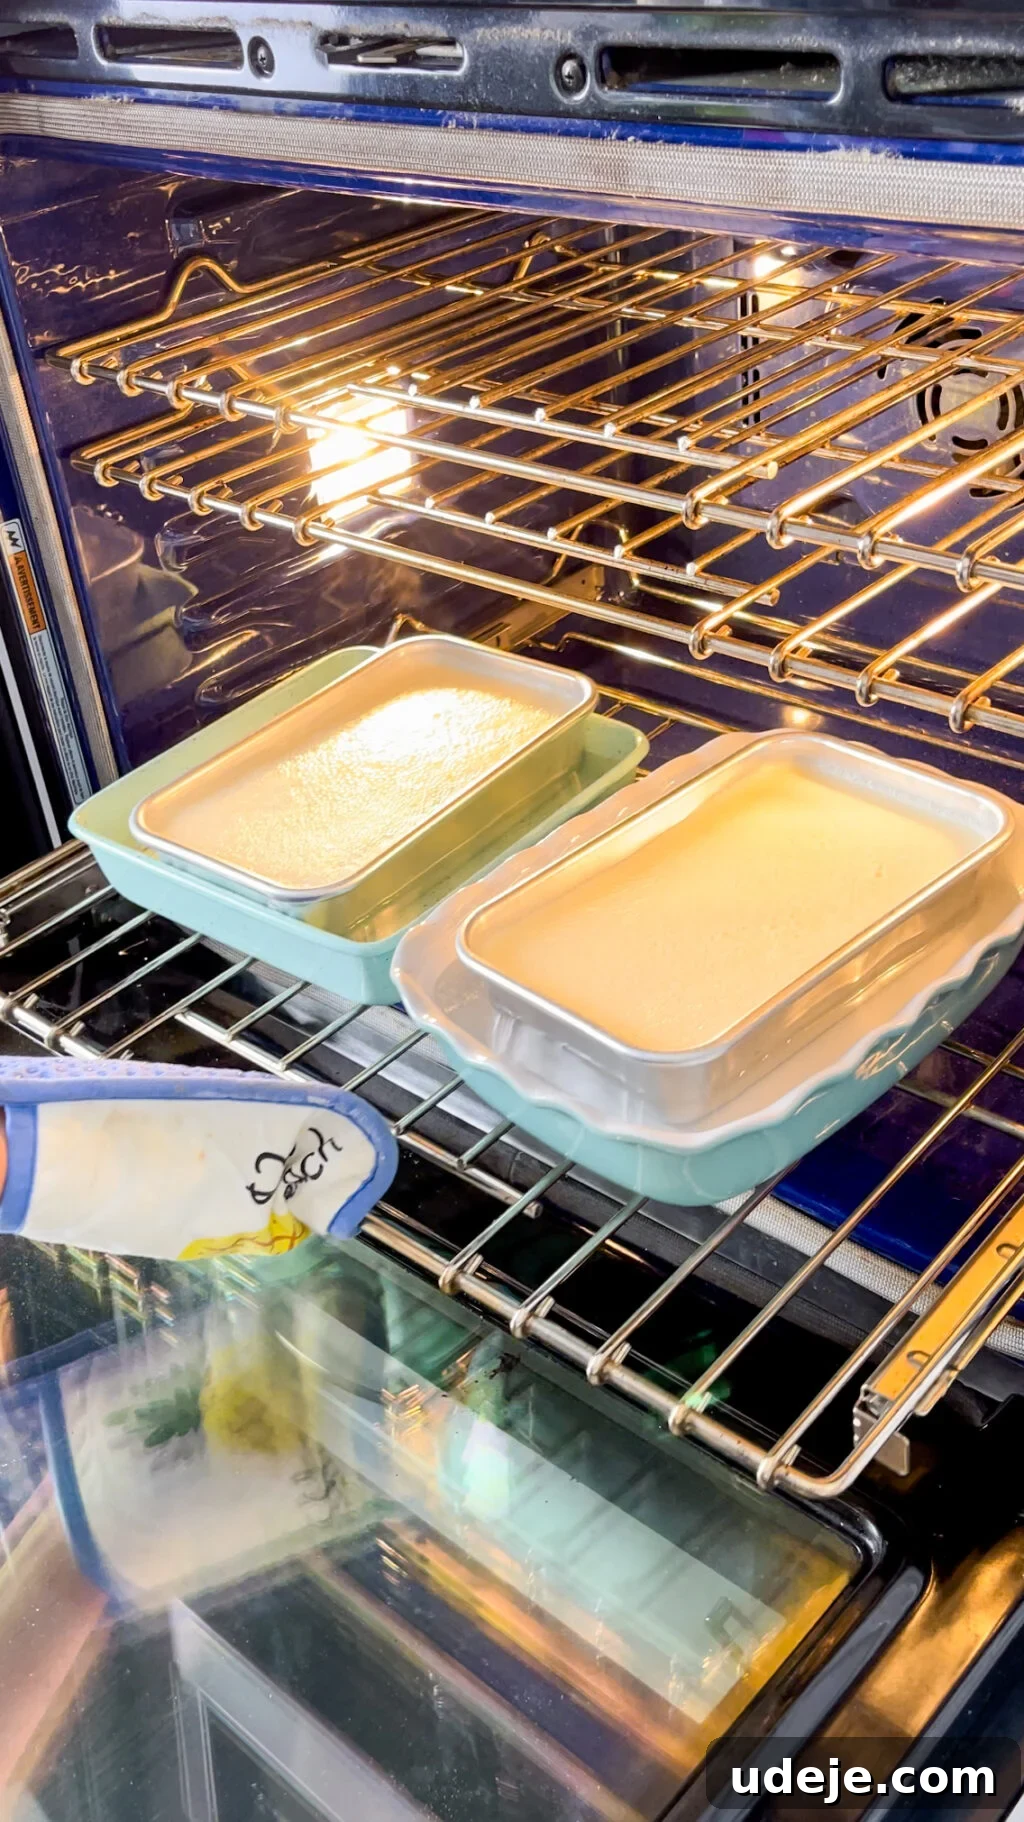
With utmost care, lift the larger dish (containing the water bath and your Crème Caramel) and gently transfer it into your preheated oven. Bake for approximately 40 to 50 minutes. However, it is paramount to understand that baking times can vary. For truly perfect Crème Caramel, it’s best to rely on visual and physical cues rather than strict adherence to the clock. The following section provides critical instructions on how to determine when your dessert is perfectly baked.
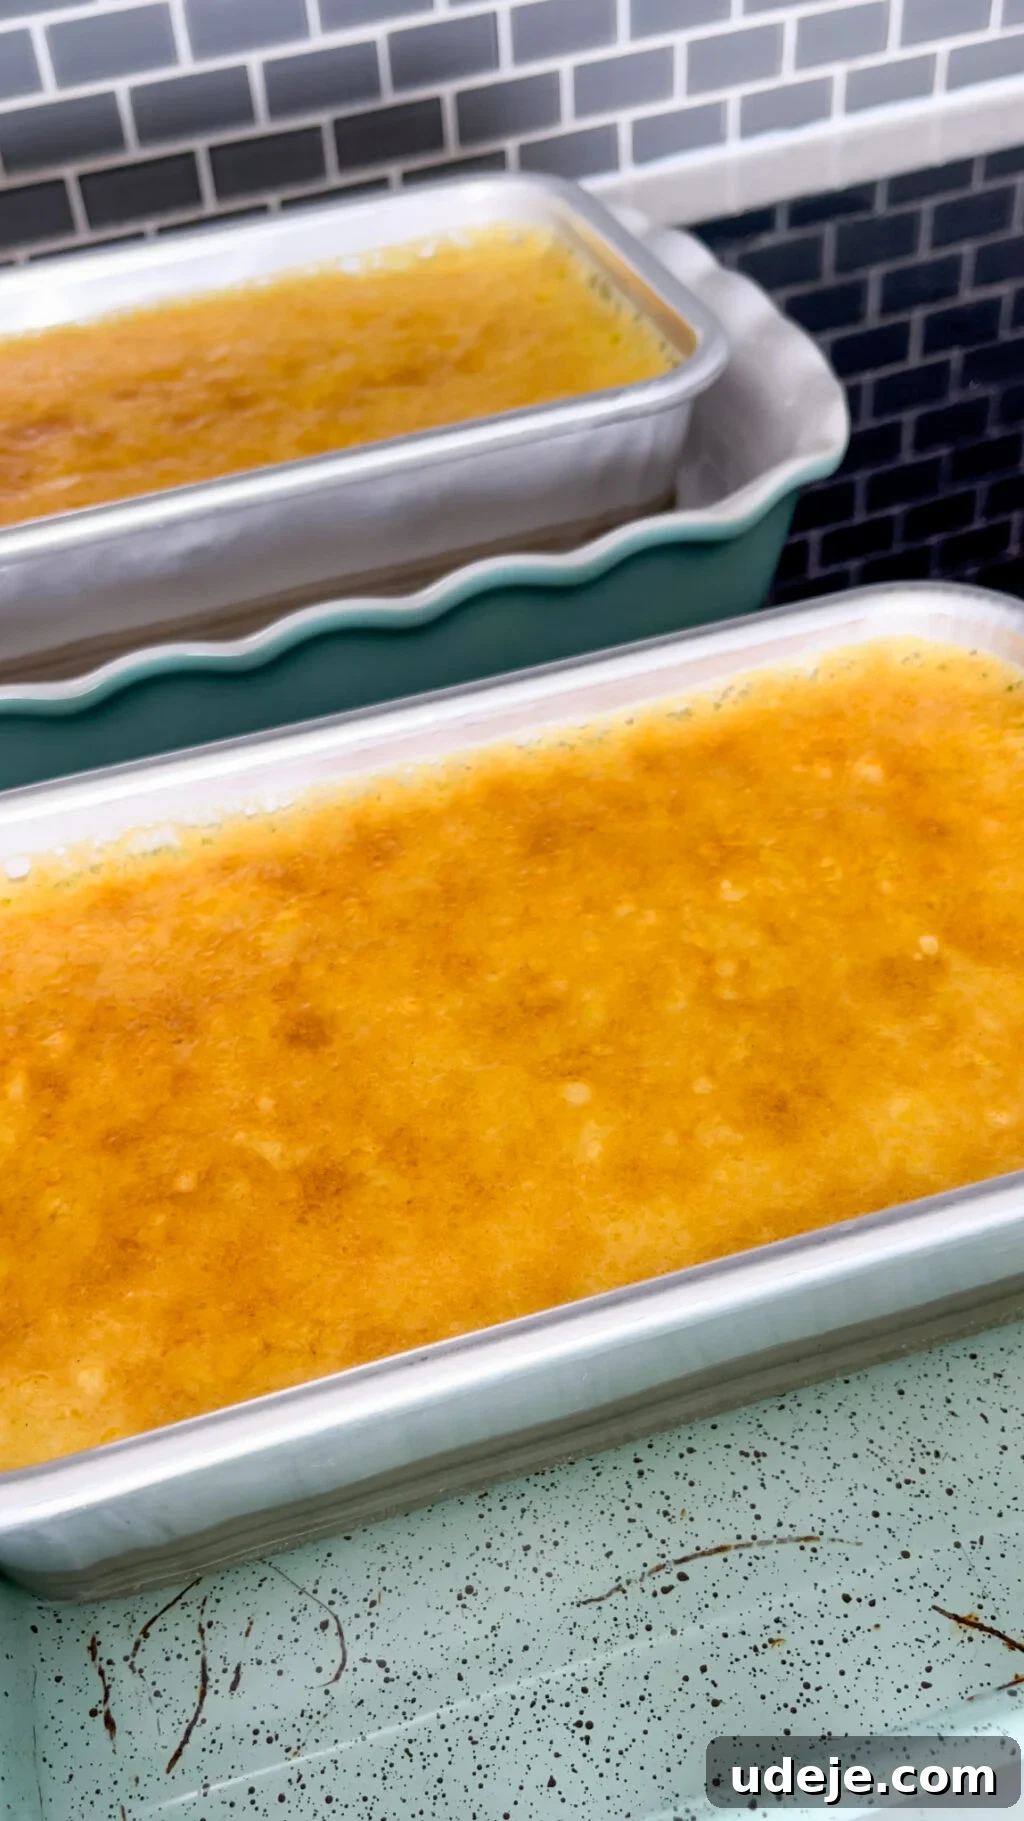
Baking Crème Caramel to Perfection: The Essential Cues
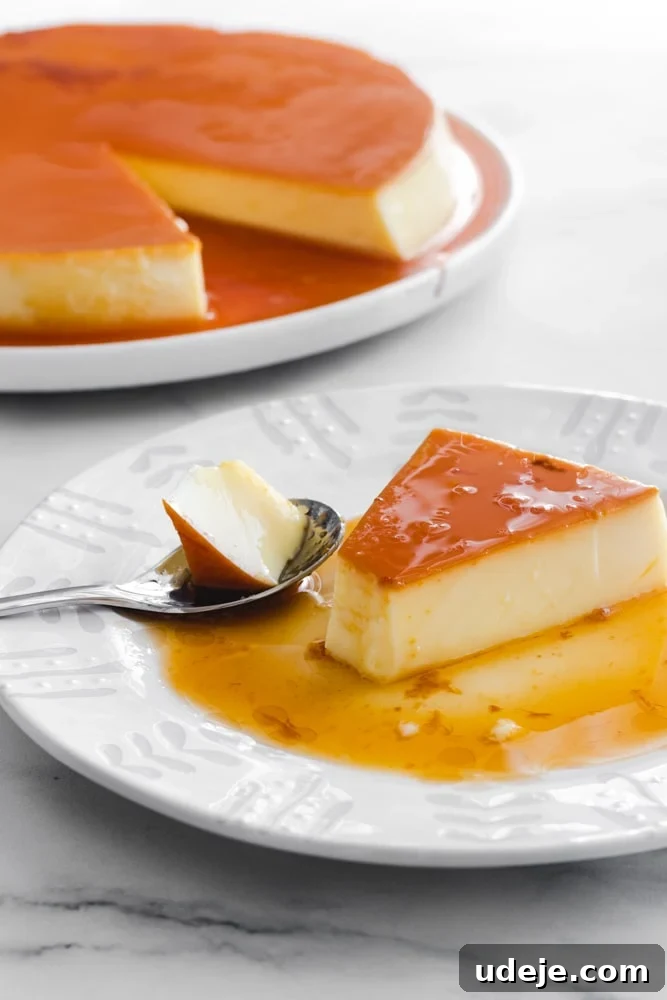
The most delicate part of making a truly exceptional Crème Caramel is knowing precisely when to remove it from the oven to prevent overbaking. A perfectly baked Crème Caramel will exhibit minimal, tiny holes predominantly around the very edges, but once sliced, the center should be impeccably smooth, creamy, and free of any visible air pockets. This velvety, uniform texture is the hallmark of a masterfully prepared caramel custard.
Do not strictly rely on the suggested baking time of 45-50 minutes. Instead, treat this as a general guideline, and begin testing your Crème Caramel around the 45-minute mark. To test for doneness, gently shake the baking pan. If the custard ripples and undulates like liquid or water, it indicates it’s still undercooked and requires more time. The ideal consistency you are looking for is a gentle, uniform jiggle, much like a perfectly set jelly. If it moves too freely, close the oven door and continue baking, checking at 5-minute intervals until it achieves the desired jelly-like wobble.
For an additional assurance of doneness, once you observe the jelly-like jiggle, you can perform a quick knife test. Carefully insert a thin knife or skewer into the center of the custard. If the knife emerges with small clumps or a wet, uncooked batter adhering to it, it needs more time. A perfectly baked custard will yield a knife that comes out mostly clean, perhaps with a few moist streaks, but no raw batter. This indicates that the custard has set beautifully without overcooking.
As soon as your Crème Caramel passes these tests, remove the larger baking dish (with the water bath) from the oven. Allow the Crème Caramel to cool down completely to room temperature while still resting in the warm water bath. This gradual cooling process, leveraging the residual heat from the water, helps the custard to set further and prevents cracking. This step typically takes about 1 hour. Once it has cooled, carefully remove the Crème Caramel pan from the water bath, cover the top tightly with plastic wrap to prevent a skin from forming, and refrigerate it overnight. Chilling overnight is crucial as it allows the custard to fully set, firm up, and for the flavors to meld beautifully.
Here are three unmistakable signs that your Crème Caramel has been over-baked:
- Unpleasant “Eggy” Taste: Overbaking can tragically intensify the eggy flavor of the custard, making it taste more like scrambled eggs than a delicate dessert. This is a common pitfall that proper baking technique avoids.
- Curdled or Spongy Texture: Instead of a smooth, uniform creaminess, an overbaked Crème Caramel will develop a curdled, grainy, or even spongy texture. This is due to the proteins in the eggs tightening too much under excessive heat.
- Excessive Visible Holes: While a few tiny, almost imperceptible holes on the very top or sides are sometimes hard to avoid, an overbaked custard will present numerous, larger visible holes throughout its interior once sliced. These indicate that the custard has been cooked too vigorously, trapping steam and creating an undesirable airy structure instead of a dense, creamy one. When you slice into your perfectly baked Crème Caramel, the inside should be consistently smooth and utterly creamy, with no visible holes at all.
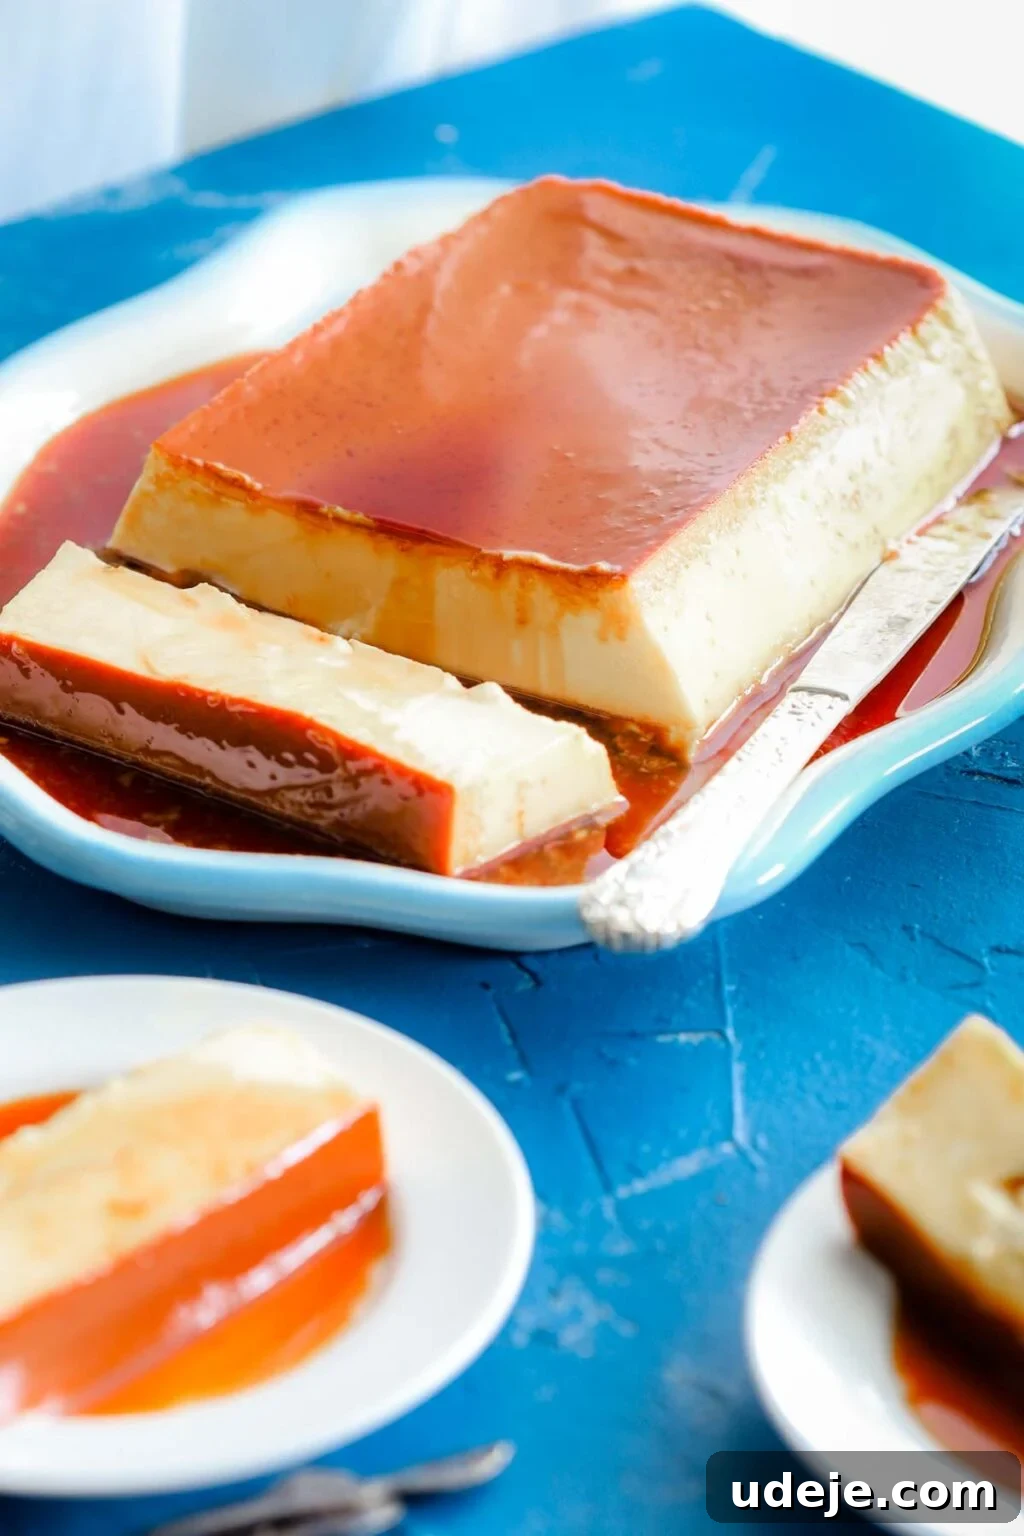
The Grand Finale: Flipping and Releasing Your Crème Caramel
The moment of truth arrives the next day, when your Crème Caramel is perfectly chilled and ready to be served. This step, while seemingly daunting, is quite straightforward with the right technique. Begin by running a thin butter knife carefully around the entire edge of the pan, pressing gently against the pan wall to avoid cutting into the delicate custard. This creates a slight gap, helping to loosen the dessert.
Next, turn on your hot water tap and run hot water over the sides and bottom of the pan for a few seconds. This warmth will slightly melt the hardened caramel along the edges and bottom, allowing for a clean release. Do not leave it under hot water for too long, just enough to warm the caramel.
Now, choose a serving platter that is large enough to accommodate the entire Crème Caramel and ideally has a slightly raised edge to contain the luscious caramel sauce. Place the platter firmly on top of the Crème Caramel pan, ensuring it’s centered. With a swift, confident motion, flip the pan and platter over together. You should feel the dessert detach. Gently tap the bottom of the pan a few times, then slowly and steadily lift the pan away. If the Crème Caramel seems stuck, don’t panic. Simply repeat the process of running the knife around the edges and briefly warming the bottom of the pan under hot water. With a little patience, it will release.
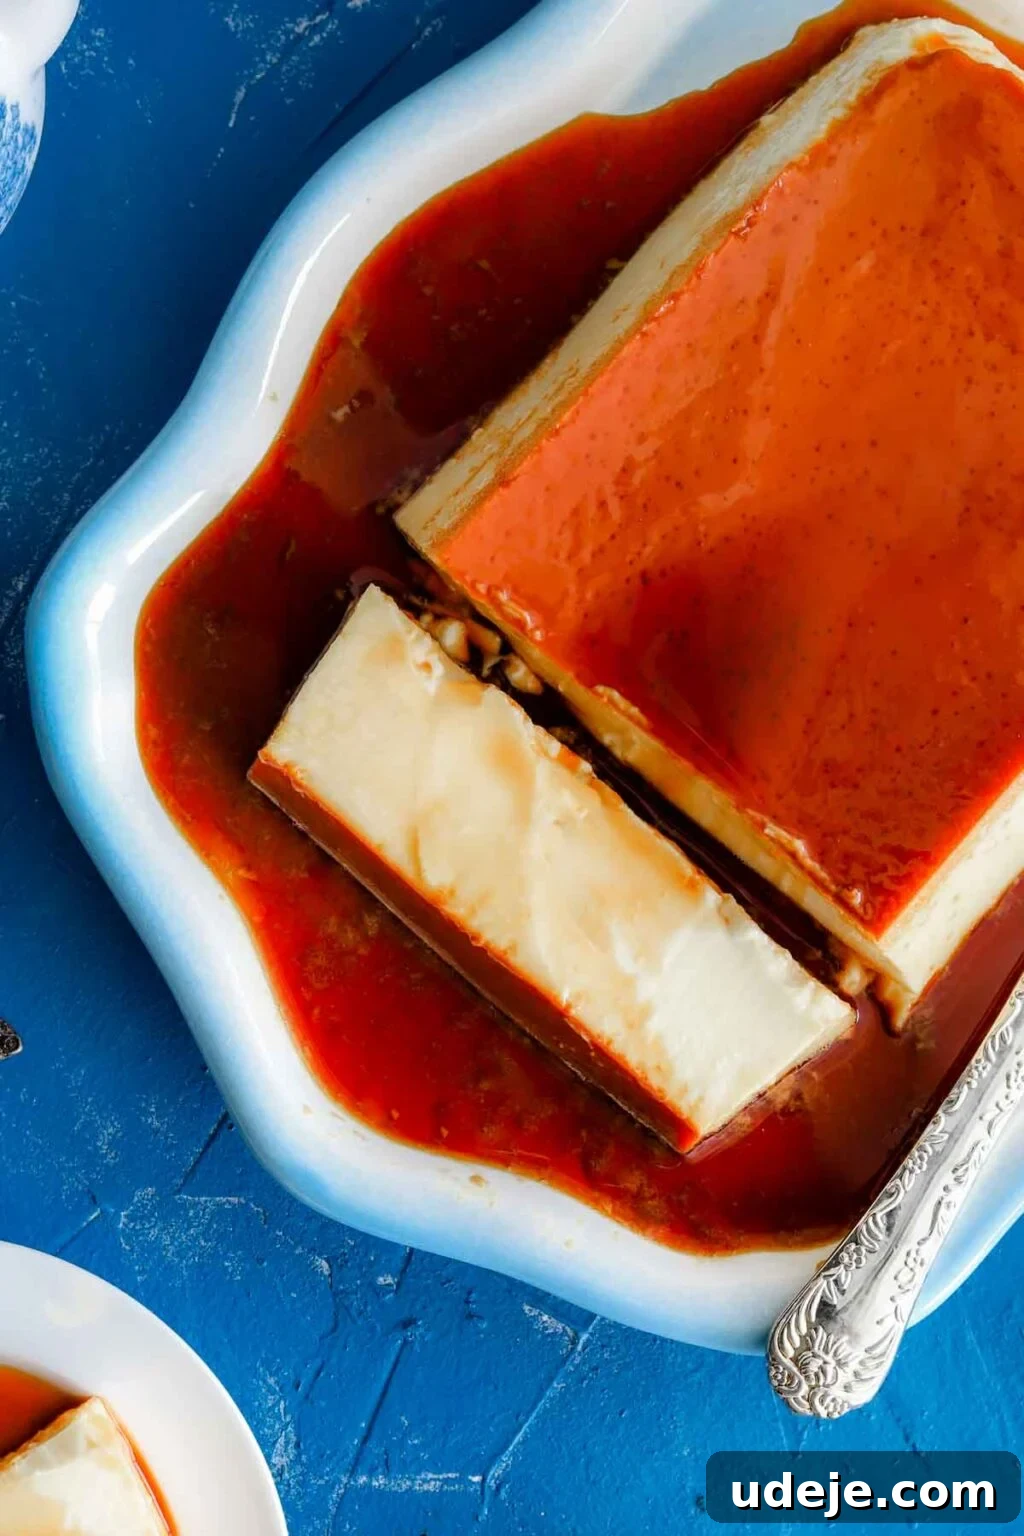
Once successfully released, watch as the exquisite liquid caramel sauce cascades down and pools beautifully around the creamy custard. Slice your Crème Caramel into individual pieces using a sharp, warm knife. Serve each slice with a generous spoonful or two of the extra caramel sauce from the platter, enhancing both its visual appeal and its rich flavor. This elegant presentation will undoubtedly garner applause!
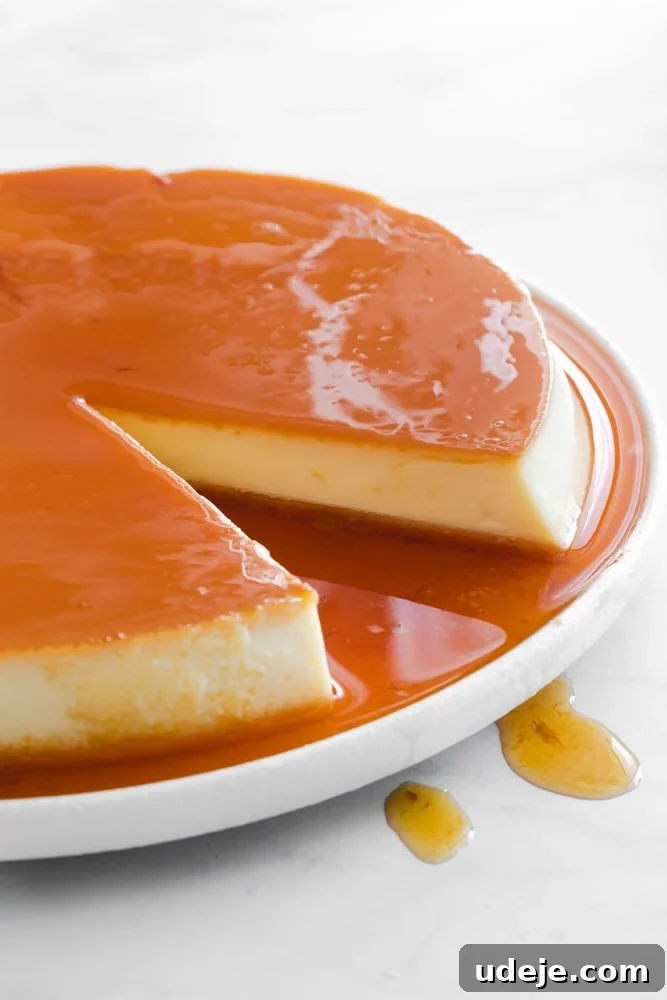
Customizing Your Crème Caramel: Pan Sizes and Storage Tips
This versatile Crème Caramel recipe is designed to yield a substantial dessert, perfectly fitting a standard 9-inch round cake pan. If your 9-inch pan has slightly thinner sides, like the one I highly recommend (find it here), you might have a small amount of custard mixture leftover. Don’t let it go to waste! You can easily use this extra custard to make a couple of delightful small ramekins of Crème Caramel, perfect for individual servings. If your pan is thicker or has a larger capacity, it will comfortably hold all of the custard. Alternatively, this recipe also works flawlessly in a standard 9-inch by 5-inch loaf pan, fitting the entire custard mixture without any leftover. Both a 9-inch round pan and a 9×5-inch loaf pan will typically yield about 10 small, elegant slices. Given the decadent and sweet nature of Crème Caramel, smaller slices are often preferred, allowing everyone to savor its richness without feeling overwhelmed.
Storage and Enjoyment
While the anticipation might be high, the absolute best time to enjoy your homemade Crème Caramel is the day after it’s been made. The overnight chilling period in the refrigerator allows the custard to fully set, firm up, and for the flavors to deepen and meld, resulting in an even more exquisite taste and texture. Once prepared, Crème Caramel will remain fresh and delightful in the refrigerator for approximately 2 days. Beyond this timeframe, the texture tends to become denser and may not retain its initial silky, creamy appeal. For the ultimate enjoyment, plan to serve your Crème Caramel within 48 hours of preparing it.
If you tried this exquisite Crème Caramel recipe, please consider leaving a star ⭐️⭐️⭐️⭐️⭐️ rating in the recipe card below and/or a thoughtful review in the comments section further down the page – your feedback means the world to us! We’d absolutely love to hear about your experience and creations. You can also hop on over to Instagram and say hello, sharing your beautiful dessert photos with us!
Creme Caramel Recipe with Condensed Milk
10
servings
30
mins
51
mins
1
hr
20
mins
Amina Al-Saigh
Leave a Review
Pin Recipe
Ingredients
For the caramel:
- 1.5 cups granulated sugar
- 1/2 cup water
For the Custard:
- 8 eggs
- 600 ml sweetened condensed milk, 2x 300 ml cans
- 600 ml whole milk, fill up the same condensed milk cans
- 1 tsp vanilla extract
Instructions
-
Pre-heat the oven to 325 F
-
Make the caramel by adding the sugar to a pot without touching the edges, and pour over the water. Do not stir it or move the pot and remain close by to watch it
-
Allow it to come to a boil over medium high heat. Once it starts bubbling away, it will slowly change color to yellow, then amber, then a deep orange. Stand nearby and observe the stages, which should take about 20 to 30 minutes. Once it turns a deep orange, swirl the pan around to remove the bubbles and observe the color.
-
Remove from the heat and pour it into your cake pan ensuring you cover the whole base by moving the pan around (careful as the pan will get hot). It will solidify within a few seconds of hitting the pan, which is completely normal.
-
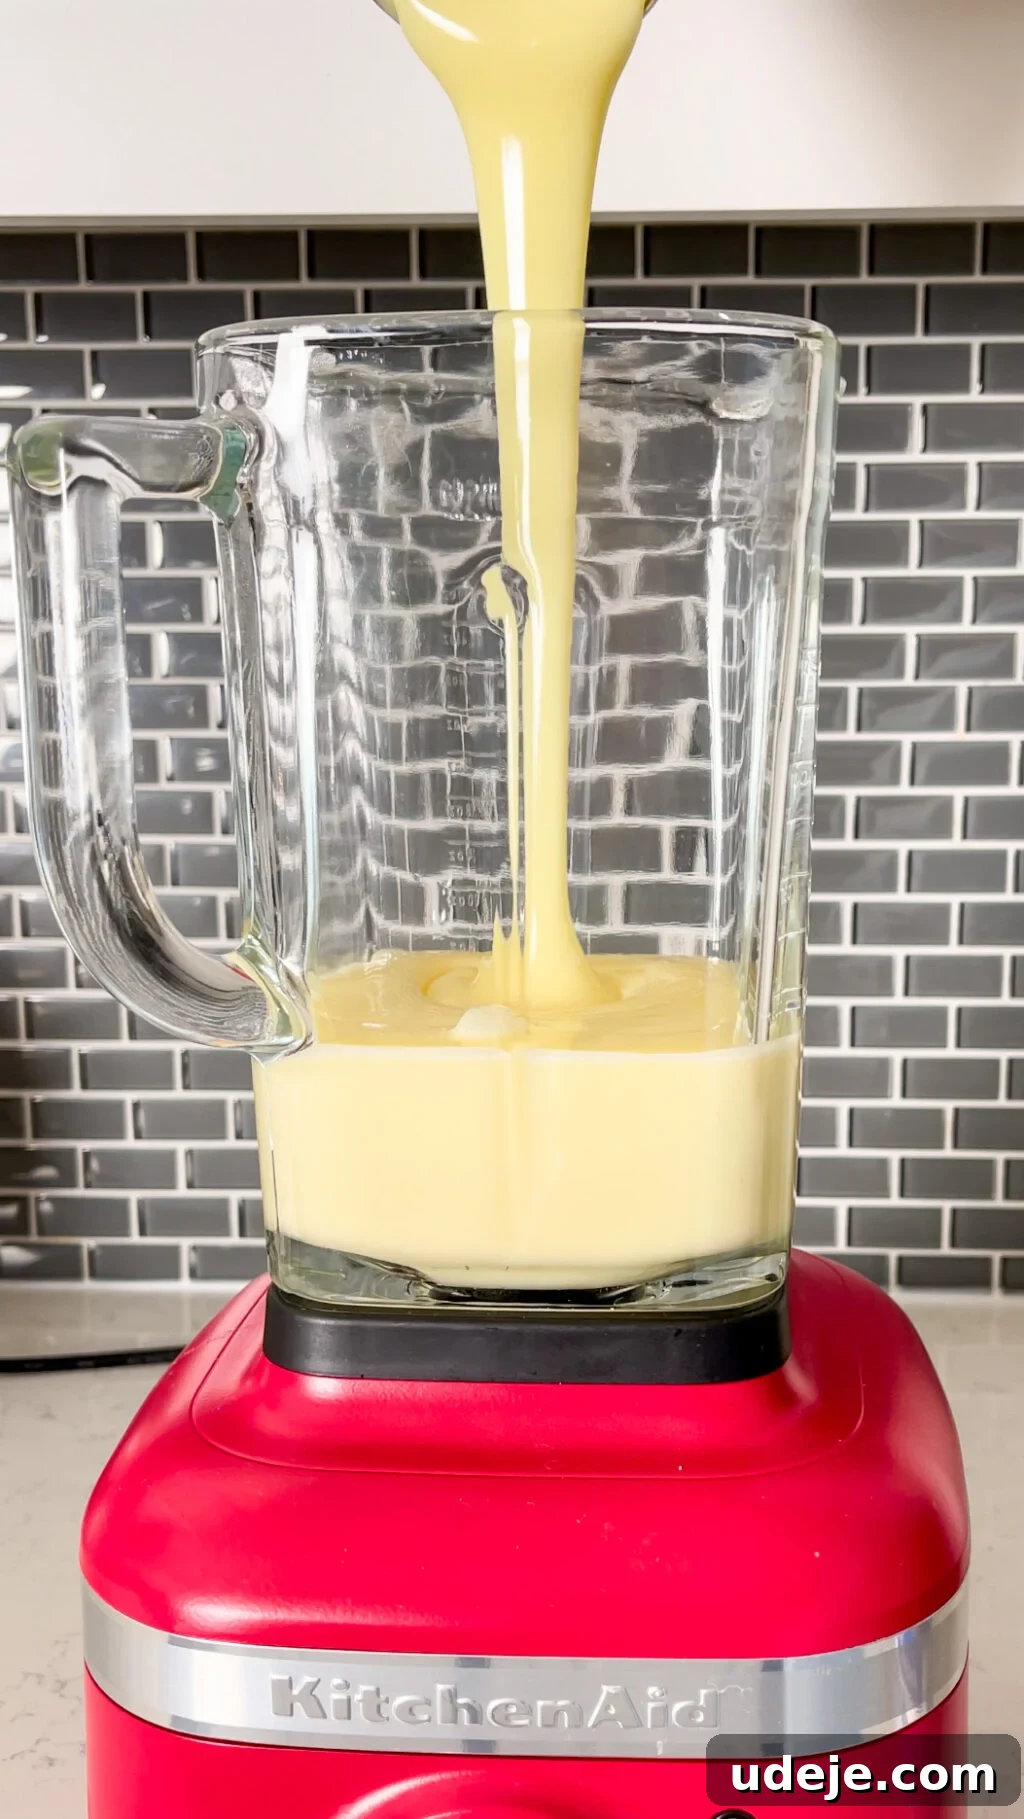
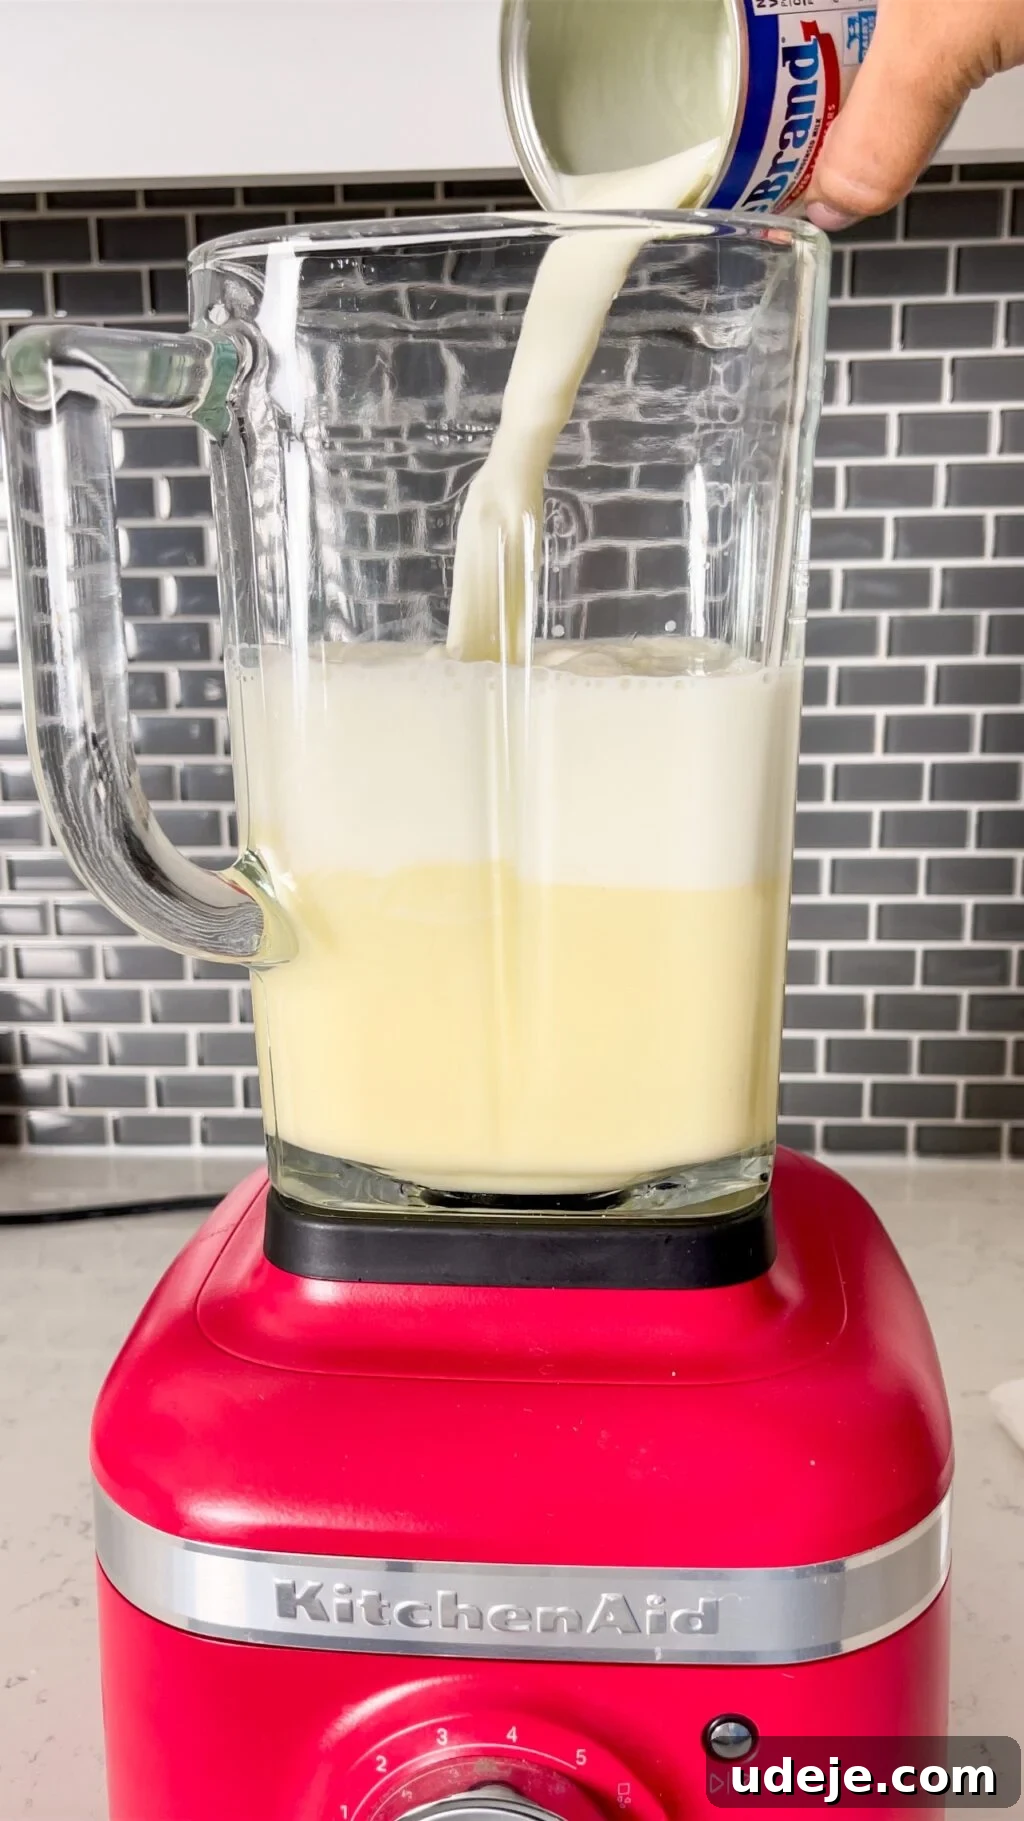
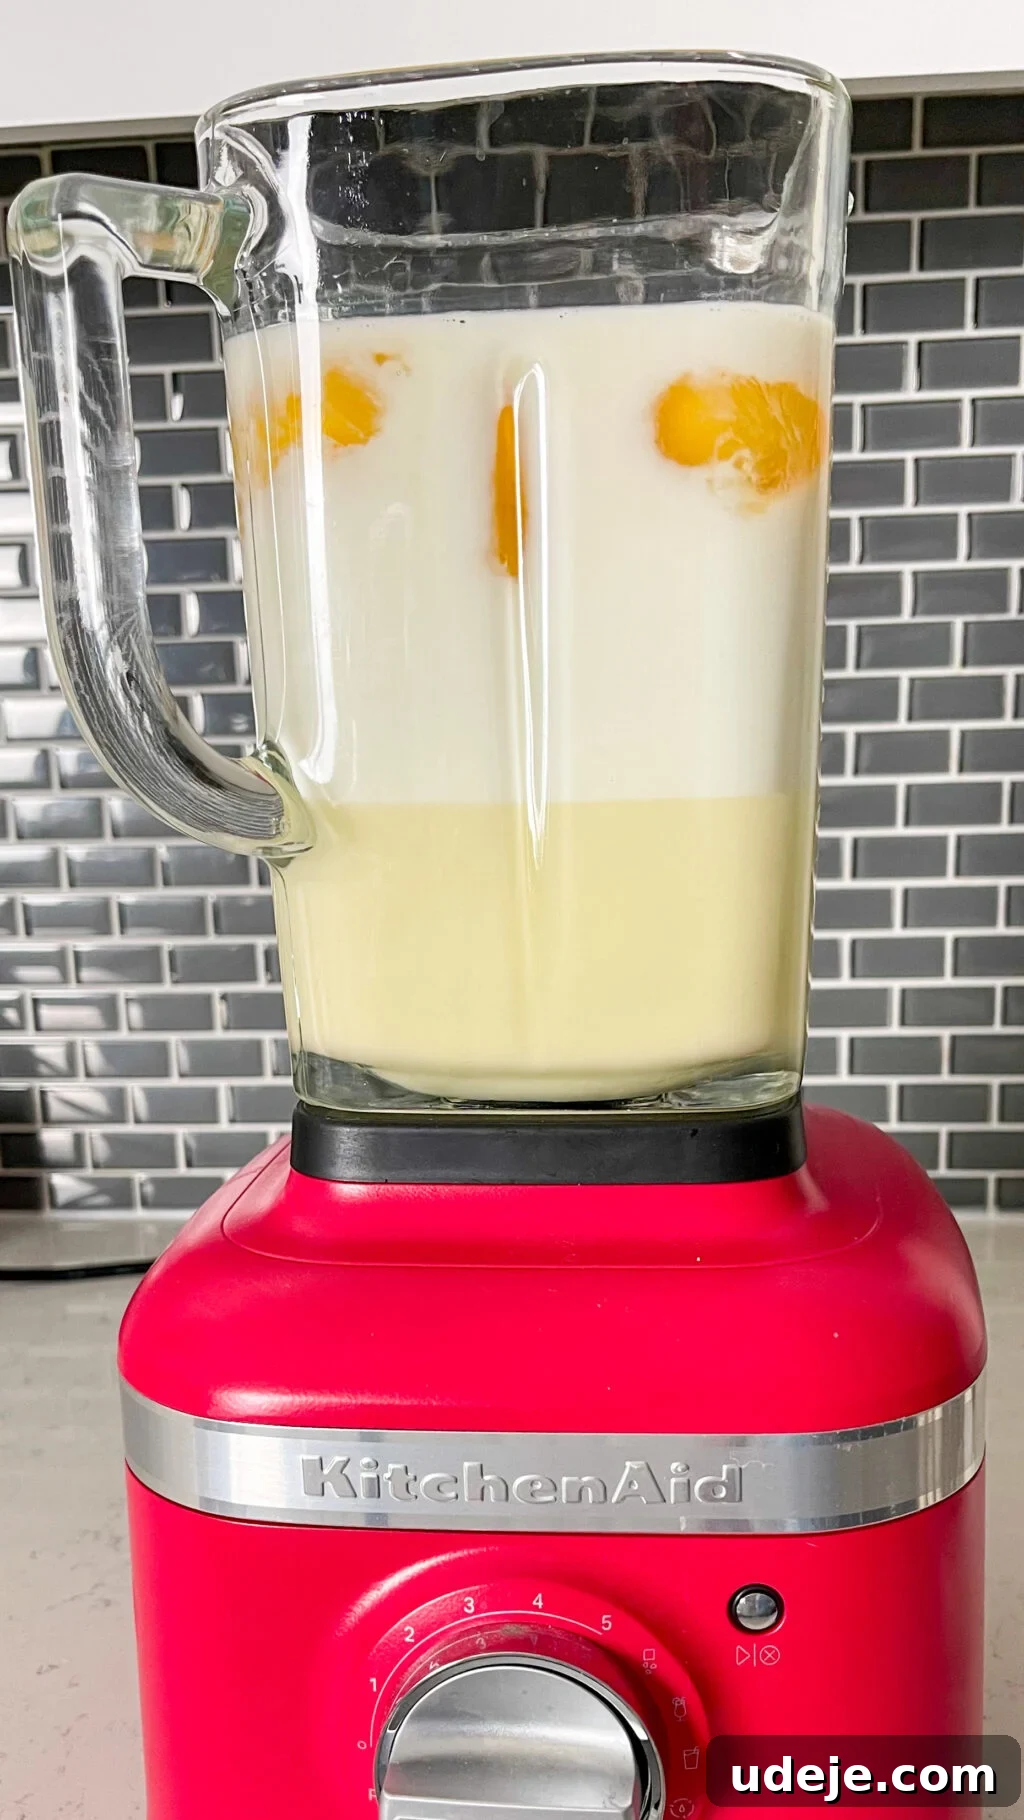
Next prepare the custard by blending together the eggs, condensed milk and whole milk. If your blender is small do it in 2 batches (half the ingredients for each batch). Blend for just a few seconds until the mixture is homogenous. If there are bubbles or foam that forms on top, that’s okay.
-
Pour the custard on top of the caramel (which has solidified by now) all the way to the top.
-
Place the pan in a larger baking dish and add boiling water half way up the pan’s edge.
-
Bake in the oven for 45-50 minutes. Check the custard at around 45 minutes by jiggling it slightly. If it ripples like water, it’s not ready. You need it to jiggle like set jelly. You can also insert a knife in the middle. It should come out mostly clean with a few streaks (not with little clumps). If it needs more time, leave it in the oven and check back in 5 minute intervals.
-
Take it out and allow it to cool at room temperature inside the water bath for at least an hour. It will continue to cook in the residual heat.
-
Place it in the fridge for at least 4 hours or overnight.
-
When ready to serve, run a knife along the edge pressing against the edge of the pan to avoid cutting into the custard. You can also run warm water on the sides and bottom of the pan to release it.
-
Place a plate with a raised edge on top of the pan and flip!
Video for Creme Caramel Recipe with Condensed Milk coming soon!
Notes
- It’s critical to ensure you don’t over bake the Crème Caramel. Refer to the section of the blog post titled “How to bake Creme Caramel to perfection” for all my detailed tips and visual cues. Over-baked Crème Caramel will invariably develop an unpleasant eggy taste and a less desirable texture.
Did you make this recipe?
Please leave a star rating and review below!