
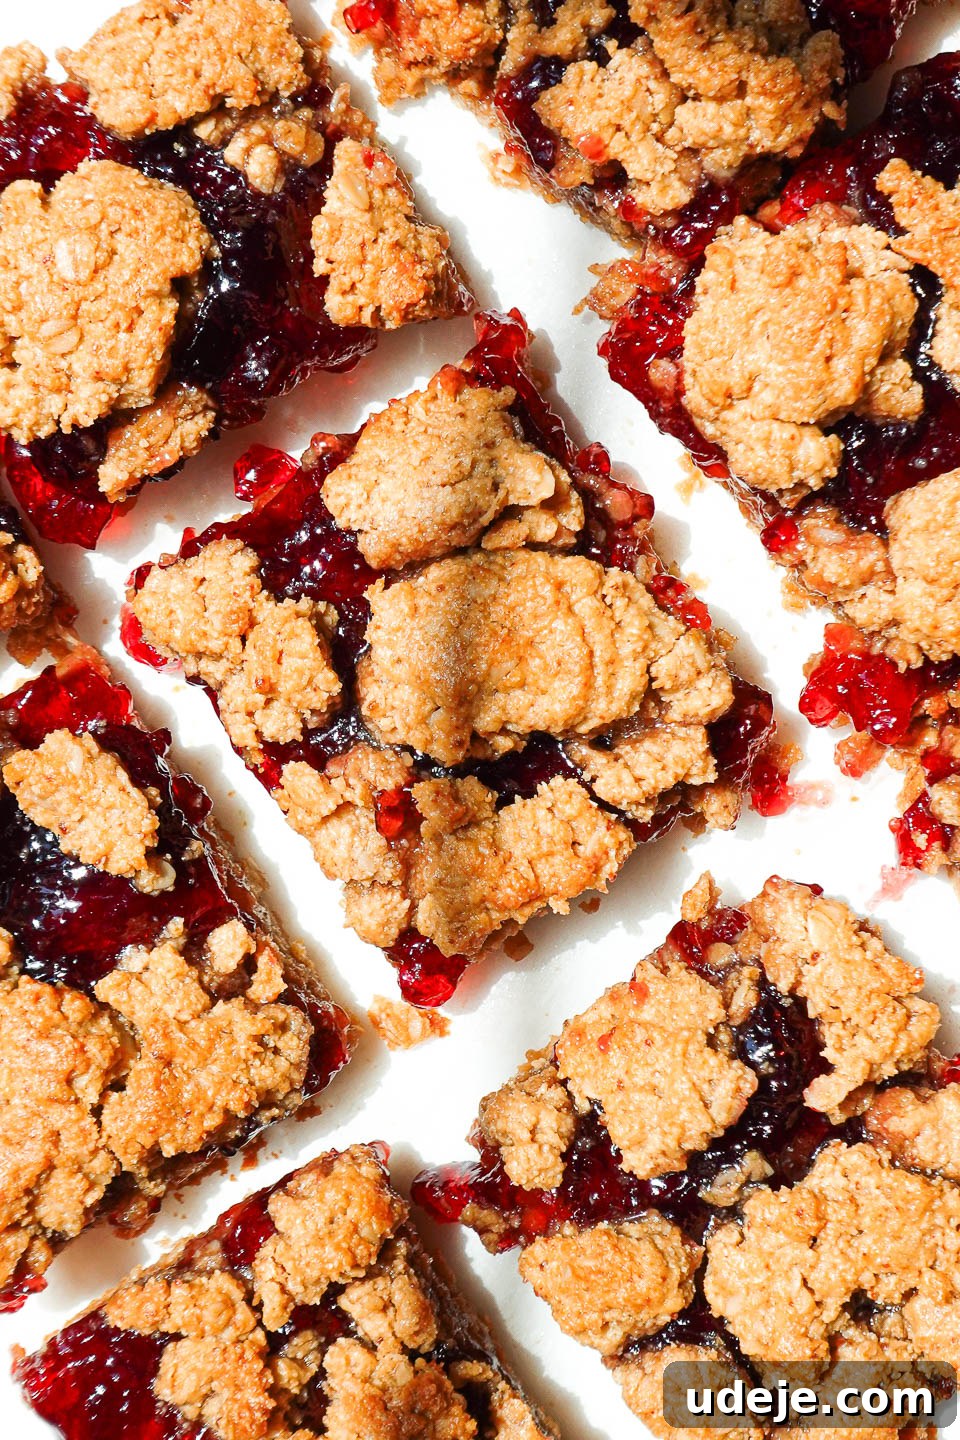
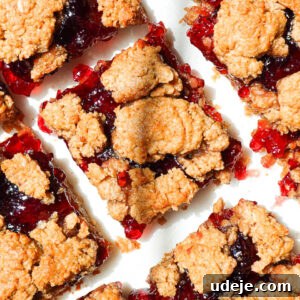
Reinventing a cherished childhood classic, these delightful Peanut Butter and Jelly Bars offer a healthier, yet equally satisfying, experience. They are the quintessential grab-and-go snack or dessert, perfect for anyone seeking a nostalgic treat with a modern, health-conscious twist. Crafted to be entirely vegan, gluten-free, and naturally sweetened, these bars are a huge hit with kids and adults alike, making them a fantastic addition to any lunchbox or snack rotation. Imagine the comforting flavors of a classic PB&J sandwich, transformed into a soft, chewy, and utterly irresistible dessert bar.
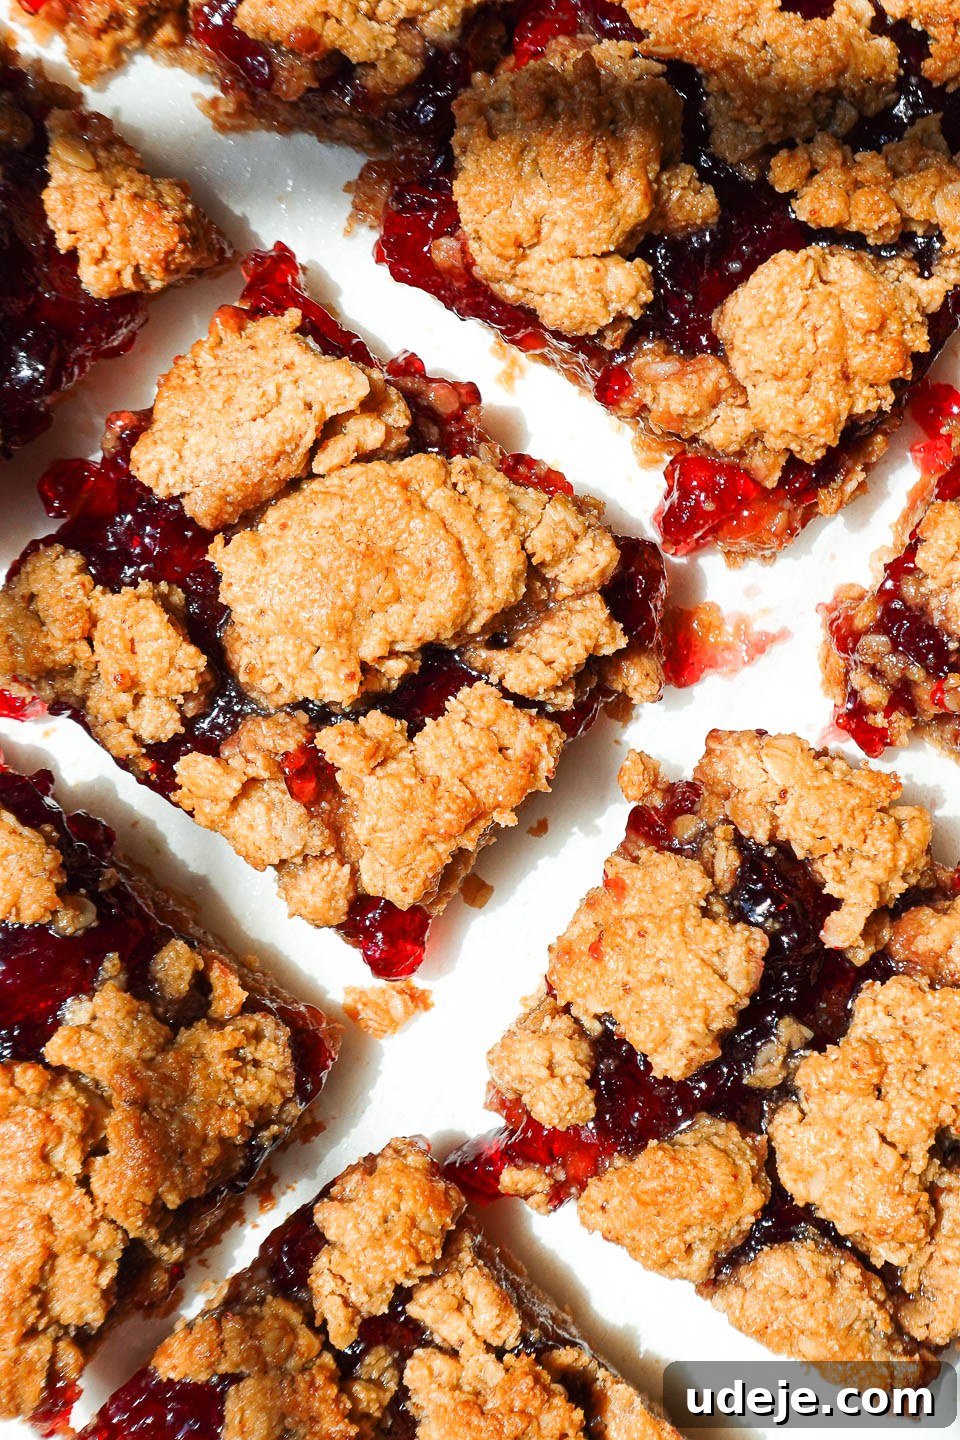
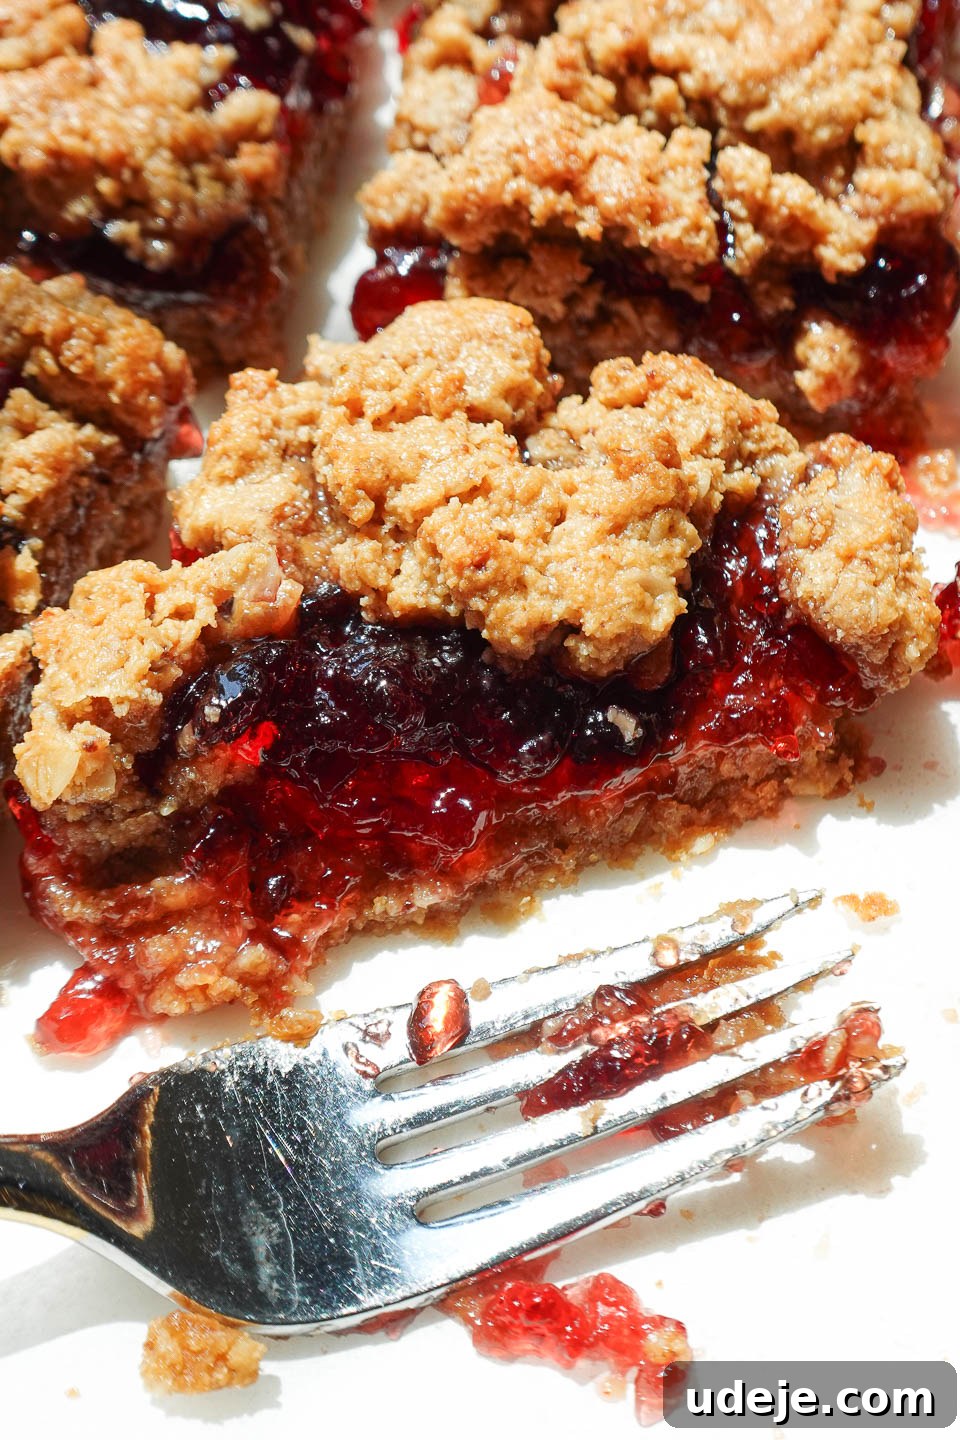
For many, the simple joy of a peanut butter and jelly sandwich is a core memory from childhood. That timeless combination of creamy peanut butter and sweet, fruity jelly remains an undeniable favorite that transcends generations. Now, you can recapture that magic in a whole new form. Our **Healthy Peanut Butter and Jelly Bars** take everything you love about the sandwich and elevate it into a decadent, yet wholesome, dessert or snack. Each bite promises a harmonious blend of textures and tastes: a tender, golden oat crust, rich and nutty undertones from the peanut butter, and a luscious, sweet, jammy center that oozes with fruity goodness.
These bars aren’t just delicious; they are also incredibly convenient and cater to various dietary needs. Made with simple, nourishing ingredients, they are a testament to how wholesome eating can be both easy and incredibly flavorful. Whether you follow a vegan diet, require gluten-free options, or simply prefer snacks naturally sweetened without refined sugars, these PB&J bars fit the bill. Their robust and satisfying nature also makes them ideal for meal prep, ensuring you always have a wholesome snack readily available. Perfect for a quick breakfast, an afternoon pick-me-up, or a satisfying dessert after dinner, these bars will quickly become a household staple.
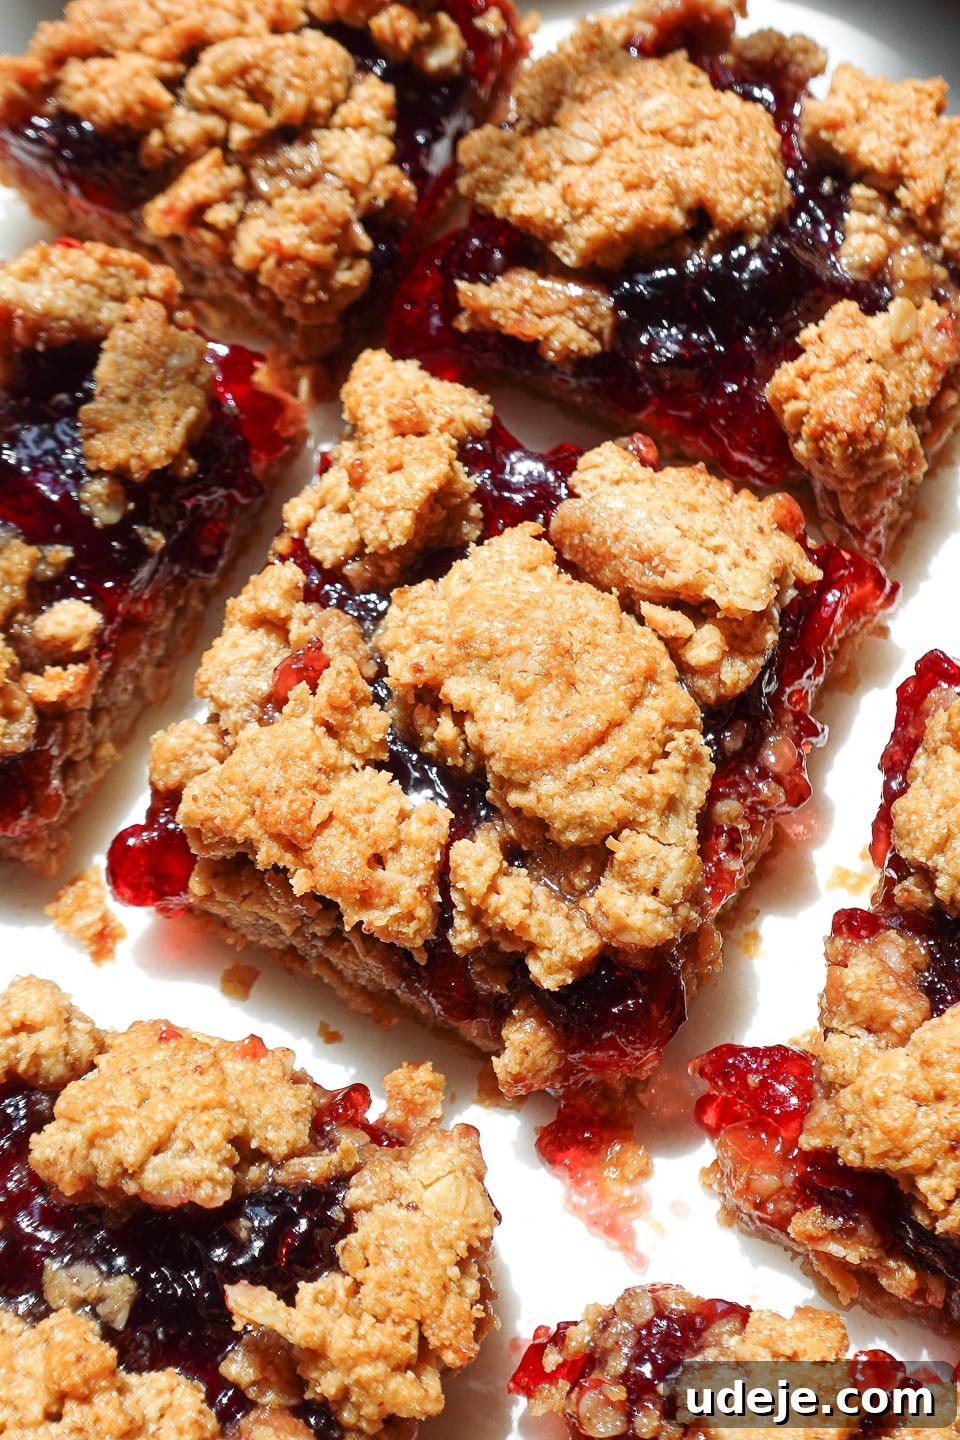
In our home, these bars are a constant rotation item. They disappear quickly from lunchboxes, make for perfect afternoon energizers, and even serve as a delightful late-night treat. What makes them even better is the minimal effort required – everything comes together in just one bowl and bakes in a single pan. This streamlines the cleanup process, leaving you more time to enjoy your delicious creation. Get ready to dive into the simple yet profound flavors of these incredible peanut butter and jelly bars!
Why You’ll Fall in Love with These Healthy Peanut Butter and Jelly Bars
These aren’t just any snack bars; they’re a revelation for anyone who appreciates wholesome ingredients without compromising on taste. Here’s why these PB&J bars are destined to become your new favorite treat:
- Nostalgic Comfort in Bar Form: Experience the beloved flavors of a classic PB&J sandwich reimagined as a soft, chewy, and gooey dessert bar. It’s a delightful trip down memory lane, made even better.
- Wholesome Ingredients for a Healthier Choice: Unlike many store-bought options, these bars are crafted with natural, nourishing ingredients. You can feel good about indulging in a treat that fuels your body and satisfies your cravings without any guilt.
- Incredibly Easy to Make: The recipe calls for just one bowl for mixing and one pan for baking, making the preparation and cleanup a breeze. Perfect for busy weeknights or weekend baking adventures with minimal fuss.
- Ideal for Meal Prep: These bars hold up beautifully, making them excellent for preparing ahead of time. Bake a batch on Sunday, and you’ll have delicious, healthy snacks ready for the entire week.
- Lunchbox-Approved & Snack-Drawer Worthy: Their convenient bar shape and satisfying nature make them perfect for packing in school lunches, taking to work, or simply keeping on hand for a quick and wholesome snack at home.
- Dietary-Friendly Delights: Naturally vegan, gluten-free, and sweetened with natural alternatives like maple syrup and coconut sugar, these bars cater to a wide range of dietary preferences and restrictions, ensuring everyone can enjoy them.
Essential Ingredients for Your PB&J Bars
Crafting these healthy peanut butter and jelly bars requires a few simple, accessible ingredients. Each component plays a crucial role in achieving the perfect texture and flavor profile. Be sure to check the full recipe card below for exact measurements and a printable version.
- Natural Peanut Butter: The heart of any PB&J creation! Opt for a natural, creamy, and drippy peanut butter. The best varieties will list only peanuts (and perhaps salt) in their ingredients. This consistency is key for easy mixing and achieving the right dough texture.
- Almond Flour: This gluten-free flour alternative contributes to the bars’ wonderfully soft and tender crumb. It’s a fantastic option for adding richness without wheat.
- Quick Oats: Essential for building the golden, slightly crisp, and classic oat-bar crust. Quick oats blend seamlessly into the dough, providing a pleasant chewiness. If you have a gluten sensitivity, ensure you use certified gluten-free quick oats.
- Maple Syrup: Our primary natural sweetener, maple syrup not only adds a delicate sweetness but also acts as a binder, helping to hold all the ingredients together for a cohesive bar.
- Coconut Sugar: Another excellent natural sweetener, coconut sugar lends a subtle caramel note and helps achieve that desirable golden-brown edge without relying on refined sugars.
- Refined Coconut Oil: Crucial for creating those crispy, golden edges and adding moisture to the bars. Using refined coconut oil is important to ensure there’s no lingering coconut flavor that might interfere with the classic PB&J taste.
- Vanilla Extract: A baking staple, a splash of pure vanilla extract enhances all the sweet flavors and adds a warm, aromatic depth to the bars.
- Salt: Just a pinch of salt is all it takes to balance and elevate the sweetness of the bars, making all the flavors truly pop.
- Your Favorite Jelly or Jam: The “J” in PB&J! While concord grape jelly provides that iconic flavor reminiscent of childhood, feel free to personalize your bars with your preferred jam or jelly. Strawberry, raspberry, or blueberry jams all work wonderfully and add their unique fruity notes.
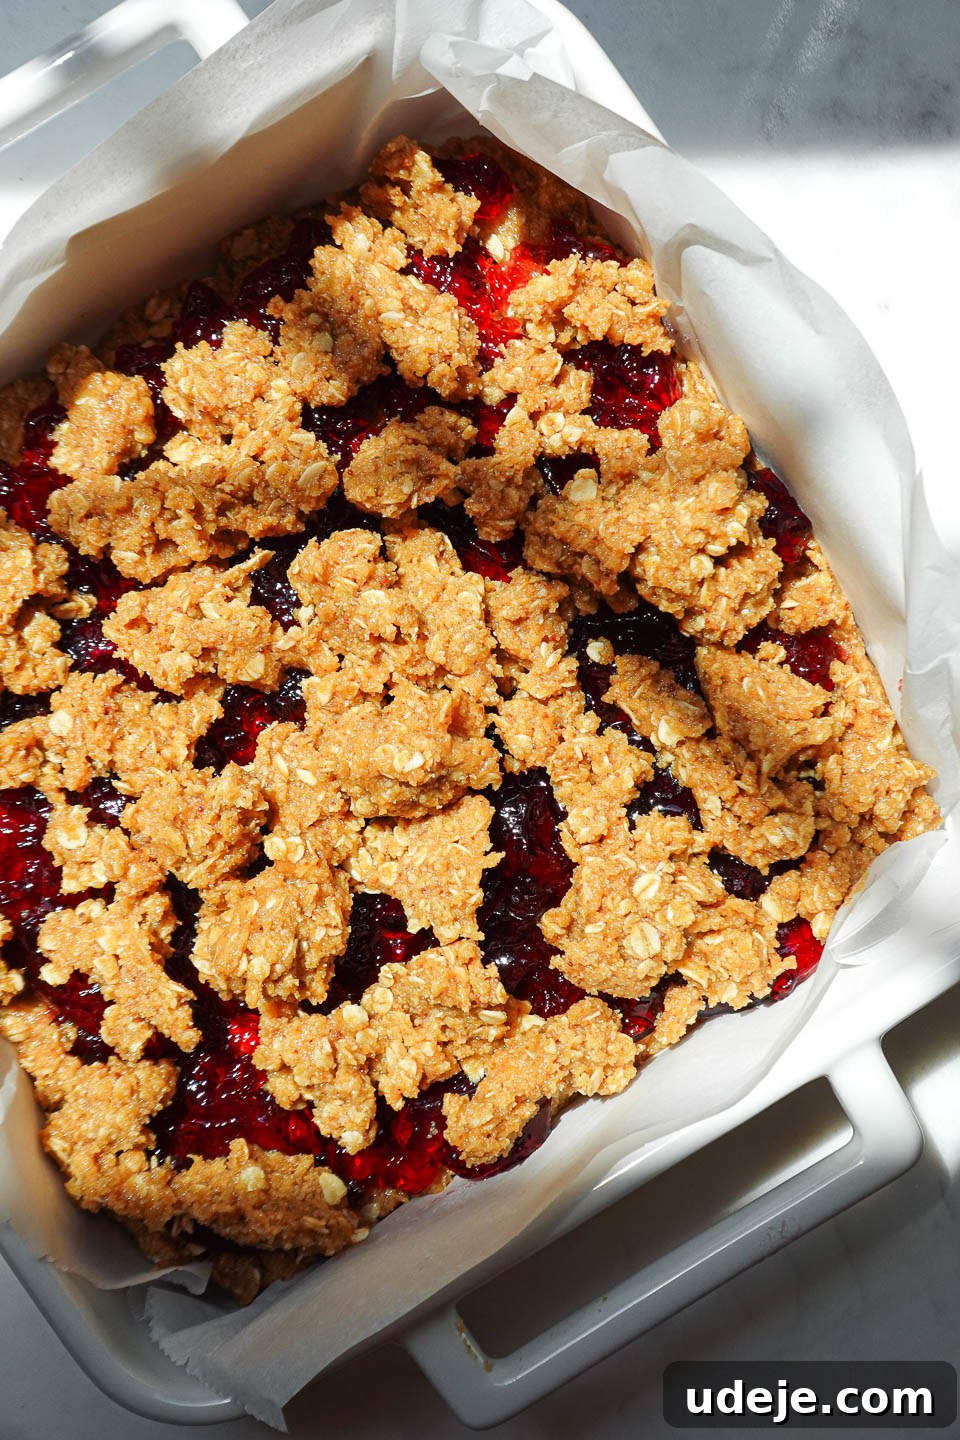
Step-by-Step Guide: How to Bake Healthy Peanut Butter and Jelly Bars
Making these wholesome PB&J bars is a straightforward process that anyone can master. Follow these simple steps for a perfect batch every time:
- Prepare Your Baking Dish: Begin by preheating your oven to 350°F (175°C). Line a 6-inch baking dish with parchment paper, allowing some overhang on the sides. This thoughtful step will create “handles” that make it incredibly easy to lift the cooled bars out of the pan for clean slicing.
- Combine Wet Ingredients: In a large mixing bowl, thoroughly stir together the natural peanut butter, maple syrup, coconut sugar, melted refined coconut oil, and vanilla extract. Whisk until the mixture is completely smooth and well-combined, forming a luscious base.
- Incorporate Dry Ingredients: Gently fold in the almond flour, quick oats, and a small pinch of salt into the wet mixture. Mix until everything is just combined and no dry streaks remain. The resulting dough should be thick, delightfully sticky, and resemble a soft cookie dough. Avoid overmixing to keep the bars tender.
- Form the Base Layer: Take approximately two-thirds of the prepared dough mixture. Press this portion evenly into the bottom of your parchment-lined baking dish. Use the back of a spoon or your hands to ensure it forms a compact and smooth base layer. This will be the sturdy foundation for your bars.
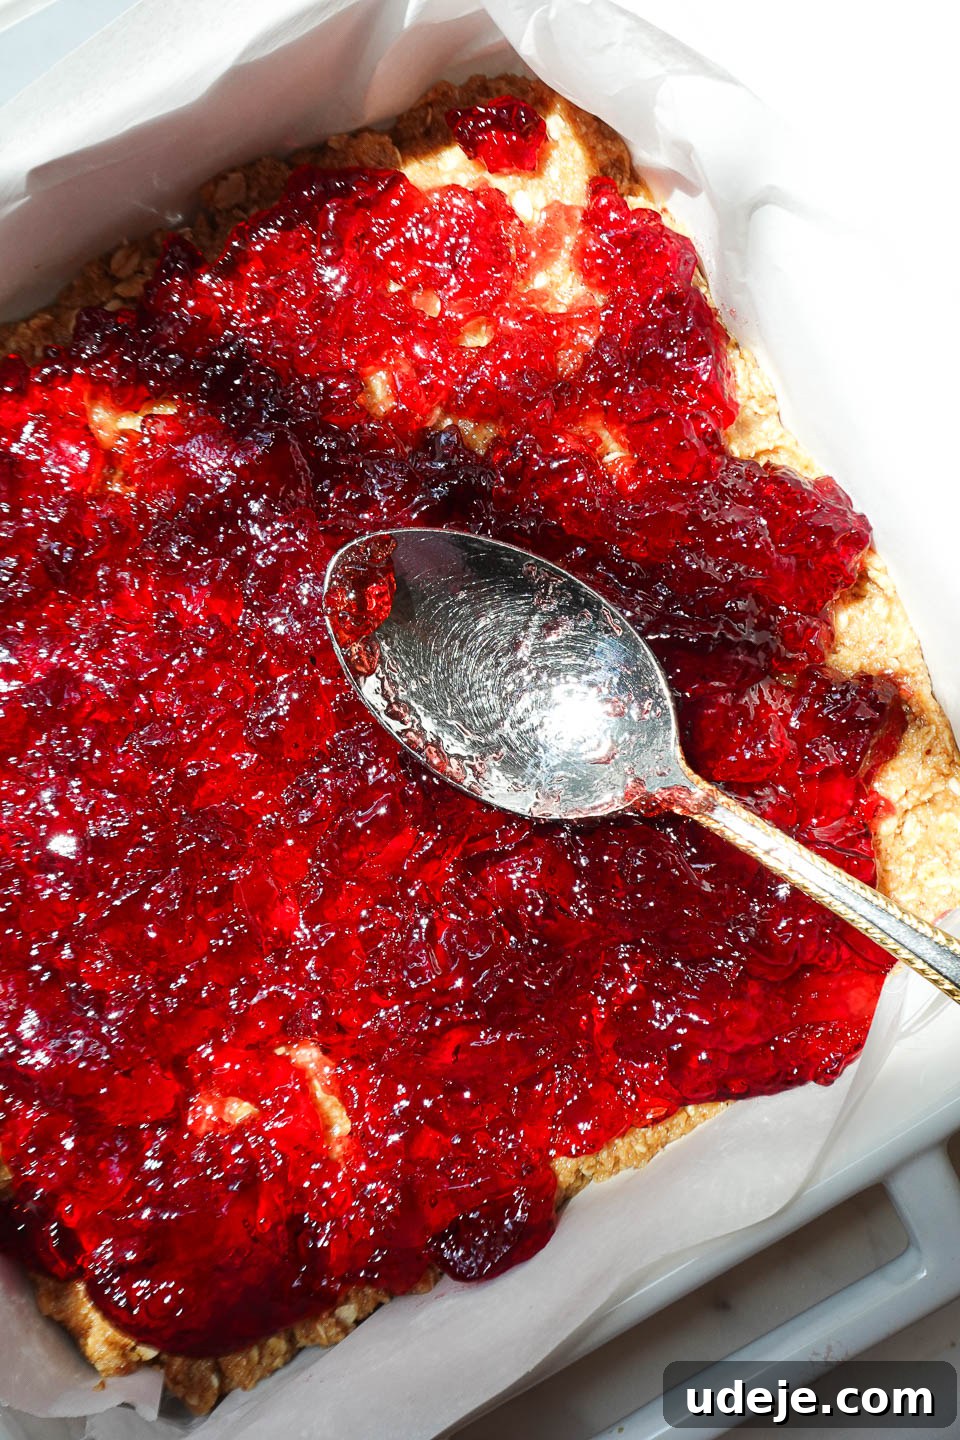
- Spread the Jammy Center: Carefully spread your chosen jelly or jam over the pressed base layer. Aim for an even layer that extends almost to the edges. If your jam is particularly thick, a quick stir or a few seconds in the microwave can help loosen it for easier spreading.
- Create the Crumbly Topping: With the remaining one-third of the dough, use your fingers to break it into small, irregular pieces. Scatter these pieces evenly over the jelly layer. This creates a beautiful, rustic, and crumbly topping that will become golden and slightly crisp during baking.
- Bake to Perfection: Place the baking dish into your preheated oven and bake for approximately 30-35 minutes. Keep an eye on the bars; they are ready when the crumbly topping is golden brown and lightly crisp, and the edges appear set.
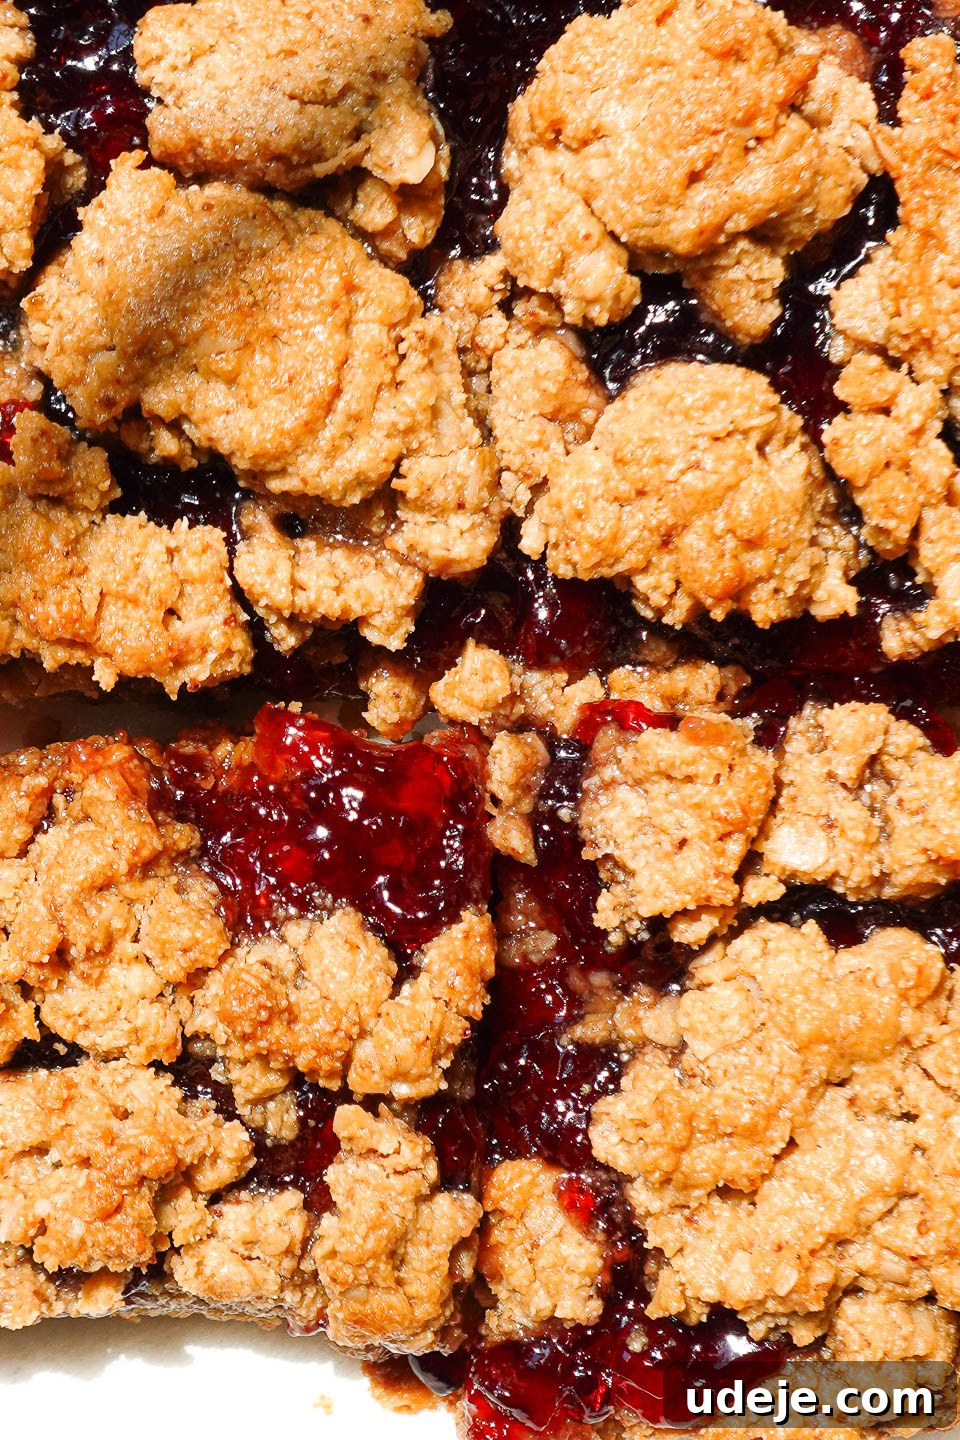
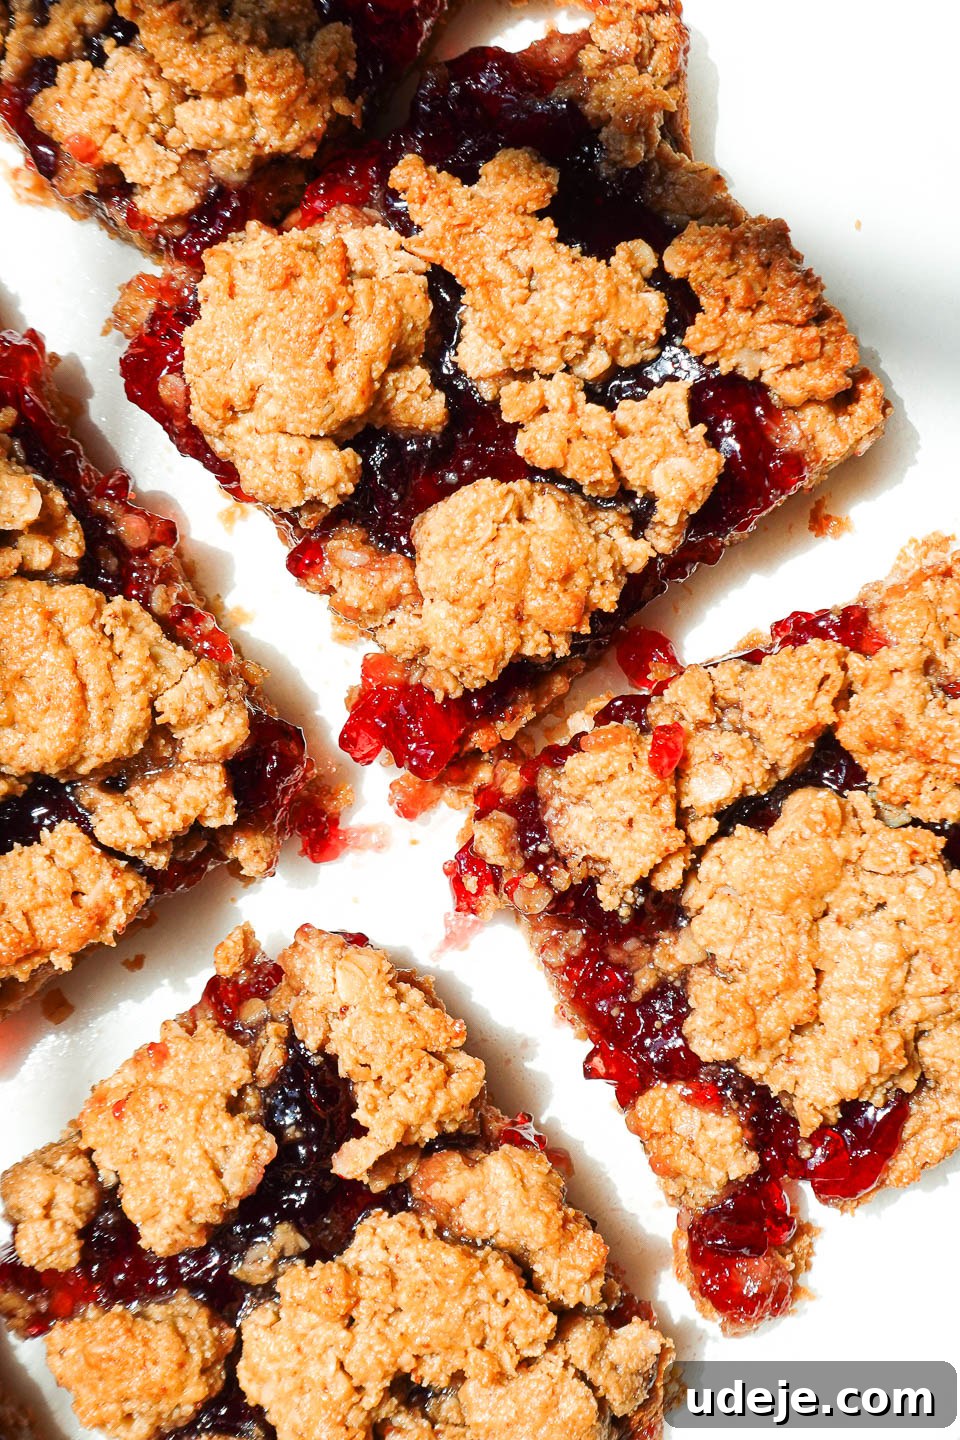
- Crucial Cooling Step: This step is absolutely essential for the bars to set properly! Once baked, remove the pan from the oven and let the bars cool in the pan for at least 10-15 minutes. This allows the hot jam to firm up. Then, using the parchment paper overhang, carefully lift the entire slab of bars onto a wire rack to cool completely. For impeccably clean and neat slices, we highly recommend chilling the bars in the refrigerator for an additional 30 minutes to an hour before cutting.
Megan’s Expert Tips for Perfect PB&J Bars
Even though these bars are simple to make, a few expert tips can ensure your batch turns out absolutely perfect every single time:
- The Right Peanut Butter Makes a Difference: For the best texture and easiest mixing, always opt for a natural, drippy peanut butter. Check the label—the only ingredients should be peanuts and possibly salt. If you’re feeling adventurous, try making homemade peanut butter; it’s surprisingly simple and yields incredible results.
- Loosen Up Your Jelly (If Needed): Jellies and jams can vary in consistency. If your chosen spread is particularly thick or has just come out of the fridge, give it a quick stir. If it’s still too firm to spread easily, microwave it for 10-15 seconds until it’s more pliable. This prevents tearing the base layer when spreading.
- Patience with Cooling is Key: We know how tempting it is to dive into these warm, gooey bars right out of the oven! However, resisting the urge and allowing them to cool completely (first in the pan, then on a wire rack) is crucial. This cooling period allows the jam to fully set and the bars to firm up, ensuring they hold their shape beautifully when sliced. For those picture-perfect, clean edges, a quick 30-minute chill in the fridge after cooling makes all the difference.
- Customize Your Flavor Journey: The beauty of these bars lies in their versatility. While concord grape jelly offers that classic nostalgic taste, don’t hesitate to experiment with your favorite fruit spreads. Strawberry, raspberry, apricot, or blueberry jams all make fantastic alternatives, offering a personalized twist on this beloved treat.
- Go Fully Homemade: For an ultimate from-scratch experience, consider making your own spreads. Pair your homemade peanut butter with a quick and easy 3-ingredient chia jam. It’s a rewarding process that tastes even better!
Want to skip store-bought spreads altogether? Make my homemade peanut butter and 3-ingredient chia jam for a completely from-scratch version!
Storage Solutions for Your Peanut Butter and Jelly Bars
One of the many advantages of these delightful PB&J bars is their excellent shelf life, making them perfectly suited for meal prepping and enjoying throughout the week or even longer.
Refrigerator Storage: Once the bars have completely cooled, slice them into individual portions. Store them in an airtight container in the refrigerator for up to 4-5 days. They retain their wonderful soft and chewy texture when chilled.
Freezer Storage: For longer-term enjoyment, these bars are remarkably freezer-friendly. After allowing them to cool completely and slicing them, arrange the bars in a single layer on a baking sheet and freeze until solid. Once frozen, transfer them to a freezer-safe airtight container or a resealable freezer bag. They can be stored in the freezer for up to 2 months. To enjoy, simply thaw them in the refrigerator overnight or at room temperature for an hour or two before serving. They make for a perfect grab-and-go snack straight from the freezer!
Frequently Asked Questions About PB&J Bars
I have a peanut allergy. Can I use a different nut butter?
Absolutely! Almond butter or cashew butter are excellent alternatives that would work wonderfully in this recipe. Just ensure that whichever nut butter you choose has a natural, drippy consistency similar to natural peanut butter for the best results and ease of mixing.
What kind of jelly or jam works best?
For a classic, nostalgic flavor, concord grape jelly is a superb choice. However, these bars are incredibly versatile! Feel free to use your favorite jam or jelly. Strawberry, raspberry, or blueberry jams all taste delicious and will provide a wonderful fruity contrast to the peanut butter base.
Can I use a different sized baking pan?
Yes, you can certainly adjust the pan size! The recipe is written for a 6-inch baking dish, which yields thicker, chewier bars. If you use a larger pan, such as an 8×8 inch pan, your bars will be thinner. Keep in mind that a larger, shallower pan will also likely result in a shorter baking time, so monitor them closely for that golden, crisp topping. Adjust baking time as needed until they are set and golden.
Are these peanut butter and jelly bars freezer friendly?
They are indeed! These bars freeze beautifully. To freeze, allow them to cool completely, then slice them into individual portions. You can then freeze them in a single layer on a tray before transferring them to an airtight freezer-safe container or bag. This makes them perfect for convenient grab-and-go snacks whenever a craving strikes. Thaw in the fridge or at room temperature before enjoying.
More Wholesome Snack Recipes to Explore
If you’ve fallen in love with the wholesome goodness and delightful taste of these Healthy Peanut Butter and Jelly Bars, you’ll be thrilled to discover more reader-favorite snack recipes from our collection. Each one is crafted with health, flavor, and convenience in mind:
- Peanut Butter Date Energy Balls: A no-bake, protein-packed snack perfect for a quick energy boost.
- Healthy Banana Bread Bars: All the comforting flavor of banana bread, in a convenient bar form.
- Blueberry Crisp Stuffed Dates: A naturally sweet and satisfying bite-sized treat.
- Pistachio Energy Balls: A vibrant and nutritious snack, full of healthy fats and flavor.
- Granola Yogurt Cups: A customizable and refreshing snack or light breakfast option.
We truly hope you enjoy making and savoring these Healthy Peanut Butter and Jelly Bars! If you try this recipe, please take a moment to leave a comment and a ★★★★★ star rating below, letting us know how much you liked it. Your feedback not only helps others discover our recipes but also greatly supports our passion for creating wholesome, delicious food. Thank you, as always, for your wonderful support. xo, Megan
Healthy Peanut Butter and Jelly Bars (Vegan, Gluten-Free)
Leave a Review
Pin Recipe
Ingredients
- ½ cup natural peanut butter
- ½ cup maple syrup
- ¼ cup coconut sugar
- ¼ cup melted refined coconut oil
- 2 teaspoons vanilla extract
- 1 ½ cup almond flour
- 1 ¼ cup quick oats
- pinch salt
- ¾ cup jelly (or jam, concord grape jelly used)
Instructions
- Preheat the oven to 350°F (175°C). Line a 6-inch baking dish with parchment paper for easy removal.
- In a large bowl, stir together the peanut butter, maple syrup, coconut sugar, melted coconut oil, and vanilla extract until smooth.
- Mix in the almond flour, quick oats, and a pinch of salt. The mixture should be thick and sticky.
- Scoop about two-thirds of the dough and press it into the bottom of the lined baking dish.
- Spread your chosen jelly or jam evenly over the base layer.
- Break the remaining dough into pieces with your fingers and scatter it over the jelly layer to create a crumbly topping.
- Bake for 30-35 minutes, or until the top is golden and lightly crisp.
- Cool completely in the pan for 10-15 minutes, then lift out onto a wire rack to cool fully before slicing. For cleaner slices, chill in the fridge for 30 minutes.
Equipment
- Peanut Butter
- Quick Oats
- Almond Flour
- 6-inch baking dish
- Large mixing bowl
- Parchment paper
- Wire rack
Video
Nutrition Information (per serving)
Calories: 416kcal, Carbohydrates: 52g, Protein: 9g, Fat: 21g, Saturated Fat: 7g, Polyunsaturated Fat: 2g, Monounsaturated Fat: 3g, Sodium: 97mg, Potassium: 200mg, Fiber: 4g, Sugar: 30g, Vitamin C: 2mg, Calcium: 75mg, Iron: 2mg
Did you make this recipe?
Tag @booboosbakeryy with hashtag #booboosbakery on Instagram. We love to see what you make!