
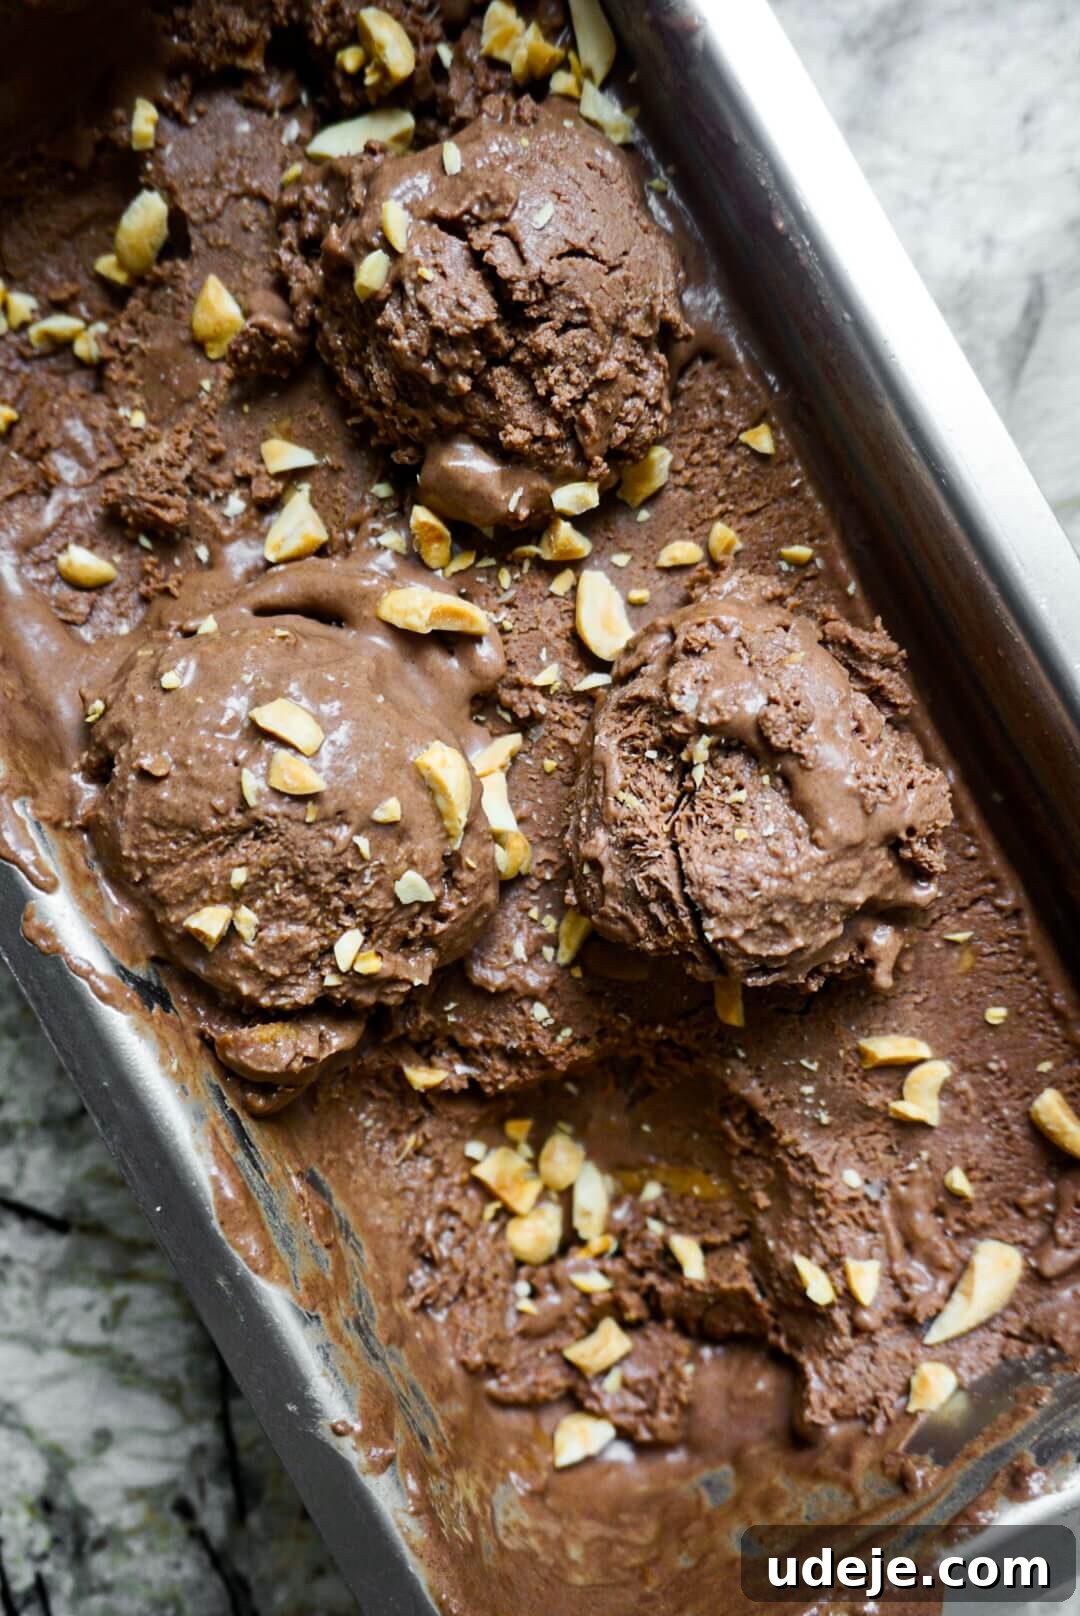
Irresistibly Creamy No-Churn Vegan Chocolate Peanut Butter Ice Cream: A Guilt-Free Indulgence
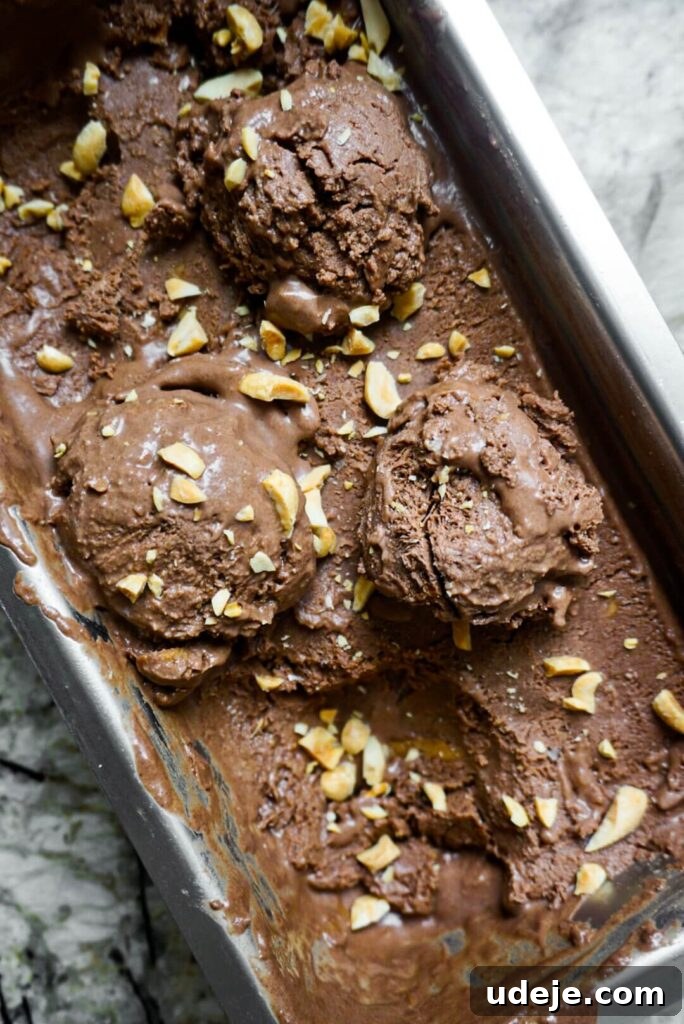
Prepare your taste buds for an extraordinary treat: my absolute favorite, and quite possibly yours too – the ultimate chocolate peanut butter ice cream. For as long as I can remember, this classic flavor combination has held a special place in my heart. It instantly transports me back to those blissful childhood summers, where a generous bowl of creamy chocolate peanut butter ice cream was the perfect reward after a long day of swimming and playing under the sun. My parents will tell you it was the only flavor I’d ever choose, a testament to its enduring appeal.
Years have passed, but my unwavering affection for the exquisite blend of sweet, decadent chocolate and rich, nutty peanut butter has only grown stronger. There’s an undeniable magic that happens when these two iconic flavors intertwine, creating a symphony of taste and texture that, in my humble opinion, is simply unmatched. It’s the perfect balance of indulgence and comfort, a dessert that feels both nostalgic and refreshingly innovative.
However, embracing a plant-based lifestyle presented a delightful challenge: finding a dairy-free chocolate peanut butter ice cream that could truly rival the creamy, rich experience of my childhood favorites. I consider myself a bit of an ice cream connoisseur; for me, the ideal scoop must be incredibly smooth and luxurious, never icy or watery. While the market is now flooded with an array of non-dairy options, I often found myself disappointed. Many lacked the desired creaminess, and far too many were laden with excessive refined sugars and artificial additives. This quest for perfection sparked a new mission: to create my own homemade vegan ice cream, crafted exclusively with wholesome, natural ingredients, ensuring I knew exactly what went into every delicious bite.
The Magic of No-Churn: Effortless Homemade Ice Cream
The best part? This incredible recipe is completely no-churn. You read that correctly – no need for any specialized, expensive ice cream maker! All you require is a reliable blender, making this recipe incredibly accessible for any home kitchen. This simplicity is just one of the many fantastic features of this dessert. What truly sets it apart is that it’s made with all-natural, plant-based ingredients. It’s not only entirely vegan, but also gluten-free and refined sugar-free, yet it manages to taste just like the most indulgent chocolate peanut butter ice cream you’ve ever dreamed of. It delivers a remarkably rich and creamy texture, beautifully complemented by heavenly swirls of peanut butter bliss that melt in your mouth.
You might be wondering, what are the secrets behind this miraculously delicious and healthy ice cream? If you’ve been following my culinary adventures, you might already be familiar with my 5-Ingredient Healthy Fudgesicles, which have become an absolute staple in our household every summer. Life just isn’t complete without them! One day, a brilliant idea struck: why not create a peanut butter version of these beloved fudgesicles? However, my initial attempt resulted in the peanut butter adhering stubbornly to the sides of my silicone popsicle molds (a mishap I probably should have anticipated!). I’m still perfecting that particular recipe, but during the process, I found myself scooping the unfinished mixture directly from the molds. To my delight, I simply couldn’t stop eating it!
It was an instant wave of pure nostalgia, bringing back vivid memories of savoring my cherished chocolate peanut butter ice cream from childhood. The taste was not just similar; it was *identical*, perhaps even better. My family and I gathered around, spoons in hand, eagerly digging into this unplanned creation. And just like that, the idea for this no-churn vegan chocolate peanut butter ice cream was born, fully inspired by that happy accident. I simply adapted my fudgesicle base recipe, and voilà – a new favorite was perfected!
Why Go No-Churn? The Simplicity and Benefits
The term “no-churn” might sound too good to be true for ice cream, but it’s a game-changer, especially for homemade vegan desserts. Traditional ice cream making often requires specialized equipment, like an ice cream machine, which can be an expensive and space-consuming investment. This no-churn method eliminates that barrier entirely. By carefully selecting ingredients with a naturally creamy texture and high fat content, like full-fat coconut cream, we can achieve that desirable velvety consistency without constant churning. The blending process incorporates air, and the subsequent freezing locks in that delightful smoothness. This means less effort, less equipment, and a faster path to enjoying homemade ice cream, making it perfect for spontaneous cravings or busy schedules.
Unlocking the Flavor: Key Ingredients for Vegan Chocolate Peanut Butter Ice Cream
Crafting this rich and creamy vegan chocolate peanut butter ice cream relies on a few simple, yet powerful, plant-based ingredients. Each component plays a crucial role in achieving the perfect texture and unforgettable flavor profile. Here’s a closer look at what you’ll need and why:
- Coconut Cream: This is the star of our no-churn recipe, providing the essential richness and creaminess that mimics traditional dairy ice cream. It’s vital to use full-fat coconut cream, which is much thicker and has a higher fat content than coconut milk. You can typically find it canned, often separated into a thick cream layer at the top and a thinner liquid at the bottom. For best results, chill the can in the refrigerator overnight; this helps the cream solidify and separate, making it easier to scoop out the thickest part. While coconut cream does impart a subtle hint of coconut flavor, it’s generally mild and beautifully complemented by the chocolate and peanut butter. If you’re highly averse to coconut, this particular recipe might not be your ideal choice, but for most, it adds a delightful tropical depth.
- Plant Milk: A touch of plant milk helps to achieve the right consistency without making the ice cream too dense. I highly recommend using oat milk or soy milk for their naturally creamy textures and neutral flavors. Almond milk can also work, but be aware that it tends to be a bit thinner, so the resulting ice cream might be slightly less rich. Always opt for unsweetened varieties to control the overall sweetness of your dessert.
- Cocoa Powder: The quality of your cocoa powder directly impacts the depth and intensity of the chocolate flavor. For a rich, dark, and slightly less acidic chocolate taste, Dutch-processed cocoa powder is an excellent choice. However, any good quality unsweetened cocoa powder will work beautifully. Experiment with your favorite brand to find the chocolate profile you love most.
- Maple Syrup or Agave Nectar: These all-natural liquid sweeteners are perfect for this recipe, offering a pleasant sweetness without the need for refined sugar. Maple syrup provides a warm, caramel-like note, while agave nectar is more neutral. Both blend seamlessly into the ice cream base and contribute to its smooth texture. Adjust the quantity to your preference, starting with the recommended amount and adding more if you desire a sweeter outcome.
- Peanut Butter: We need a generous amount of peanut butter for both the base and those irresistible swirls! Always choose an all-natural, creamy peanut butter where the only ingredients are peanuts (and perhaps a little salt). Avoid brands with added sugars or oils, as these can affect the texture and overall health profile of your ice cream. The natural oils in pure peanut butter contribute to the ice cream’s luxurious mouthfeel and ensure those beautiful, distinct swirls.
- Vanilla Extract: A splash of pure vanilla extract enhances all the other flavors, adding a layer of warmth and complexity that truly elevates the chocolate and peanut butter.
- Salt: Just a pinch of salt is crucial. It doesn’t make the ice cream salty but instead balances the sweetness and intensifies the chocolate and peanut butter notes, making them pop.
Crafting Your Vegan Chocolate Peanut Butter Ice Cream: A Step-by-Step Guide
Making this decadent no-churn ice cream is remarkably simple and quick, putting you on the fast track to chocolate peanut butter heaven in no time. Follow these easy steps for a perfect batch:
- Blend the Base: Begin by adding the entire can of full-fat coconut cream (remember to give it a good shake before opening to ensure everything is well combined and creamy), plant milk, cocoa powder, 1/4 cup of creamy peanut butter, maple syrup (or agave), vanilla extract, and a pinch of salt to your blender. Blend on high until the mixture is incredibly smooth, completely uniform, and free of any lumps. Scrape down the sides of the blender as needed to ensure everything is fully incorporated. This should only take a couple of minutes.
- Prepare for Freezing: Once your chocolate base is perfectly smooth, pour the mixture into a 9×5-inch loaf pan or a freezer-safe container.
- Create the Swirls: Now for the fun part! Drizzle the remaining 3/4 cup of peanut butter over the top of the chocolate mixture. Using a butter knife or a skewer, gently swirl the peanut butter through the chocolate base. Don’t overmix; you want distinct ribbons and pockets of peanut butter, not a fully integrated blend. These swirls are what make each scoop so exciting!
- Freeze to Perfection: Cover the loaf pan tightly with a lid or plastic wrap, ensuring no air can get in (this helps prevent ice crystals from forming). Place it in the freezer for a minimum of 6 hours, or ideally overnight, until it’s completely firm and set.
- Serve and Enjoy: When you’re ready to indulge, remove the ice cream from the freezer and let it sit at room temperature for about 10-15 minutes. This brief thawing period will soften it slightly, making it much easier to scoop into perfectly creamy portions. For an extra touch, sprinkle with chopped peanuts or a drizzle of vegan chocolate sauce, if desired. Then, scoop generously, serve, and savor every blissful bite!
The resulting ice cream is pure bliss. A smooth, velvety chocolate base, perfectly balanced with those creamy peanut butter swirls, delivers an explosion of flavor with every spoonful. It’s a delicious dance of sweetness and nuttiness, where the rich chocolate melts gloriously in your mouth. Finally, a truly decadent ice cream that you can indulge in without any guilt, knowing it’s made with wholesome, natural ingredients.
Tips for Success and Delicious Variations
To ensure your homemade vegan chocolate peanut butter ice cream turns out perfectly every time, keep these tips in mind:
- Chill Your Coconut Cream: For the thickest, creamiest results, place your can of full-fat coconut cream in the refrigerator overnight. This helps the solid cream separate from the liquid, allowing you to use the richest portion.
- Don’t Over-Swirl: When adding the peanut butter swirls, use a gentle hand. The goal is distinct ribbons of peanut butter, not a marbled mixture.
- Adjust Sweetness: Taste the blended base before freezing. If you prefer a sweeter ice cream, add an extra tablespoon or two of maple syrup or agave.
- Storage: Store the ice cream in an airtight container in the freezer for up to 2-3 weeks. For optimal texture, let it soften for 10-15 minutes at room temperature before serving.
Feeling adventurous? Here are some delicious variations to try:
- Crunchy Peanut Butter: Swap creamy peanut butter for crunchy for an added textural element.
- Chocolate Chunks: Fold in a handful of vegan chocolate chips or chopped dark chocolate after blending, before pouring into the loaf pan.
- Nutty Toppings: Sprinkle with chopped roasted peanuts, almonds, or even a handful of vegan mini marshmallows before serving.
- Different Nut Butters: Experiment with almond butter or cashew butter for a different flavor profile, though peanut butter is truly iconic here!
Whether you’re cooling down on a hot summer afternoon or cozying up on a chilly winter evening, you’ll always find me reaching for a scoop (or two!) of my timeless favorite: this incredible homemade vegan chocolate peanut butter ice cream. It’s more than just a dessert; it’s a comforting memory in every spoonful, and a testament to how truly delicious and satisfying plant-based eating can be.
More Delicious Vegan Recipe Ideas
If you loved this recipe, be sure to explore more of my plant-based creations:
- 5-Ingredient Healthy Fudgesicles
- Vegan Chocolate Peanut Butter Yogurt Cups
- Healthy Brownies
No-Churn Vegan Chocolate Peanut Butter Ice Cream

Megan
8
-10 servings
10
Leave a Review
Pin Recipe
Ingredients
- 1 15 oz can of full-fat coconut cream (chilled overnight)
- 1 cup plant milk (oat or soy recommended, unsweetened)
- 3/4 cup unsweetened cocoa powder
- 1/2 cup maple syrup or agave nectar (adjust to taste)
- 1/4 cup natural creamy peanut butter (for the base)
- 1 tsp vanilla extract
- 1/2 tsp salt
- 3/4 cup natural creamy peanut butter, for swirling
Instructions
-
To a blender, add the chilled can of coconut cream (shaken well), plant milk, cocoa powder, 1/4 cup peanut butter, maple syrup, vanilla extract, and salt. Blend until super smooth and creamy, scraping down sides as needed.
-
Pour the blended mixture into a 9×5-inch loaf pan or a freezer-safe container. Drizzle the remaining 3/4 cup of peanut butter on top. Use a knife or skewer to gently swirl the peanut butter throughout the chocolate base, creating beautiful ribbons.
-
Cover the pan tightly and place it in the freezer for at least 6 hours, or ideally overnight, until firm.
-
Before serving, let the ice cream sit at room temperature for 10-15 minutes to soften slightly. Scoop, serve, and enjoy! Optionally, sprinkle with chopped peanuts.
Notes
- Refer to the blog post above for detailed ingredient explanations, substitution ideas, and additional tips for success.
Did you make this recipe?
Tag @booboosbakeryy with hashtag #booboosbakery on Instagram. We love to see what you make!