
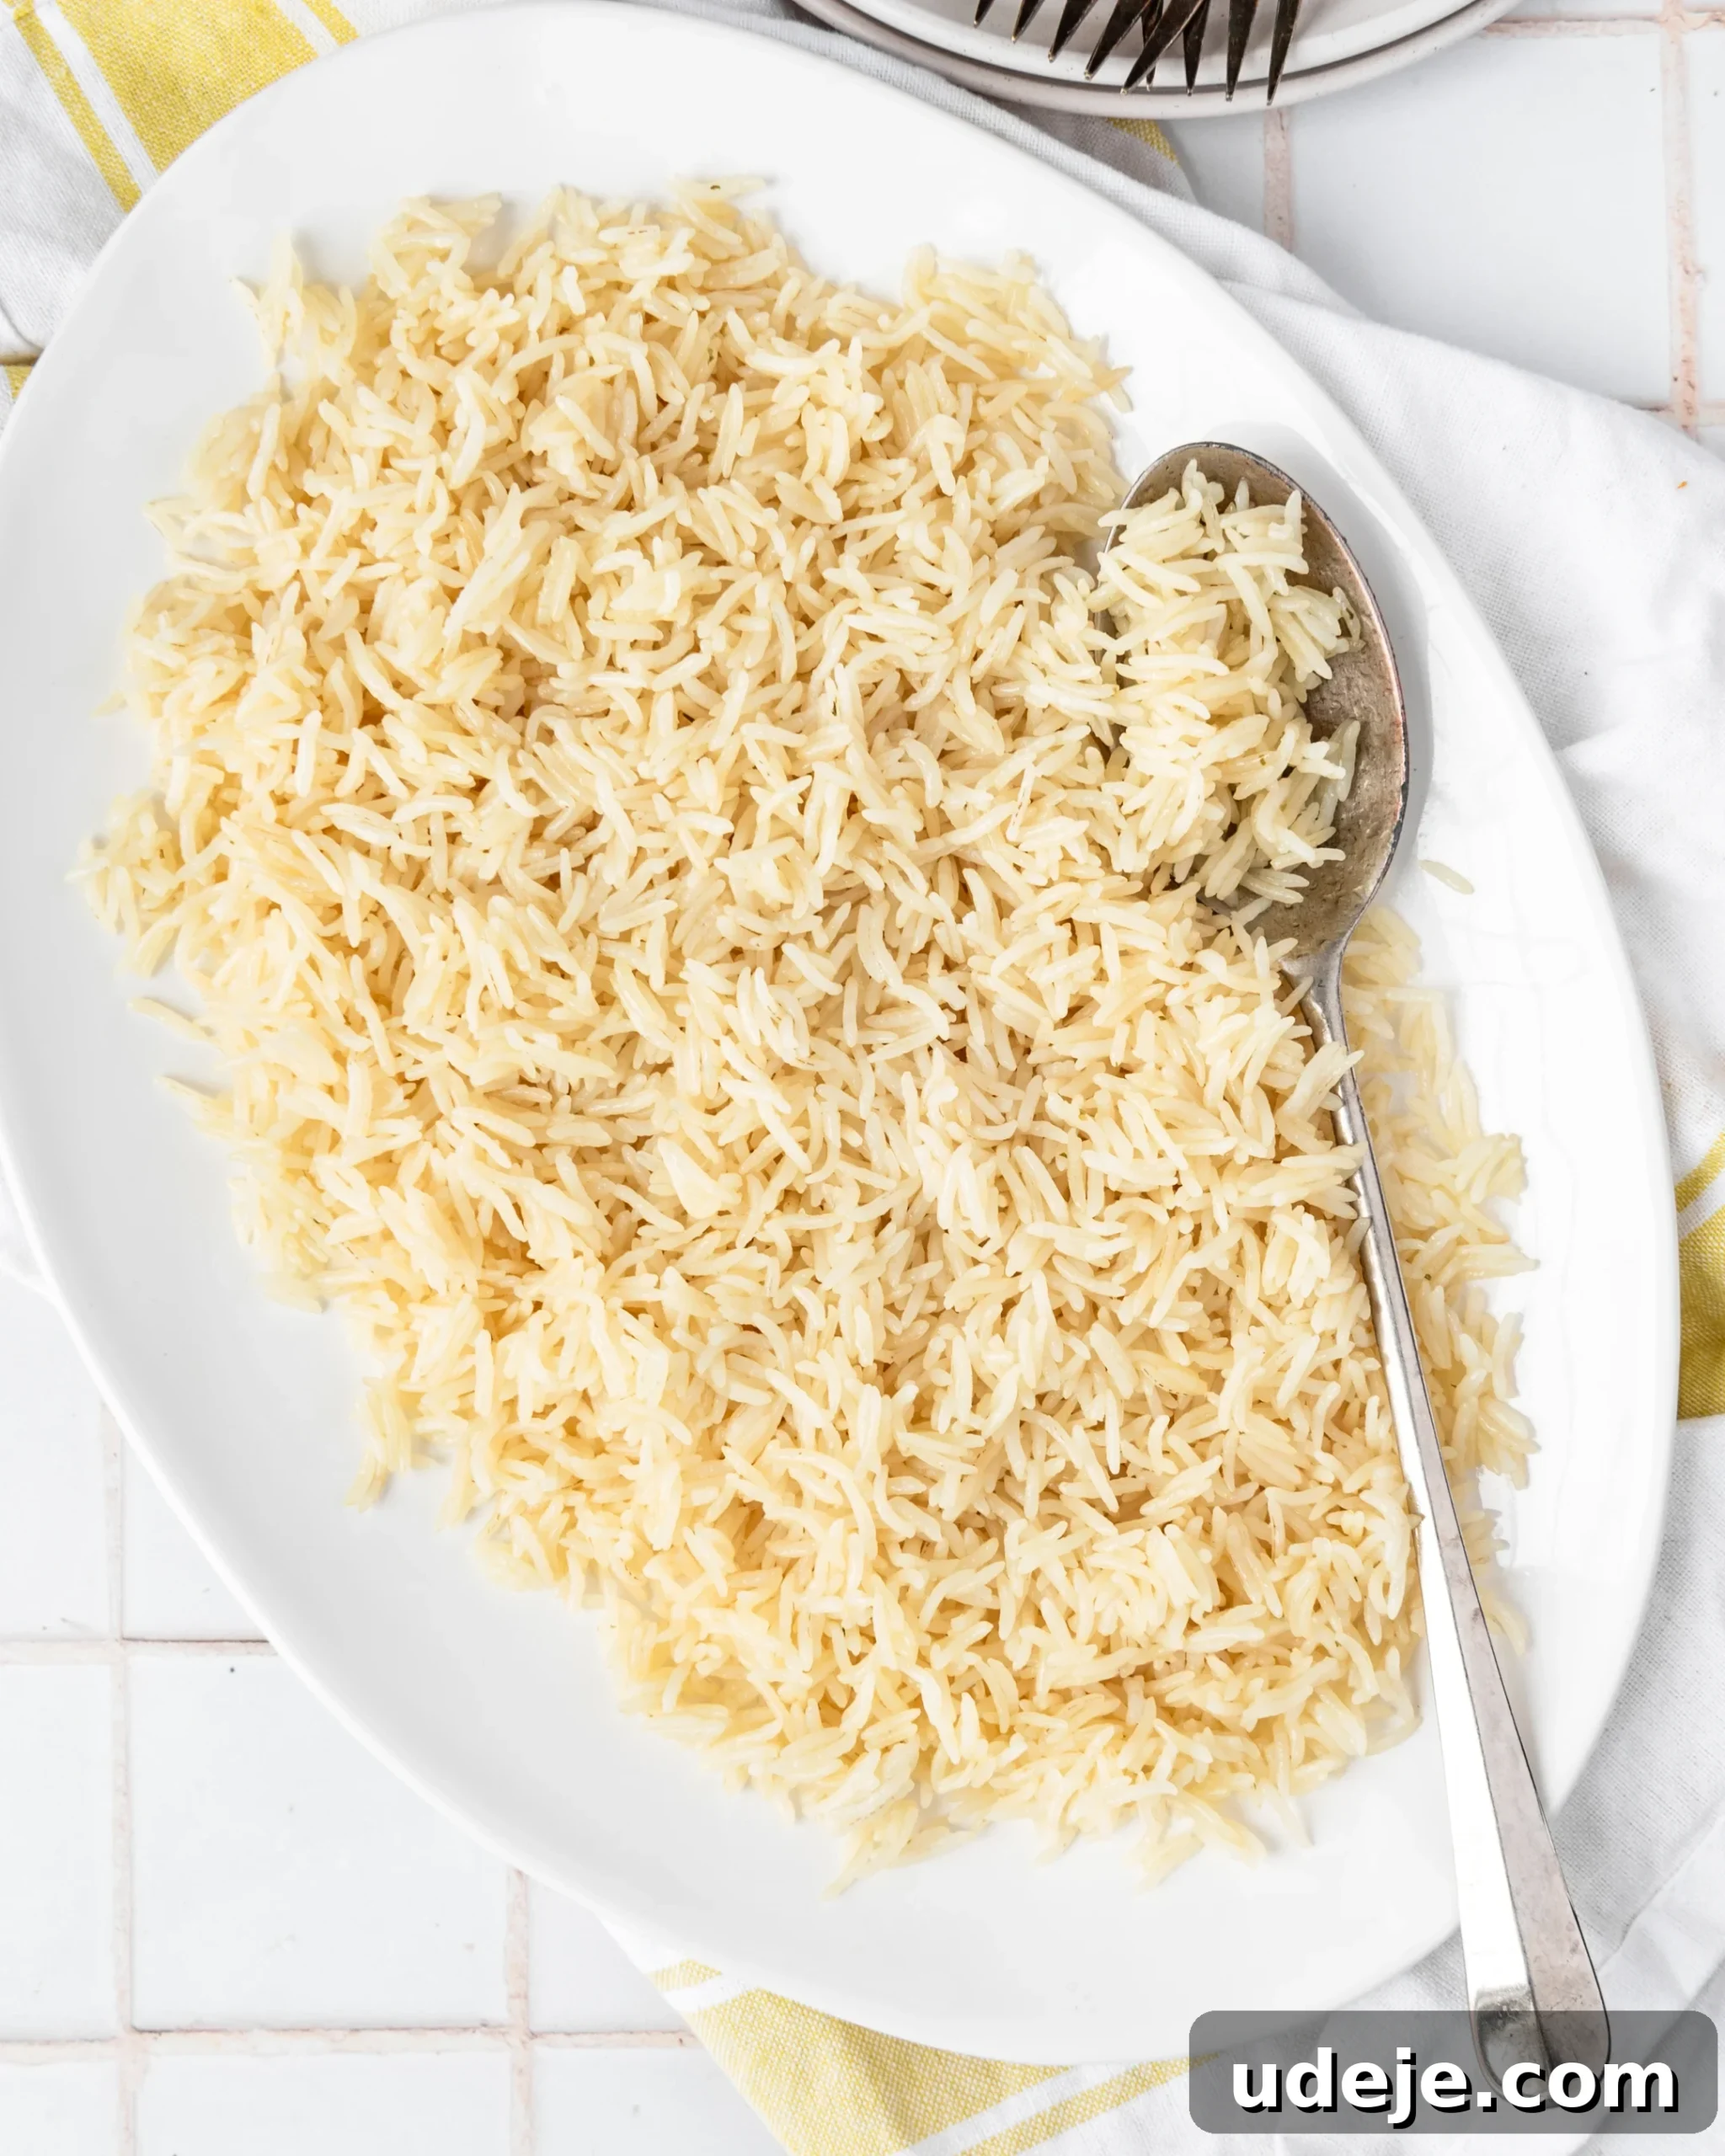
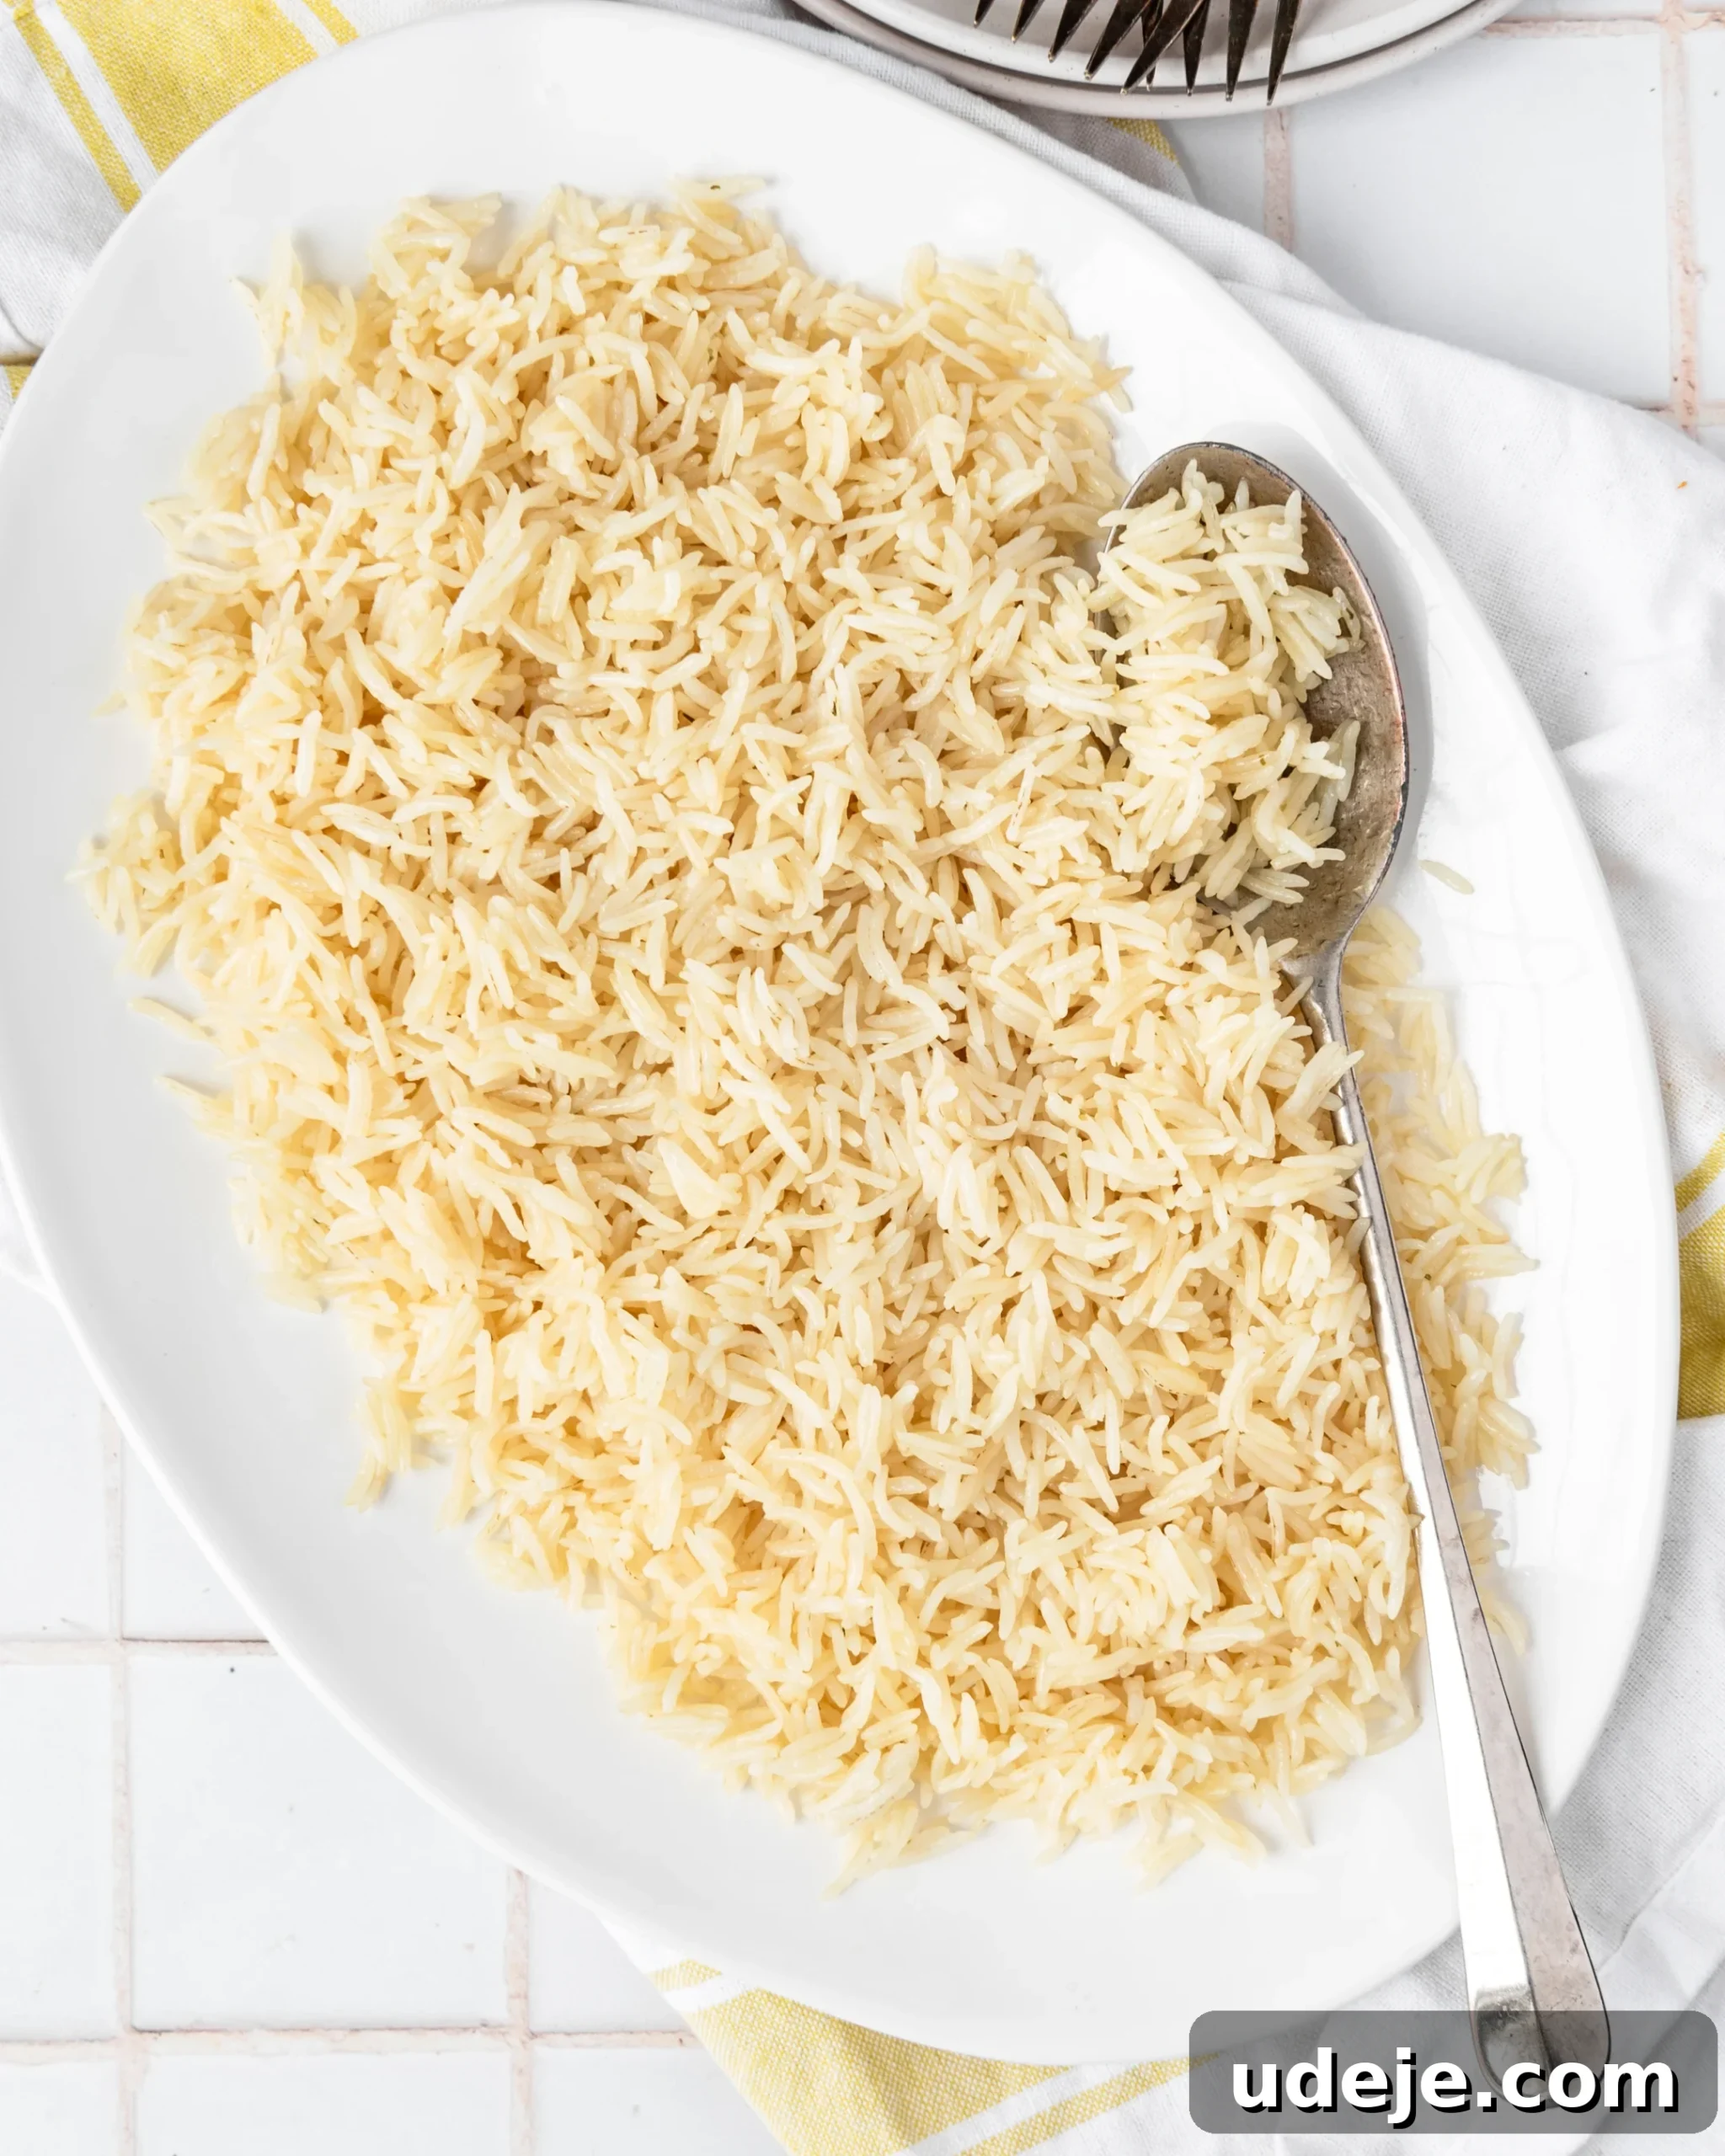
Unlock the secret to consistently perfect, fluffy, and aromatic basmati rice with your Instant Pot. This guide transforms what can often be an intimidating cooking task into a straightforward, hands-off process, delivering impeccable results every single time. Forget sticky, mushy, or undercooked grains; the Instant Pot leverages precise pressure cooking to create an ideal environment where each grain cooks evenly, separating beautifully and retaining its delicate fragrance. Whether you’re a novice in the kitchen or a seasoned home cook looking for a convenient upgrade, mastering Instant Pot basmati rice is a true game-changer, serving as the ultimate canvas for a wide array of global cuisines.
Why Your Instant Pot is the Ultimate Rice Cooker
As someone who grew up in an Arab household, cooking perfectly fluffy rice on the stovetop feels almost like second nature. It’s a skill passed down through generations, relying on sensory cues, timing, and a bit of intuition. So, when considering the Instant Pot for rice, my initial reaction was skepticism: could a machine truly replicate or even surpass such a time-honored method?
After extensive testing and contemplation, I wholeheartedly endorse the Instant Pot for cooking basmati rice, primarily for two compelling reasons:
- Effortless Consistency for Every Skill Level: For many, cooking rice on the stovetop can be a source of frustration. It demands attention, requires judging “doneness” through visual cues, and often leads to sticky, burnt, or unevenly cooked grains. The Instant Pot eliminates this guesswork. Its pressure-cooking environment creates predictable results, making it an incredibly forgiving method for beginners. You set it, and you can trust that perfectly cooked rice will be waiting for you.
- Hands-Off Convenience for Busy Kitchens: Imagine your stovetop is bustling with simmering curries, sautéing vegetables, and bubbling sauces. Adding rice to the mix can feel like juggling. The Instant Pot liberates a burner and your attention. Once the lid is locked and the timer set, it works autonomously, allowing you to focus on other components of your meal. This hands-off approach ensures your rice is cooked to perfection without needing constant supervision, a lifesaver on busy weeknights or when entertaining.
These advantages make this Instant Pot basmati rice recipe an invaluable addition to your culinary repertoire. It’s especially perfect for those who’ve struggled with traditional rice cooking methods and are searching for a reliable, foolproof solution.
The Science Behind Perfectly Pressure-Cooked Basmati
The Instant Pot excels at cooking rice because it creates a sealed, pressurized environment. Unlike stovetop cooking, where steam escapes, leading to varying cooking temperatures and liquid loss, the Instant Pot maintains a consistent temperature and pressure. This ensures that the rice grains absorb the liquid evenly and thoroughly, without any evaporation. The result is rice that cooks more quickly, yet remains distinct and fluffy, rather than clumpy or gummy. This sealed system also means you’ll use less liquid compared to stovetop methods, as every drop is efficiently utilized in the cooking process, contributing to that desirable separate-grain texture.
A Versatile Staple for Every Meal
My passion for rice in all its forms is evident through the diverse collection of rice recipes on my site, from the classic vermicelli rice and hearty hashweh rice to fragrant Mediterranean yellow rice. For this Instant Pot recipe, I’ve intentionally kept it simple and pure, focusing on a basic, incredibly versatile basmati that can accompany almost any dish. Serve this fluffy basmati alongside rich stews like succulent Dawood Basha or vibrant okra stew. It’s equally delicious with quick and easy mains such as tender chicken kabobs or flavorful Mediterranean roasted chicken, completing your meal with minimal fuss.
Recipe Testing Notes: Achieving consistently perfect Instant Pot basmati rice took several rounds of testing—six, to be exact—each yielding progressively better results until the final batches were truly excellent. The most significant variable I encountered was the type of basmati rice. For optimal results, I highly recommend using an aged long-grain basmati rice with thicker grains. This variety boasts a richer flavor profile and maintains its structure exceptionally well under pressure, yielding beautifully fluffy, individual grains. I’ve found that basmati varieties with thinner grains tend to produce a wetter, slightly less distinct texture. It’s crucial to note that this recipe is specifically formulated for long-grain basmati and will not work effectively with medium or short-grain rice, as their starch content and liquid absorption differ significantly.
Essential Ingredients for Flawless Basmati Rice
While this recipe prides itself on its simplicity, understanding the role of each ingredient can elevate your basmati rice from good to truly exceptional. Let’s delve into the specifics:
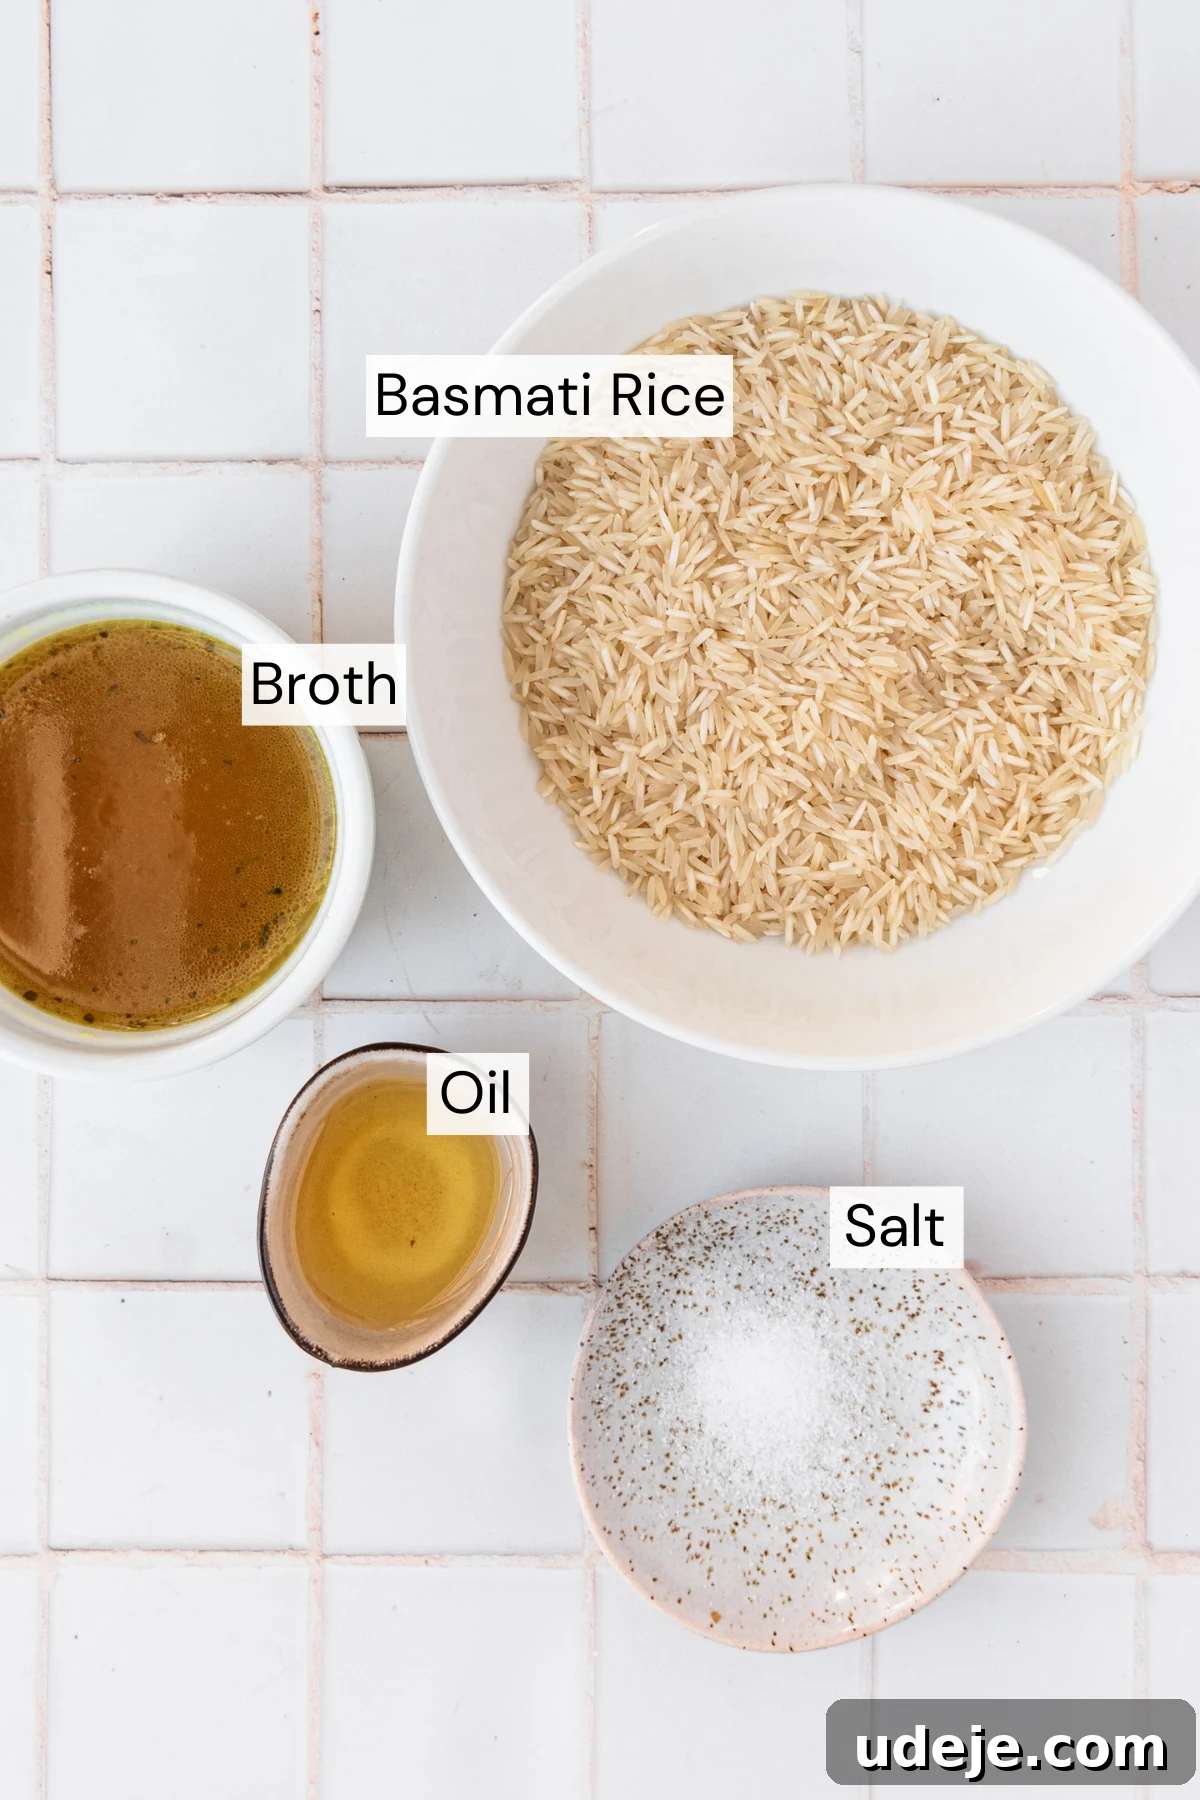
- Basmati Rice: As highlighted in our testing notes, a quality aged long-grain basmati is non-negotiable for achieving that signature fluffy, separated grain texture and aromatic flavor. Aged basmati rice has a lower moisture content and becomes even more fragrant with time, which contributes to its superior texture when cooked. Attempting to substitute with other rice types, such as jasmine, brown rice, or even other long-grain varieties, will require a different liquid-to-rice ratio and cooking time, leading to inconsistent results. Stick to aged basmati for this recipe to guarantee success.
- Oil (or Butter): A small amount of oil or butter plays a crucial role beyond just preventing sticking. When the rice grains are gently toasted in the fat, it helps to slightly crisp the exterior, further enhancing their ability to remain separate and fluffy after cooking. Olive oil imparts a subtle, pleasant flavor, but any neutral cooking oil works well. For an extra layer of richness and a buttery aroma, feel free to substitute with unsalted butter.
- Hot Broth (or Hot Water): The choice of liquid significantly impacts the final flavor. Hot broth (chicken or vegetable) infuses the rice with a deeper, more savory taste, transforming it from a simple side into a flavorful accompaniment. Using hot liquid is also a strategic move: it helps the Instant Pot come to pressure much faster, shaving off valuable minutes from your cooking time. If using broth, always check its sodium content; many commercial broths are pre-salted, meaning you might need to reduce or entirely omit the additional salt in the recipe to prevent over-salting. If broth isn’t available or preferred, boiling hot water will still yield delicious results, albeit with a milder flavor profile.
- Salt: Essential for seasoning, salt brings out the natural flavors of the rice. However, as mentioned with broth, adjust the quantity carefully. If your broth is already seasoned, start with a smaller amount of salt and taste the liquid before pressure cooking. You can always add a pinch more to the finished rice if needed.
Easy Three-Step Method for Perfect Basmati Rice
Achieving restaurant-quality basmati rice in your Instant Pot is a straightforward process broken down into three fundamental stages: meticulous washing, precise pressure cooking, and a crucial resting period. Each step is designed to contribute to the ultimate fluffy and separated texture that basmati is celebrated for.
Step 1: The Critical Rinse
The journey to perfectly non-clumpy rice begins with thorough rinsing. This step is paramount for removing excess starch from the surface of the rice grains. Starch, if left unchecked, acts as a binding agent, causing the grains to stick together and create a gummy texture.
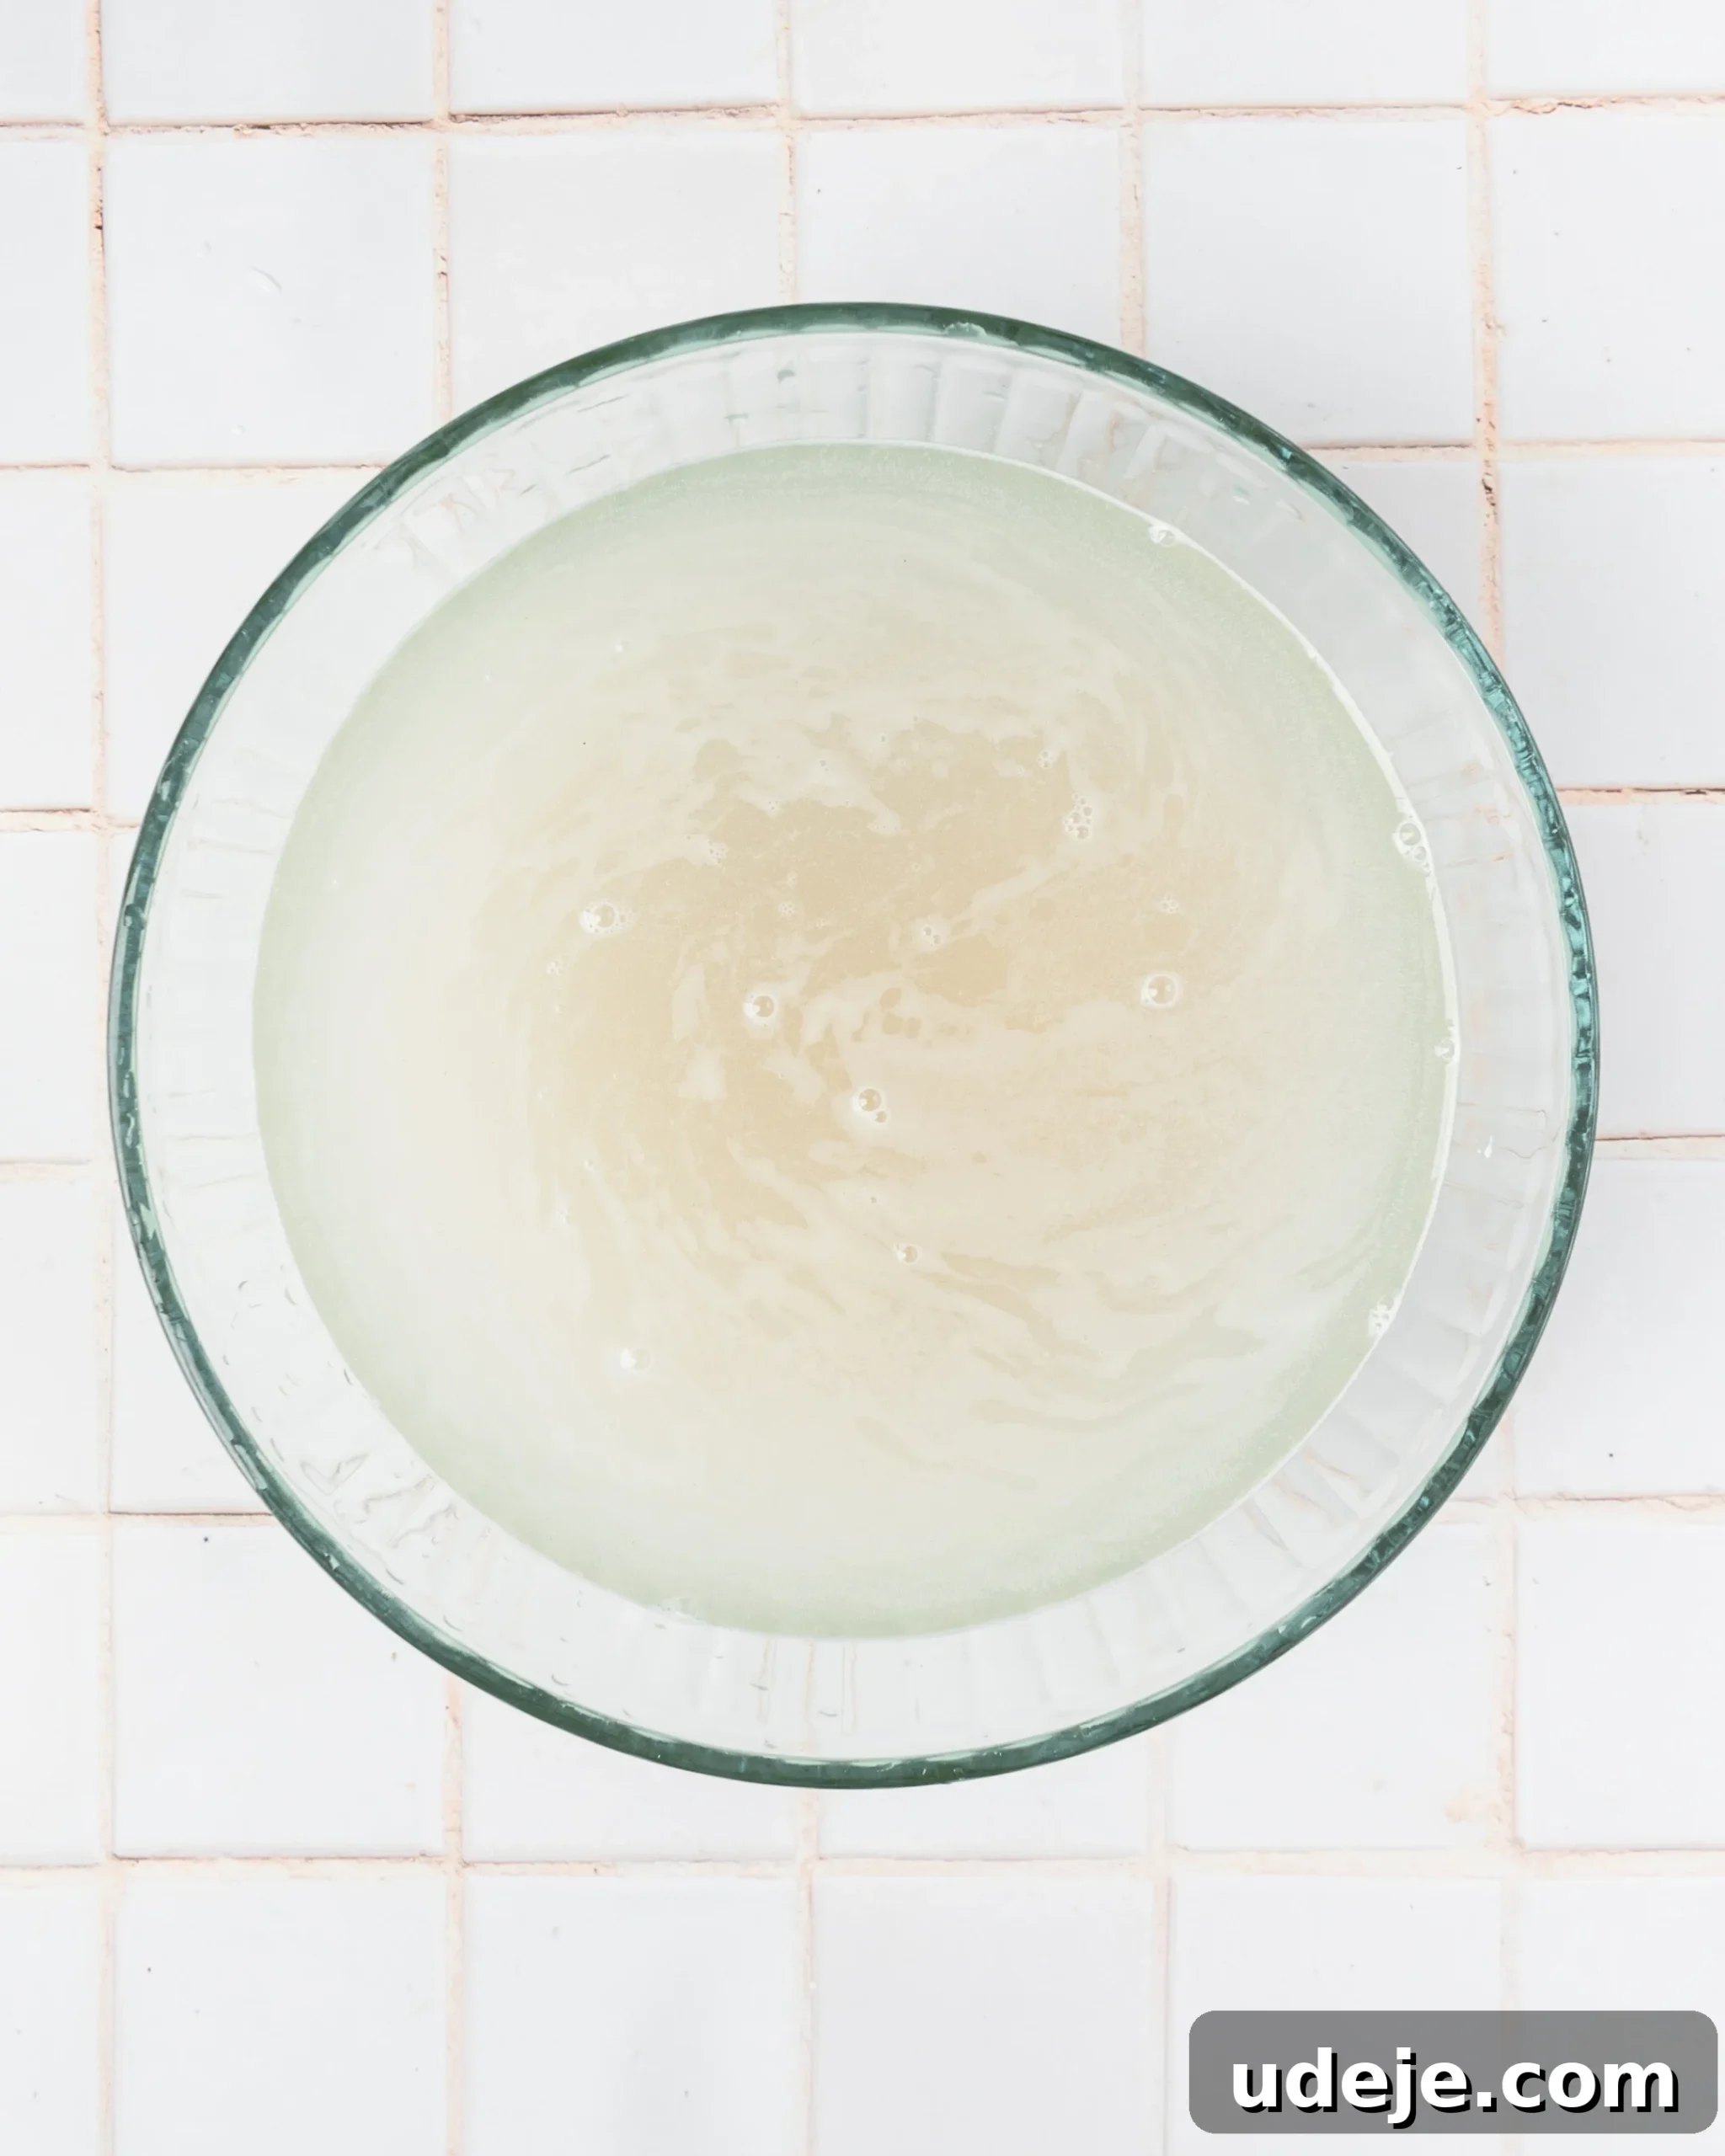
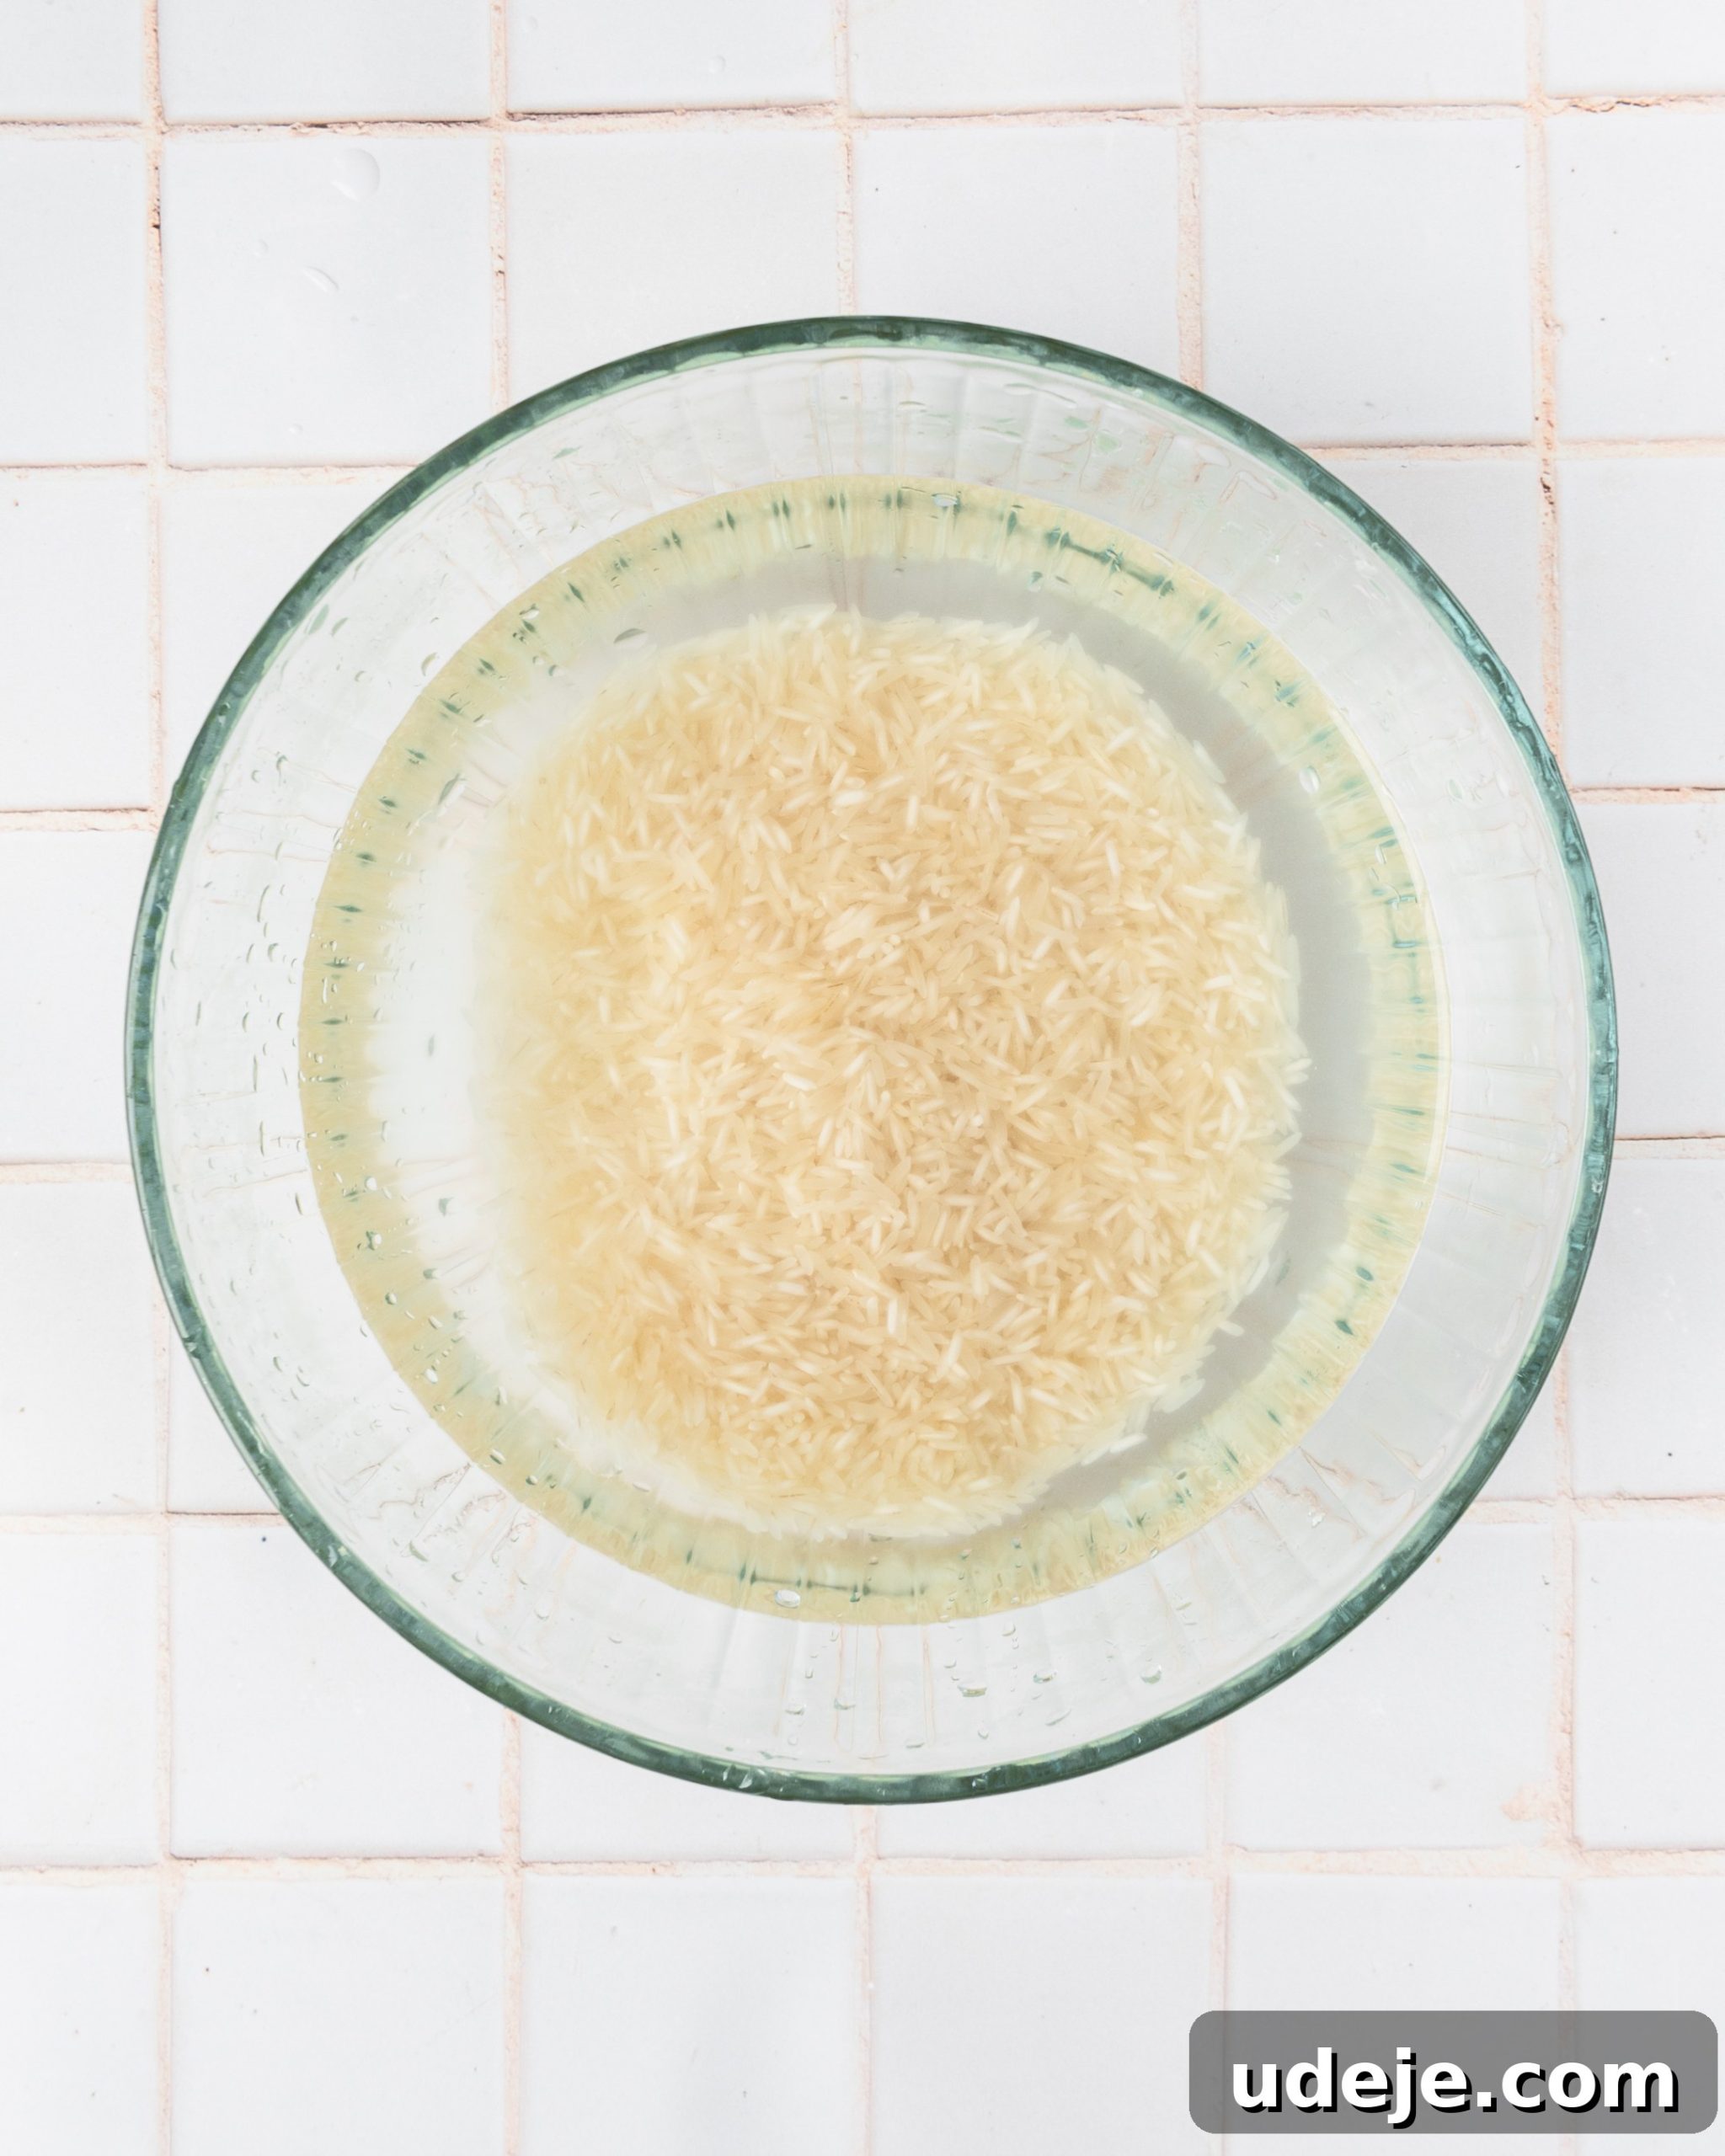
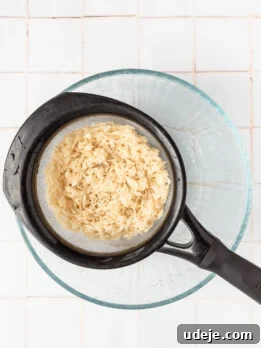
To rinse effectively, place your basmati rice in a large bowl. Fill the bowl with enough cold water to fully submerge the rice. Using your hands, gently swirl and agitate the grains for about 30 seconds. You’ll immediately notice the water becoming cloudy, indicating the release of starch. Carefully drain this cloudy water, then refill the bowl with fresh, clean water. Repeat this process multiple times—typically 3-5 cycles—until the water remains mostly clear after swirling the rice. This meticulous washing ensures that your cooked rice will be light and fluffy, with each grain distinct.
Step 2: Gentle Toasting & Pressure Cooking
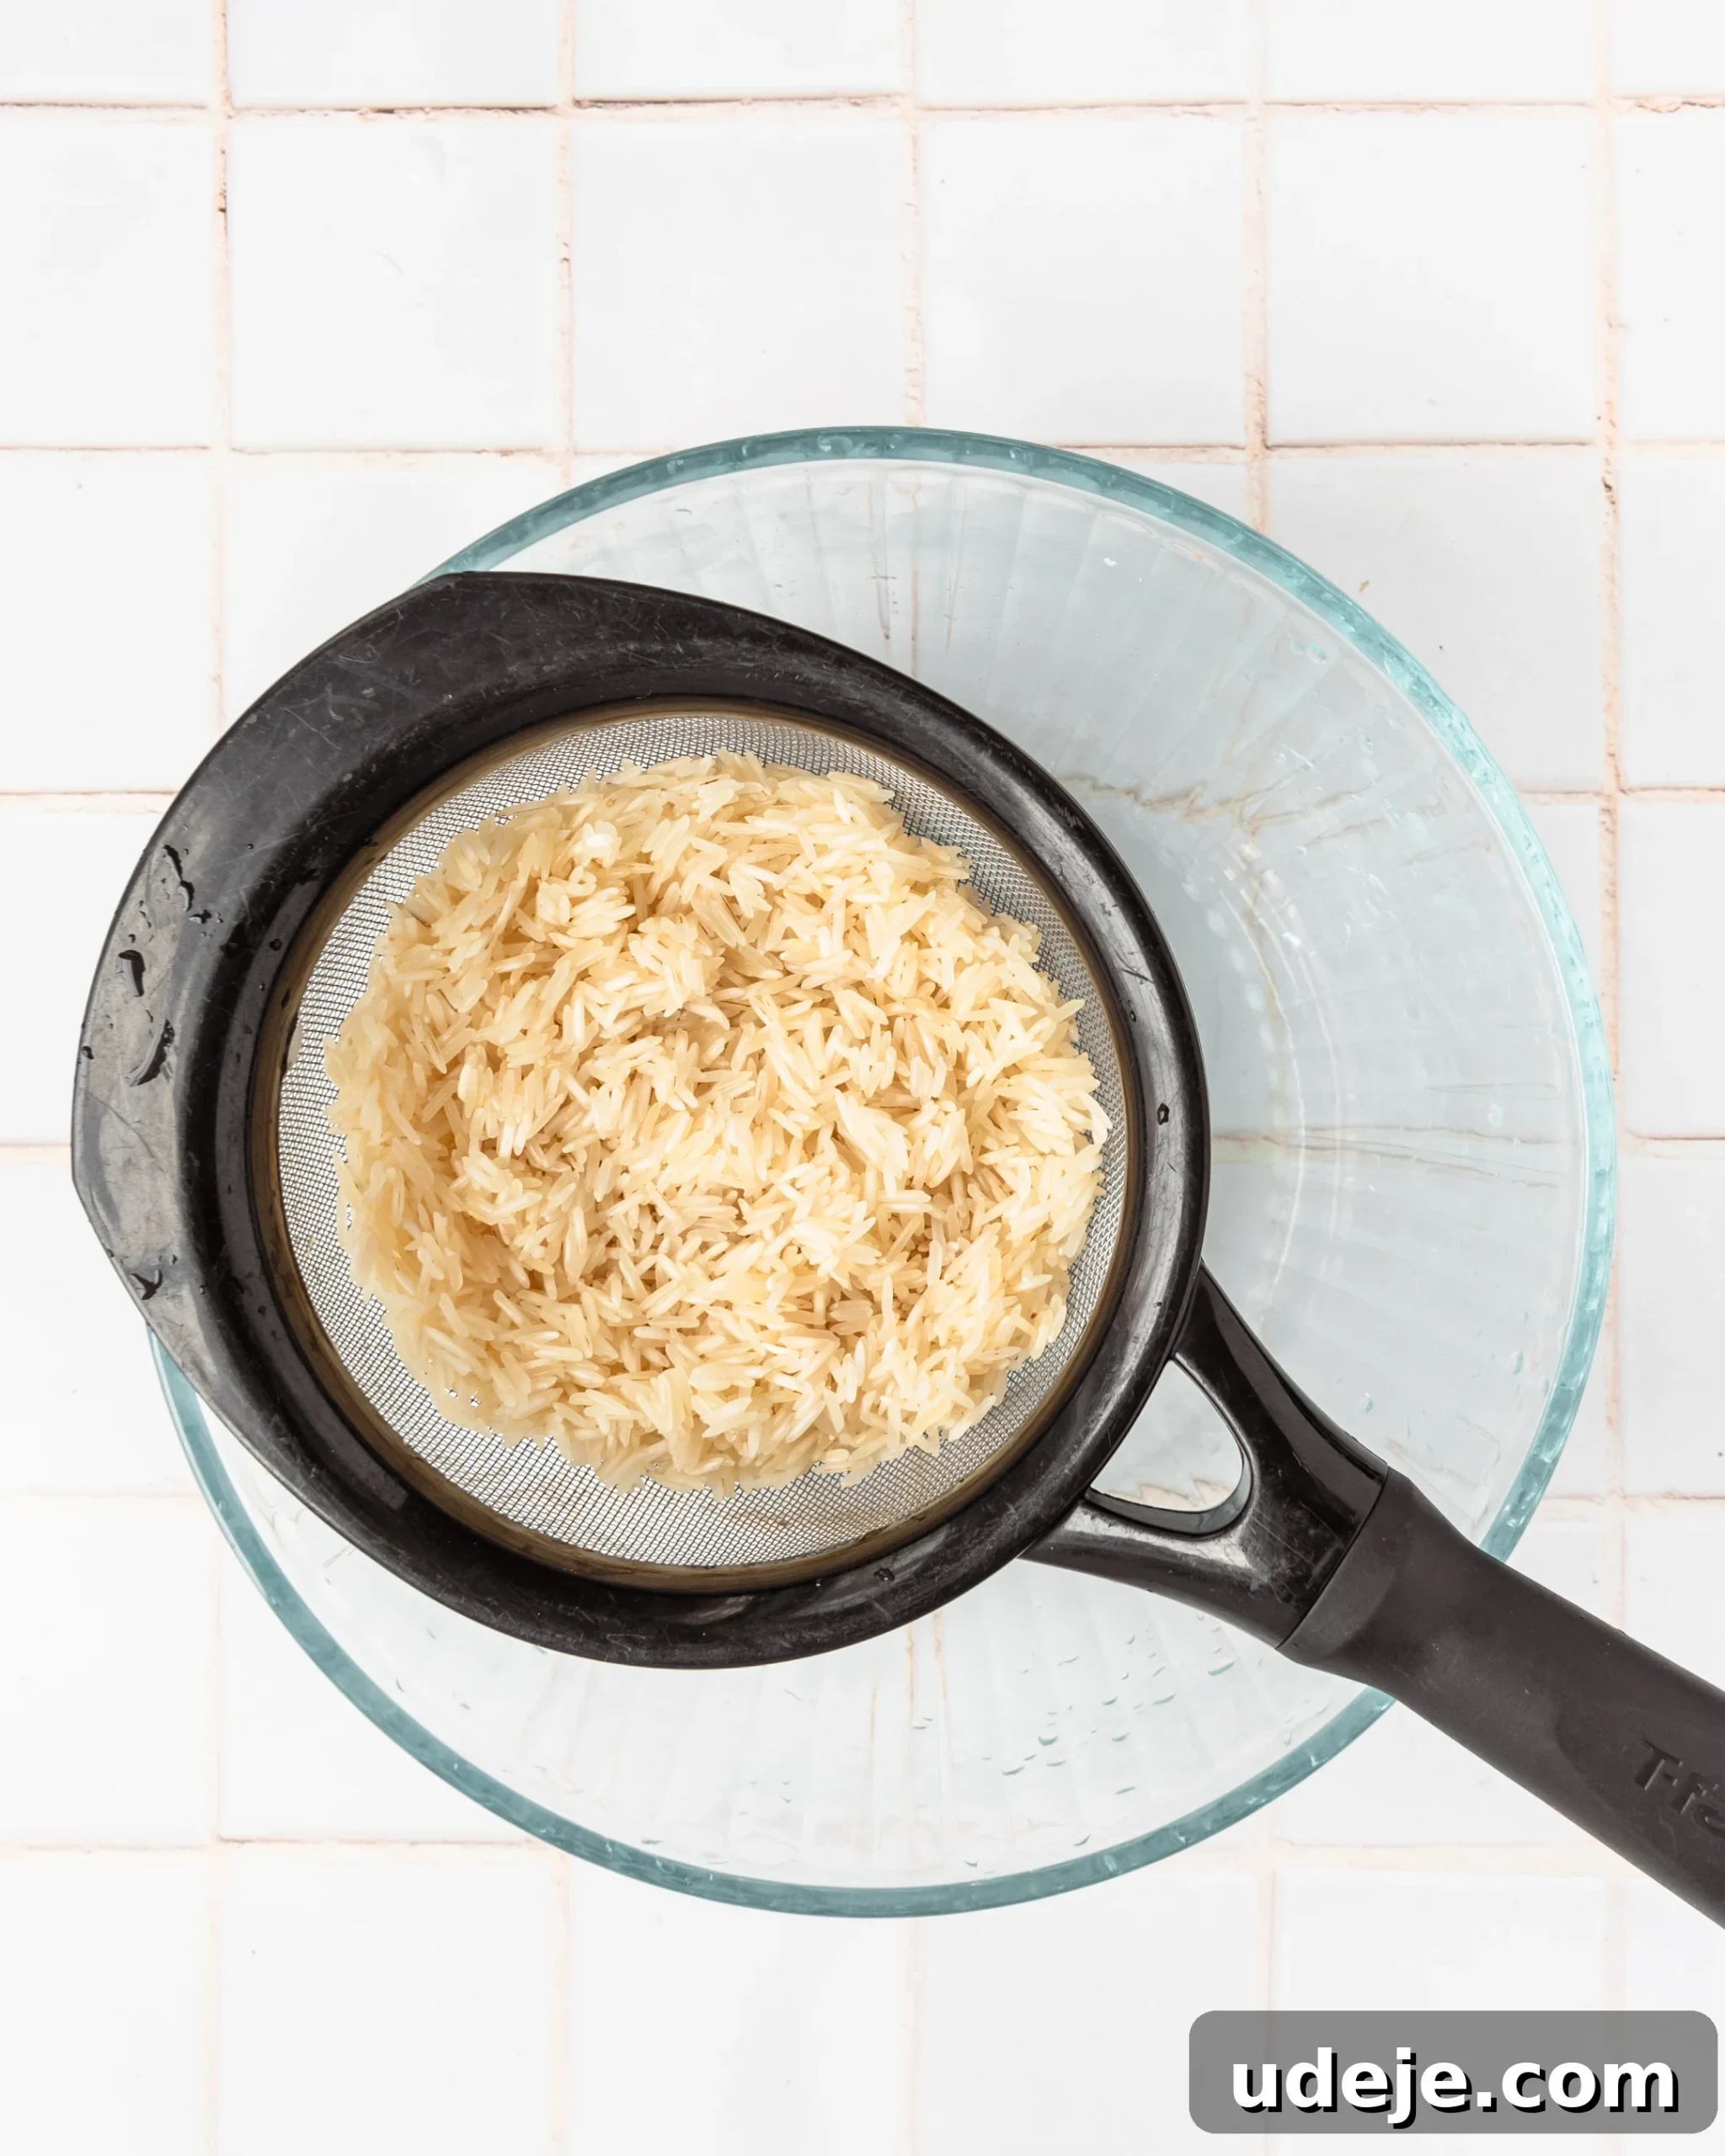
After rinsing, drain the rice extremely well. You want to remove as much residual moisture as possible to prevent a soggy outcome and ensure the grains toast properly. A fine-mesh colander works best for this. While the rice drains, set your Instant Pot to ‘Sauté’ mode and allow it to heat up. Once hot, add your chosen oil (or butter).
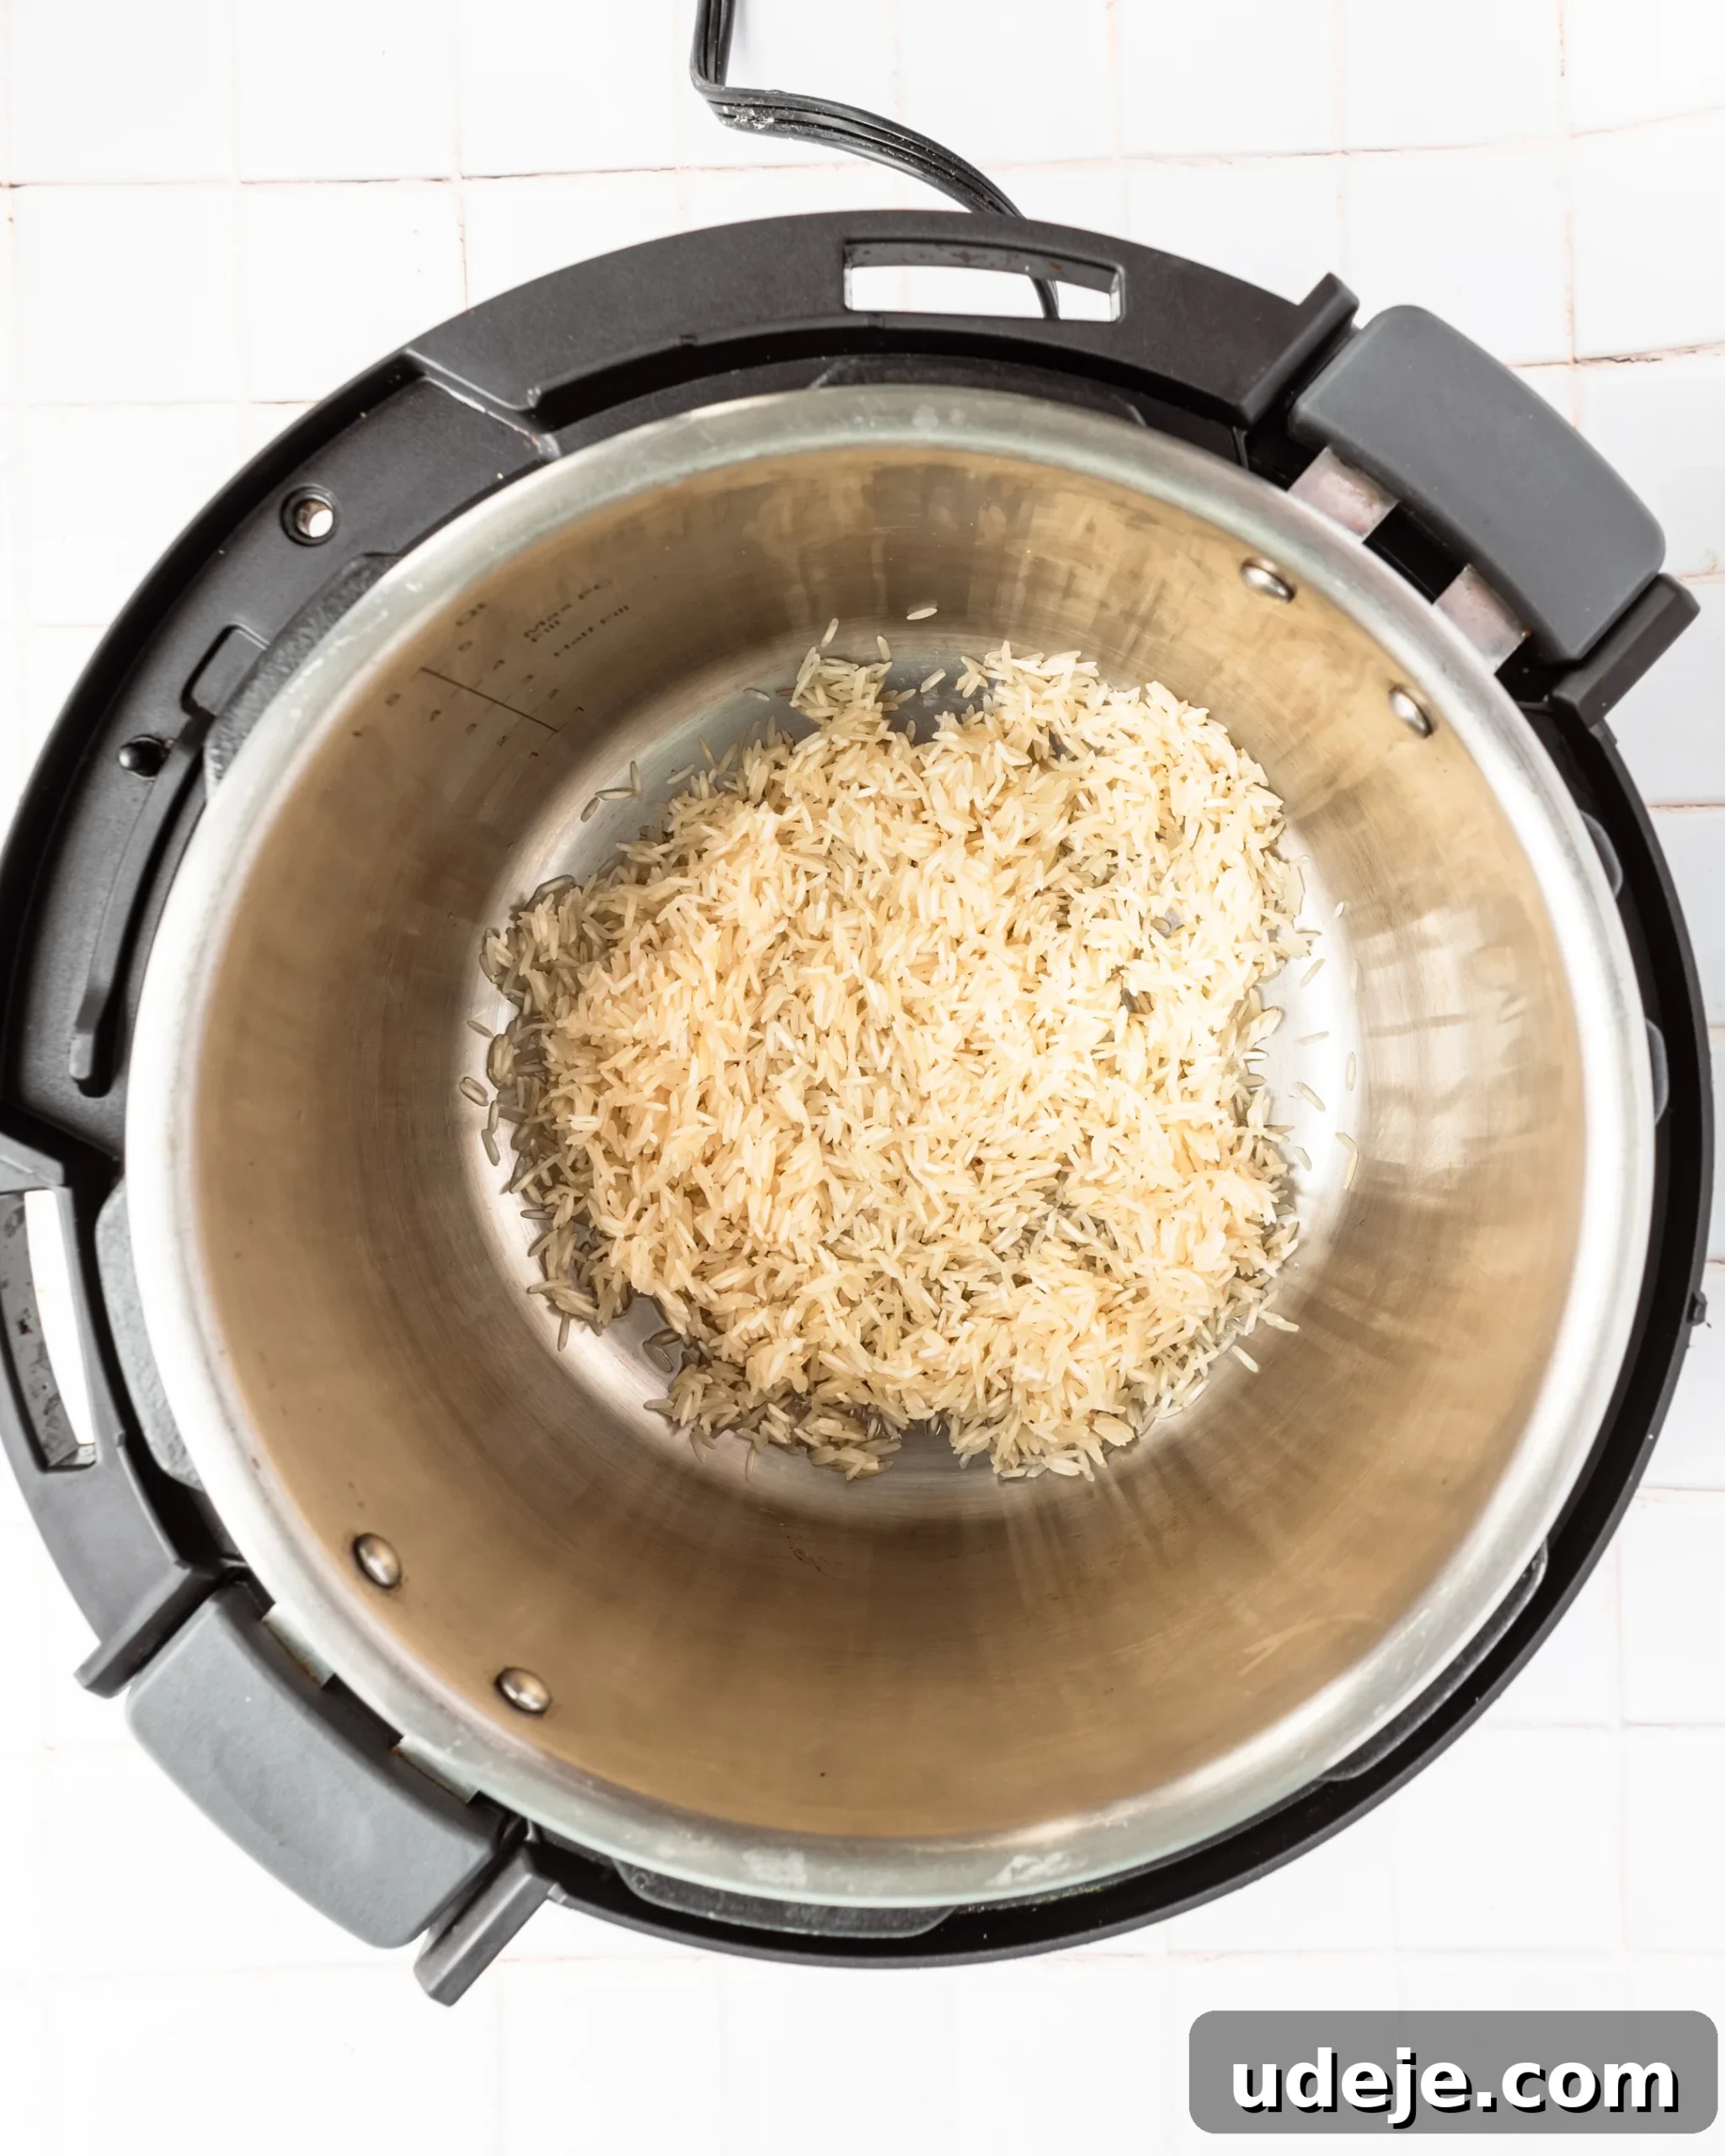
Add the well-drained rice to the hot oil. Using a wooden spoon or spatula, gently stir the rice for about 30 seconds. The goal here is not to brown the rice, but to lightly coat each grain in oil and subtly toast it. This brief toasting step adds a nuanced depth of flavor and further helps in achieving beautifully separated grains. Be very gentle during this process to avoid breaking the delicate basmati grains. Ensure no rice sticks to the bottom of the pot, scraping gently if needed.
PRO TIP: Always use hot liquid! If you’re using water, boil it in a kettle beforehand. If using broth, heat it on the stovetop or microwave. Using hot liquid significantly reduces the time needed for the Instant Pot to come to pressure, usually taking only 2-3 minutes, compared to 10-15 minutes with cold liquid. This small step saves you time and ensures a more efficient cooking process.
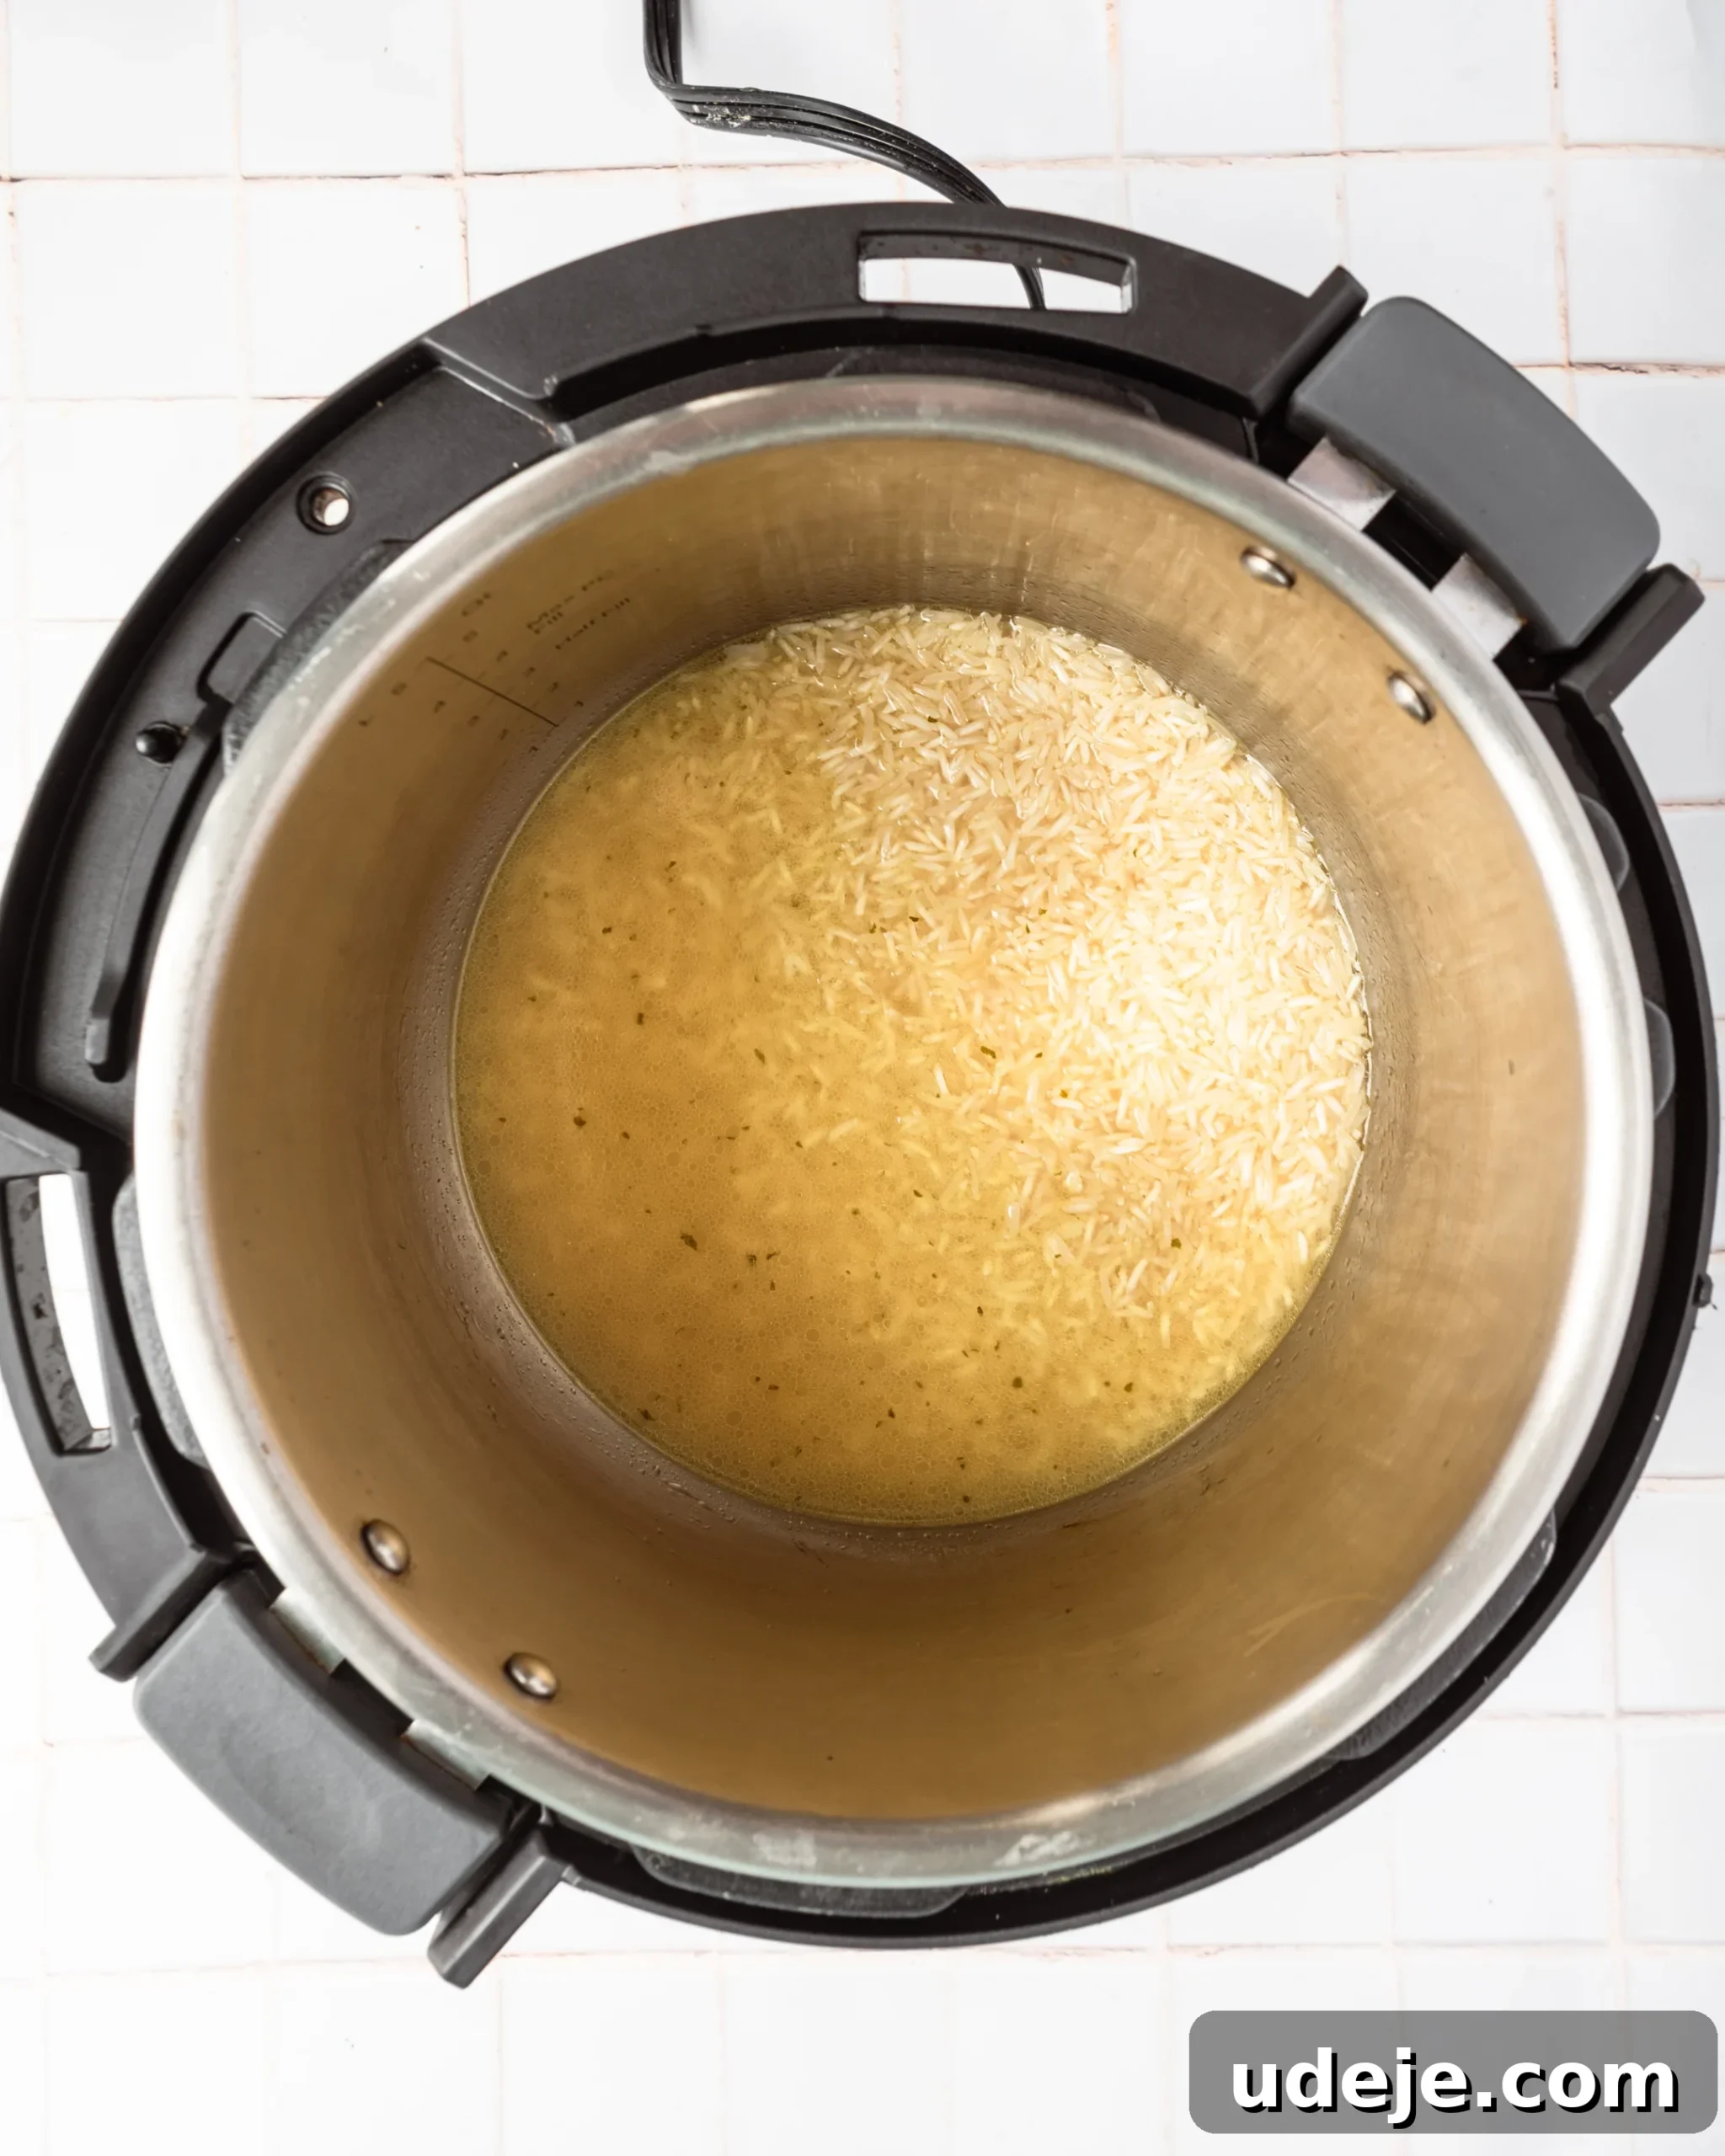
Once the rice is lightly toasted, pour in the hot broth or boiling water. Add your salt, remembering to adjust the quantity if your broth is already salted. Give the mixture a quick stir to ensure the rice is evenly distributed and no grains are stuck to the bottom. Secure the Instant Pot lid, ensuring the sealing valve is in the ‘Sealing’ position. Set the Instant Pot to ‘Pressure Cook’ (or ‘Manual’) on high pressure for 5 minutes. The time it takes to reach pressure will vary slightly based on the quantity of rice and liquid, but using hot liquid will minimize this wait. Once the cooking cycle is complete, resist the urge to immediately release the pressure. Instead, allow it to naturally release for 5 minutes. This ‘Natural Release’ period is crucial as it allows the rice to continue steaming gently, absorbing remaining moisture and firming up without losing its structural integrity.

Step 3: The Essential Rest & Fluff
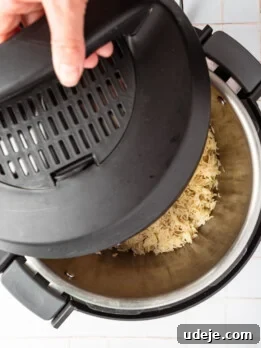
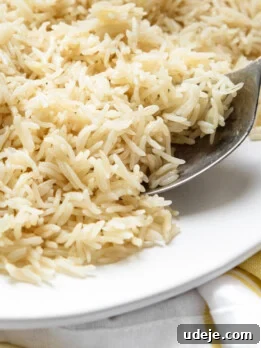
After the 5-minute natural release, carefully move the sealing valve to the ‘Venting’ position to manually release any remaining pressure. Once the float valve drops, it’s safe to open the lid. As you uncover the pot, the rice might appear moist, which is perfectly normal. Using a fork or a large spoon, gently fluff up the rice, separating the grains. Avoid harsh stirring, as this can break the delicate basmati grains and lead to a gummy texture.
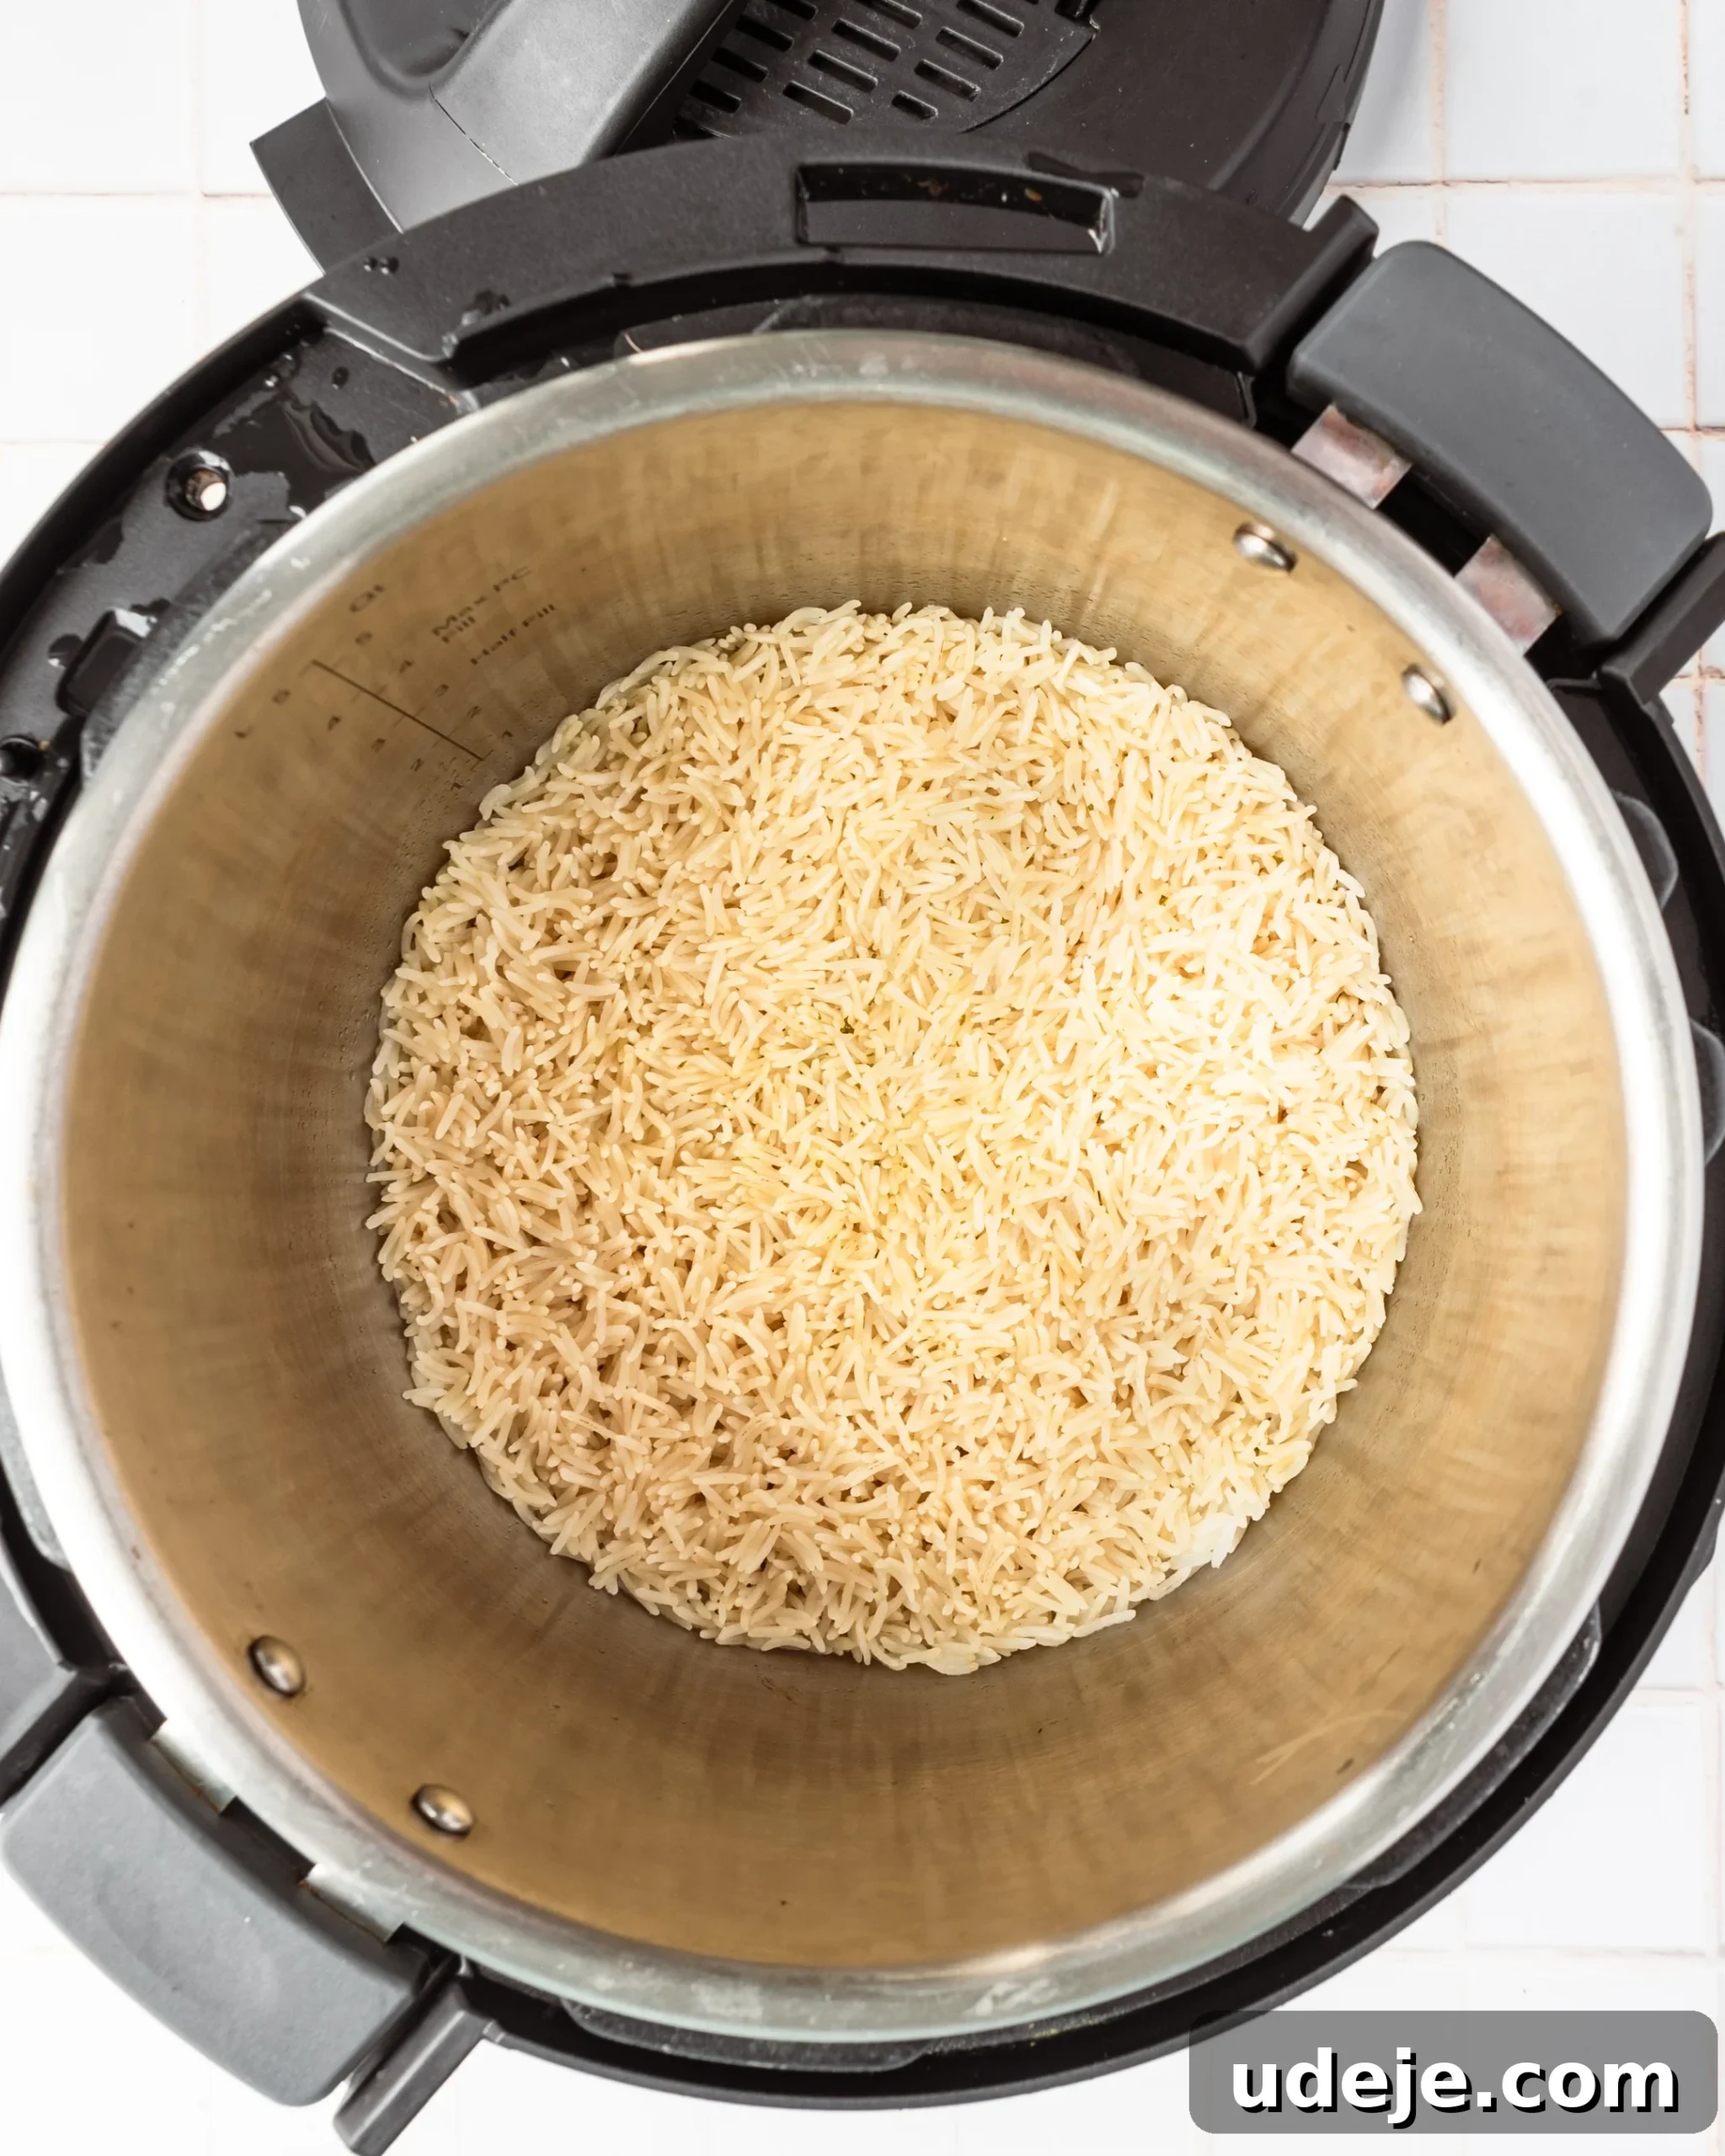
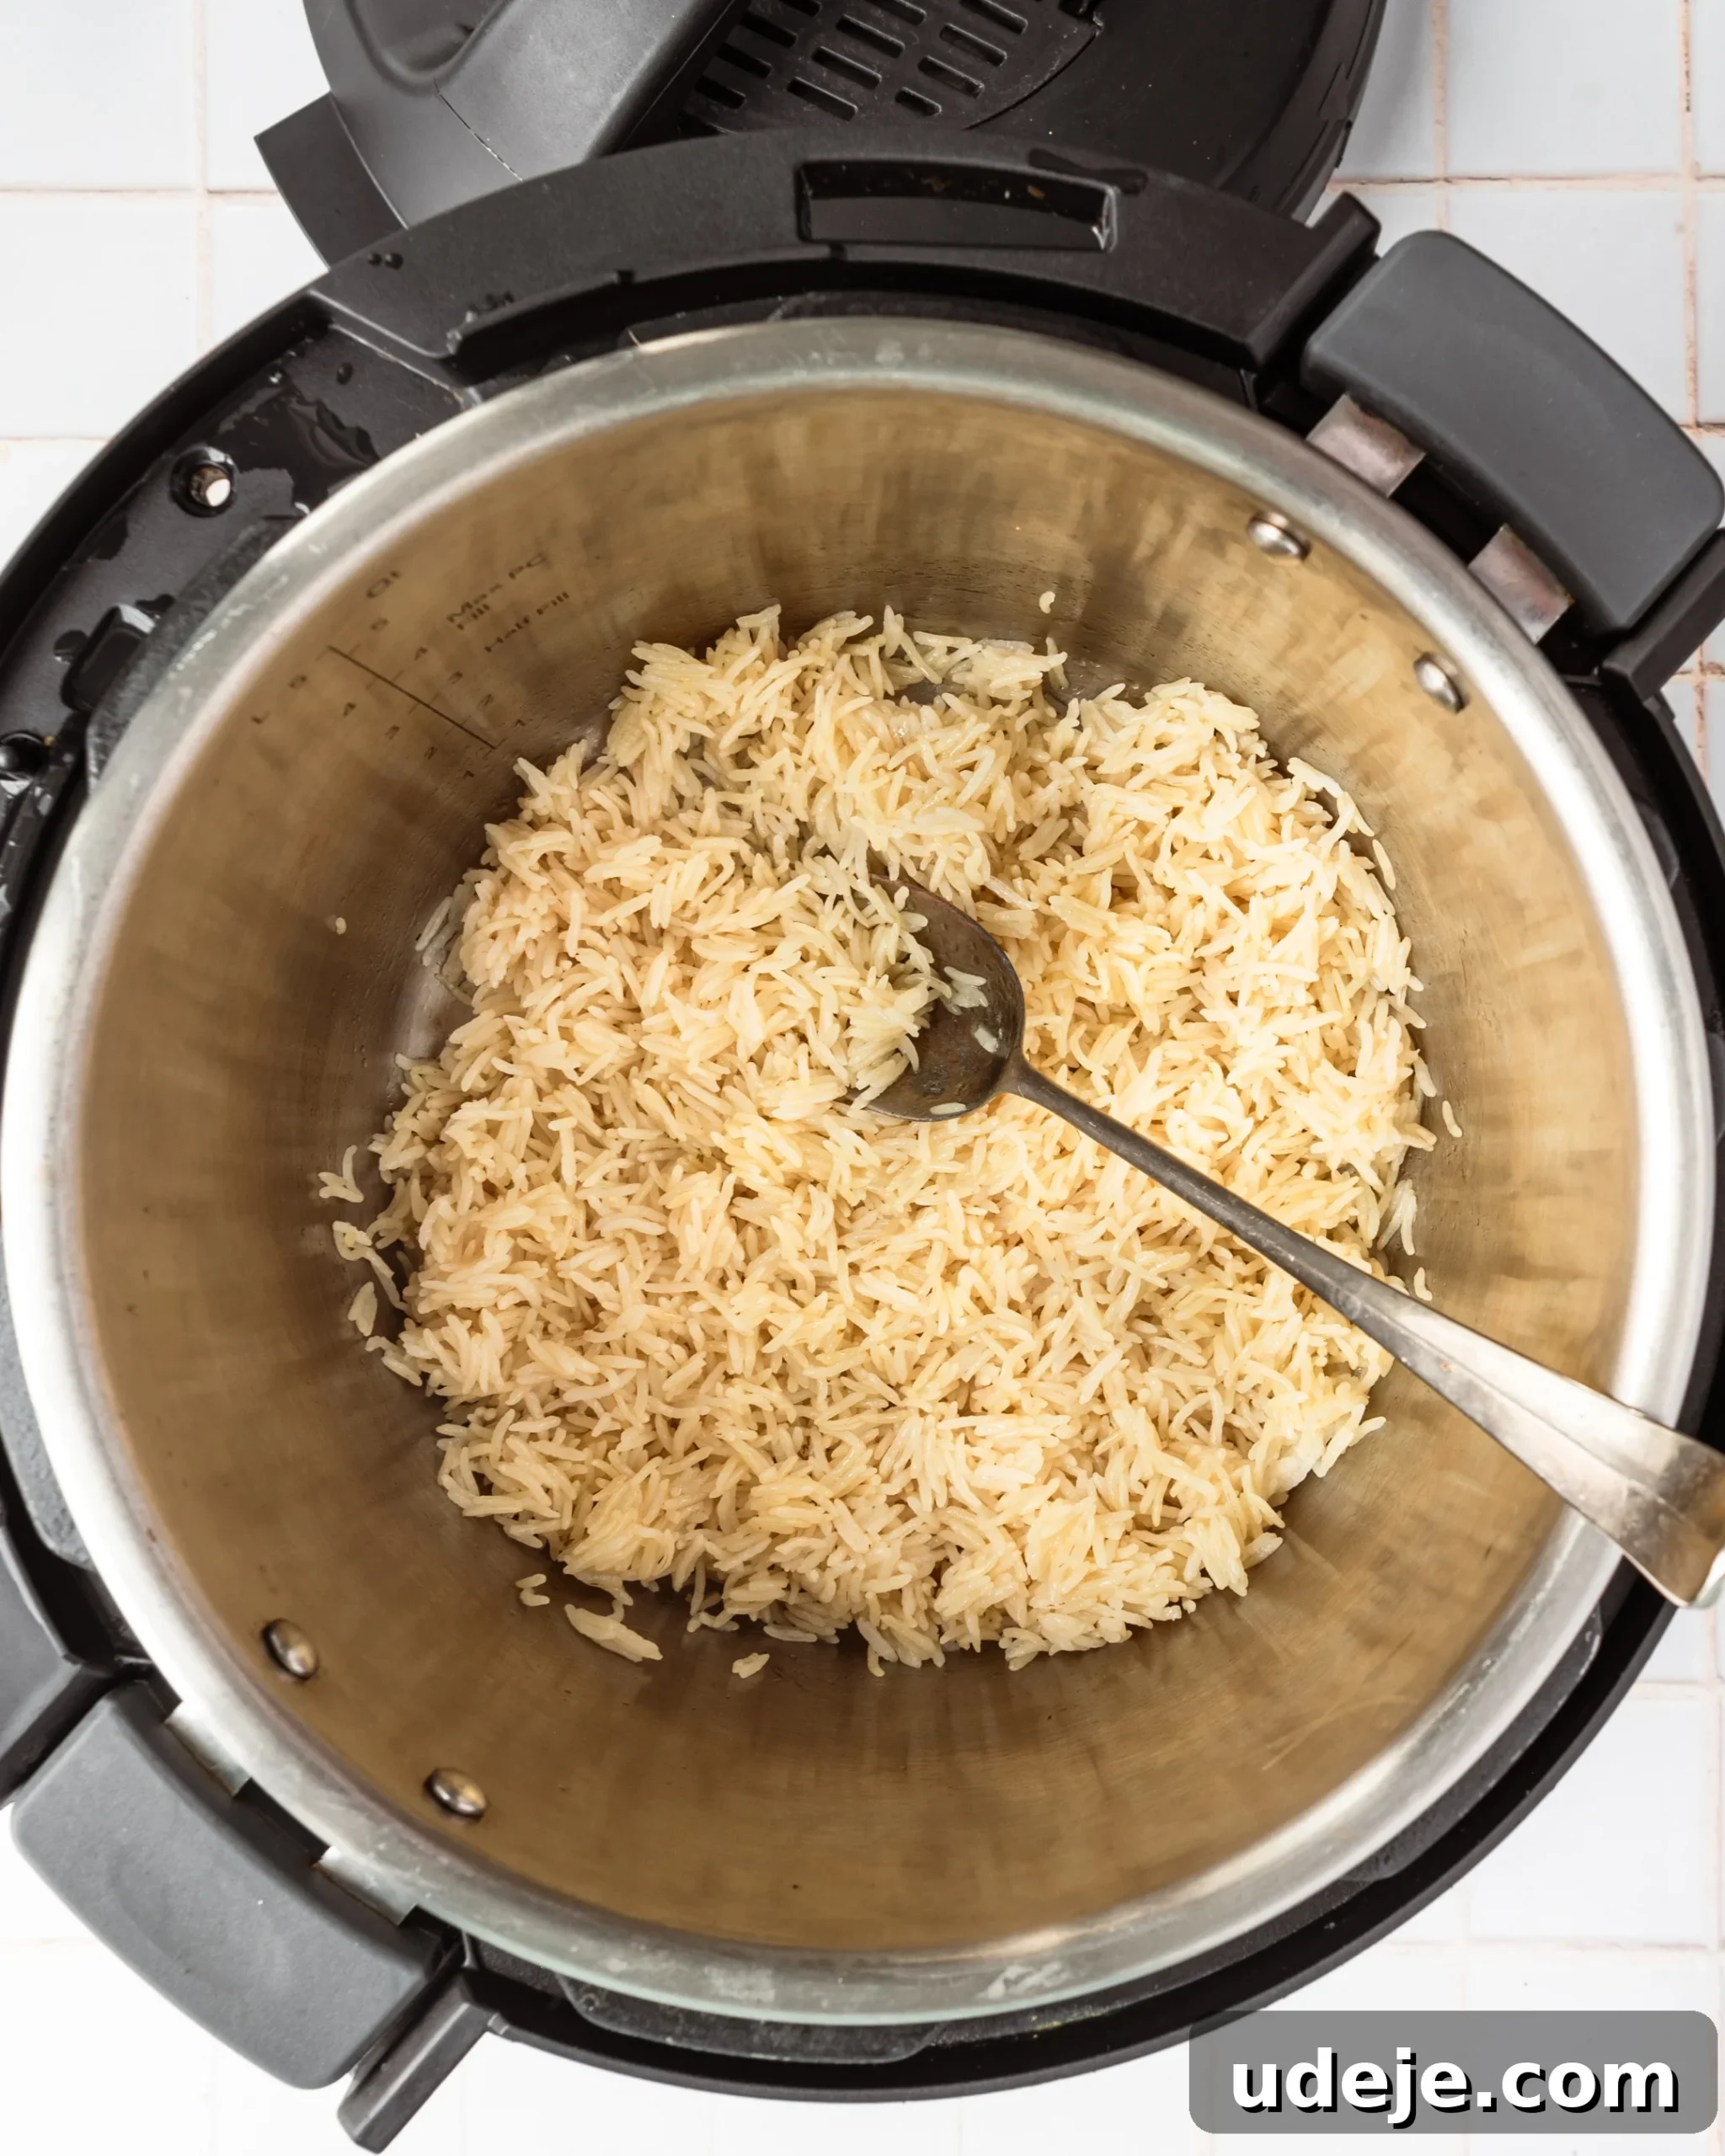
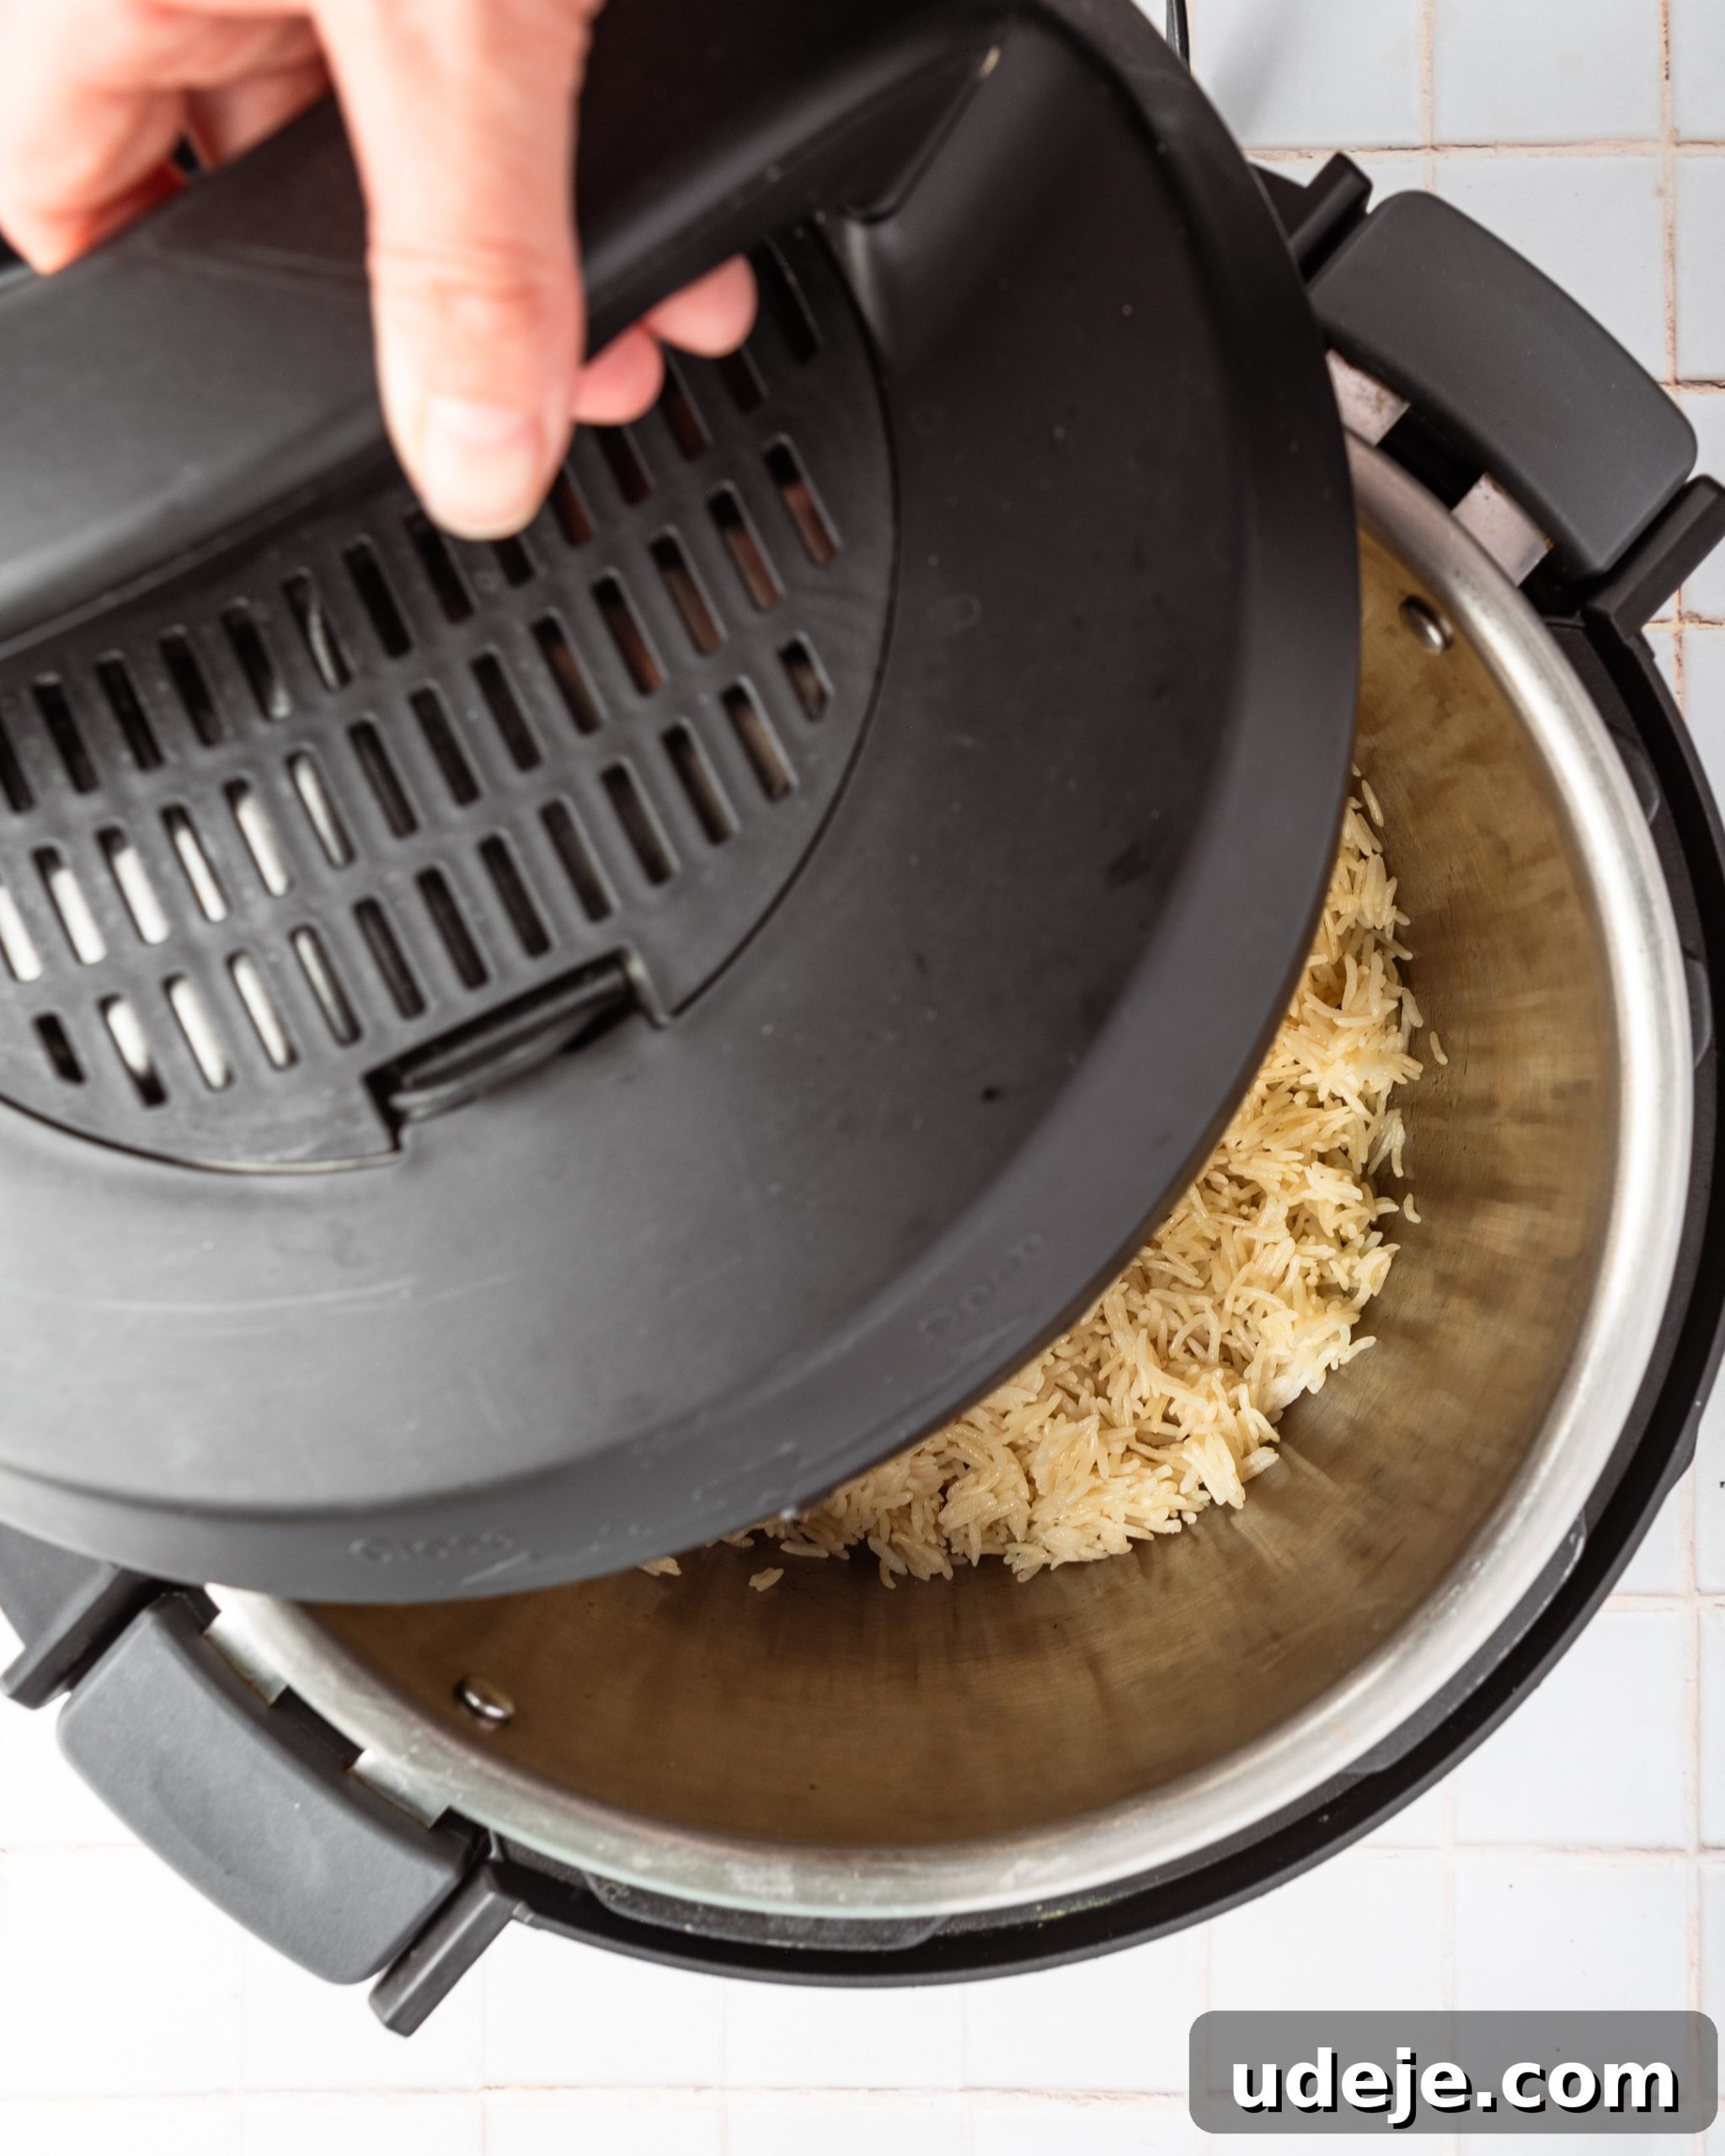
For the final, crucial step, partially cover the Instant Pot with its lid, leaving a small gap for steam to escape. Let the rice rest undisturbed for another 5 minutes. This short resting period allows any residual steam to dissipate, further drying up the grains and ensuring they achieve that perfect, distinct, and dry-fluffy texture that basmati is famous for. Skipping this step can result in rice that feels slightly too moist. After this final rest, your perfect Instant Pot Basmati Rice is ready to be served and enjoyed!
Storing and Reheating Leftover Basmati Rice
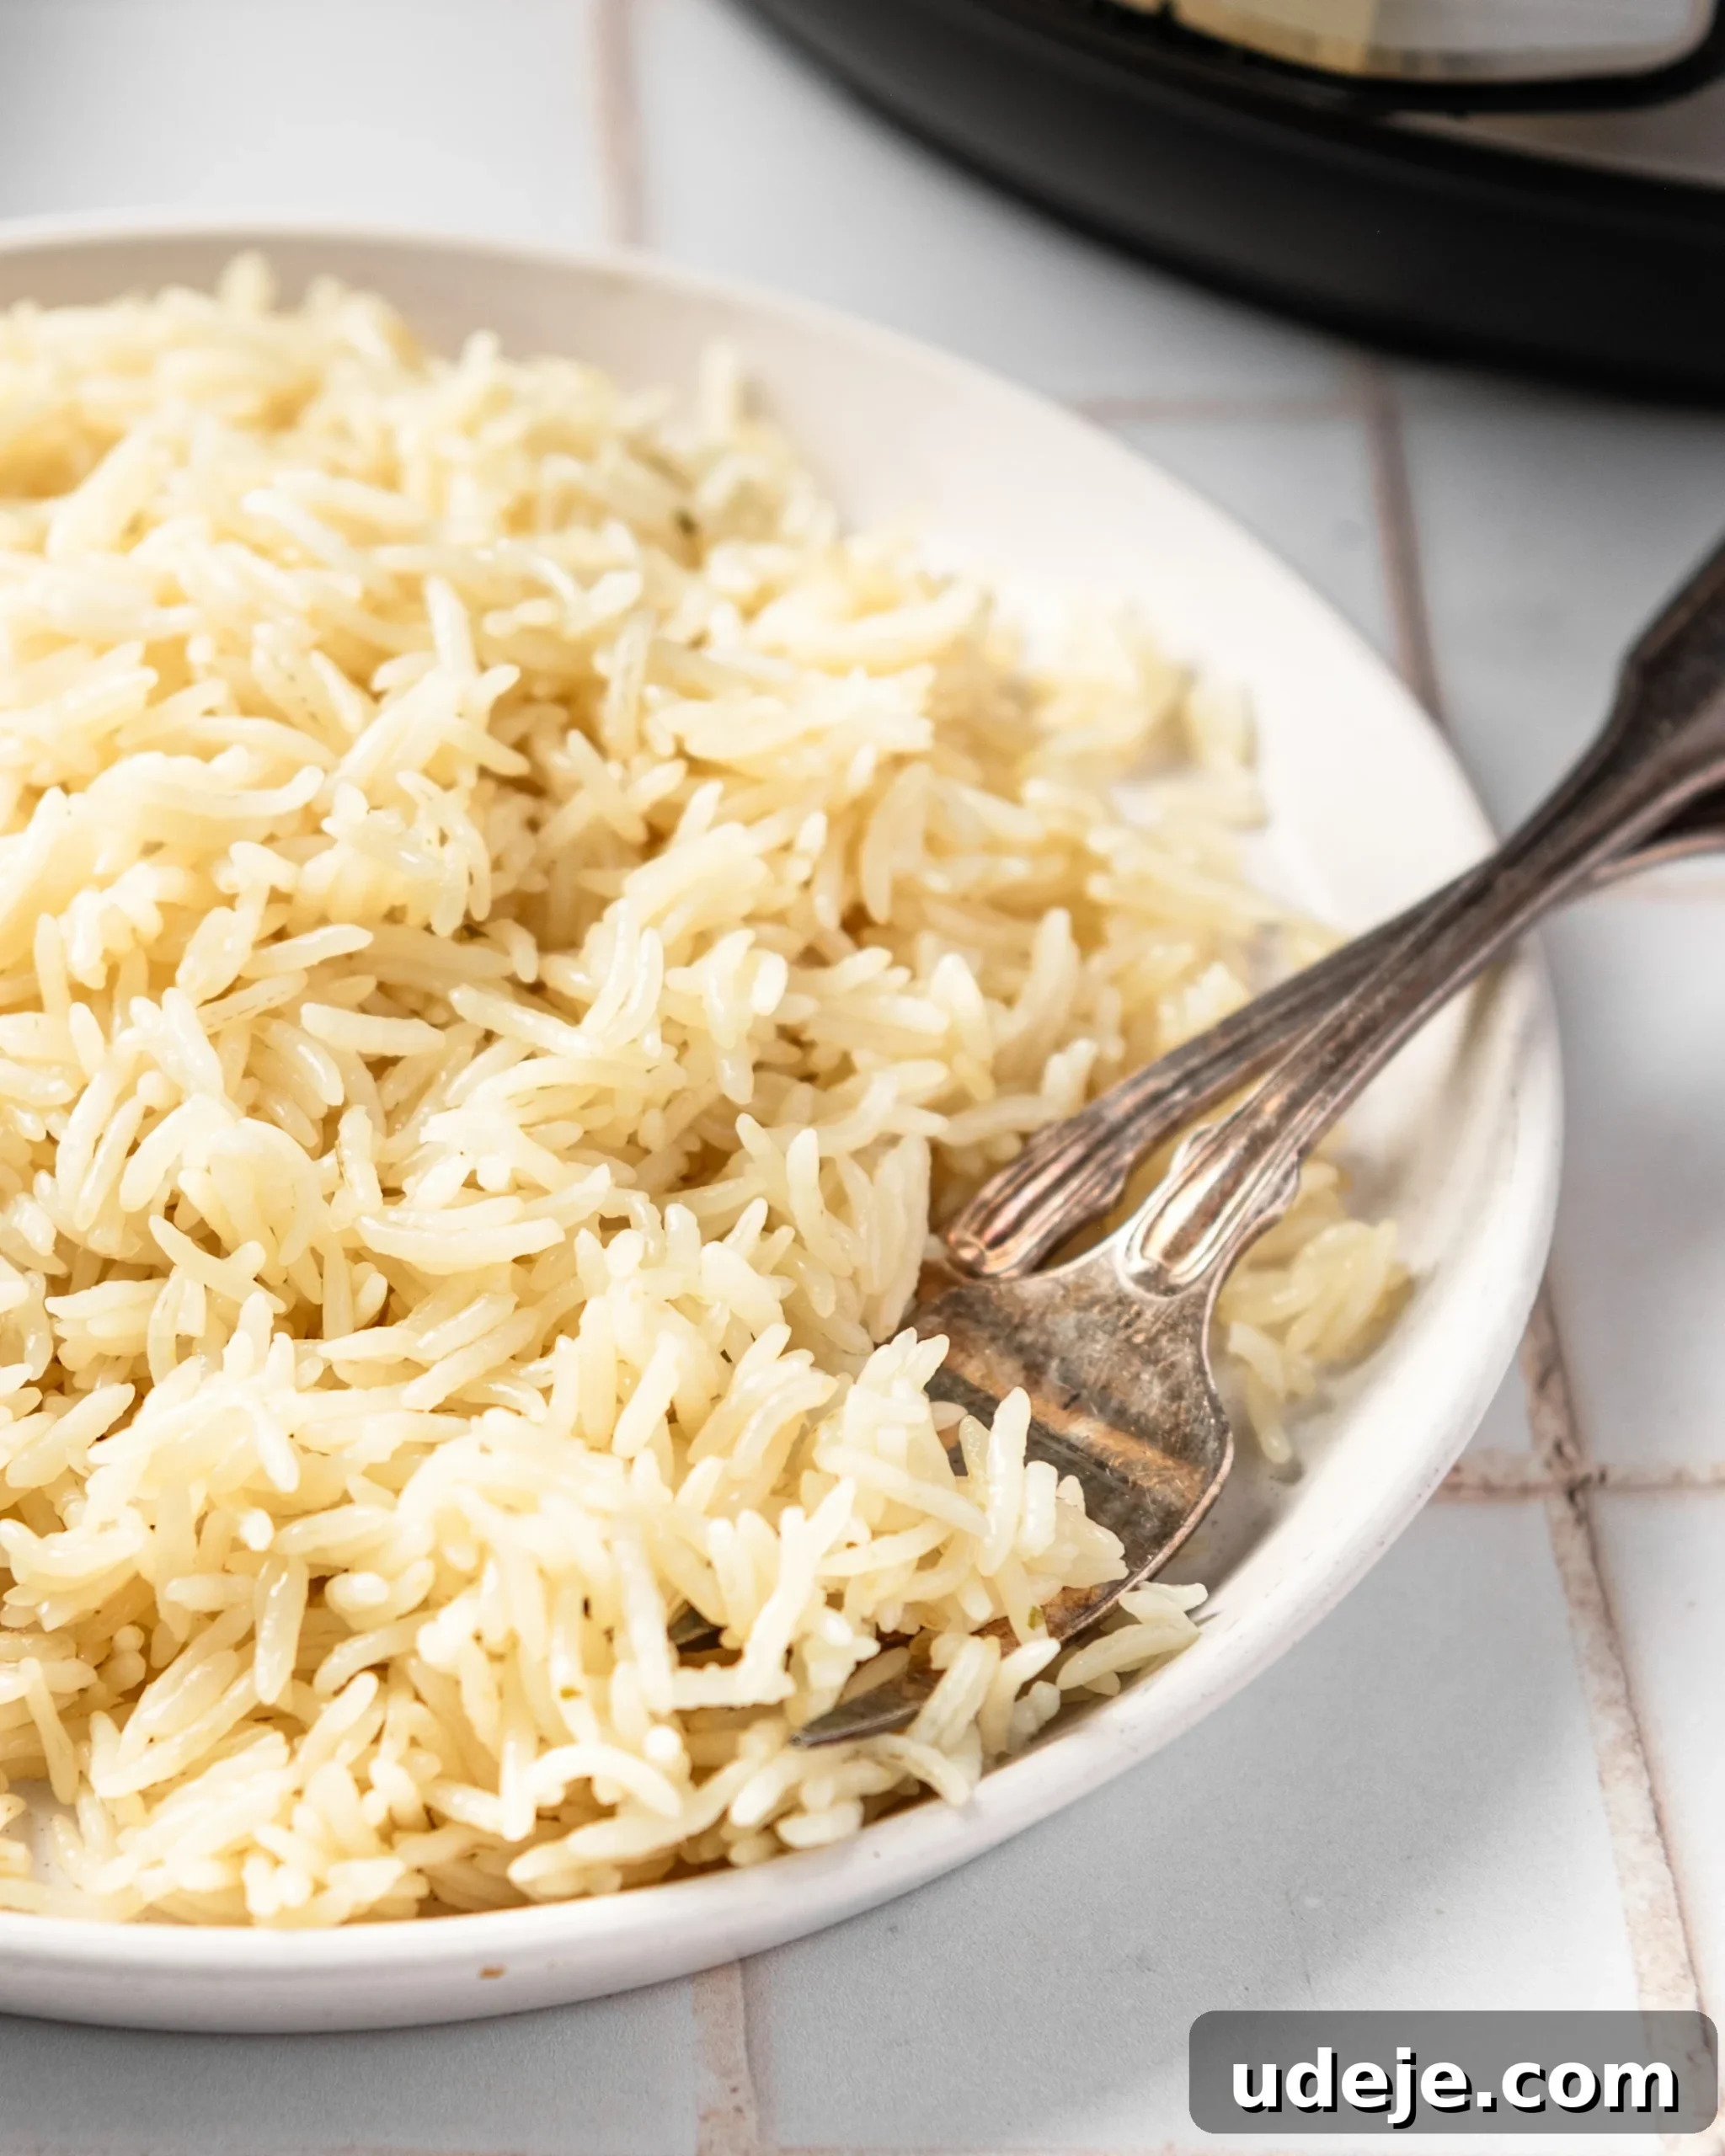
Proper storage is key to enjoying your delicious Instant Pot basmati rice for days to come. Once the rice has cooled to room temperature (within one hour of cooking to ensure food safety), transfer any leftovers to an airtight container. Refrigerate promptly, and consume the rice within 3 to 5 days. For reheating, the goal is to restore its soft, fluffy texture without drying it out. Add a few teaspoons of water (approximately 1-2 tablespoons per cup of rice) to the container, cover it with a microwave-safe lid, and microwave until heated through. The added water creates steam, rehydrating the rice and bringing it back to its perfectly soft and fluffy state. You can also reheat it on the stovetop with a splash of water and a lid over low heat until warmed.
Frequently Asked Questions (FAQ) about Instant Pot Basmati Rice
Q1: Can I use other types of rice with this recipe?
This specific recipe is optimized for long-grain aged basmati rice due to its unique starch content and cooking characteristics. While you can cook other types of rice in an Instant Pot, they will require different liquid-to-rice ratios and cooking times. For example, jasmine rice generally needs slightly less water, while brown rice requires more water and a longer cooking time. Using medium or short-grain rice with this recipe will likely result in a very wet or mushy texture.
Q2: What is the ideal liquid-to-rice ratio for Instant Pot Basmati?
For Instant Pot basmati rice, the recommended ratio is typically 1.25 cups of liquid for every 1 cup of rice. This recipe uses 2.5 cups of hot broth or water for 2 cups of rice, which is exactly this 1.25:1 ratio. This lower ratio compared to stovetop methods is effective because no liquid is lost to evaporation in the sealed pressure cooker environment.
Q3: Do I need to soak basmati rice before cooking in the Instant Pot?
While soaking basmati rice is a common practice in traditional cooking to reduce cooking time and promote longer grains, it’s generally not necessary for the Instant Pot method. The pressure cooking environment ensures thorough and even cooking without soaking. However, if you prefer, you can soak the rice for 20-30 minutes, but you might need to slightly reduce the liquid by 1/4 cup and decrease the pressure cooking time by 1 minute.
Q4: Why did my Instant Pot basmati rice turn out mushy or too dry?
Mushy rice is usually a result of too much liquid, insufficient rinsing (leaving too much starch), or not allowing enough resting time after cooking. Ensure you follow the recommended liquid ratio and rinse thoroughly until the water is clear. Conversely, dry or undercooked rice indicates too little liquid, a leaky sealing ring, or not enough natural pressure release time. Double-check your liquid measurements and the Instant Pot’s sealing mechanism.
Q5: How long does it truly take to cook Instant Pot Basmati Rice from start to finish?
While the pressure cooking time is only 5 minutes, the total time includes preparation, pressure build-up, and release. Rinsing takes about 5 minutes. The Instant Pot takes 2-3 minutes to come to pressure with hot liquid. The cooking time is 5 minutes. The natural release is 5 minutes, followed by a quick manual release, and a final 5-minute rest. So, from start to finish, you’re looking at approximately 20-25 minutes for perfectly cooked basmati rice.
Other Delicious Rice Recipes to Explore
If you tried these recipes, please consider leaving a star ⭐️⭐️⭐️⭐️⭐️ rating in the recipe card below and/or a review in the comments section further down the page – I’d love to hear from you! You can also hop on over to Instagram and say hello!
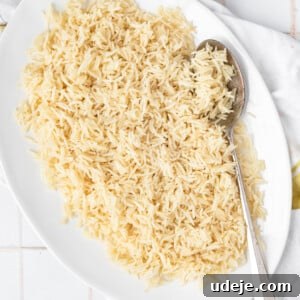
15-Min Instant Pot Basmati Rice
Leave a Review
Pin Recipe
Ingredients
- 2 cups long grain basmati rice, 420g
- 4 tablespoons oil, any kind
- 2 1/2 cups hot broth or hot water, 620 ml
- 1 teaspoon salt, adjust if using salted broth
Instructions
-
 Start by washing and rinsing the basmati rice well several times in water until the water is clear. It’s important to wash off as much of the starch as possible to ensure separate, fluffy grains of rice. Drain well in a colander and set aside.
 -
In the instant pot on sauté mode, heat up the oil until hot. Add in the rice and carefully stir to coat the grains with the oil for 30 seconds. Be careful not to break the grains. Ensure that no rice is stuck to the bottom of the pan, and add in the broth and salt. Adjust the salt if your broth is salty to begin with. Cover and set to pressure cook on high pressure for 5 minutes.
-
Once the 5 minutes is done, allow the instant pot to naturally release pressure for 5 minutes. Manually release the pressure after that. Carefully uncover and gently fluff up the rice grains with a spoon. It will feel moist. Place the cover back on halfway and allow it to sit for another 5 minutes so the rice grains dry up.
-
Serve with your favourite dish.

Notes
- You want to use a good long grain basmati rice. Most basmati rice is aged which gives it a deeper flavour profile.
- If you are using a broth that is already salted, omit the additional salt. Always test the water to check if it is salty enough.
- This recipe can easily be doubled or tripled depending on how much rice you need.